
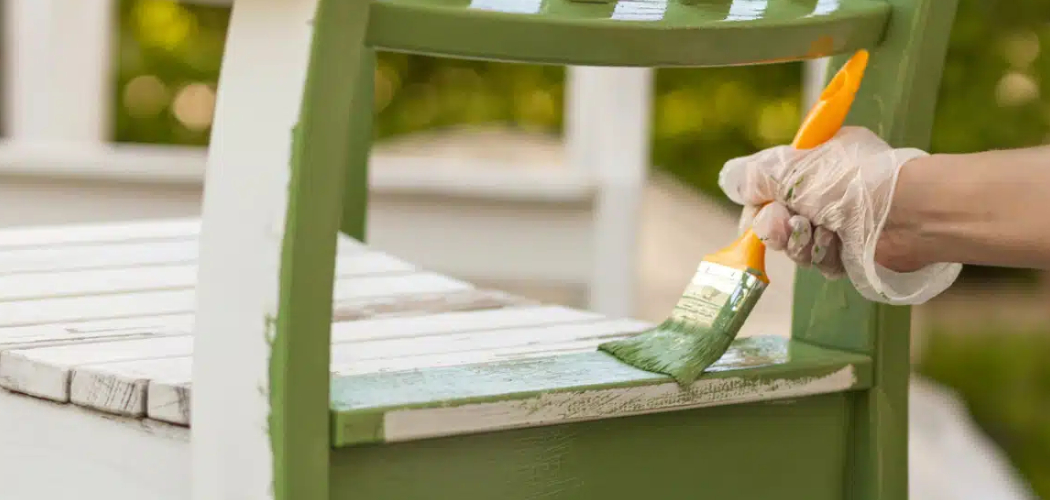
That tired wooden chair in your kitchen deserves a second life. A fresh coat of paint can turn a scuffed, dated seat into a piece you’re proud to show off, and you don’t need a workshop full of fancy gear to do it.
Learning how to paint wooden chairs is one of the most rewarding beginner projects in furniture painting because the results show up fast and the cost stays low. With a little patience and the right steps, you’ll get a smooth, durable finish that holds up to daily use. This guide walks you through every stage, from prepping the wood grain to laying down the final topcoat, so your chair looks like it came from a showroom.
Why Painting Your Own Chairs Matters
Painting your own chairs saves real money. A professional refinishing job can cost more than the chair itself, and a quality piece of new furniture costs far more than a can of paint. When you do the work yourself, you keep that cash in your pocket.
It also builds confidence. Once you finish your first chair, you’ll trust yourself to tackle tables, dressers, and bookshelves. Each project teaches you something about wood, brushes, and timing.
There’s a practical side too. Repainting extends the life of furniture you already own. Instead of tossing a solid wood chair because the finish wore down, you refresh it. That’s good for your budget and kinder to the planet. Skills like chair refinishing pay off again and again.
Tools and Materials You’ll Need
Gather everything before you start so you’re not running to the store mid-project. Here’s what you’ll need:
- Sandpaper in two grits: 120 for the first pass and 220 for smoothing
- Tack cloth or a damp microfiber rag to wipe away dust
- Wood filler for dents, cracks, or old screw holes
- Primer suited to wood surfaces
- Paint — latex, acrylic, or chalk paint work well for chairs
- Topcoat or clear sealer for protection
- Angled paint brush (2-inch) for tight corners and spindles
- Small foam roller for flat seat surfaces
- Painter’s tape to mask off areas you want to keep clean
- Drop cloth to protect your floor
One optional item makes life easier: a lazy Susan or turntable. Set the chair on it and spin instead of crouching around every side.
Step-by-Step Guide on How to Paint Wooden Chairs
Step 1 – Clean the Chair Thoroughly
Start by wiping down every surface. Years of use leave behind grease, dust, and sticky residue you can’t always see. Mix warm water with a little dish soap, dampen a cloth, and run it over the seat, legs, and spindles.
Pay attention to the spots where hands and clothes touch most. Those areas hold the most oil, and paint won’t stick to a greasy surface no matter how careful you are later.
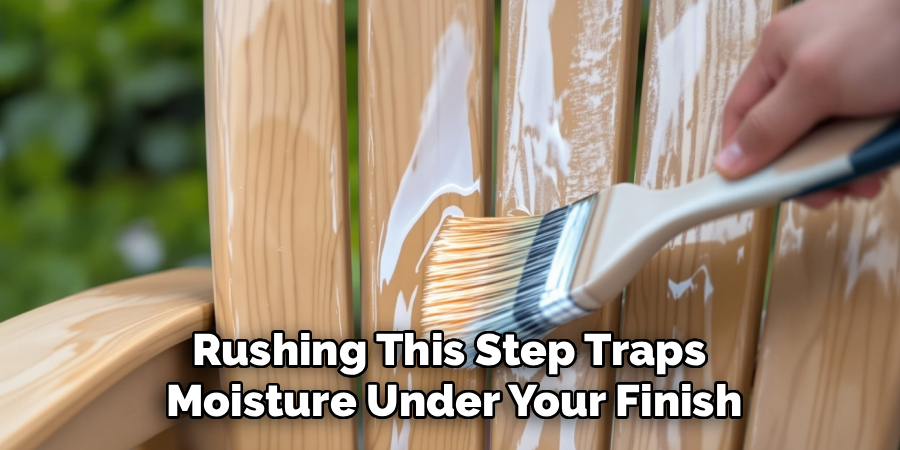
Once it’s clean, let the chair dry completely. Rushing this step traps moisture under your finish. Run your fingers across the wood — it should feel dry and slightly cool, never tacky. A clean, dry chair is the foundation of the whole project.
Step 2 – Sand the Surface Smooth
Sanding is where good results begin. Grab your 120-grit sandpaper and work along the wood grain, never against it. You’ll feel the old finish start to dull and powder under your hand, and you’ll hear a soft, steady scratching sound.
Don’t try to strip the chair down to bare wood. You just need to scuff the surface so primer and paint can grip. Knock off any glossy shine until the whole chair looks evenly matte.
Get into the curves and joints with a folded piece of sandpaper. These tight spots matter as much as the flat ones. When you run your palm over the finished surface, it should feel uniformly rough — like fine grit, with no slick patches left behind.
Step 3 – Fill Dents and Repair Damage
Now look closely for flaws. Dents, gouges, old nail holes, and hairline cracks all show through paint, so fix them now. Scoop a small amount of wood filler onto a putty knife and press it firmly into each blemish.
Overfill slightly, because filler shrinks a touch as it dries. Smooth the surface with the edge of your knife and wipe away the excess before it hardens.
Let it cure fully — check the label, but most fillers need an hour or more. Once dry, sand the patched spots with 220-grit until they sit flush with the surrounding wood. Run your finger across each repair. You shouldn’t feel a ridge or a dip, just a smooth, continuous surface ready for primer.
Step 4 – Wipe Away All Dust
Sanding leaves a fine layer of dust that ruins a smooth finish if you skip this step. Knowing how to paint wooden chairs well comes down to clean surfaces between every stage.
Brush off the loose dust first, then go over the whole chair with a tack cloth. It picks up the powder that a dry rag pushes around. Pay attention to the grooves where spindles meet the seat, since dust loves to hide there.
For stubborn dust, use a slightly damp microfiber cloth, then let the chair dry again. Hold the chair up to a window or shine a light across it. If you spot specks clinging to the surface, wipe again. A dust-free chair gives primer a clean surface to bond with.
Step 5 – Apply the Primer
Primer blocks stains, helps paint stick, and gives you a uniform base. Stir it well, then load your angled brush lightly. Heavy coats drip and pool, especially on legs and spindles.
Brush in thin, even strokes that follow the wood grain. Start with the underside and back, then work toward the parts you see most. This way, any drips you miss end up hidden.
You’ll notice the wood look slightly fuzzy as the grain raises — that’s normal. Let the primer dry fully, then give it a light pass with 220-grit to knock down that fuzz. Wipe the dust away again. One solid coat of primer usually does the job, though dark or stained wood may need two.
Step 6 – Paint the First Coat
Here’s the satisfying part. Stir your paint thoroughly so the color stays even. Use the angled brush for spindles, rungs, and corners, and switch to the foam roller for flat surfaces like the seat.
Keep your coats thin. A common temptation is to lay it on thick to cover faster, but thin coats dry smoother and resist drips. You’ll see the brush leave a wet sheen that levels out as it sits.
Follow the wood grain with each stroke and feather out the edges so you don’t leave hard lines. Work from top to bottom. Once the first coat covers the chair, step back and check for thin spots in good light. Let it dry completely before you even think about the next coat.
Step 7 – Apply the Second Coat
One coat rarely gives full coverage, so plan on at least two. Before you start, run your hand over the dried first coat. If you feel any grit or raised brush marks, smooth them with 220-grit and wipe clean.
Apply the second coat the same way — thin strokes, brush for detail, roller for flats. This layer evens out the color and hides any streaks left behind. You’ll notice the finish suddenly looks rich and solid.
Patience pays off most here. Mastering how to paint wooden chairs means resisting the urge to crowd your coats together. Give each layer the full drying time on the label. A rushed coat stays soft and gummy underneath, which leads to peeling down the road.
Step 8 – Seal with a Topcoat
A clear topcoat protects your hard work from scratches, spills, and daily wear. This step matters most for chairs, since they take more abuse than most furniture.
Choose a water-based polyurethane or sealer for a clear, non-yellowing finish. Apply it with a clean brush in thin coats, following the same top-to-bottom pattern you used for paint. Watch for drips on the legs and brush them out right away.
Let each coat dry, then lightly buff with extra-fine sandpaper or a fine sanding sponge before the next. Two to three coats give the toughest protection. When you’re done, the surface should feel smooth and slightly slick. Wait a few days before heavy use so the finish cures hard.
Common Mistakes to Avoid
The biggest mistake beginners make is skipping prep. It’s tempting to crack open the paint and start, but painting over dirt, gloss, or dust guarantees a finish that chips and peels within weeks. Clean and sand first, every single time.
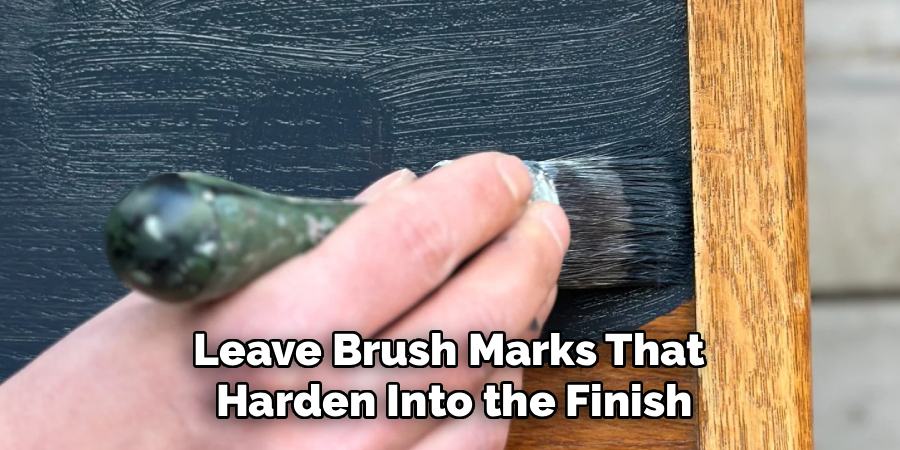
Another common error is loading the brush with too much paint. Thick coats look faster, but they sag, drip, and leave brush marks that harden into the finish. Thin coats always win. They dry smoother and build a stronger surface layer by layer.
Rushing dry times causes endless frustration too. When you stack coats before the last one cures, the paint stays soft and gummy. It lifts, wrinkles, and ruins hours of work. Read the label and wait, even when you’re eager to finish.
Many people also forget the topcoat. Paint alone wears down fast on a chair, especially on the seat and armrests. A clear sealer is what keeps your finish looking fresh for years.
Finally, painting in poor light hides thin spots and missed areas. Work near a window or under bright light so you catch problems while the paint is still wet.
Expert Tips
Warm up your paint before you start. Paint that sits in a cold garage thickens and drags. Let it reach room temperature, and it flows off the brush far more smoothly.
Strain old or lumpy paint through a cheap mesh filter. It removes dried bits that leave streaks, and it costs almost nothing.
For glass-smooth results, add a touch of paint conditioner. It slows drying just enough to let brush marks level out on their own.
Always paint the underside and back first. By the time you reach the visible surfaces, your hand is steady and you’ve worked out any drips on parts no one sees.
Keep a damp brush handy to catch runs the moment they appear. Fixing a drip wet takes seconds; fixing it dry takes sandpaper.
Frequently Asked Questions
Do I Need to Sand Before Painting a Wooden Chair?
Yes, sanding is essential for a lasting finish. It scuffs the surface so primer and paint can grip, and it removes old gloss that paint won’t stick to. You don’t need to strip the chair to bare wood — just dull the existing finish until it looks evenly matte. Skip this step and your paint will likely chip or peel within weeks.
What Kind of Paint Works Best on Wooden Chairs?
Latex, acrylic, and chalk paint all work well for chairs. Latex and acrylic give a durable, washable finish that suits high-use furniture. Chalk paint offers a matte, vintage look and needs little prep, but it requires a wax or sealer on top. For a kitchen or dining chair, a quality acrylic with a protective topcoat handles daily wear best.
How Many Coats of Paint Should I Apply?
Plan on at least two coats of paint for full, even coverage. One coat almost always looks patchy and lets the old color show through. Keep each coat thin and let it dry completely before adding the next. Dark wood or bold color changes may need a third coat. Always finish with a clear topcoat for protection.
Can I Paint a Chair Without Primer?
You can, but you shouldn’t skip primer in most cases. Primer blocks stains, seals the wood, and helps paint stick far better. Without it, paint can peel, and old finishes may bleed through your new color. The one exception is chalk paint, which often sticks without primer. For everything else, one solid primer coat saves you trouble later.
How Long Should I Wait Between Coats?
Drying time depends on your paint and the conditions, but most paints need two to four hours between coats. Always check the label. Humidity and cold slow drying, so allow extra time in damp weather. Touch a hidden spot to test — if it feels tacky, wait longer. Rushing this step leaves the finish soft and prone to peeling.
Conclusion
Bringing an old chair back to life is easier than it looks once you break it into steps. The secret to how to paint wooden chairs isn’t talent or expensive tools — it’s patience and good prep. Clean the surface, sand it smooth, repair the flaws, prime, paint thin coats, and seal it all in with a protective topcoat. Follow that order and you’ll get a finish that looks professional and holds up for years.
Take your time with each stage, especially drying. The chairs that last are the ones whose makers refused to rush. When you step back and see a worn-out seat transformed into something fresh and bright, you’ll feel the pride that only comes from doing it yourself.
So grab that tired chair, gather your supplies, and get started. Your first project teaches you the skills you’ll use on every piece of furniture that follows. The best way to learn is to begin.
