
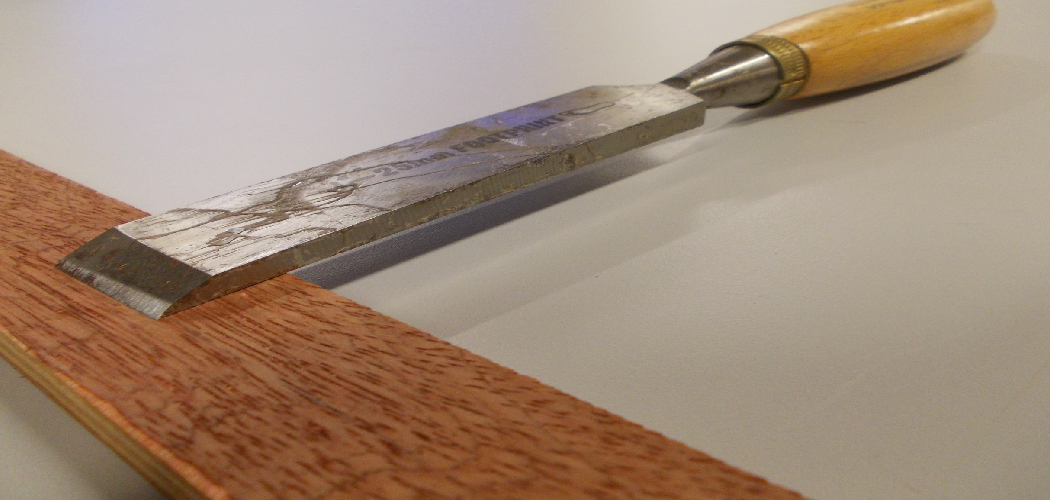
A dull chisel ruins good work. It tears wood fibers instead of slicing them, slips off your line, and forces you to push harder—which is exactly when accidents happen. A sharp chisel does the opposite. It glides through pine, pares end grain clean, and leaves a surface that needs no sanding.
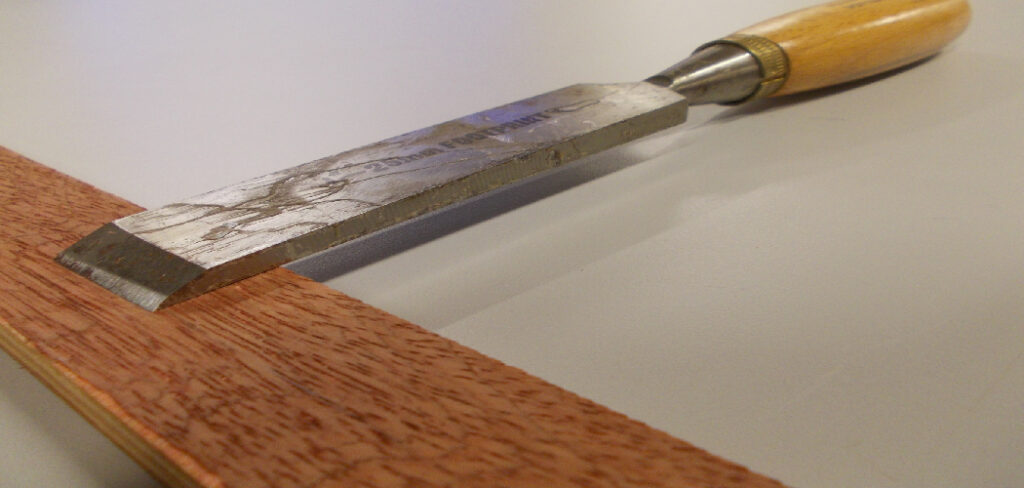
Learning how to sharpen woodworking chisels is the single most useful skill a beginner can pick up. It costs almost nothing, takes minutes once you know the steps, and instantly improves every cut you make. You don’t need fancy gear or years of practice.
This guide walks you through the full process—flattening the back, setting the bevel, honing, and stropping—so you can turn a tired blade into a razor-sharp edge with confidence.
Why Sharpening Woodworking Chisels Matters
Sharp tools save money. A quality chisel costs real money, but a sharp edge makes a cheap chisel outperform an expensive dull one. Instead of replacing blades, you maintain them—and a well-kept chisel lasts decades.
Sharp tools build confidence. When your edge bites clean and true, you stop fighting the wood and start trusting your hands. Beginners often blame their skill when the real problem is a blunt blade.
Sharp tools prevent mistakes. Dull edges slip, crush fibers, and split joints. They also injure you. A sharp chisel cuts where you aim it, with control and far less force.
Chisel maintenance extends tool life too. Regular honing removes only a sliver of steel, so your blades stay usable far longer than tools left to dull and rust.
Tools and Materials You’ll Need
Gather these before you start. Most cost little and last for years.
- Sharpening stones — a coarse and fine grit pair, either water stone, oil stone, or diamond plate.
- Honing guide — holds the chisel at a fixed angle for consistent results.
- Flat reference surface — float glass or a granite tile for flattening backs.
- Wet/dry sandpaper — 400 to 2000 grit for the sandpaper method on a flat base.
- Leather strop — for the final polish that creates a razor-sharp edge.
- Honing compound — fine abrasive paste rubbed into the strop.
- Water or honing oil — to lubricate your stone and float away metal particles.
- Clean rags — to wipe the blade and check your progress.
- Permanent marker (optional) — marks the bevel so you can see exactly where the stone removes steel.
Step-by-Step Guide on How To Sharpen Woodworking Chisels
Step 1 – Inspect and Clean the Chisel
Start by reading the blade. Hold it under a bright light and look straight at the cutting edge. A sharp edge reflects no light—it disappears to a thin line. A dull one shows a bright white glint along its length. That glint tells you where the work waits.
Wipe off any oil, sawdust, or rust with a clean rag. If you see pitting or chips, you’ll need to grind them out later on a coarse stone.
Run your thumb gently across—never along—the edge to feel for nicks. Knowing how to sharpen woodworking chisels begins with knowing the current condition of your steel. Diagnose first, then sharpen with purpose.
Step 2 – Flatten the Back
A chisel cuts with two surfaces: the bevel and the flat back. If the back isn’t flat, no edge will ever be truly sharp. Skip this and you waste every following step.
Lay the back flat on a coarse stone or sandpaper. Keep it pressed down with your fingertips near the tip. Rub it forward and back in steady strokes. You’ll hear a consistent grinding hiss when contact is even.
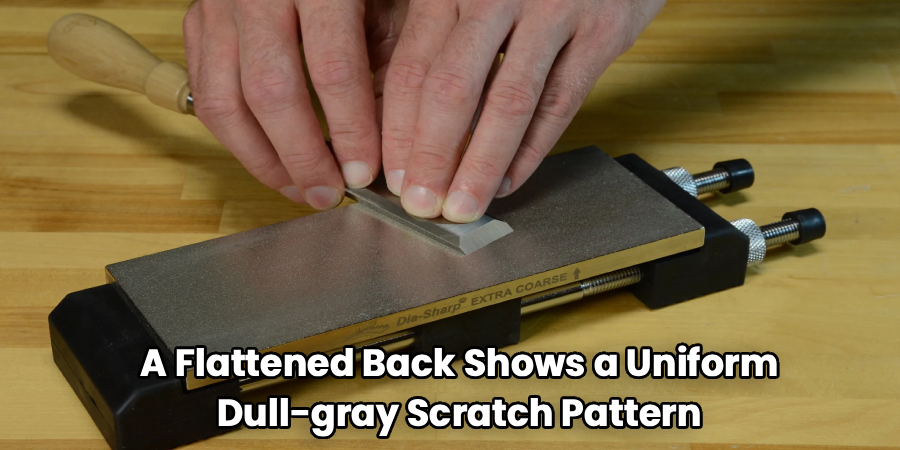
Check your progress. A flattened back shows a uniform dull-gray scratch pattern near the edge. Shiny low spots mean you’re not there yet. Focus only on the first inch behind the cutting edge—you don’t need the whole back mirror-flat, just the working zone.
Step 3 – Set Your Sharpening Angle
The chisel sharpening angle decides how the edge performs. Most bench chisels work best at a 25-degree bevel—strong enough to chop, keen enough to pare. Softwoods favor lower angles; hardwoods and chopping favor steeper ones.
Clamp the chisel into your honing guide. The guide locks the angle so every stroke hits the same spot, which is the secret to fast, repeatable results. Beginners who freehand often round the bevel without realizing it.
Set the projection length per your guide’s chart, tighten the clamp, and double-check it sits square. A marker swipe across the bevel helps—after one stroke, the ink shows exactly where the stone bites. Consistent contact means your angle is right.
Step 4 – Grind on the Coarse Stone
Now you remove steel and shape the primary bevel. Lubricate your coarse stone with water or oil, depending on its type. Diamond plates cut fastest and stay flat the longest.
Place the bevel on the stone and push forward with light, even pressure. Pull back and repeat. Listen for a smooth, slurping rhythm—that steady sound means full bevel contact. A scratchy, skipping noise means you’re rocking the guide.
Work until you raise a wire edge, also called a burr. Run your thumb up the back near the tip and you’ll feel a tiny rough lip catch your skin. That burr means you’ve reached the very edge. This stage is the heart of how to sharpen woodworking chisels—it creates the true cutting line.
Step 5 – Refine on the Fine Stone
Switch to your fine stone or higher grit. This step polishes away the deep scratches the coarse stone left behind and sharpens the edge further.
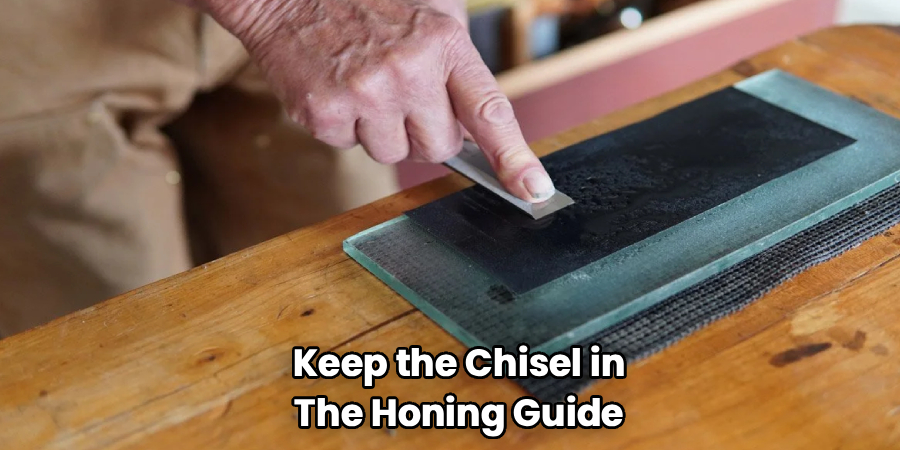
Keep the chisel in the honing guide so the angle stays identical. Lubricate again, then work the bevel with the same forward-and-back motion. The sound changes here—softer, smoother, more of a quiet shush than a grind.
Watch the bevel surface. Coarse scratches fade and the steel begins to shine. You’re trading roughness for refinement. Raise a finer burr on the back again, smaller than before. The metal should look almost reflective near the edge. If you still see deep lines, spend more time before moving on.
Step 6 – Remove the Wire Edge
That burr you raised must go, or your edge will feel sharp for one cut and then fold over. Removing it cleanly is what separates a good edge from a great one.
Lay the back flat on your fine stone—no honing guide needed here. Press near the tip and make a few light strokes. You’ll feel the burr release; sometimes it flakes off and you can see a tiny metal sliver on the stone.
Flip and take one gentle pass on the bevel. Alternate sides with lighter and lighter pressure. The goal is to wear the wire edge down to nothing without folding it back over. Run your thumb across—when no rough lip remains, you’re ready to polish.
Step 7 – Add a Micro-Bevel (Optional)
A micro-bevel speeds future sharpening and adds a tougher edge. It’s a tiny secondary bevel right at the tip, set a couple degrees steeper than your primary bevel.
Lift the back of your honing guide slightly—a single click or a small spacer does it. Take two or three light strokes on your finest stone. That’s all it needs.
You’ll see a thin, bright band form along the very edge. Because you only polish this sliver next time, resharpening takes seconds instead of minutes. Many pros swear by this trick. Skip it if you prefer simplicity, but try it once—you’ll likely keep it.
Step 8 – Strop to a Razor-Sharp Edge
Stropping is the final polish that takes an edge from sharp to scary sharp. Rub honing compound into your leather strop until it darkens.
Lay the bevel on the leather and pull the chisel backward—edge trailing, never leading, or you’ll slice the strop. Make ten to fifteen strokes per side. The leather makes a soft, dragging whisper as it polishes.
Flip and strop the back the same way. The edge develops a mirror shine you can read newsprint in. Test it on a scrap of pine end grain: a razor-sharp edge slices cleanly with a quiet whisk, leaving a glassy surface. If it crushes fibers or skips, return to the fine stone and refine.
Common Mistakes to Avoid
The biggest mistake is skipping the back. Beginners obsess over the bevel and ignore the flat back, then wonder why the edge never feels sharp. Both surfaces meet at the cutting edge—if one is rough, the edge is rough. Flatten the back once thoroughly, and you’ll only need quick touch-ups after that.
Rocking the chisel is another classic error. Freehanding feels faster, but most beginners rock the blade and round the bevel into a useless curve. A honing guide removes the guesswork. Use one until your hands learn the motion, then decide if you want to freehand later.
Rushing past grits ruins your results too. Jumping straight to the fine stone leaves deep scratches the fine grit can’t erase. Move through your grits in order, and don’t advance until the previous scratch pattern is gone.
Many people also forget to remove the wire edge. They feel sharpness, start cutting, and the edge folds instantly. Always work the burr off before stropping.
Finally, letting stones dish out warps every angle you set. Flatten your stones regularly so your reference surface stays true.
Expert Tips
Color-code your bevel with a permanent marker before every session. One swipe of ink, one test stroke, and the bare metal shows exactly where the stone contacts. It’s the fastest way to confirm your angle without guessing.
Keep two chisels in rotation for big jobs—one sharp, one being honed. You’ll never stop work to fix a blade mid-project.
Strop between sharpenings, not just after. A dozen strokes on a leather strop revives an edge that’s just starting to fade, and it delays a full resharpening for hours of cutting.
Store chisels with edge guards or in a roll, never loose in a drawer. One knock against another tool chips the edge you worked hard to create. Protect your steel, and your sharpening lasts far longer.
Frequently Asked Questions
What Angle Should I Sharpen My Chisels To?
Aim for a 25-degree bevel on most bench chisels. It balances durability and keenness for general work. Drop to 20 degrees for paring soft woods, or raise to 30 degrees for chopping hardwoods. Add a small micro-bevel a few degrees steeper for a tougher edge that’s faster to maintain. A honing guide keeps your chosen angle consistent every time.
How Often Should I Sharpen My Chisels?
Sharpen when the edge stops slicing cleanly—when it crushes fibers, skips, or needs extra force. For light use, a quick strop every session keeps the edge keen for weeks. Heavy chopping or hardwood work dulls steel faster, sometimes within a day. Don’t wait for a totally dull blade. Frequent light honing is faster and removes far less steel than a full resharpening.
Can I Sharpen Chisels Without a Honing Guide?
Yes, but it takes practice. Freehand sharpening lets you work quickly once your hands learn to hold a steady angle. Beginners usually rock the blade and round the bevel, so a honing guide is the safer start. Use the guide until the motion feels natural, then try freehand on an old chisel first. Most woodworkers keep a guide for precision work regardless of skill.
What’s the Best Sharpening Stone for Beginners?
A diamond plate is the most beginner-friendly choice. It cuts fast, stays perfectly flat, and needs only water for lubrication—no soaking or flattening required. Water stones cut beautifully but dish out and need regular flattening. Oil stones are durable but slower and messier. Start with a coarse and fine diamond plate combo, add a leather strop, and you’ll have everything you need.
How Do I Know When My Chisel Is Sharp Enough?
Test the edge, don’t guess. A sharp chisel slices end-grain pine cleanly with a quiet whisk, leaving a glassy surface. It shaves arm hair and won’t reflect light along the cutting edge. If it crushes fibers, skips, or shows a bright glint, it needs more work. The paper test works too—a truly sharp edge cuts printer paper smoothly with no tearing.
Conclusion
A sharp chisel changes everything. It cuts cleaner, works safer, and turns frustrating projects into satisfying ones. Now you know how to sharpen woodworking chisels from start to finish—inspect the blade, flatten the back, set your angle, grind and refine through your grits, remove the wire edge, and strop to a mirror polish.
The process sounds detailed, but it takes only minutes once you’ve done it a few times. Start with a honing guide, move through your grits in order, and always test the edge before you trust it. Don’t skip the back, and don’t rush the steps.
Master this one skill and every tool in your shop gets better. Your joints tighten, your surfaces smooth out, and your confidence grows with each clean cut. Grab a dull chisel, set up your stones, and give it a try today. Your future self—and your woodwork—will thank you for the razor-sharp edge.
