
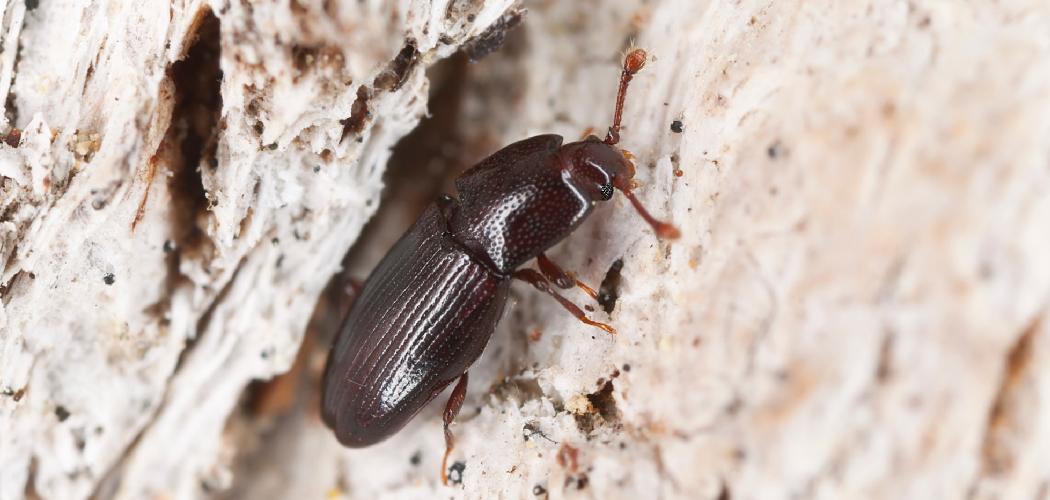
Tiny white dots crawling across your antique table. Fine dust collecting where it shouldn’t. If you’ve spotted these signs, you likely have wood mites, and you want them gone fast. These microscopic pests feed on mold, fungus, and decaying material inside damp wood. Left alone, they spread to nearby furniture, flooring, and stored lumber.
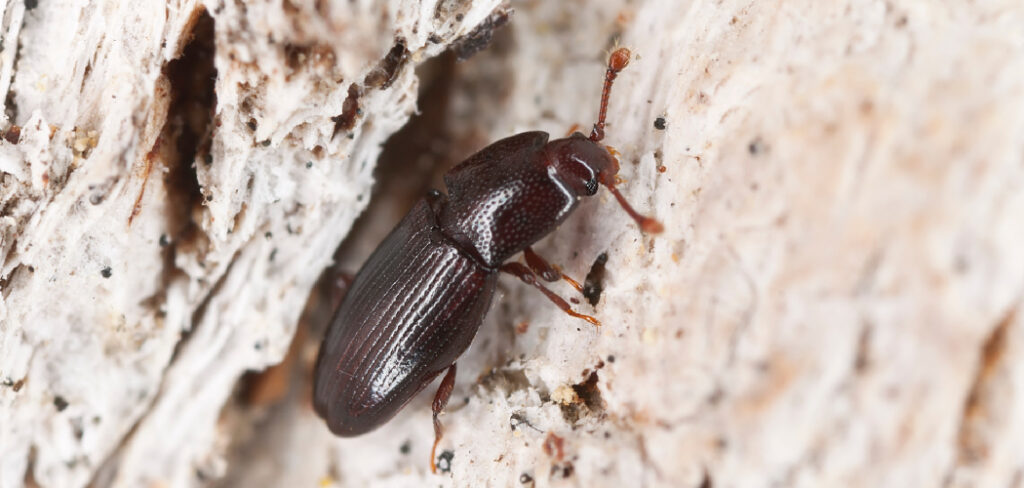
Knowing how to get rid of wood mites protects your projects, your home, and your wallet. The good news? You don’t need an exterminator or expensive chemicals. With a few household tools and the right method, you can clear an infestation yourself in a weekend. This guide walks you through every step to remove wood mites, prevent their return, and keep your wood healthy for years.
Why Getting Rid of Wood Mites Matters
Wood mites don’t bite or destroy timber the way termites do. But ignore them, and you’ll pay later. They signal a deeper problem: moisture and mold living inside your wood. That hidden damage weakens joints, ruins finishes, and shortens the lifespan of pieces you worked hard to build or buy.
Tackling mites yourself saves you the cost of professional treatment, which often runs into hundreds of dollars. You also avoid replacing furniture or flooring that could have been saved.
For DIY beginners, this is a confidence builder. You learn to spot moisture issues early, treat them correctly, and protect every future project. Master this skill once, and you’ll guard your woodworking investment for life.
Tools and Materials You’ll Need
Gather everything before you start. Having your supplies ready keeps the job fast and prevents the infestation from spreading while you search for gear.
- Vacuum with HEPA filter — traps mites and eggs without releasing them back into the air
- White vinegar — kills mites and breaks down the mold they feed on
- Spray bottle — applies cleaning solution evenly across surfaces
- Microfiber cloths — wipe away residue and dead mites without scratching wood
- Stiff brush — dislodges mites from cracks, grooves, and joints
- Borax powder — penetrates wood to kill mites and prevent regrowth
- Dehumidifier — removes the moisture that mites need to survive
- Protective gloves and dust mask — shield you from spores and cleaning fumes
- Moisture meter (optional) — confirms when your wood is dry enough to stay mite-free
Step-by-Step Guide on How to Get Rid of Wood Mites
Step 1 – Confirm You’re Dealing With Wood Mites
Look closely before you treat anything. Wood mites are nearly invisible, often appearing as moving white or tan specks no larger than a pinhead. You may notice fine, powdery dust near furniture legs or in storage corners.
Run your finger across the surface. A faint, gritty texture often means mites and their debris. Some people develop mild skin itching near heavily infested wood.
Shine a flashlight at a low angle. The light catches tiny moving dots that blend into the grain otherwise. Check cracks, joints, and the underside of pieces where moisture collects.
Confirming the pest matters. Mites need different treatment than beetles or termites, so accurate identification saves you wasted effort.
Step 2 – Isolate the Infested Wood
Move the affected piece away from other furniture immediately. Mites travel easily, and one infested chair can seed an entire room within days.
Carry the item to a garage, patio, or well-ventilated space. Work outdoors when you can. Open air keeps spores and dislodged mites from settling into your living areas.
Lay down a drop cloth or old sheet underneath. You’ll catch falling debris and toss it cleanly when you finish. Avoid dragging the piece across carpet, which traps mites in the fibers.
Keep pets and kids out of the work zone. Mites rarely harm people, but the mold dust irritates sensitive lungs. A little distance protects everyone while you work.
Step 3 – Vacuum the Surface Thoroughly
Start with your HEPA-filter vacuum. This is the fastest way to remove the bulk of live mites, eggs, and loose dust before you apply any treatment.
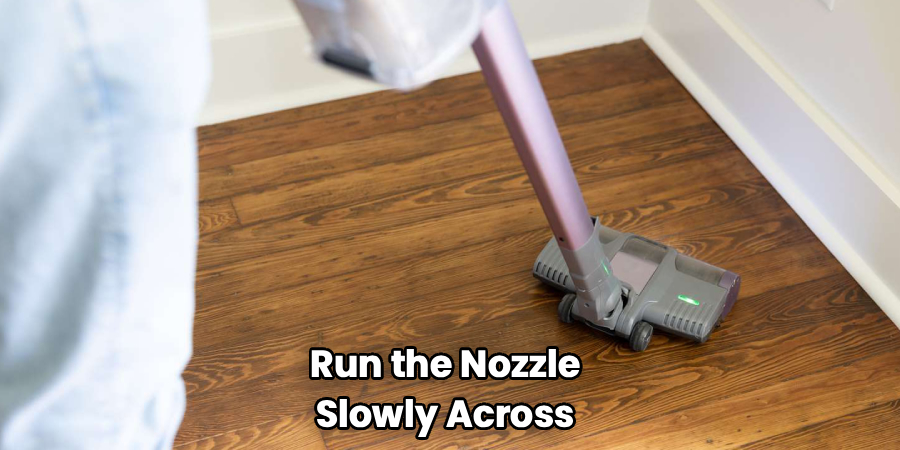
Run the nozzle slowly across every surface. Press into seams, carved details, and corners where mites cluster. You’ll hear the suction change pitch as it pulls debris from deep grooves.
Don’t rush. A quick pass leaves eggs behind that hatch within days. Cover each section twice for full coverage.
When you finish, seal the vacuum bag or empty the canister into a sealed plastic bag right away. Take it straight outside to the trash. Skip this step, and the mites simply crawl back out.
Step 4 – Apply a Vinegar Solution
Mix equal parts white vinegar and water in your spray bottle. Vinegar’s acidity kills mites on contact and dissolves the mold film they live on.
Mist the wood evenly. Aim for a light, damp coat, not a soaking. Too much liquid swells the grain and can lift the finish. You want the surface to feel cool and slightly moist, not dripping.
Let it sit for ten minutes. You’ll catch a sharp, clean vinegar smell, which fades as it dries. This is your signal the solution is working.
Scrub stubborn spots with your stiff brush. Reach into joints and cracks where mites hide. Knowing how to get rid of wood mites means treating the spaces you can’t easily see.
Step 5 – Wipe and Dry the Wood
Take a clean microfiber cloth and wipe down every treated surface. You’re removing dead mites, loosened mold, and leftover vinegar in one pass.
Work in the direction of the grain. Cross-grain wiping pushes debris into the pores and can leave faint scratches on finished wood. The surface should feel smooth and clean under your hand.
Switch to a fresh cloth section often. A dirty cloth just redistributes mites you already killed.
Dry the piece completely before moving on. Damp wood invites the whole problem back. Set it in a sunny spot or aim a fan at it. The wood should feel dry, not cool or tacky, before you treat the inside.
Step 6 – Treat Deep With Borax
Surface cleaning kills what you can see. Borax reaches the mites burrowed inside the wood.
Dust a thin layer of borax powder over the dry surface, working it into cracks and end grain with your brush. The powder looks chalky white and clings to porous areas. For raw or unfinished wood, dissolve borax in warm water and brush it on so it soaks deeper.
Borax disrupts the mites’ systems and stays active for weeks, stopping new hatchlings cold. This long residual action is why pros rely on it.
Leave it in place for 24 hours. Then vacuum or wipe away the residue. Repeat on heavily infested pieces for full control.
Step 7 – Lower the Moisture That Feeds Them
Mites can’t survive in dry wood. This step decides whether your work lasts or the infestation returns next month.
Set up a dehumidifier in the room or storage area. Aim for indoor humidity between 35 and 50 percent. You’ll feel the air turn noticeably less heavy within a day.
Check your wood with a moisture meter if you have one. Readings above 15 percent mean the wood still holds enough water to support mites. Keep drying until you hit that target.
Improve airflow too. Open windows, run fans, and pull furniture a few inches off the walls. Stagnant, damp corners are where mites thrive, so steady circulation keeps them away for good.
Step 8 – Seal and Protect the Wood
Bare wood absorbs moisture and invites mites back. A protective finish locks the surface and removes their food source.
Apply a coat of polyurethane, varnish, or paste wax once the wood is fully dry and treated. Brush in thin, even strokes following the grain. You’ll see the surface deepen in color and gain a soft sheen as it cures.
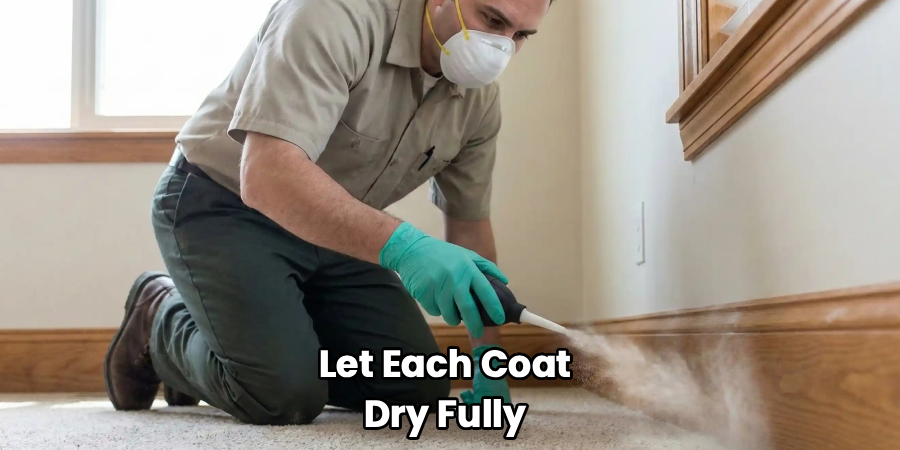
Let each coat dry fully before adding the next. Rushing traps moisture underneath, which defeats the purpose.
A sealed surface feels smooth and slightly slick, with no open pores for mites to enter. This finishing step turns a one-time fix into lasting protection and keeps your wood looking sharp for years.
Common Mistakes to Avoid
The biggest mistake is treating the mites while ignoring the moisture. You can vacuum and spray all day, but if the wood stays damp, the mites come back within weeks. Always pair pest removal with humidity control. That combination is what makes the fix permanent.
Another common error is soaking the wood. Beginners often drench surfaces with vinegar or water, assuming more liquid kills more mites. Instead, the wood swells, the finish lifts, and you create the exact damp conditions mites love. Use a light, controlled mist every time.
Many people also skip isolation. They treat one infested piece while leaving it next to clean furniture, and the mites simply relocate. Move the affected item away from everything else before you start.
Reusing dirty cloths and vacuum bags ranks high on the list too. Wiping with a contaminated rag spreads live mites across surfaces you just cleaned. Empty the canister outside and switch cloths often.
Finally, don’t quit after one treatment. Eggs hatch on a delay, so a single pass rarely clears a heavy infestation. Repeat the process and inspect again a week later.
Expert Tips
Treat the room, not just the furniture. Pros know mites live in baseboards, window frames, and stored lumber nearby. Clean and dry the whole space, or you’ll trade one infested piece for another.
Bag and freeze small items. Sealing a wooden box or carving in plastic and leaving it in the freezer for 48 hours kills every mite and egg inside. No chemicals needed.
Watch your storage habits. Stack lumber off the floor with spacers between boards so air moves freely. Mites can’t gain a foothold in well-ventilated wood.
Inspect monthly during humid seasons. A quick flashlight check catches new activity early, when one wipe-down solves the problem. Early action beats a full treatment every time.
Frequently Asked Questions
Are wood mites harmful to humans?
Wood mites don’t bite or transmit disease, so they pose little direct danger. However, their shed skins and the mold they feed on can trigger allergies, skin itching, or mild respiratory irritation in sensitive people. Wear a dust mask while treating an infestation, and clear the mites promptly to keep indoor air quality high and protect anyone with allergies.
How long does it take to get rid of wood mites?
Most infestations clear within one to two weeks. A single deep cleaning kills the visible mites, but eggs hatch on a delay, so you’ll usually need a second treatment after about seven days. Lowering humidity speeds the process. Once your wood stays dry and sealed, mites can’t survive, and the problem ends for good.
Can wood mites spread to other furniture?
Yes. Wood mites travel easily between pieces, especially when furniture sits close together in damp conditions. One infested chair can seed an entire room within days. That’s why isolating the affected item is critical. Move it away from clean wood, treat it fully, and check nearby pieces for early signs before they develop their own infestation.
Will vinegar alone kill wood mites?
Vinegar kills mites on contact and dissolves the mold they eat, but it won’t reach pests burrowed deep inside the wood. Use vinegar for surface cleaning, then follow with borax for deep penetration and lasting protection. Most important, lower the humidity. Without controlling moisture, no cleaning solution will keep mites from returning to your wood.
How do I prevent wood mites from coming back?
Keep humidity between 35 and 50 percent using a dehumidifier and good airflow. Seal bare wood with varnish, polyurethane, or wax to remove their food source. Store lumber off the floor with space between boards. Inspect your wood monthly during humid months. Dry, sealed, well-ventilated wood gives mites nowhere to live and nothing to eat.
Conclusion
Wood mites are a warning sign, not a death sentence for your furniture. They thrive on moisture and mold, which means the fix is fully in your hands. Identify the infestation, isolate the piece, vacuum thoroughly, and treat the wood with vinegar and borax. Then dry it out and seal it to shut the door on future pests.
Now you know how to get rid of wood mites without hiring help or spending a fortune. The whole process takes a weekend and basic tools you likely already own. More important, you’ve learned to read the real problem behind the pests: trapped moisture that quietly damages your wood.
Stay consistent. Control humidity, seal your surfaces, and inspect regularly. Do that, and you’ll protect every piece you build, repair, or own. Your woodworking deserves to last, and now you have the skills to make sure it does. Grab your tools and clear those mites for good.
