
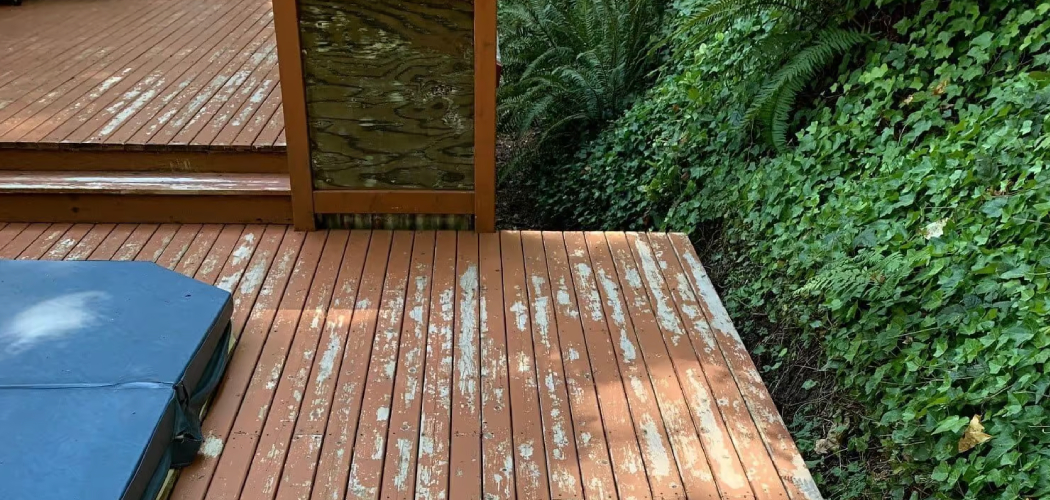
You finished painting. The piece looked perfect. Then a single drop of water left a cloudy mark, and the color started to flake.
That sting is avoidable.
Acrylic paint is water-based. It dries fast and looks beautiful. But on its own, it stays soft and exposed. Scratches, moisture, and daily handling wear it down quickly. Learning how to seal acrylic painted wood is what turns a fragile project into one that lasts for years.
The good news? This skill is simple. You do not need a workshop full of gear. You need patience, the right clear coat, and a steady hand.
This guide walks you through every step — from prep to the final protective finish — so your painted wood surface stays vibrant, smooth, and tough long after the brush goes down.
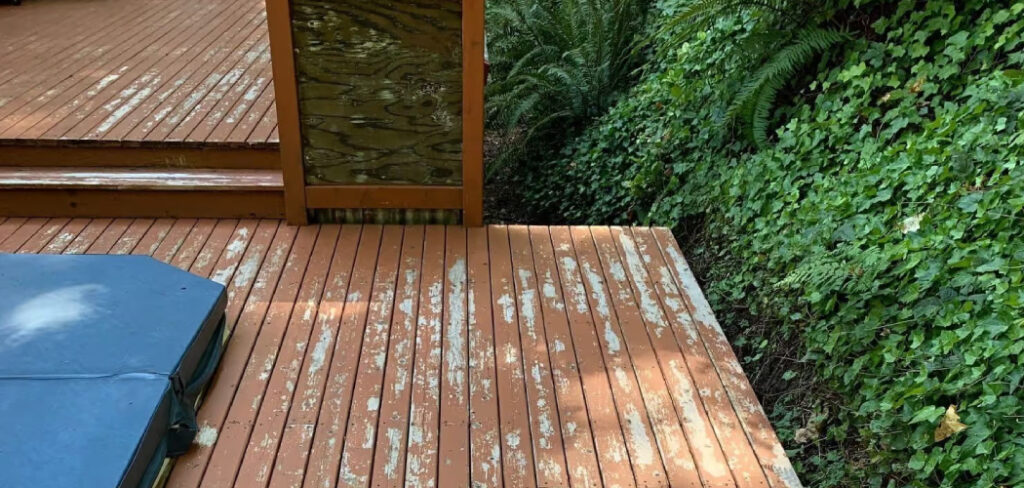
Why Sealing Acrylic Painted Wood Matters
Skipping the sealer feels like saving time. It is not. It is borrowing trouble.
Unsealed acrylic paint chips. It fades in sunlight. It absorbs water and lifts off the wood. You spend hours on a project, then watch it fail in weeks.
A protective finish changes that math.
A good sealer locks the color in place. It blocks moisture. It guards against scratches, fingerprints, and everyday wear. For a DIY beginner, that means fewer redos and less wasted paint.
It also builds confidence. When you know your finish will hold, you take on bigger projects. Furniture. Signs. Outdoor décor.
Sealing extends the life of your wood. It protects the money and the hours you already invested. That is the whole point.
Tools and Materials You’ll Need
Gather everything before you start. Stopping mid-project to hunt for supplies leads to dust, drips, and mistakes.
Here is what you need:
- A clear sealer — polyurethane, polycrylic, varnish, or Mod Podge, depending on your project
- Foam brushes or a soft-bristle synthetic brush — for smooth, streak-free application
- Fine-grit sandpaper — 220 to 400 grit for smoothing between coats
- A tack cloth or lint-free rag — to wipe away dust
- Painter’s tape — to protect edges and surfaces you don’t want coated
- A clean, dust-free workspace — good airflow matters
- Disposable gloves — to keep your hands clean and protected
- A spray sealer (optional) — handy for detailed pieces or hard-to-reach corners
That optional spray can save you real frustration on carved or textured work.
Step-by-Step Guide on How to Seal Acrylic Painted Wood
Step 1 – Let the Paint Fully Cure
Patience first. This is the step most beginners rush.
Acrylic paint dries to the touch in under an hour. But dry is not cured. Curing is the chemical process underneath, and it takes longer — often 24 to 72 hours depending on humidity and coat thickness.
Seal too early and you trap moisture under the clear coat. The result? Cloudy patches, a tacky surface, and color that smears.
Press a clean fingertip gently into a hidden spot. If it feels cool or leaves any mark, wait longer. Cured paint feels dry, firm, and slightly warm to the touch.
Knowing how to seal acrylic painted wood starts here — with the discipline to wait. Give it the full time. You will thank yourself later.
Step 2 – Prepare and Clean the Surface
A clean surface is everything. Sealer bonds to what is underneath it. Dust, oil, and lint all get locked in forever.
Look closely at the painted wood surface. Catch the light at an angle. You will spot stray fibers, fingerprints, or tiny specks you missed before.
Wipe the piece down with a slightly damp lint-free cloth. Then follow with a dry tack cloth to lift every last particle. Let it air for a few minutes.
Avoid harsh cleaners or soaps that leave residue. Plain and gentle wins here.
Run your hand across the surface. It should feel smooth and clean — no grit, no stickiness. That clean, quiet glide tells you the wood is ready for its protective finish.
Step 3 – Choose the Right Sealer for the Job
Not all sealers behave the same. Picking the wrong one costs you the whole project.
Polycrylic is water-based, dries clear, and barely yellows. It suits light colors and indoor pieces beautifully. Polyurethane is tougher and more water-resistant, but oil-based versions can add a warm amber tint over time.
Mod Podge works great for crafts and decoupage, though it offers less heavy-duty protection. For outdoor items, reach for an exterior-grade varnish or spar urethane built to handle sun and rain.
Think about where your piece will live. Indoor or outdoor? High-touch or decorative?
Match the acrylic paint sealer to the job, and the finish will do its work without fighting you.
Step 4 – Test on a Hidden Area First
Test before you commit. Always.
Even trusted products can react with certain paints or pigments. A quick test saves you from ruining a piece you spent hours on.
Pick a hidden spot — the back, the underside, an inside edge. Brush on a thin coat of your chosen sealer. Let it dry completely.
Watch for warning signs. Cloudiness. Yellowing. A sticky film that never fully sets. Color that lifts or smears under the brush.
If the test area dries clear, smooth, and firm, you are good to go. The color stays put. The finish looks invisible.
This small step takes ten minutes. It can save your entire project.
Step 5 – Apply the First Thin Coat
Thin beats thick. Every time.
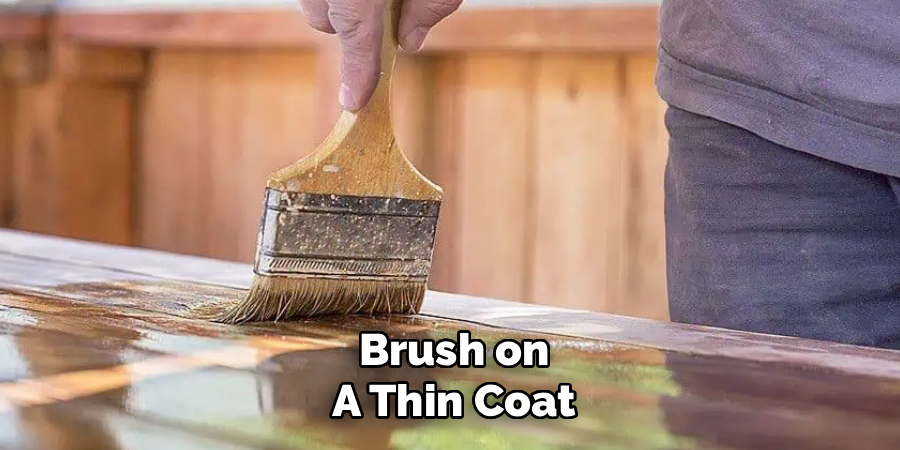
Dip your foam brush lightly. Wipe off the excess against the rim. You want a light load, not a dripping one.
Work in one direction, following the wood grain. Use long, smooth strokes. Overlap each pass slightly so you cover evenly without pooling.
Listen and look as you go. A good coat lays down quiet and even, with a soft satin sheen. A bad one shows bubbles, ridges, or thick puddles in the corners.
Resist the urge to go back over a spot that is already setting. That drags the finish and leaves marks.
One thin, even coat now means a flawless surface later. Slow and light is the way.
Step 6 – Sand Lightly Between Coats
This step feels strange. You are smoothing the thing you just coated. Trust it.
After the first coat dries fully, the surface may feel slightly rough — like fine sandpaper under your fingertips. That texture is normal. Tiny dust particles and raised fibers cause it.
Take your 220 to 400-grit sandpaper. Sand gently, with light pressure, in the direction of the grain. You are not removing the finish. You are knocking down the roughness.
You will feel it turn smooth and hear the scratchy sound soften to a quiet whisper. A fine white powder means you are doing it right.
Wipe away every speck of dust with a tack cloth before the next coat. Skip this, and you seal the grit in.
Step 7 – Apply Additional Coats
One coat rarely covers it. Most projects need two or three.
Each new layer adds depth, durability, and protection. Apply them the same way — thin, even, and following the grain. Sand lightly between each one and wipe clean.
Watch the dry times on your product label. Rushing the next coat traps solvents and leaves a soft, gummy finish.
The difference grows with every layer. The color deepens. The surface gains a smooth, glass-like clarity. High-touch pieces like tabletops or trays benefit most from that extra coat.
You will feel the change under your hand — each layer firmer and slicker than the last. That building strength is exactly what you want.
Step 8 – Cure and Inspect the Final Finish
Almost done. Don’t touch it yet.
The final coat needs full cure time, just like the paint did. The surface may feel dry in hours, but it keeps hardening for days. Light handling now leaves dents and fingerprints that stay.
Set the piece somewhere clean and undisturbed. Keep it away from dust, pets, and traffic.
Once cured, inspect it in good light. Tilt it. Look for an even sheen across the whole surface — no dull patches, no streaks, no missed spots.
Run your palm over it slowly. A finished piece feels smooth, hard, and cool, with a consistent glide from edge to edge.
That smooth, solid feel is the reward. Your painted wood is sealed and protected.
Common Mistakes to Avoid
The biggest mistake is sealing too soon. The paint looks dry, so you coat it — and trap moisture underneath. That moisture has nowhere to go. It clouds the finish and softens the paint below. Always wait for a full cure, not just surface dryness.
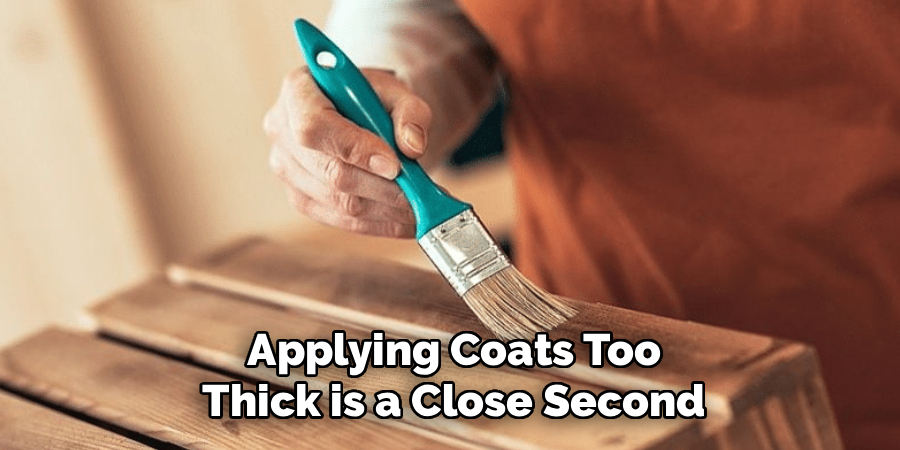
Applying coats too thick is a close second. Beginners think one heavy layer beats three thin ones. It doesn’t. Thick coats trap air, drip down vertical surfaces, and dry unevenly with a wrinkled or gummy texture. Thin and patient wins.
Skipping the sand-between-coats step is another costly habit. Without it, dust and raised fibers stay locked in, and your final surface feels gritty instead of glass-smooth. A light pass with fine sandpaper fixes this in minutes.
Many people also pick the wrong sealer for the setting. An indoor polycrylic on an outdoor sign will peel and fade within a season. Match your protective finish to where the piece will actually live.
Finally, working in a dusty or humid space ruins clean finishes. Airborne particles settle into wet sealer, and high humidity slows curing to a crawl. Choose your workspace as carefully as your materials.
Expert Tips
Here is what years of finishing teaches you.
Warm the room, not the wood. Sealers flow and self-level best between 65 and 75°F. A cold garage leaves brush marks; high humidity leaves a milky haze. Check the weather before you start.
Use a foam brush for water-based clear coats. It holds less product, lays down thinner, and leaves fewer bristle streaks than natural bristles.
Always stir your sealer — never shake it. Shaking creates bubbles that dry right into the surface as tiny craters.
For a buttery-smooth final layer, give the last coat a quick rub with a brown paper bag once it cures. The fine fibers polish the surface without scratching it.
And keep a dedicated, sealed sealer can. Air thickens the product over time. A tight lid keeps it usable far longer.
Frequently Asked Questions
Do You Have to Seal Acrylic Paint on Wood?
Not always, but you should in most cases. Unsealed acrylic paint stays soft and vulnerable to scratches, water, and fading. Sealing locks in the color and adds a protective layer that resists daily wear. For anything handled often or exposed to moisture — furniture, trays, outdoor décor — a clear coat is essential for lasting results and a professional finish.
What Is the Best Sealer for Acrylic Painted Wood?
It depends on the project. Polycrylic is a top choice for indoor pieces because it dries clear and resists yellowing. Polyurethane offers tougher, more water-resistant protection. Mod Podge suits crafts and decoupage. For outdoor items, use an exterior-grade spar varnish built to handle sun and rain. Match the sealer to where your piece will live.
How Long Should Acrylic Paint Dry Before Sealing?
Wait at least 24 hours, and up to 72 in humid conditions. Acrylic paint dries to the touch quickly, but full curing takes longer. Sealing before the paint cures traps moisture, causing cloudiness and a tacky surface. Press a hidden spot gently — if it feels cool or marks easily, give it more time before applying any clear coat.
Can You Use Spray Sealer Instead of Brush-On?
Yes, and spray sealers shine on detailed or textured pieces. They reach carved corners a brush can’t and leave no streaks. The trade-off is control — sprays need light, even passes from about ten inches away to avoid drips. For flat, high-touch surfaces like tabletops, a brush-on finish usually builds a thicker, more durable layer.
Will Sealer Change the Color of My Paint?
It can. Water-based sealers like polycrylic dry clear and keep colors true. Oil-based polyurethane often adds a warm amber tint that deepens over time, which can dull lighter shades. Glossy finishes make colors look richer; matte ones soften them. Always test your sealer on a hidden area first to see the true result before committing.
Conclusion
Sealing is not the boring last step. It is the step that protects everything before it.
You learned to wait for a full cure. You learned to clean carefully, choose the right product, and test before you commit. You learned to build thin coats, sand between them, and let the final finish harden fully.
That is how to seal acrylic painted wood the right way — patient, thin, and clean.
The payoff is real. Your colors stay bright. Your surface resists water and scratches. Your project survives years of handling instead of weeks. And every future piece gets easier, because now you know the rhythm.
Don’t let another finished project chip or fade for want of one clear coat. The skill is simple. The materials are cheap. The results last.
So pick a small piece this week. Seal it. Watch it turn smooth, tough, and vibrant under your own hands.
You have everything you need. Will you start?
