
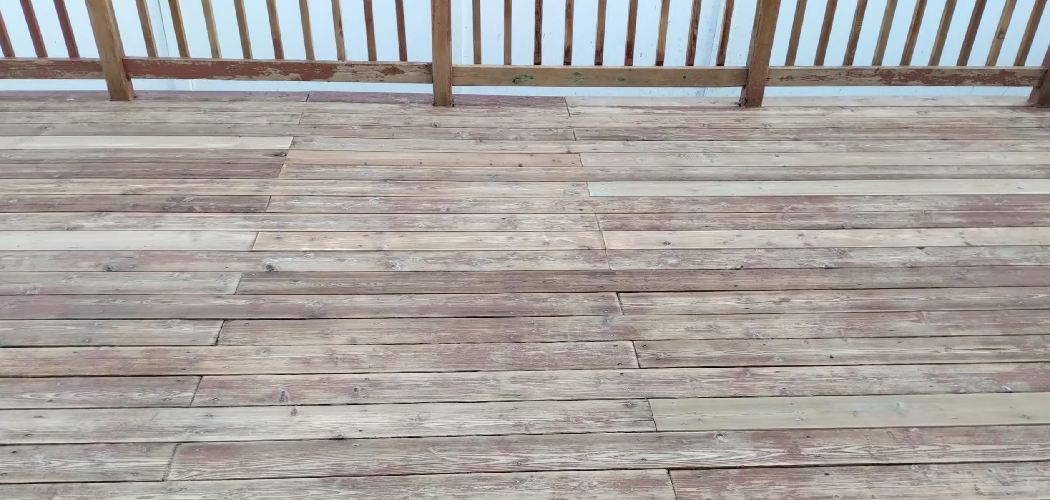
Cedar siding looks beautiful the day it goes up. Then weather goes to work. Sun fades it. Rain swells it. Mildew creeps into the grain. Left alone, that warm honey color turns a dull, patchy gray.
Here is the good news. You can stop that. You can protect cedar yourself. You do not need a crew or a contractor’s budget.
Learning how to stain cedar wood siding is one of the most useful skills a homeowner can pick up. It saves money. It extends the life of your wood. It rewards a single weekend with years of protection.
This guide walks you through every step, from prep to final coat, so you finish with siding that looks sharp and stays protected.
Why Staining Cedar Siding Matters
Cedar is naturally rot-resistant. It is not waterproof. That difference matters more than most beginners realize.
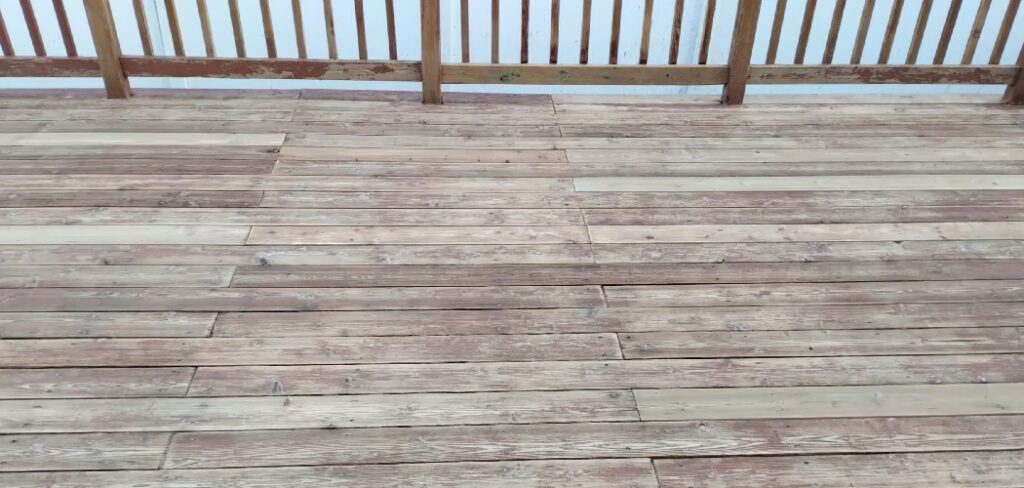
Bare cedar drinks in moisture. It swells. It cracks. UV rays break down the surface fibers month after month. The damage is slow. The damage is quiet. By the time you notice, the boards are already cupping.
Stain blocks that process. A quality penetrating stain seals the wood, fights UV fade, and resists mildew. Doing it yourself costs a fraction of hiring a pro.
There is another payoff. Confidence. The first board you finish teaches you the feel of the work. By the last wall, you own the skill.
Protect the wood now. Avoid the costly replacement later. That is the trade.
Tools and Materials You’ll Need
Gather everything before you start. Stopping mid-job to run for supplies is how mistakes happen.
- Exterior-grade cedar stain (semi-transparent or solid, oil- or water-based)
- Stain brushes with natural or synthetic bristles
- A 3/8-inch nap roller for large flat sections
- Pump garden sprayer (optional, for fast even application)
- Stir sticks and a clean mixing bucket
- Painter’s tape and plastic drop cloths
- Wood cleaner or oxygen bleach for prep
- Stiff scrub brush and a garden hose
- Medium-grit sanding sponges (80–120 grit)
- Caulk and a caulking gun for gaps
- Nitrile gloves, safety glasses, and a respirator mask
- Sturdy ladder or scaffold
That optional pump sprayer speeds up large walls dramatically. Brush in afterward for an even finish.
Step-by-Step Guide on How to Stain Cedar Wood Siding
Step 1 – Check the Weather Window
Stain needs dry, mild conditions to bond properly. Aim for two to three clear days. Pick temperatures between 50°F and 80°F.
Avoid direct midday sun on the boards you are working. Hot cedar dries the stain too fast. You will see lap marks and blotches where coats overlap. The surface looks streaky instead of smooth.
Avoid damp mornings too. Press your palm against the siding. If it feels cool and clammy, moisture is trapped inside. Stain will not penetrate. It will sit on top and peel within months.
Check the forecast for rain. Fresh stain needs at least 24 dry hours to cure. A surprise shower ruins a full day of work. Plan around the weather, not against it.
Step 2 – Clean the Cedar Surface
You cannot seal dirt under stain. Clean siding first.
Mix a wood cleaner or oxygen bleach solution in your bucket. Work it into the boards with a stiff scrub brush. You will hear the bristles bite into the grain. Mildew and gray oxidation lift away as a dull film.
Rinse thoroughly with a garden hose. Skip the pressure washer if you can. Too much force gouges soft cedar fibers and leaves fuzzy, raised grain.
Run your hand across a cleaned section. It should feel uniform, not slimy or chalky. A clean board shows its true color again.
Let the siding dry completely. This usually takes 24 to 48 hours. Patience here decides whether your stain holds.
Step 3 – Sand Rough and Weathered Spots
Once the cedar is bone-dry, inspect every board. Old cedar develops fuzzy, splintered patches where the surface has broken down.
Sand those areas with an 80- to 120-grit sponge. Work with the grain, never across it. You will feel the wood smooth out under your fingers as loose fibers disappear.
Listen for the change. Rough wood scratches and catches. Smooth wood whispers. That shift tells you the surface is ready.
Do not over-sand. You are knocking down rough spots, not stripping the board. A light, even pass is enough.
Wipe away the dust with a dry cloth. Any leftover grit gets sealed under your stain and shows as tiny bumps. A clean, smooth surface drinks stain evenly every time.
Step 4 – Protect Surrounding Areas
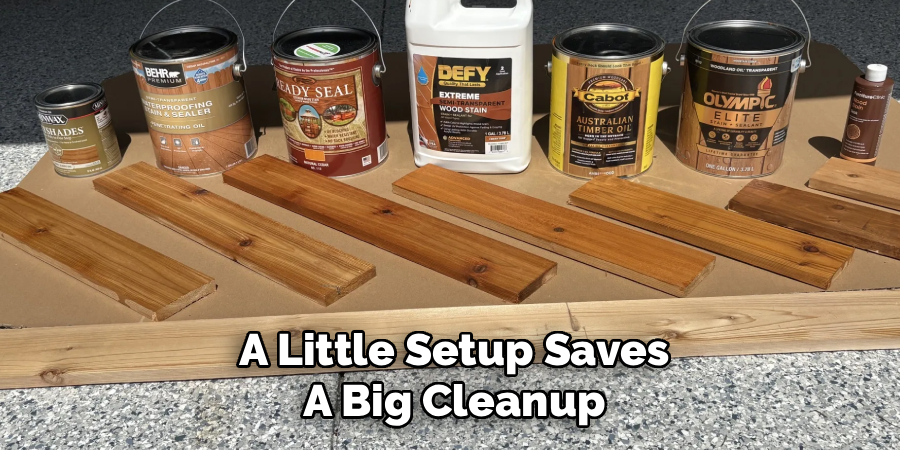
A little setup saves a big cleanup. Stain splatters. It drips. It finds windows you forgot about.
Tape off window trim, door frames, and any painted surfaces you want to keep clean. Press the painter’s tape down firmly so stain cannot bleed underneath.
Lay drop cloths along the base of the wall. Cover shrubs, decking, and walkways. Oil-based stain is stubborn once it dries on concrete.
Move grills, planters, and furniture well clear of your work zone. You need room to swing a ladder and step back to check your coverage.
Take five minutes to look around. Anything within splatter range should be covered or moved. This quiet step keeps your weekend project from becoming a scrubbing chore.
Step 5 – Seal Gaps and Caulk Joints
Before any stain touches the wood, close the gaps. Open seams let water sneak behind your siding.
Inspect joints, corners, and the spots where siding meets trim. Look for cracks wider than a coin’s edge. Run a smooth bead of exterior caulk along each one.
Smooth the bead with a wet fingertip. You want a clean, slightly concave line, not a lumpy ridge. Wipe away the excess right away while it is still soft.
Let the caulk cure as the label directs. Most need a few hours. Skipping this step means trapped moisture later, and trapped moisture is silent damage.
Sealed gaps mean stain protects the surface while caulk guards the seams. Together they keep water out for years.
Step 6 – Stir and Test the Stain
Never shake a can of stain. Stir it. Shaking adds bubbles that ruin your finish.
Open the can and stir from the bottom with a clean stick. The pigment settles. You need to blend it back in fully, or your color will come out uneven across the wall.
If you bought more than one can, pour them into a single bucket and mix. This is called boxing. It guarantees one consistent color, even if the cans came from different batches.
Now test. Brush a small patch on a hidden section of siding. Let it dry. Check the color in daylight. Cedar absorbs stain differently than a sample card suggests.
Happy with the shade? Good. You are ready to commit to the full wall.
Step 7 – Apply the First Coat
This is the heart of how to stain cedar wood siding. Work top to bottom, one full board at a time.
Load your brush or roller and spread the stain along the grain. Keep a wet edge. That means always blending into stain that is still damp, never into a dried section. A wet edge stops those ugly lap marks.
Work in the shade. Follow the sun around the house if you must. You will see the cedar darken and richen as it drinks the first coat.
Brush out any drips immediately. Pooled stain dries shiny and sticky. Even, thin coverage looks far better than one thick pass.
Finish each wall completely before you stop. Half-done walls show their seams forever.
Step 8 – Let It Dry, Then Add a Second Coat
Patience pays here. Let the first coat dry fully. Check the can, but most stains need four to six hours, sometimes overnight.
Touch the surface lightly. It should feel dry, not tacky. A sticky surface is still curing. Rushing the second coat traps solvent underneath and leads to peeling.
A second coat deepens the color and boosts protection. Apply it exactly like the first, working with the grain and keeping a wet edge.
You will notice the difference instantly. The grain richens. The color evens out. The siding looks finished, not faded.
Not every stain needs two coats. Semi-transparent often does. Solid stain may need only one. Read your product label and follow it closely.
Step 9 – Inspect and Touch Up
Step back from the wall. Look at it in raking sunlight, where shadows reveal flaws.
Hunt for thin spots, missed corners, and faint lap marks. Cedar’s deep grain hides skips easily. Run your eye along each seam and board edge.
Touch up light areas with a dry brush and a small amount of stain. Feather the edges so the repair blends in. Heavy dabs leave dark blotches that catch the eye.
Check the tricky places. Under window sills. Around downspout brackets. Inside corners. These spots get missed most often.
A careful inspection now is the difference between a good job and a professional one. Take the time. Your siding wears this finish for years.

Common Mistakes to Avoid
The biggest mistake is staining wet wood. Cedar that feels dry on top can hold moisture deep in the grain. Stain over it and you trap that water inside. The finish bubbles, then peels within a single season. Always give your siding a full one to two dry days after cleaning, and test a hidden spot if you have any doubt.
Working in direct sun ranks a close second. Hot boards flash-dry the stain before you can blend it. The result is a patchwork of lap marks and uneven color. Follow the shade around your house instead.
Many beginners apply stain too thick. They think more coverage means more protection. It does not. Thick stain pools, stays tacky, and peels in sheets. Thin, even coats penetrate better and last longer.
Skipping prep is another costly shortcut. Stain bonds to clean, sanded wood, not to dirt and mildew. Rushing the cleaning step undoes everything that follows.
Finally, do not ignore the label. Dry times, coat counts, and temperature ranges vary by product. The manufacturer tested it. Trust their numbers.
Expert Tips
Pros know the small things that separate good work from great work.
Always box your cans. Even the same color varies slightly between batches. Mixing them in one bucket guarantees a seamless wall.
Stain the underside edges of your boards if you can reach them. Water wicks up from below. Sealing those hidden edges stops rot before it starts.
Keep a rag in your back pocket. Wipe drips the second they appear. Dried drips are far harder to fix than fresh ones.
Work in the shade, and chase that shade around the house through the day. A few minutes of timing saves hours of touch-up.
One last thing. Buy slightly more stain than the coverage chart suggests. Rough cedar drinks far more than smooth lumber. Running out mid-wall is the worst way to break your rhythm.
Frequently Asked Questions
How Often Should You Restain Cedar Siding?
Most cedar siding needs restaining every three to five years. The exact timing depends on your climate, sun exposure, and the stain type. Solid stains last longer than semi-transparent ones. Watch for fading, water that no longer beads on the surface, or graying wood. Those signs tell you it is time. A quick yearly inspection helps you catch wear before it turns into damage.
Should You Use Oil-Based or Water-Based Stain?
Both work well on cedar. Oil-based stains penetrate deeply and highlight the grain, but they take longer to dry and clean up. Water-based stains dry fast, resist mildew, and rinse off with soap and water. They also stay flexible as the wood moves. For beginners, water-based is often the easier choice. Pick the one that matches your climate and your comfort level.
Can You Stain New Cedar Siding Right Away?
It depends on the cedar. Smooth, kiln-dried cedar usually accepts stain after a short drying period. Rough-sawn cedar often needs to weather a few weeks first so it can release mill glaze and excess moisture. Test absorption by sprinkling water on the surface. If it soaks in quickly, the wood is ready. If it beads up, wait longer before you start staining.
Do You Need to Sand Cedar Before Staining?
You do not need to sand smooth, clean cedar fully. You only sand rough, splintered, or weathered patches. Heavy sanding closes the grain and stops stain from penetrating. A light pass with an 80- to 120-grit sponge knocks down loose fibers and evens the surface. Always sand with the grain, then wipe away the dust before applying any stain.
What Happens If It Rains After Staining?
Rain on fresh stain is bad news. Most stains need at least 24 hours of dry time to cure. A shower before then washes pigment off, leaves streaks, and weakens the seal. If rain catches you, let the area dry fully and inspect the damage. You may need to clean and recoat the affected spots. Always check the forecast before you begin.
Conclusion
Cedar gives you beauty. Weather takes it away. The choice between those two outcomes is yours.
You now know how to stain cedar wood siding from start to finish. Check the weather. Clean the wood. Sand the rough spots. Seal the gaps. Stir, test, and apply thin, even coats with a wet edge. Inspect your work in raking light.
None of these steps is hard. Each one matters. Skip the prep, and the finish fails. Respect the prep, and the finish lasts.
Here is what stays with you. The first wall teaches your hands. The last wall proves your skill. By the time you clean your brushes, you own this job for life.
Your cedar protects your home. Your work protects your cedar. That is a fair trade for one good weekend.
So pick your weekend. Buy your stain. Start with one wall. Will you?
