
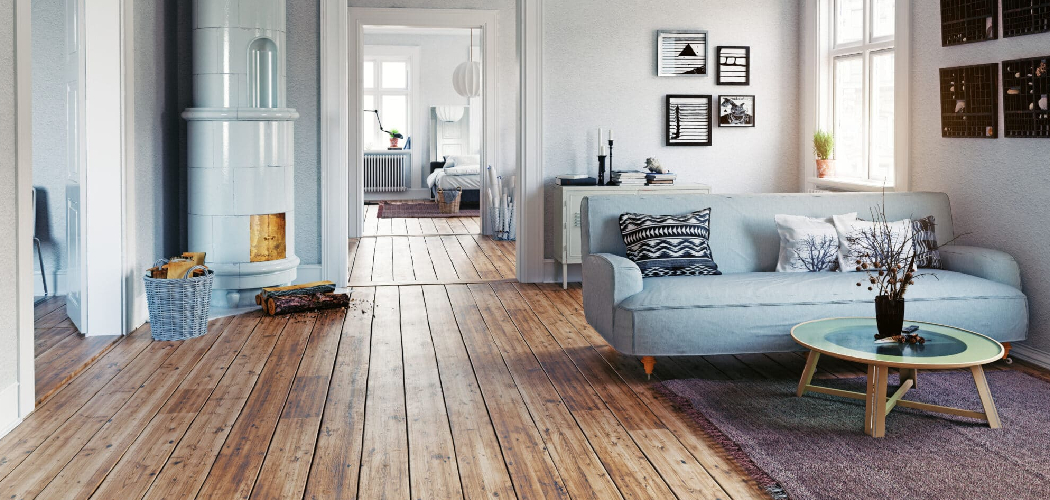
Want floors that look like they’ve earned decades of character without waiting decades to get there? Distressing does exactly that. It turns flat, factory-perfect boards into aged wood with dents, grain texture, and a weathered finish that hides scuffs instead of showing them. Learning how to distress wood floors gives you full control over the look — from subtle hand-scraped edges to a bold rustic flooring statement.
You don’t need a workshop full of machines. You need a few tools, a steady hand, and the willingness to commit to the marks you make. This guide walks you through every step, from prep to final seal, so you can transform plain hardwood into distressed flooring you’re proud of.
Why Distressing Wood Floors Matters
Distressed floors save you money. Pre-distressed hardwood costs far more per square foot than plain boards, and you pay for character you can create yourself in a weekend.
The skill builds confidence fast. Every dent and scrape is forgiving — there’s no “perfect” to fail at, which makes this one of the best entry points into woodworking. You learn how wood responds to tools, how grain reacts to stain, and how finish changes everything.
Distressing also protects your investment. A weathered finish disguises everyday wear. Kids, pets, and dropped keys add to the look instead of ruining it. You spend less time worrying about scratches and more time enjoying the room. That’s a floor built for real life.
Tools and Materials You’ll Need
Gather everything before you start. Stopping mid-project to find a tool breaks your rhythm and your results.
- Wire brush — opens the grain for texture
- Hammer and chains — add dents and impact marks
- Hand scraper or drawknife — carves long, irregular gouges
- Coarse sandpaper (60–80 grit) — softens sharp edges
- Wood stain — deepens distressed marks and sets the tone
- Pre-stain wood conditioner — evens out blotchy absorption
- Polyurethane or hardwax oil — seals and protects the finish
- Clean lint-free rags — wipe stain and remove dust
- Dust mask and safety glasses — protect against debris
- Random orbital sander (optional) — speeds up the smoothing stage
A masonry trowel, screws, or a bag of bolts also work as improvised denting tools if you want more variety in your marks.
Step-by-Step Guide on How to Distress Wood Floors
Step 1 – Prepare and Clean the Surface
Start with a clean, dry floor. Sweep, then vacuum every seam to pull out grit that would otherwise scratch unevenly later. Wipe the boards with a damp rag and let them dry fully.
If the floor has an existing finish, sand it off with 80-grit paper until the surface feels raw and slightly chalky under your fingertips. You’re listening for a consistent, gritty drag — not the slick glide of sealed wood.
Bare wood takes texture and stain the way you intend. Sealed wood fights you, leaving shiny patches where tools skid instead of bite. Knowing how to distress wood floors well always begins here. Clean prep is the difference between deliberate character and a muddy, accidental mess.
Step 2 – Choose Your Distressing Style
Decide on the look before you touch a tool. A light hand-scraped edge reads refined and subtle. Heavy chain marks and deep gouges read barn-rustic.
Pull up reference photos and pick two or three textures you want to combine. Mixing techniques — wire brushing plus scattered dents — looks far more natural than one repeated mark.
Test on a scrap board or a closet corner first. Make your marks, wipe on stain, and check the contrast. Real distressing varies in depth and spacing. The wrong look comes from uniform, evenly spaced dents that scream “machine.” The right look feels random, like years of foot traffic and dropped objects landed exactly where they fell.
Step 3 – Open the Grain With Wire Brushing
Drag the wire brush along the grain, never across it. Press firmly and move in long, steady strokes. You’ll hear a low scratching hiss as the soft spring grain tears away faster than the hard rings.
Run your palm over the result. It should feel ridged and tactile, with raised hard grain and recessed soft grain — that’s the weathered finish forming. The surface catches light unevenly now, which is exactly what you want.
Brushing against the grain leaves random scuffs that look wrong and absorb stain blotchily. Keep your strokes parallel and consistent in pressure. Work the whole board face before moving on, so the texture stays even across the floor while the marks themselves stay irregular.
Step 4 – Add Dents and Impact Marks
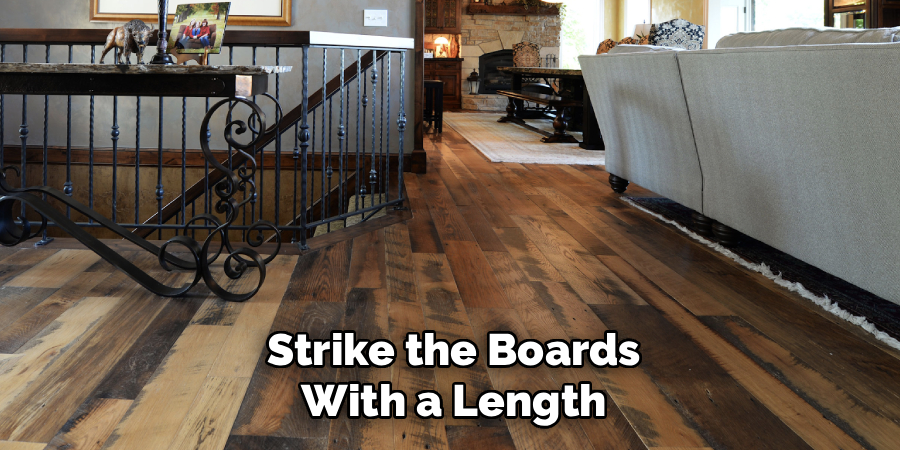
Now build depth. Strike the boards with a length of chain, swinging loosely so the links land scattered and unpredictable. Add focused dents with a hammer face, the round of a ball-peen, or a handful of bolts in a sack.
Vary your pressure. Some marks should be faint, others deep enough to cast a shadow. You’ll hear a sharp crack on hard hits and a duller thud on soft ones — both leave different textures worth keeping.
Step back every few minutes. Distressing looks heavy up close and lighter from standing height, so judge it from where people actually stand. Too many marks in one spot looks staged. Spread them like real wear: heavier near doorways, lighter in the open field.
Step 5 – Carve Gouges and Worn Edges
Take the hand scraper or drawknife and pull it toward you in confident strokes to carve long, shallow channels. These mimic the worn paths of decades of use. The blade should bite and curl off a thin shaving with a clean slicing sound.
Round over the board edges and corners slightly. Sharp factory edges never survive real wear, so softening them sells the aged wood illusion instantly.
Press lightly for fine lines and harder for deep grooves. Choppy, hesitant strokes leave torn fibers that look amateur. Smooth, committed pulls leave clean gouges that read authentic. This is where many learning how to distress wood floors hold back — but bold, decisive cuts always look more genuine than timid scratches.
Step 6 – Smooth and Soften Sharp Splinters
Distressing raises splinters and rough fibers you can’t leave behind. Knock them down with 60- to 80-grit sandpaper, sanding lightly by hand or with a random orbital sander.
Your goal is texture without hazard. Run your hand across the surface — it should feel worn and characterful, not painfully rough. Any spot that snags skin or a sock needs another pass.
Don’t oversand. Heavy sanding flattens the dents and grain you just created, erasing your work and leaving a tired, half-distressed look. Use a light touch and check often. The right result keeps every deliberate mark intact while removing only the loose, sharp fibers. Vacuum thoroughly afterward so no dust contaminates your stain.
Step 7 – Apply Pre-Stain Conditioner
Soft woods like pine and fir drink stain unevenly, turning blotchy in seconds. Pre-stain conditioner solves this. Brush or wipe it on in a thin, even coat across the entire floor.
The wood darkens slightly and the surface feels faintly tacky as it sets. Wait the time listed on the can — usually 5 to 15 minutes — then wipe off any excess before staining.
Skip this step on dense hardwoods like oak and you’ll often be fine. Skip it on softwoods and you risk dark splotches that ruin the even, weathered look you worked for. When in doubt, condition. It costs minutes and saves you from sanding the whole floor back down to start over.
Step 8 – Stain to Highlight the Distressing
Stain is where your marks come alive. Wipe it on with a rag, working it deep into every gouge, dent, and brushed groove. The recessed areas hold more pigment and turn darker, throwing your texture into sharp relief.
Wait a minute or two, then wipe off the excess with a clean rag. The longer it sits, the deeper the color. Test your timing on scrap so you hit the tone you want.
You’ll see the distressed hardwood gain instant depth — light raised grain against dark recesses. Wiping too soon leaves it flat and pale. Leaving stain pooled in low spots dries gummy and uneven. Even, confident application gives you that rich, aged contrast.
Step 9 – Seal and Protect the Finish
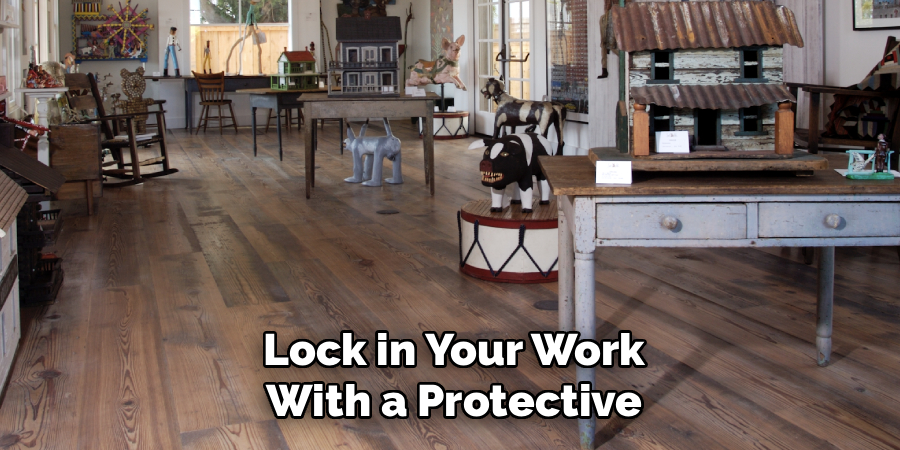
Lock in your work with a protective topcoat. Polyurethane delivers a tough, durable shell. Hardwax oil keeps a more natural, matte feel that suits rustic flooring beautifully.
Apply thin coats with a brush or applicator pad, following the grain. The first coat soaks in and may look patchy — that’s normal. Let it dry fully, sand lightly with fine paper to knock down raised grain, then apply the next coat.
Two to three coats give lasting protection. A glossy puddle that stays wet means you applied too much; thin it out before it dries. The finished surface should feel smooth to the touch while still showing every texture you carved. Let it cure fully before walking on it.
Common Mistakes to Avoid
The biggest mistake is uniform marks. When every dent sits the same distance apart at the same depth, the floor looks manufactured, not aged. Real wear is random. Scatter your marks, vary the pressure, and concentrate damage near doorways and walkways where feet actually travel.
Oversanding ranks a close second. After distressing, people panic at the rough texture and sand it smooth — flattening the grain and dents they just created. Sand only enough to remove splinters. Stop the moment the surface feels safe but still characterful.
Skipping the pre-stain conditioner on softwoods causes blotchy, splotchy staining that’s nearly impossible to fix without starting over. A few minutes of conditioning prevents hours of rework.
Rushing the stain wipe-off is another trap. Stain left pooling in gouges dries sticky and uneven, while wiping too fast leaves the marks pale and flat. Find your timing on a scrap board first.
Finally, don’t distress sealed wood. Old finish makes tools skid instead of bite, leaving shiny, shallow marks that never absorb stain properly. Always sand back to bare wood first.
Expert Tips
Work in natural daylight whenever possible. Artificial light flattens texture and hides the shadows your dents cast, so you’ll misjudge depth and overdo it.
Save your test board. Keep the scrap you practiced on as a reference for stain timing and mark density throughout the project — it keeps your whole floor consistent.
Distress before you install, if you can. Working on boards laid across sawhorses lets you reach edges and corners that are impossible to scrape once the floor is down.
Wet the wood slightly before wire brushing softwood. A light mist raises the soft grain and makes it tear away faster, deepening the texture with less effort.
Finally, vary your tools. Pros never rely on one mark-maker. A chain, a scraper, and a bag of bolts together create the layered, believable wear that a single tool can’t fake.
Frequently Asked Questions
Can You Distress Wood Floors That Are Already Installed?
Yes. You can distress floors already in place, though it takes more care. Mask off baseboards, work in sections, and keep dust contained. The main limitation is edge access — corners and spots near walls are harder to scrape and brush. For the most consistent results, distressing boards before installation gives you full reach on every surface.
What Type of Wood Is Best for Distressing?
Softer woods like pine, fir, and hemlock distress easily and show deep texture with less effort. Oak and other hardwoods take more force but reward you with refined, durable results. Pine is the most beginner-friendly choice because it dents readily. Whatever you pick, test your techniques on a scrap piece first to learn how that species responds.
Do I Need to Seal Distressed Floors?
Yes, sealing is essential. A topcoat of polyurethane or hardwax oil locks in your texture, protects against moisture, and stops dirt from settling into open grain. Without it, the bare distressed surface absorbs spills and wears unevenly. Apply two to three thin coats for lasting protection, and the finish will preserve your work for years.
How Long Does It Take to Distress a Floor?
Plan for a full weekend for an average room. Prep and sanding take a few hours. Distressing itself is the fun part and runs two to four hours depending on the size and the look you want. Staining and sealing add drying time between coats — often overnight. Don’t rush the curing stage; patience here protects everything you built.
Can I Distress Engineered Hardwood?
Yes, but carefully. Engineered hardwood has a thin real-wood veneer over plywood layers, so you can’t carve deep gouges without cutting through to the core. Stick to lighter techniques like wire brushing and shallow dents. Always check the veneer thickness first. Solid hardwood gives you far more freedom for aggressive distressing if a heavily worn look is your goal.
Conclusion
Distressing turns plain boards into floors with soul. You now know how to distress wood floors from start to finish — prepping the surface, choosing your style, building texture with wire brushing and dents, carving worn edges, then staining and sealing to bring it all together. The skill saves you money over pre-distressed products, hides everyday wear, and gives you a floor that only looks better with age.
Remember the essentials: work on bare wood, keep your marks random, sand just enough to remove splinters, and test your stain timing before committing. Confidence beats hesitation every time — bold, deliberate marks always read more authentic than timid scratches.
Grab your scrap board, practice a few techniques, and trust the process. Every dent and gouge adds character you control. Start small, work in good light, and you’ll finish with rustic flooring that looks like it earned its story honestly.
