
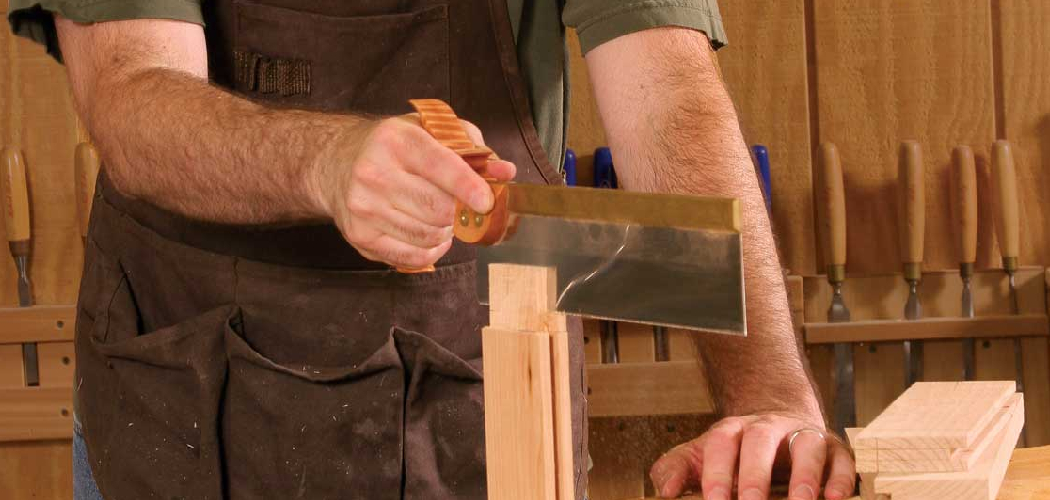
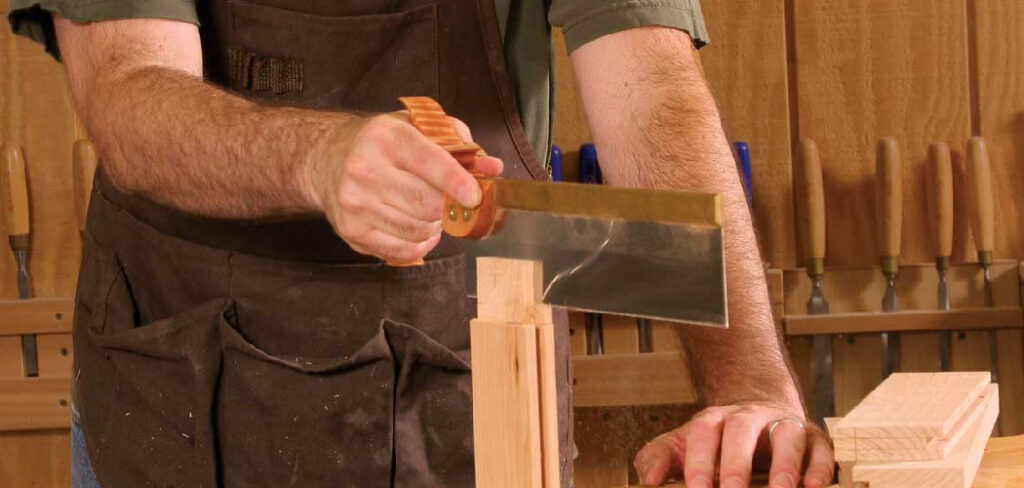
A loose, sloppy joint ruins an otherwise beautiful project. The fix starts with one skill: learning how to cut tenons by hand. A tenon is the tongue that slides into a matching mortise, forming the strongest joint in woodworking. Done right, it holds tables, chairs, and frames together for generations without a single screw.
You don’t need a workshop full of machines to make this joint. You need a saw, a chisel, a marking gauge, and a steady approach. Hand tool woodworking gives you control that power tools can’t match, and the results feel deeply satisfying.
This guide walks you through every step, tool, and technique you need to cut clean, tight-fitting tenons with confidence — even if you’ve never touched a tenon saw before.
Why Learning Hand-Cut Tenons Matters
Mortise and tenon joinery is the backbone of solid furniture. Master it, and you build pieces that survive decades of daily use. Skip it, and you rely on weak glue joints, brackets, or fasteners that loosen over time.
Cutting tenons by hand saves money. You avoid expensive machinery and produce joints that rival anything made on a tenoning jig. You also build real skill — reading wood grain, controlling a saw, and paring to a line with a chisel.
There’s a deeper payoff too. Hand-cut joints teach patience and precision. Every cut sharpens your eye and steadies your hands. Once you can cut a clean tenon, the rest of woodworking opens up — chairs, doors, workbenches, and tables all start with this single, dependable joint.
Tools and Materials You’ll Need
Gather the right gear before you start. Quality tools make accurate cuts far easier, and most of these will last a lifetime with proper care.
- Cut crisp shoulders and cheeks: A backsaw or dovetail saw with fine teeth.
- Mark precise lines: A wheel marking gauge or mortise gauge.
- Pare to your lines cleanly: A set of sharp bench chisels (¼”, ½”, and ¾”).
- Drive your chisel with control: A wooden or rubber mallet.
- Check for square every time: A combination square or try square.
- Hold work rock-solid: A sturdy bench vise or holdfast.
- Mark visible reference lines: A sharp pencil and a marking knife.
- Practice without waste: Scrap hardwood and your project stock.
- Optional for faster waste removal: A coping saw to clear the cheek waste quickly.
A sharp chisel matters most. A dull edge crushes wood fibers instead of slicing them, and no amount of skill fixes a torn shoulder.
Step-by-Step Guide on How to Cut Tenons by Hand
Follow these steps in order. Each one builds on the last, so resist the urge to rush. Precise layout and patient sawing beat speed every time.
Step 1 – Measure and Mark the Tenon Length
Start by deciding how deep your mortise will be. Your tenon length should sit about 1/16″ short of the mortise bottom, leaving room for glue.
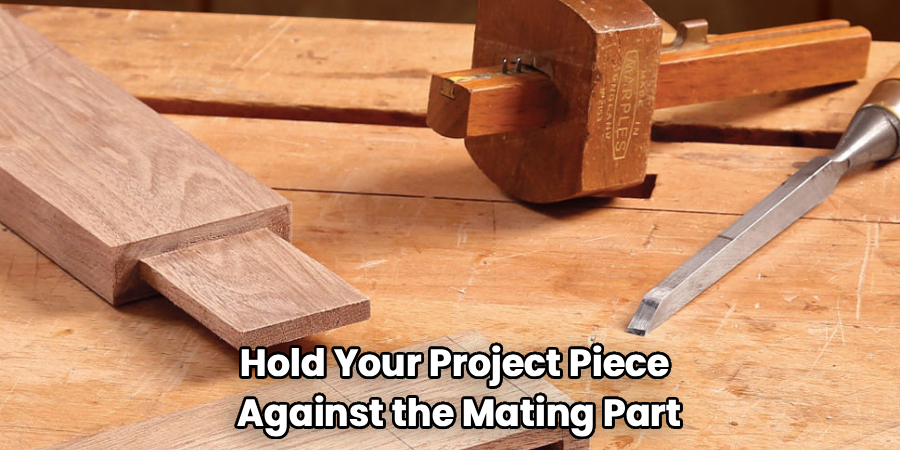
Hold your project piece against the mating part. Mark the shoulder line with a sharp pencil, then deepen it with a marking knife. That knife line gives your saw a crisp track to follow.
Wrap the line around all four faces using your square. Keep the square’s blade tight against the wood, and you’ll feel it seat flush against each face. A line that doesn’t meet itself when it comes back around means your square slipped — re-mark before you cut anything.
Step 2 – Set Your Marking Gauge for the Cheeks
Your marking gauge controls tenon thickness. Set it to match your chisel width — usually one-third the thickness of your stock. A ½” tenon in ¾” material is a reliable starting point.
Lock the gauge fence and test it on scrap first. Run the wheel along the grain with light, even pressure. You’ll hear a faint, smooth scoring sound, not a tearing one.
Mark both cheek lines by referencing the same face each time. This keeps the tenon centered even if your stock isn’t perfectly square. The wheel leaves a shallow groove that catches your saw teeth and stops them from wandering — your single best defense against a crooked cut.
Step 3 – Mark the Shoulders on All Faces
Now connect your cheek lines to your shoulder line. Use the marking knife and square to scribe deep, clean shoulder lines across every face where the tenon meets the main body.
Press firmly. A shallow scratch won’t guide your saw, but a knife line cut to depth will. Run your fingernail across the line — if it catches and holds, you’re deep enough.
These tenon shoulders do the visible work. When the joint closes, the shoulders hug the face of the mortised piece and hide any small gaps inside. Sloppy shoulders show forever, so take your time here. Dark, even knife lines on all four faces mean you’re ready to cut.
Step 4 – Clamp the Workpiece and Begin the Cheek Cuts
Secure the piece in your vise at a comfortable angle, tilted away from you about 45 degrees. This lets you see two layout lines at once.
Start your dovetail saw on the far corner. Rest the teeth in the gauge line and pull back gently to start the kerf. Let the saw’s weight do the work — pushing hard makes it bind and squeal.
Saw down to the shoulder line on the waste side of your mark. You should hear a steady, even rasp as the teeth bite cleanly. Stop the moment you reach the shoulder. Cutting past it weakens the joint. This careful sawing is the heart of how to cut tenons by hand.
Step 5 – Reposition and Complete the Cheeks
Flip the piece to expose the second cheek line, then repeat the cut. Stand the work vertical and saw straight down to even out both kerfs.
Watch both layout lines as you go. The saw should track right beside the line, leaving it barely visible. If you see the cut drifting into your line, ease off and steer back — small corrections beat big ones.
Keep your wrist loose and your elbow swinging like a hinge. A relaxed grip produces a straighter cut than a white-knuckle one. When both cheeks reach the shoulder line evenly, the waste pieces are ready to remove and your tenon begins to take shape.
Step 6 – Cut the Shoulders
Lay the piece flat or clamp it square in the vise. Place your saw teeth in the deep knife line you scribed earlier.
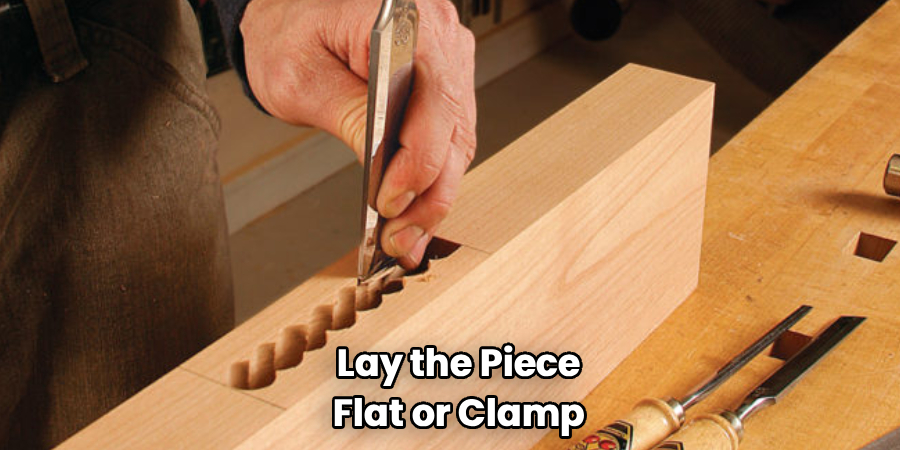
Cut slowly along the shoulder line, stopping exactly at the cheek kerf. The waste should fall away in a clean square chunk. You’ll feel a slight click as the saw frees it.
Be careful not to overcut. Sawing past the cheek line nicks the tenon and shows on the finished joint. Let the knife line cradle your saw and keep the cut shallow and controlled. Crisp, square shoulders are what make the finished joint look professional — and they’re the most rewarding part of learning how to cut tenons by hand.
Step 7 – Pare the Cheeks Flat with a Chisel
Saw cuts are rarely perfect. Clean them up with a sharp bench chisel.
Lay the tenon flat and rest your chisel bevel-down on the cheek surface. Take thin, controlled shavings, working with the wood grain. Each pass should peel a translucent curl that whispers off the edge.
Check the cheek with your square as you go. High spots show as shiny patches; pare them down until the surface reads flat and even. Test the tenon in its mortise often — it should slide in with firm hand pressure, not a hammer.
Stop the instant it fits. Over-paring creates a loose, rattly joint that glue alone can’t save. A snug, hand-tight fit is exactly what you want.
Step 8 – Test the Fit and Fine-Tune
Slide the tenon into the mortise. A good joint goes home with steady pressure and stays put when you lift the assembly.
Too tight? Mark the tight spots with a pencil, then pare those high areas only. Work in tiny increments — a single shaving can change everything.
Too loose? Don’t panic. Glue a thin veneer shim to one cheek, let it dry, and re-pare to fit. It’s a clean rescue that no one will ever see.
When the shoulders pull tight against the face and the tenon seats fully, you’ve succeeded. Mark your reference faces with a pencil so you reassemble the joint the same way every time.
Common Mistakes to Avoid
The biggest mistake is sawing on the wrong side of your line. Always cut on the waste side, leaving the layout line visible. Saw on the line itself and your tenon ends up undersized and loose before you’ve even started paring. Pick a consistent side and stick to it across every cut.
Rushing the layout causes more failed joints than poor sawing. If your shoulder lines don’t wrap squarely around all four faces, your shoulders won’t close evenly. Spend extra minutes with your square and marking knife — accurate lines do half the work for you.
Dull chisels ruin good cuts. A blunt edge crushes and tears wood fibers instead of slicing them, leaving ragged cheeks and blown-out shoulders. Hone your chisel before every session until it shaves a clean curl from the end grain.
Overcutting the shoulders is another costly error. Push the saw past the cheek line and you score a permanent gash into the tenon. Stop precisely where your kerfs meet. Finally, avoid forcing a tight tenon with a mallet — pounding splits the mortise walls. Pare for fit instead, and let the joint slide home by hand.
Expert Tips
Cut your mortise first, then size the tenon to fit it. Mortises are harder to adjust, so make the tenon the part you fine-tune. This single habit saves hours of frustration.
Knife your shoulder lines instead of penciling them. The knife severs the surface fibers, so your shoulders close without fuzzy edges or tear-out.
Leave the tiniest sliver of your gauge line when sawing the cheeks. You can always pare more away, but you can’t put wood back. A slightly fat tenon is a fixable tenon.
Mark your waste areas with an X before you cut. It sounds simple, but it stops the most common beginner blunder — sawing away the wrong side. Work clean, stay patient, and let your sharp tools carry the load.
Frequently Asked Questions
What Saw Is Best for Cutting Tenons by Hand?
A backsaw or tenon saw works best because the stiff spine keeps the blade straight through deep cuts. A dovetail saw with fine teeth also performs well on smaller tenons. Choose a saw with 14 to 18 teeth per inch for clean, controlled cheek and shoulder cuts. Sharp teeth and a rigid back matter more than the brand.
How Thick Should a Tenon Be?
Aim for roughly one-third the thickness of your stock. In ¾” material, that means a ½” tenon, leaving a strong shoulder on each side. This ratio balances strength against the risk of splitting the mortise walls. Match your tenon thickness to a chisel width you own, which makes paring and mortise cleanup far easier.
Do I Need a Mortise Before Cutting the Tenon?
Yes, cut the mortise first in almost every case. Mortises are harder to adjust after the fact, so it’s smarter to size the tenon to match an existing mortise. Set your marking gauge to the mortise width, then cut and pare the tenon to fit. This order prevents loose joints and saves significant fitting time.
Why Does My Tenon Fit Loosely?
A loose tenon usually means you sawed on or past your layout line, removing too much material. Over-paring with a chisel causes the same problem. Fix it by gluing a thin wood shim to one cheek, letting it cure, then paring it back to a snug fit. Next time, cut on the waste side and leave your gauge line visible.
How Long Does It Take to Learn Hand-Cut Tenons?
Most beginners cut a usable tenon within a few practice attempts, often in a single afternoon. Cutting consistently tight joints takes a handful of sessions on scrap hardwood. Focus on accurate marking and sawing to a line rather than speed. Within a week of regular practice, your fit, shoulders, and confidence improve noticeably.
Conclusion
Strong furniture starts with strong joints, and few joints beat a well-made mortise and tenon. You now have every step needed to cut clean cheeks, square shoulders, and tenons that slide home with a satisfying, hand-tight fit.
Remember the essentials. Mark your lines with a knife and gauge. Saw on the waste side. Pare with a sharp chisel and test the fit often. Cut the mortise first, then shape the tenon to match. These habits turn shaky first attempts into reliable, repeatable results.
Practice on scrap before you commit to project stock. Every joint you cut sharpens your eye and steadies your hands. Soon the saw will track straight without thought, and your shoulders will close tight every time.
Learning how to cut tenons by hand is one of the most rewarding skills in woodworking — and now it’s within your reach. Grab your tools, mark your first line, and cut a joint that lasts a lifetime.
