
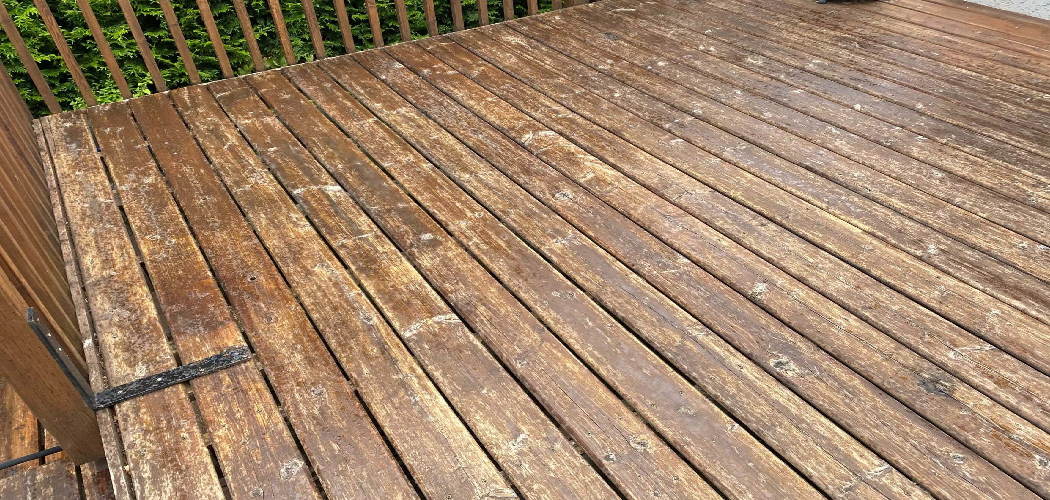
Your outdoor furniture is dying slowly. You just can’t see it yet.
Rain soaks into the grain. The sun bleaches the surface. Morning dew settles into every tiny crack. None of it looks dramatic on day one. But give it a season, and that beautiful bench turns gray, soft, and split.
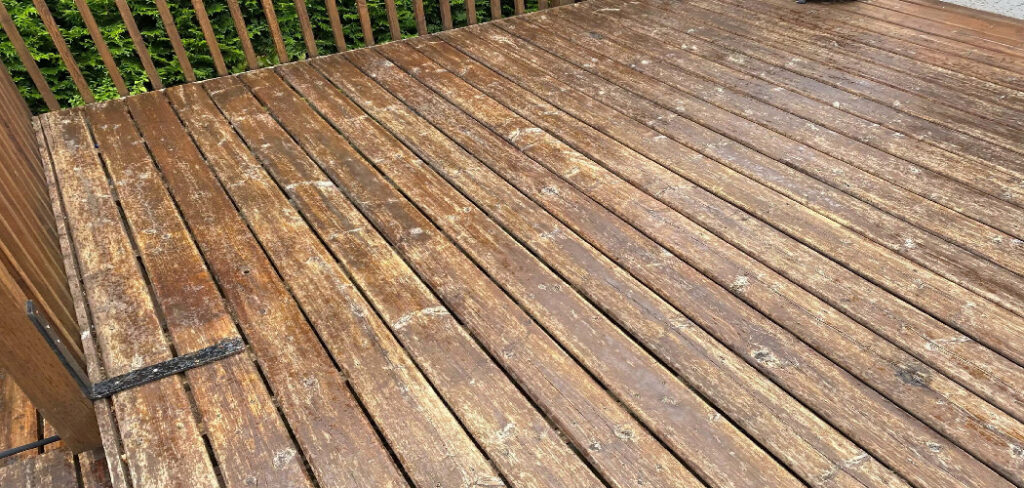
Here is the good news. Learning how to waterproof wood furniture outdoors is simpler than most beginners fear. You don’t need a workshop. You don’t need years of practice. You need a clean surface, the right sealer, and a little patience.
Water is patient. It will wait. So you have to act first.
This guide walks you through every step — from prep to final coat — so your tables, chairs, and benches survive years of weather instead of months.
Why Waterproofing Wood Furniture Outdoors Matters
Wood breathes. It swells when wet. It shrinks when dry. Do that a hundred times, and the joints loosen, the grain lifts, and the surface cracks.
That cycle is what destroys furniture. Not one storm — but the slow repeat of moisture and sun.
Waterproofing breaks the cycle. A good sealer blocks moisture damage before it starts. It adds UV protection so the color stays rich instead of fading to gray. It keeps mold and rot from settling into the grain.
The money side matters too. A quality outdoor chair costs real money to replace. A bottle of exterior wood sealer costs far less. Spend a little now, and you skip the painful replacement later.
You also build confidence. Finish one piece well, and the next project stops feeling scary. Ready to protect what you own?
Tools and Materials You’ll Need
Gather everything before you start. Stopping halfway to find a brush ruins a wet coat.
- Exterior wood sealer, teak oil, or marine spar varnish — your main waterproofing layer
- 120-grit and 220-grit sandpaper — to smooth the surface and open the grain
- Wood cleaner or mild soap and water — to strip dirt and old grime
- Tack cloth or microfiber rag — to lift dust before sealing
- Natural-bristle or foam brush — for smooth, even application
- Painter’s tape — to protect hardware and metal joints
- Drop cloth or cardboard — to catch drips and protect your work area
- Clean stir stick — to mix the sealer without adding bubbles
- Nitrile gloves and a dust mask — basic protection for skin and lungs
- Orbital sander (optional) — speeds up prep on large flat surfaces
That optional sander saves your arms on big tabletops. Everything else is non-negotiable.
Step-by-Step Guide on How to Waterproof Wood Furniture Outdoors
Step 1 – Choose the Right Day and Workspace
Weather decides your success before you open a single can. Pick a dry day. Aim for temperatures between 50 and 85 degrees Fahrenheit, with low humidity and no rain in the forecast for 48 hours.
Set up outside or in a ventilated garage. Sealers release fumes, and fresh air protects your lungs.
Lay down your drop cloth. Place the furniture at a comfortable height — a sawhorse or sturdy table beats kneeling on concrete.
Touch the wood. It should feel bone-dry, not cool or damp. If it feels cold and slightly tacky, moisture is hiding inside. Wait a day. Seal damp wood, and you trap that water forever. That is rot waiting to happen.
Step 2 – Clean the Surface Thoroughly
Dirt blocks sealer. A clean surface lets the finish bond tight to the grain.
Mix mild soap with warm water, or use a dedicated wood cleaner. Scrub the entire piece with a soft brush. Work into the corners, the joints, and the underside where grime hides.
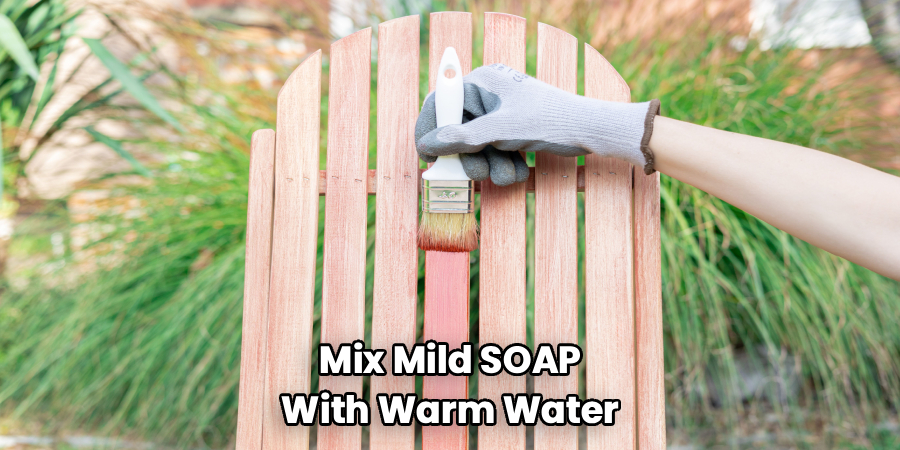
You’ll feel the surface change as it cleans — rough and gritty turns smooth and slick under your fingers. Old furniture may release years of gray dust and mildew. That’s normal.
Rinse with clean water. Wipe away the runoff. Then let the piece dry completely, which takes several hours in the sun or overnight in shade.
Skip this step, and your sealer bonds to dirt instead of wood. It will peel within weeks.
Step 3 – Sand for a Smooth, Open Grain
Run your hand across the wood. Feel the rough patches, the raised grain, the rough edges. Sanding fixes all of it.
Start with 120-grit sandpaper. Always sand with the grain, never against it. Cross-grain scratches show through the finish like ugly white lines. You’ll hear the paper bite, then glide smoother as the surface levels.
Wipe away the dust. Then switch to 220-grit for a final pass. This opens the grain just enough to drink in the sealer.
The wood should feel like soft suede when you’re done — no splinters, no ridges, no rough spots.
Knowing how to waterproof wood furniture outdoors starts here, because sealer only protects a surface that’s been prepped right.
Step 4 – Remove All Dust and Debris
Sanding leaves fine dust everywhere. That dust sits between the wood and your sealer like grit between two glued boards. It ruins the bond.
Wipe the entire piece with a tack cloth or a slightly damp microfiber rag. Move slowly. Get into the carved details, the seat slats, and the leg joints.
Hold the furniture up to the light and tilt it. Dust catches the light and shows you what you missed. Keep wiping until the surface looks clean and matte, with no powdery film.
Let any moisture from the rag flash off for ten minutes. The wood must be dry again before the next step.
A clean surface now means a flawless finish later.
Step 5 – Apply Painter’s Tape and Mix Your Sealer
Tape protects what you don’t want sealed. Cover metal hinges, bolt heads, and any hardware you can’t remove. Press the edges down firm so sealer can’t bleed underneath.
Now open your sealer. Stir it slowly with a clean stick — never shake the can. Shaking whips in air bubbles, and those bubbles dry into tiny craters on your surface.
Stir from the bottom up. The good stuff settles, so you’re folding it back through the liquid. The texture should turn even and smooth, with no thick sludge clinging to the stick.
Read the label. Some products want a thin first coat. Some want stirring every few minutes during use. Follow the directions written for your specific outdoor sealant.
Step 6 – Apply the First Thin Coat
Thin coats win. Thick coats drip, pool, and dry sticky.
Dip your brush about a third of the way in. Tap off the excess against the rim. Then brush along the grain in long, smooth strokes, slightly overlapping each pass.
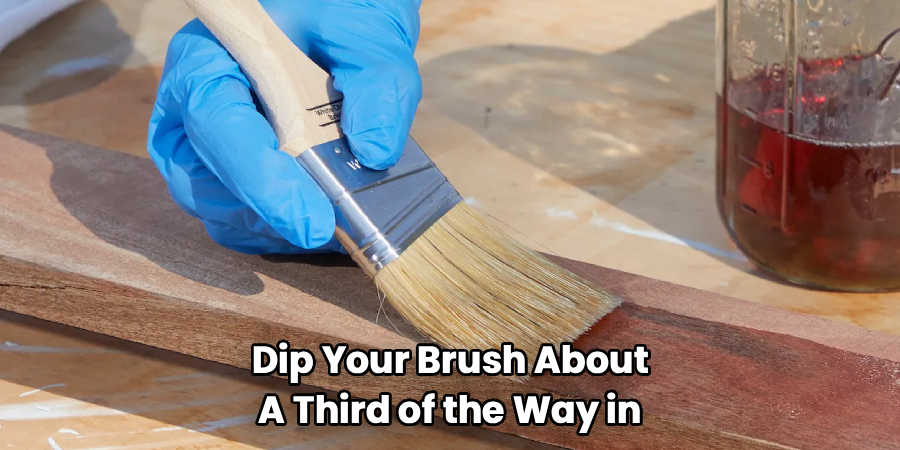
Listen for the soft drag of the bristles. Watch the wood darken as it soaks up the finish. That color shift tells you the sealer is sinking in.
Work one section at a time. Catch drips on vertical legs before they set. A drip that dries becomes a hard bump you’ll have to sand off later.
Cover every surface — top, sides, undersides, and end grain. The end grain soaks up the most moisture, so give it extra attention.
Step 7 – Let It Cure, Then Sand Lightly
Patience protects your work. Read the label for dry time — usually 4 to 24 hours between coats.
Don’t rush it. Touch a hidden spot. If it feels tacky or leaves a print, it needs more time. A properly cured coat feels dry and slightly firm.
Once cured, run 220-grit sandpaper lightly over the surface. This knocks down any raised grain and helps the next coat grip. You’ll feel rough nubs smooth out under the paper.
Wipe away the dust with your tack cloth again. The surface should feel silky, not gritty.
This light sanding between coats is the quiet secret to learning how to waterproof wood furniture outdoors with a finish that looks professional, not patchy.
Step 8 – Apply Two to Three More Coats
One coat is not protection. It’s a primer at best.
Repeat the process — thin coat, cure, light sand, wipe clean. Do this two or three more times. Each layer adds depth, durability, and real water resistance.
Watch the surface change with every coat. The grain gets richer. The sheen builds. Water will eventually bead on top instead of soaking in. That beading is your proof the weatherproofing is working.
On the final coat, skip the sanding. Just apply, then leave it untouched to cure fully.
Most outdoor furniture needs three to four total coats. High-traffic pieces like tabletops benefit from an extra layer where hands, plates, and weather hit hardest.
Step 9 – Cure Fully Before Use
The surface feels dry. The job feels done. It isn’t yet.
A full cure takes longer than the touch-dry stage — often several days. Curing is when the finish hardens all the way through, not just on top.
Keep the furniture in a dry, shaded spot. No rain. No heavy use. No setting drinks on that fresh tabletop.
Test it after the recommended cure time. Press a fingernail gently into a hidden corner. A cured finish resists the pressure and bounces back clean.
Rush this, and you’ll dent or scuff the finish on day one. Wait, and you lock in years of protection.
Then carry it outside and enjoy it.
Common Mistakes to Avoid
The biggest mistake is sealing wet wood. The surface looks dry, but moisture hides deep in the grain. Seal over it, and you trap water inside. That trapped water feeds rot from within, and no coat can save it. Always wait until the wood is fully dry.
The second mistake is skipping the prep. You want to jump straight to the fun part — the brushing. But sealer bonds to whatever it touches. Bond it to dirt or dust, and it peels in weeks. Clean and sand first, every time.
The third mistake is heavy coats. Beginners think one thick layer beats three thin ones. It doesn’t. Thick coats trap solvent, stay tacky for days, and dry with drips and bubbles. Thin and patient wins.
The fourth mistake is ignoring the end grain. The cut ends of the wood drink moisture like a straw. Miss them, and water sneaks in the back door while the top stays protected.
The last mistake is rushing the cure. Touch-dry is not cure-dry. Use the piece too soon, and you scar your own work.
Expert Tips
Seal the underside and the feet first, even though no one sees them. Water wicks up from damp ground through unsealed feet, then rots the legs from the bottom. Pros always protect the parts that touch the earth.
Buy a sealer with built-in UV protection. Moisture is only half the battle. The sun fades and dries wood just as fast as rain. A wood preservative that blocks both lasts far longer.
Keep a “wet edge” while you work. Always brush into the section you just finished before it dries. This blends the strokes and erases lap marks.
For dense woods like teak, use teak oil or a penetrating finish — film finishes struggle to grip oily grain. Match the product to the wood, and the finish holds for years.
Frequently Asked Questions
How Often Should I Reapply Sealer to Outdoor Wood Furniture?
Most outdoor furniture needs a fresh coat every one to three years. The exact timing depends on your climate and the product you used. Watch for the signs: water stops beading, the color looks faded, or the surface feels rough and dry. When you see those, it’s time. A quick clean and one maintenance coat usually restores full protection without a full strip-down.
Can I Waterproof Painted Wood Furniture?
Yes, but the approach changes. Paint already seals the surface, so you add a clear exterior topcoat over it for extra water resistance. Choose a clear sealer or marine varnish rated for outdoor use. Clean the painted surface first and scuff it lightly with fine sandpaper so the topcoat grips. Avoid oils like teak oil here, since they won’t bond to a painted layer.
What’s the Difference Between a Sealer, a Stain, and a Varnish?
A sealer blocks moisture and soaks into the grain. A wood stain adds color and some protection, but often needs a topcoat. A varnish, like marine spar varnish, forms a hard, glossy film on the surface for maximum durability. Many products now combine functions — a stain-and-sealer in one, for example. Read the label and match the product to the look and protection you want.
Is Teak Oil Enough to Waterproof Outdoor Furniture?
Teak oil protects, but it’s not a full waterproof barrier. It penetrates the wood, repels some moisture, and keeps oily hardwoods looking rich. It does not form a hard, sealed film like varnish. For dense woods like teak in mild climates, it works well with regular reapplication. For harsh, wet weather, pair it with or swap for a film-forming exterior sealant.
How Long Does Waterproofing Take From Start to Finish?
Plan for two to four days total, mostly spent waiting. The active work — cleaning, sanding, and brushing — takes only a few hours per session. The rest is dry time between coats and the final cure. Don’t compress the schedule. Each coat needs proper time to harden before the next, and the full cure locks in the protection that makes the whole job worth it.
Conclusion
Water never stops. It works while you sleep. It soaks, swells, fades, and splits — slowly, quietly, until one day the damage is done.
But now you know how to stop it.
You know to start dry and clean. You know to sand with the grain. You know thin coats beat thick ones. You know the end grain and the feet need extra care. And you know the cure matters as much as the coat.
Learning how to waterproof wood furniture outdoors is not a talent you’re born with. It’s a skill you build one piece at a time. Your first project teaches your hands. Your second goes faster. By your third, it feels like second nature.
So pick the piece that needs it most. Check the forecast for two clear days. Then gather your sealer and brush, and give that furniture the protection it’s been missing.
Your future self — sitting on a chair that still looks new in five years — will thank you. Will you start this weekend?
