
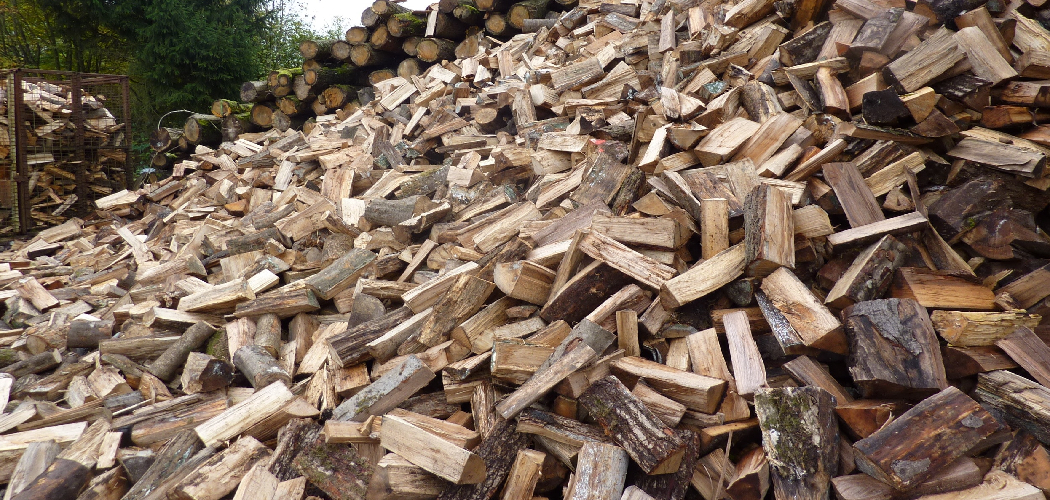
Wet firewood is the fastest way to ruin a cozy fire. It hisses, smokes, and barely gives off heat, leaving you frustrated and cold. If you’ve ever struggled to keep a flame alive, soggy logs are usually the culprit. The good news? You don’t have to wait two full years for nature to do its work. Learning how to dry firewood quickly puts you in control of your fuel, your fires, and your comfort.
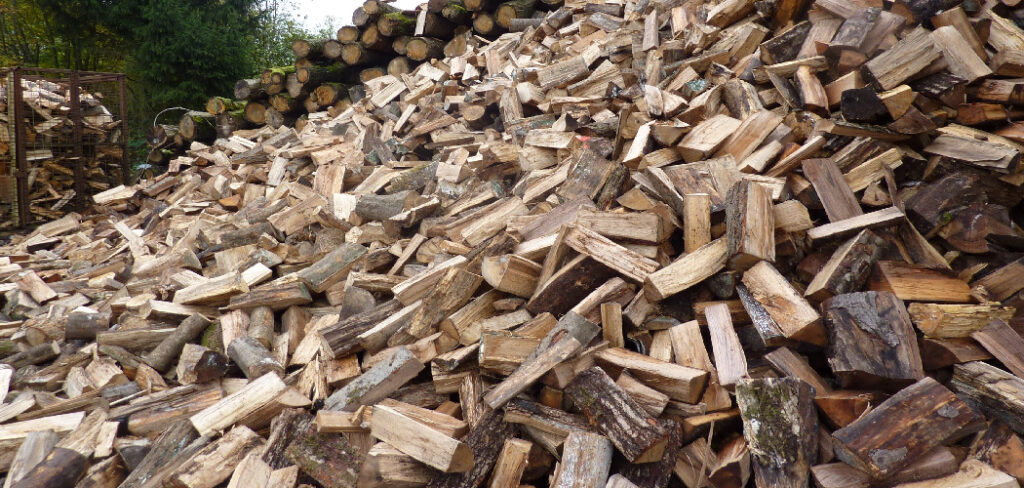
With the right splitting, stacking, and storage habits, you can cut drying time dramatically and burn clean, hot fires sooner. This guide walks you through every step, from choosing the right wood to checking moisture content, so you can season firewood faster and burn with confidence.
Why Drying Firewood Quickly Matters
Burning unseasoned wood costs you in ways you might not notice at first. Wet logs waste energy because the fire spends its heat boiling off water instead of warming your room. You end up using more wood and getting less warmth for your money.
Damp firewood also creates creosote, a sticky tar that coats your chimney and raises your risk of a flue fire. Cleaning that buildup is expensive and dangerous if you ignore it.
For DIY beginners, mastering this skill builds real confidence. You’ll spend less, avoid smoky rooms, and protect your stove or fireplace from long-term damage. Properly dried cord wood lasts longer in storage too, resisting rot and insects. A little know-how saves you money season after season.
Tools and Materials You’ll Need
Drying firewood fast doesn’t take fancy gear, but a few key items make the job easier and faster. Here’s what to gather before you start:
- Splitting axe or maul – breaks logs into smaller pieces that dry faster
- Chainsaw or bow saw – cuts rounds to a uniform length
- Sturdy gloves – protects your hands from splinters and blisters
- Firewood rack or pallets – keeps wood off the wet ground for better airflow
- Tarp or waterproof cover – shields the top of your stack from rain and snow
- Moisture meter – tells you exactly when your wood is ready to burn
- Work boots – keeps your feet safe during splitting and stacking
- Tape measure – helps you cut consistent lengths
Optional but handy: a log splitter. If you’re working through a large amount of wood, a powered or manual splitter saves your back and speeds up the whole process.
Step-by-Step Guide on How to Dry Firewood Quickly
Step 1 – Choose the Right Wood
Start by picking species that dry faster. Softwoods like pine, fir, and spruce lose moisture quicker than dense hardwoods such as oak or hickory. If you need burnable wood soon, lean toward softer species or already partially dried logs.
You’ll notice freshly cut “green” wood feels heavy and cool to the touch. The cut ends look bright and damp, sometimes oozing sap. That’s a clear sign of high moisture content.
If you have a mix, separate the fast-drying softwoods from the slow hardwoods. Burn the soft stuff first while the dense logs keep seasoning. Knowing how to dry firewood quickly often begins with this simple sorting choice, long before you ever stack a single piece.
Step 2 – Split the Wood Small
Splitting is the single biggest factor in drying speed. A whole round holds moisture inside its bark like a sealed bottle. Once you split it open, you expose the wet inner wood to air.
Aim for pieces about three to six inches thick. Smaller splits dry far faster than chunky logs. You’ll hear a satisfying crack as the maul bites through, and the fresh-split faces will feel damp and smell earthy.
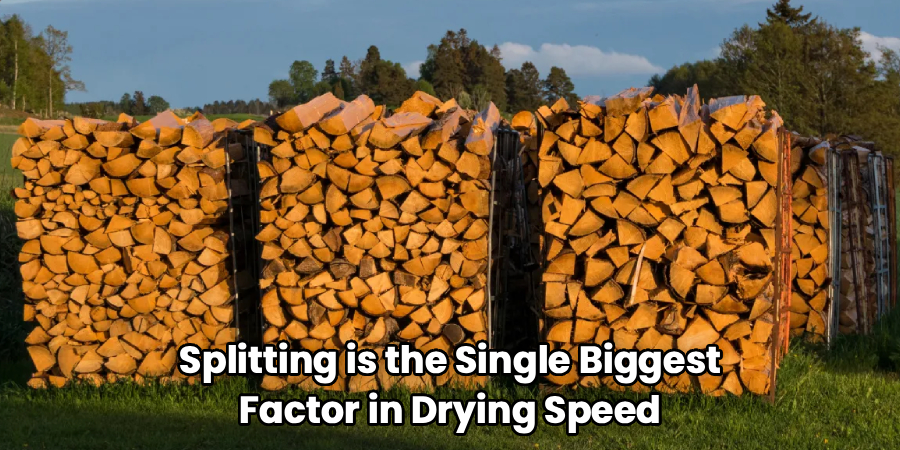
Don’t overdo it, though. Pieces too thin burn up fast and waste your effort. Find a balance that fits your stove and dries efficiently. The more surface area you expose to moving air, the quicker that trapped water escapes.
Step 3 – Cut Logs to a Uniform Length
Cut your rounds to match your stove or fireplace opening, usually 16 inches for most setups. Leave a couple of inches of clearance so logs fit without forcing.
Uniform lengths stack neatly and create steady gaps for airflow. Mismatched pieces leave awkward holes or wobbly piles that collapse. A tape measure and a quick pencil mark keep your cuts consistent.
As you saw, listen for a clean, steady cut. A laboring saw or smoking blade means it’s dull, which slows you down and frays the wood ends. Sharp cuts leave smooth faces that shed water instead of soaking it up. Consistent rounds make every later step faster and far more stable.
Step 4 – Pick a Sunny, Windy Spot
Location makes or breaks your drying timeline. Wood needs two things to dry fast: sunshine and moving air. Choose an open, elevated spot that catches afternoon sun and a steady breeze.
Avoid shaded corners against the house or under thick trees. Those damp, still pockets trap humidity and invite mold. You’ll spot trouble when wood feels slimy or shows fuzzy gray patches.
A south-facing slope or open yard edge works best. The sun warms the wood and pulls moisture out, while wind carries it away. Think of airflow as the engine that drives the whole process. Without it, even split wood sits damp for months longer than it should.
Step 5 – Stack for Maximum Airflow
How you stack matters as much as where. Lay a base of pallets or scrap lumber to lift the wood off the ground, blocking moisture that wicks up from the soil.
Build single rows rather than wide, deep piles. Single rows let wind pass through every layer. Leave finger-width gaps between splits so air circulates freely. Stack bark-side up on the top row to help shed rain.
A good stack feels solid but breathes. You should see daylight peeking through the gaps. If your pile is packed tight and dense, water stays trapped inside. Loose, organized rows season firewood far faster than a careless heap dumped in the corner.
Step 6 – Cover the Top, Leave the Sides Open
Rain and snow can undo weeks of drying, so cover the top of your stack with a tarp or simple roof. But here’s the catch many beginners miss: never wrap the whole pile.
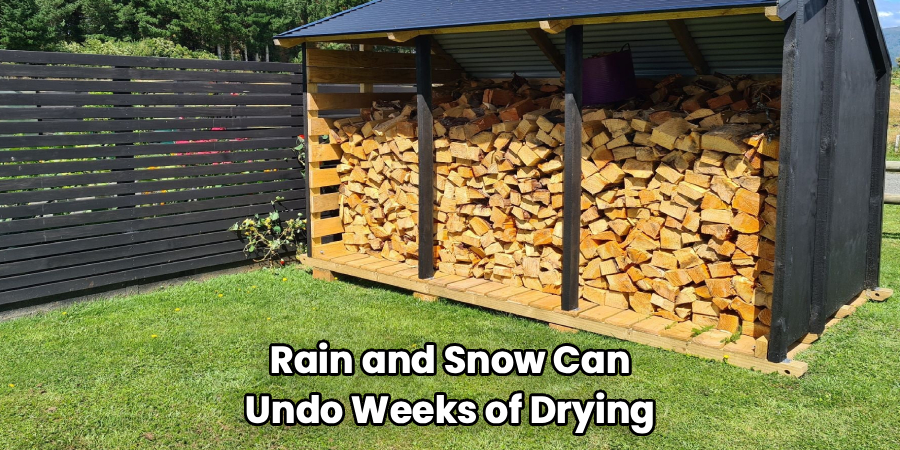
Covering the sides traps humidity inside and stops airflow cold. Your wood ends up sweating in its own moisture instead of drying. Drape the cover over the top third only, letting the sides stay open to the breeze.
Secure the tarp with bricks or bungee cords so wind doesn’t rip it loose. After a rainy day, the top stays dry while the open sides keep wicking water out. This balance of protection and ventilation is the heart of fast firewood storage.
Step 7 – Use Sun and Heat to Your Advantage
Speed things up by working with the weather. On hot, dry days, the sun does heavy lifting for free. Position your stack to soak up as much direct light as possible.
For an extra boost, some people dry small batches near a heat source like a wood stove, garage, or sunny shed. Warm, dry air pulls moisture out fast. You’ll feel the difference as logs grow noticeably lighter within weeks.
Just keep flammable wood a safe distance from any open flame. The goal is gentle, steady warmth, not scorching. Combining sun, wind, and warmth is the practical secret to how to dry firewood quickly without waiting through endless seasons of slow outdoor weathering.
Step 8 – Check Moisture Before You Burn
Don’t guess. Test. Properly seasoned wood reads below 20 percent moisture content on a meter. Split a piece open and press the prongs into the fresh inner face for an accurate reading.
No meter? Look and listen for clues. Dry wood shows cracks radiating from the center and a grayed, dull color. Knock two pieces together and you’ll hear a sharp, hollow clack instead of a dull thud. The bark loosens and peels easily.
Dry logs also feel surprisingly light. If a piece still feels heavy and damp, give it more time. Burning wood too early wastes your hard work and clogs your chimney. Patience at this final check pays off in clean, roaring fires.
Common Mistakes to Avoid
The biggest mistake beginners make is leaving wood in whole rounds. Unsplit logs hold moisture inside for years because the bark seals water in. Always split your wood before stacking it. Exposed inner faces dry many times faster than intact rounds, so skipping this step quietly doubles your wait.
Another common error is stacking wood directly on the ground. Soil constantly feeds moisture upward into the bottom layer, where it rots and breeds insects. A simple base of pallets or rails lifts the pile and keeps air flowing underneath.
Wrapping the entire stack in a tarp is a tempting but costly mistake. It feels protective, but a fully sealed pile traps humidity and stops the breeze that does most of the drying. Cover only the top and leave the sides open.
Many people also stack in shady, sheltered spots to keep wood “out of the way.” Without sun and wind, that wood stays damp for months. Finally, plenty of folks burn wood too soon, judging by appearance alone. Always confirm with a moisture meter or clear seasoning signs before you light a fire.
Expert Tips
Seasoned woodcutters know a few tricks that beginners rarely hear. First, end grain dries fastest, so cutting slightly shorter rounds exposes more of those open ends to air, speeding things along. Second, the species you stack matters for storage, not just burning. Ash is famous for burning even when relatively green, making it a smart pick when you’re short on time.
Orient your rows so they run perpendicular to your prevailing wind. That tiny adjustment funnels more air through every gap. Pros also stack in a crisscross pattern at the ends of each row, building stable towers that hold the whole stack upright without bins or posts.
One last secret: weigh a marked split now and again. When its weight stops dropping week to week, the wood has given up its water and it’s ready to burn.
Frequently Asked Questions
How Long Does It Take to Dry Firewood Quickly?
With the right setup, softwoods can dry in two to four months, while dense hardwoods often need six months to a year. Splitting wood small, stacking in single rows, and choosing a sunny, windy spot all speed the process. Kiln-dried wood is faster still, but you can match strong results outdoors by maximizing sun and airflow during warm seasons.
Can You Dry Firewood in a Kiln or Oven?
Yes, kilns dry firewood in days rather than months by using controlled heat. Commercial kiln-dried wood reaches low moisture content fast and burns very clean. A home oven, however, is risky and not recommended, since wood can scorch or even ignite. For home drying, stick with sun, wind, and proper stacking, which deliver excellent results safely.
What Moisture Content Is Best for Burning?
Aim for firewood below 20 percent moisture content for clean, efficient fires. At that level, wood lights easily, burns hot, and produces little smoke or creosote. A moisture meter gives you an exact reading in seconds. Burning wetter wood wastes heat boiling off water and coats your chimney with dangerous tar, so always confirm before you light up.
Does Splitting Wood Really Speed Up Drying?
Absolutely. Splitting is the most effective way to dry firewood faster. Whole rounds trap moisture behind their bark, sometimes for years. Splitting exposes the wet inner wood to air, dramatically increasing surface area and shortening drying time. Smaller splits dry fastest, so cut pieces to roughly three to six inches thick for the best balance of speed and burn time.
How Should I Store Firewood Once It’s Dry?
Keep seasoned wood off the ground on a rack or pallets, and protect the top from rain and snow while leaving the sides open for airflow. A covered woodshed is ideal for long-term firewood storage. Storing dry wood properly prevents it from reabsorbing moisture, resists rot and insects, and keeps your cord wood ready to burn whenever you need it.
Conclusion
Drying firewood doesn’t have to be a slow, frustrating wait. When you split your wood small, stack it in single rows for airflow, and place it where sun and wind do the heavy lifting, you turn green logs into clean-burning fuel in a fraction of the usual time. Cover only the top, keep the sides open, and always check moisture content before you strike a match.
These habits save you money, protect your chimney, and reward you with hot, steady fires instead of smoky disappointment. Best of all, the skills are simple enough for any beginner to master in a single season.
Now you know how to dry firewood quickly using nothing more than smart stacking, good positioning, and a little patience. Start with the wood you have, pick a sunny spot today, and build your first proper row. Your future self, warm beside a crackling fire, will thank you for it.
