
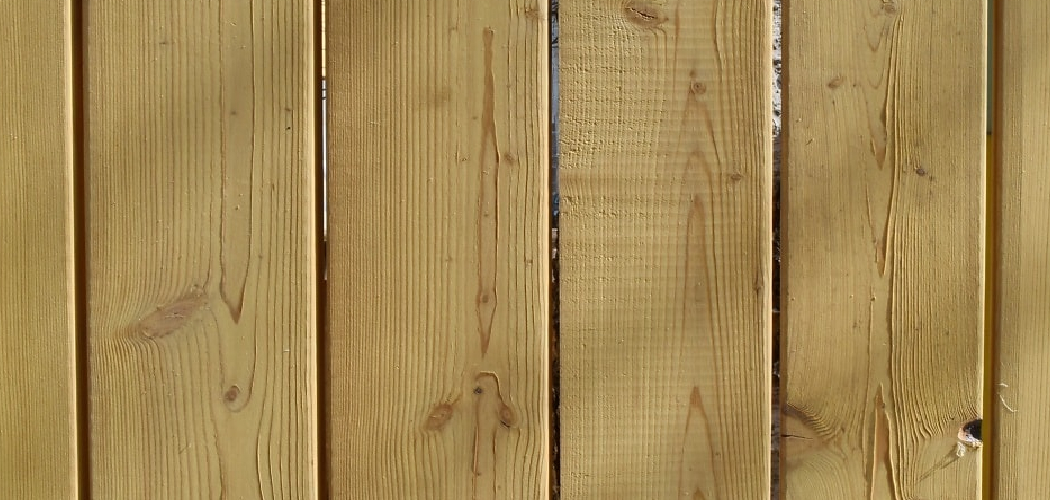
Old wood paneling can make a room feel dark and dated, but you don’t need to rip it out to fix that. With a little paint, water, and patience, you can brighten those walls and give your space a fresh, airy feel. Learning how to whitewash wood paneling is one of the easiest weekend projects you can take on, even if you’ve never picked up a paintbrush before.
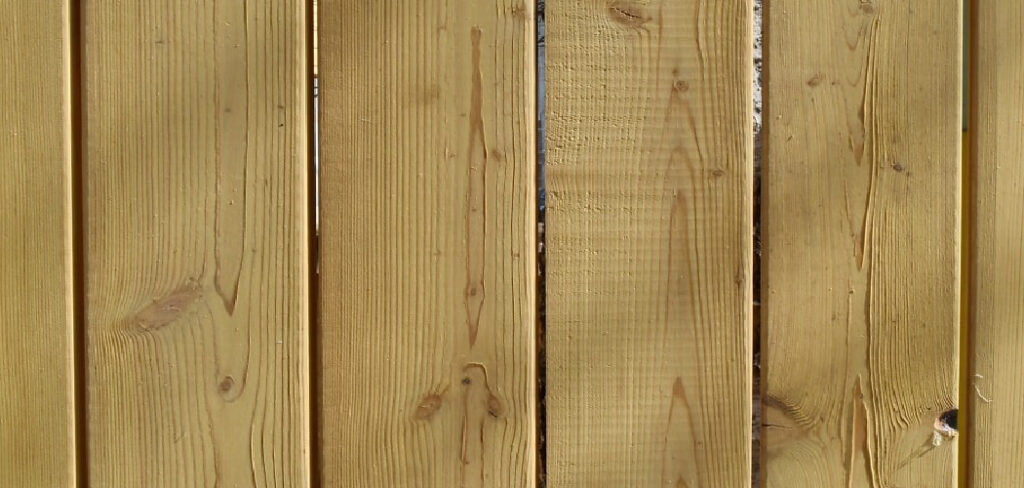
The technique softens harsh wood tones while letting the natural grain peek through, so you get character and light at the same time. This guide walks you through every step, from prepping your surface to sealing the finish, so you can transform your paneling with confidence and skip the costly mistakes.
Why Whitewashing Wood Paneling Matters
Whitewashing is a low-cost upgrade that delivers a big visual payoff. Instead of spending hundreds on new drywall or hiring a contractor, you can refresh an entire room for the price of a paint can. That alone makes it worth learning.
The skill also builds real confidence. Once you see how forgiving a watered-down wash can be, you’ll feel ready to tackle bigger finishing jobs like staining or distressing furniture. Mistakes are easy to blend out, so beginners rarely feel stuck.
There’s a practical bonus, too. A fresh coat protects the wood from moisture and everyday wear, extending the life of paneling that might otherwise crack, fade, or warp. You save money now and avoid bigger repairs later.
Tools and Materials You’ll Need
Gather everything before you start so you’re not running to the store mid-project. Here’s what you’ll need:
- Latex or chalk paint in white or off-white
- Clean water for thinning the paint
- A wide synthetic paintbrush (2–3 inches)
- A few lint-free rags or old cotton cloths
- Fine-grit sandpaper (180–220 grit)
- A tack cloth or damp cloth for dust removal
- Painter’s tape and drop cloths
- A mixing bucket or paint tray
- A clear water-based sealer or topcoat
- Rubber gloves and safety glasses
- A paint stir stick
- A foam roller (optional, for faster coverage on large walls)
The foam roller isn’t essential, but it speeds things up if you’re covering a big room and want a smoother base before brushing in the grain.
Step-by-Step Guide on How to Whitewash Wood Paneling
Step 1 – Clear and Protect the Workspace
Start by emptying the room of furniture, or push everything to the center and cover it. Lay drop cloths along the baseboards to catch drips, because a thin wash splatters more than thick paint does.
Run painter’s tape along trim, outlets, and any edges you want to keep clean. Press the tape down firmly with your fingernail so paint can’t bleed underneath.
Take a moment to inspect the paneling. Look for loose boards, popped nails, or soft spots that signal moisture damage. Fix these now. A sturdy, dry surface holds the finish far better than a wobbly one.
When the room feels open and protected, you’re ready to clean. This prep stage feels slow, but it saves hours later.
Step 2 – Clean the Paneling Thoroughly
Wood paneling collects more grime than you’d expect, especially old panels coated in years of dust, smoke, or kitchen grease. Paint won’t grip a dirty surface, so this step matters.
Mix a mild soap with warm water and wipe down every board with a soft cloth. You’ll feel the difference as the wood goes from slightly sticky to clean and smooth under your hand. Pay extra attention to corners and grooves where buildup hides.
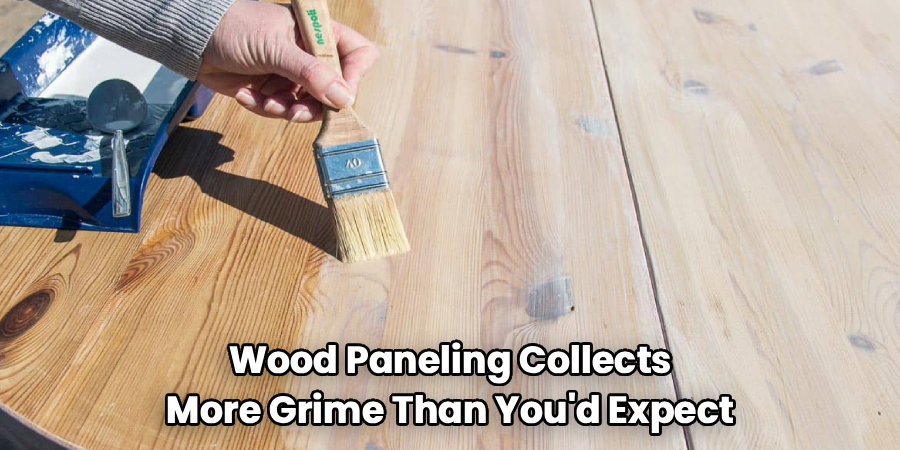
Rinse with a fresh damp cloth, then let the paneling dry completely. Rushing this part traps moisture under your finish, which leads to peeling later.
Run your palm across the surface once it’s dry. If it feels clean and cool, you’re set for the next step.
Step 3 – Sand for Better Adhesion
Glossy or sealed paneling needs a light scuff so the wash can stick. Grab your fine-grit sandpaper and work in the direction of the grain using gentle pressure.
You’re not trying to strip the wood. You only want to dull the shine. Listen for a soft, even scratching sound, and watch the surface turn from glossy to slightly hazy. That dull look tells you the finish is ready to accept paint.
Wipe away the dust with a tack cloth or a barely damp rag. Leftover grit creates a gritty, bumpy finish that no amount of paint can hide.
If your paneling is already raw or unfinished, a quick once-over is enough. This step is the foundation of how to whitewash wood paneling that lasts.
Step 4 – Mix Your Whitewash
Now for the fun part. Combine your white paint with water in a clean bucket. A good starting ratio is two parts paint to one part water for a solid wash, or one part paint to one part water for a sheerer look.
Stir slowly until the mixture turns smooth and milky, with no clumps. The consistency should feel like thin cream, not thick yogurt. If it drips too fast off your stir stick, add a touch more paint.
Test the blend on a hidden corner or a scrap board first. Let it dry for a few minutes to see the true color, since whitewash always looks lighter once it sets. Adjust the ratio until you love the result.
Step 5 – Apply the First Coat
Dip your brush, then tap off the excess so it doesn’t drip. Work one board or one small section at a time, brushing along the grain in long, steady strokes.
You’ll notice the wash sinks into the wood and lets the grain show through, which is exactly what you want. The surface should look softly tinted, not fully painted. If it looks too heavy, you’ve used too much.
While the paint is still wet, drag a clean rag over the section to wipe back excess and even out the color. This pulls the finish into the grain and removes brush marks.
Keep your strokes consistent across the wall so the whole surface dries with the same tone.
Step 6 – Wipe and Blend
This step gives whitewash its signature soft look. As you finish each section, fold a dry rag and gently wipe in the direction of the grain.
Wiping removes the milky film sitting on top and reveals the warm wood underneath. You’ll feel the cloth glide over a slightly tacky surface, lifting paint as it goes. The more you wipe, the more grain shows through.
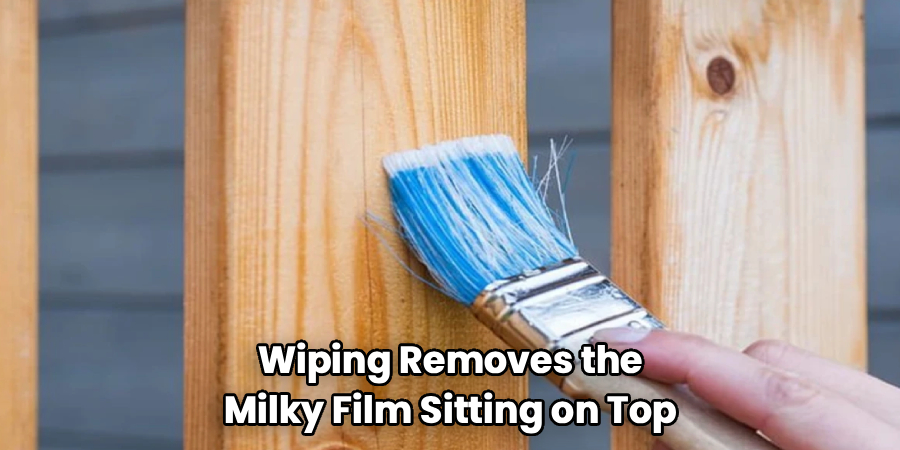
Work quickly, because the wash dries fast. If a section dries before you wipe it, dampen your rag lightly and try again with a softer touch.
Step back every few minutes and check the wall from across the room. Blotchy or streaky areas are easier to fix while the paint is still workable.
Step 7 – Let It Dry and Add a Second Coat
Patience pays off here. Let the first coat dry fully, usually two to four hours depending on humidity and airflow.
Once dry, look at the wall under natural light. If you want a brighter, more opaque finish, apply a second thin coat the same way you did the first. Brush along the grain, then wipe back the excess.
A second coat deepens the white and evens out any spots that soaked in unevenly. Resist the urge to glob it on. Thin layers always look cleaner than one heavy one.
Mastering this layering rhythm is the heart of how to whitewash wood paneling, because the right balance of paint and wipe-back creates that bright, natural finish everyone loves.
Step 8 – Seal and Protect the Finish
Once your final coat dries completely, lock it in with a clear water-based sealer. This guards against scuffs, moisture, and fading, especially in high-traffic rooms or kitchens.
Apply the topcoat in thin, even strokes with a clean brush. Move along the grain and avoid overworking it, since water-based sealers dry fast and can streak if you keep going over the same spot.
You’ll notice the surface develops a soft, subtle sheen once it cures. Choose a matte sealer if you want to keep that flat, chalky look, or a satin finish for a gentle glow.
Let everything cure for a full 24 hours before moving furniture back. The finish needs that time to harden and reach its full durability.
Common Mistakes to Avoid
The biggest mistake beginners make is skipping the cleaning and sanding steps. It feels tempting to jump straight to painting, but a dirty or glossy surface won’t hold the wash. Within weeks, you’ll see the finish flake and peel, and there’s no easy fix once it starts.
Another common slip is mixing the whitewash too thick. When the ratio leans heavy on paint, you lose the grain and end up with flat, painted-looking walls instead of that soft, translucent glow. Always test your blend on a scrap piece first and lighten it if needed.
Working too slowly causes trouble, too. Whitewash dries fast, so if you let a section set before wiping it back, you’ll get hard edges and patchy streaks. Tackle one small area at a time and keep your rag handy.
Many people also forget to seal the finish. Without a protective topcoat, the wash wears down quickly in busy rooms and stains easily. A few minutes of sealing saves you a full redo later. Finally, don’t ignore lighting. Whitewash reads differently under daylight versus warm bulbs, so check your color in the actual room before committing.
Expert Tips
Work in sections no wider than three feet so the paint stays wet long enough to wipe and blend. This single habit separates clean, professional results from blotchy ones.
Keep a spray bottle of water nearby. A light mist re-activates a section that dried too fast, giving you a second chance to even out the color without starting over.
For a weathered, rustic look, try a dry-brush technique on your final pass. Load the brush lightly, then drag it across the surface so the bristles leave faint, textured streaks that mimic aged wood.
Always whitewash from top to bottom. Drips will run downward onto dry, finished areas and create marks, so working downward lets you catch and blend them as you go. Finally, save a small jar of your mixed wash for future touch-ups.
Frequently Asked Questions
Can You Whitewash Over Painted or Stained Paneling?
Yes, but you’ll need to prep first. Lightly sand glossy or sealed surfaces so the wash can grip, then clean off all dust. Over stained wood, the whitewash will sit more on the surface and show less grain, but it still works beautifully. Always test a small hidden spot first to preview the final color before committing to the whole wall.
How Long Does Whitewashed Paneling Last?
A properly sealed whitewash finish can last 10 years or more indoors. Durability depends on prep, the quality of your sealer, and how much traffic the room gets. Kitchens and hallways wear faster than bedrooms. Reapplying a fresh coat of clear topcoat every few years keeps the surface protected and looking bright without needing to redo the entire whitewash.
What’s the Difference Between Whitewashing and Painting?
Painting fully covers the wood with an opaque, solid color that hides the grain completely. Whitewashing uses a thinned, translucent wash that tints the wood while letting the natural grain and texture show through. Whitewash gives a softer, lighter, more rustic look, while paint delivers a uniform, modern finish. Whitewashing also tends to be quicker, more forgiving, and easier for beginners.
Do You Need to Sand Before Whitewashing?
You should sand any glossy, varnished, or sealed paneling so the wash adheres properly. Use fine-grit sandpaper and a light touch, just enough to dull the shine. Raw or unfinished wood needs only a quick scuff. Skipping this step on slick surfaces is the top reason whitewash peels, so don’t rush it. Wipe away all dust before you start painting.
Can I Use Regular Wall Paint for Whitewash?
Yes, latex wall paint works well for whitewashing once you thin it with water. Chalk paint is another popular choice because it grips surfaces with minimal prep and creates a soft, matte look. Avoid oil-based paints, since they don’t mix with water and behave differently. Start with a two-to-one paint-to-water ratio and adjust until you get the translucency you want.
Conclusion
Brightening tired paneling doesn’t require a big budget or pro-level skills. With clean prep, a well-mixed wash, and steady wipe-back strokes, you can completely change the mood of a room in a single weekend. The technique rewards patience over perfection, so even your first attempt will look great.
Remember the core rhythm: clean thoroughly, sand for grip, mix thin, brush along the grain, wipe back the excess, and seal to protect. Each layer builds on the last, and thin coats always beat one heavy one. Once you understand how to whitewash wood paneling, you’ll have a go-to trick for freshening dark walls, dated trim, and even furniture down the road.
So gather your brushes, mix your first batch, and start small with a test board. You’ll be surprised how quickly the process clicks. Your space deserves that fresh, airy glow, and now you have everything you need to make it happen. Grab your supplies and get started this weekend.
