
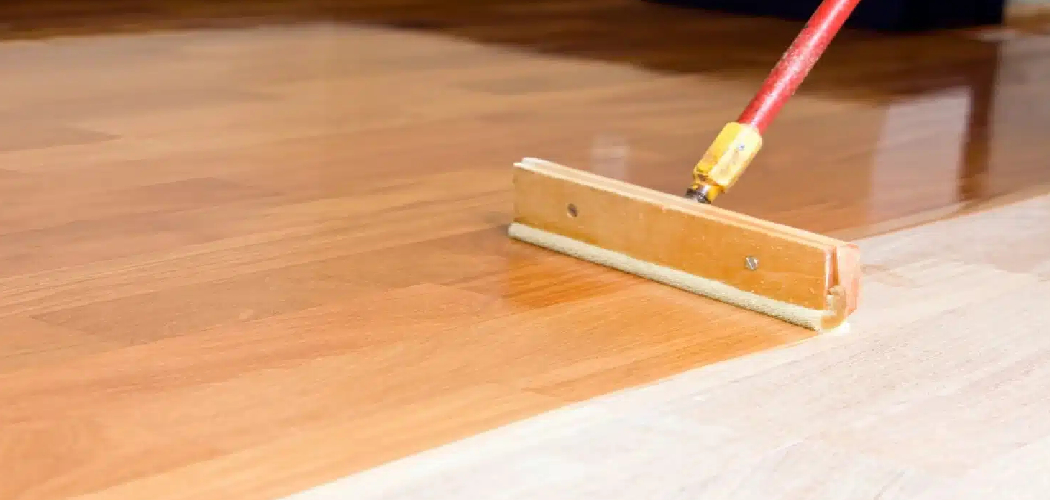
That tired old dresser sitting in your garage isn’t ruined. It’s just dark, blotchy, and stained from years of use. The good news? You can bring it back to life with a few simple supplies and a little patience. Learning how to bleach wood furniture lets you strip away ugly stains, lighten dark tones, and create a fresh canvas for whatever finish you want next.
Whether you’re working with an oak table or a maple chair, bleaching gives you control over the final color in a way that sanding alone never could. This guide walks you through every step, from choosing the right product to neutralizing the wood, so you can refinish your piece with confidence and skip the costly trial-and-error.
Why Bleaching Wood Furniture Matters
Old furniture often hides real beauty under dark stains, water rings, and sun-faded patches. Bleaching solves problems sanding can’t reach. While sanding removes the surface, bleach actually changes the color of the wood fibers themselves. That means you can erase deep ink spots, even out mismatched tones, or take a dark walnut piece several shades lighter.
For DIY beginners, this skill saves serious money. A professional refinishing job can cost hundreds of dollars per piece. Doing it yourself turns a forgotten flea-market find into a centerpiece for a fraction of that.
It also builds confidence. Once you master furniture restoration with bleach, you’ll look at every dated thrift-store dresser as an opportunity instead of a chore.
Tools and Materials You’ll Need
Gather everything before you start. Stopping mid-project to hunt for supplies can ruin your timing and your results.
- Wood bleach — either oxalic acid, two-part (A/B) bleach, or chlorine bleach, depending on your goal
- Rubber gloves — chemical-resistant, not the thin kitchen kind
- Safety goggles to protect your eyes from splashes
- Respirator or N95 mask for fumes and fine dust
- Synthetic-bristle brushes or sponges for applying the solution
- Plastic buckets for mixing (never metal — it reacts)
- Sandpaper in 120, 180, and 220 grit
- Clean rags and paper towels
- White vinegar or baking soda for neutralizing wood
- Drop cloths or plastic sheeting to protect your workspace
- Optional: a moisture meter to confirm the wood is fully dry before refinishing
Step-by-Step Guide on How to Bleach Wood Furniture
Step 1 – Set Up a Safe, Ventilated Workspace
Start outdoors or in a garage with the doors wide open. Wood bleach releases fumes that sting your nose and irritate your lungs, so airflow matters more than you’d think.
Lay down drop cloths and clear away anything you don’t want splashed. Put on your gloves, goggles, and respirator before you open a single container. These chemicals can burn skin and bleach fabric in seconds.
Set your buckets and brushes within easy reach. Once the process begins, you won’t want to walk away to grab a forgotten tool.
Run your hand over the surface. If it feels gritty or sticky, you’ll know it still needs prep. A clean, dry space sets the stage for everything that follows.
Step 2 – Strip Any Existing Finish
Bleach can’t penetrate paint, varnish, or lacquer. It needs to reach bare wood to do its job. So before anything else, remove the old finish completely.
Apply a chemical stripper with a brush and watch the surface. Within minutes you’ll see the finish bubble and wrinkle like old paint peeling in the sun. That crinkling means it’s working.
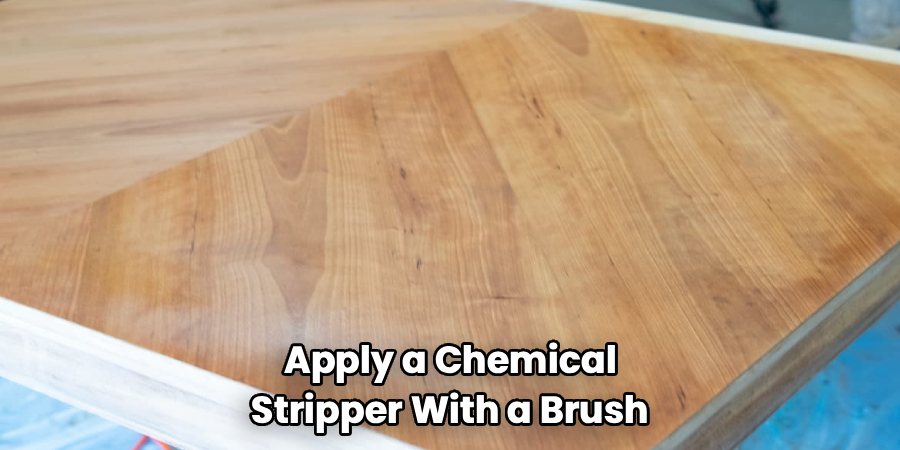
Scrape the gunk away with a plastic putty knife, moving with the grain. You’ll feel the blade glide once the wood is clean underneath.
Wipe down the piece with mineral spirits and let it dry. Any leftover film will block the bleach and leave frustrating patches, so be thorough here.
Step 3 – Sand the Surface Smooth
Now smooth the wood to open up the grain. Sanding wood before bleaching helps the solution soak in evenly instead of pooling on slick spots.
Begin with 120-grit sandpaper and work along the wood grain, never against it. You’ll hear a steady, even scratching sound when your strokes are consistent. Switch to 180 grit for a finer finish.
Wipe away the dust with a clean, slightly damp rag. Run your fingertips across the surface — it should feel uniform, with no rough ridges or shiny varnish left behind.
Don’t skip corners and carved details. Bleach highlights every inconsistency, so any spot you miss now will show up later as an uneven patch.
Step 4 – Choose the Right Wood Bleach
Different stains call for different products, and picking the wrong one wastes time. Understanding your options is the heart of how to bleach wood furniture successfully.
Oxalic acid removes water rings, rust stains, and dark spots while leaving the natural color mostly intact. Reach for it when you want to clean, not lighten.
Two-part bleach, often labeled A/B, actually lightens the wood itself. Use it when you want to take a dark species several shades paler.
Chlorine bleach, the household kind, fades dye stains but barely touches the natural wood tone.
Match the product to your goal before you mix a drop.
Step 5 – Apply the Bleach Evenly
Load your synthetic brush and spread the solution in smooth, overlapping strokes. Follow the grain so the liquid sinks in the way the wood naturally absorbs moisture.
Keep the coat wet and consistent. Dry spots and drips create blotches that are hard to fix later. You want the whole surface to glisten with an even sheen.
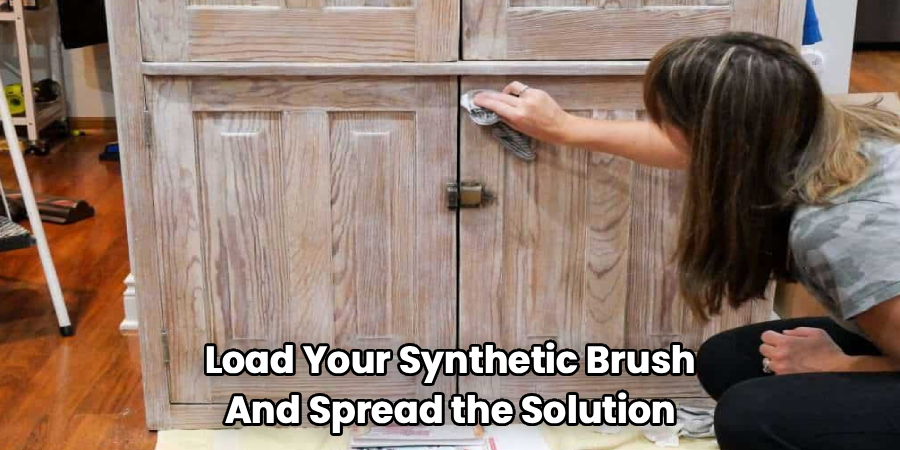
With two-part bleach, brush on part A, wait the time the label specifies, then apply part B. You may hear a faint fizzing as the chemicals react — that’s normal.
Watch the color shift over the next several minutes. The wood slowly pales, almost like a photograph developing. Let it work fully before you decide on a second coat.
Step 6 – Let It Sit and Dry Completely
Patience pays off now. Give the bleach the full dwell time printed on the label, usually anywhere from one to four hours.
Resist the urge to wipe it early. The chemical reaction continues as long as the surface stays damp, so cutting it short leaves you with uneven lightening.
Once the time is up, let the piece dry overnight. The wood will look chalky and dull, sometimes with a faint white residue. That’s expected and not a problem.
Touch the surface only with gloved hands. If it still feels cool or damp, give it more time. A moisture meter, if you have one, confirms the wood has dropped back to a safe, workable level before you move on.
Step 7 – Neutralize the Wood
Bleach leaves chemical residue behind, and you have to stop the reaction before it damages your finish later. Neutralizing wood is a step beginners often skip — and regret.
For oxalic acid, mix a baking soda and water solution. For two-part or chlorine bleach, a diluted white vinegar wash works well. Wipe the surface gently with a clean rag soaked in your chosen solution.
You might see slight foaming where the neutralizer meets leftover chemicals. That tells you it’s doing its job.
Follow with a plain water rinse, then let the piece dry completely again. Skipping this step can cause your stain or topcoat to peel, cloud, or refuse to bond at all.
Step 8 – Sand, Inspect, and Prepare for Finishing
The dried wood will feel slightly raised and fuzzy because the moisture lifted the grain. A light final sanding fixes that.
Use 220-grit sandpaper and barely-there pressure. Glide along the grain until the surface turns silky smooth under your palm. Wipe off the dust with a tack cloth.
Now inspect your work in good light. The color should look even and bright. If you spot lingering dark patches, you can spot-treat them with another round of bleach before finishing.
This is the payoff moment in any stain removal and wood refinishing project. A clean, pale, uniform surface is ready to accept stain, dye, or a clear topcoat exactly the way you envisioned when you started.
Common Mistakes to Avoid
The biggest mistake beginners make is rushing the drying and neutralizing stages. Bleach keeps reacting while the wood is wet, and a leftover chemical layer will sabotage your finish weeks later. You’ll apply a beautiful stain only to watch it peel or cloud. Always neutralize, rinse, and dry fully before you touch a finishing product.
Another common error is using the wrong bleach for the job. People grab household chlorine bleach expecting to lighten dark oak, then feel disappointed when the tone barely changes. Remember: chlorine fades dye stains, oxalic acid lifts water and rust marks, and only two-part bleach actually lightens the wood itself.
Skipping protective gear is a painful lesson too. These chemicals burn skin, sting eyes, and irritate lungs. Gloves, goggles, and a respirator aren’t optional extras.
Finally, many DIYers apply bleach unevenly, leaving streaks and blotches. Work in smooth, overlapping strokes along the grain, keep the surface consistently wet, and never let one section dry while you’re still working another.
Expert Tips
Test your bleach on a hidden spot first — the underside of a tabletop or the back of a leg. Different wood species react differently, and a quick test tells you exactly how light your piece will go before you commit.
Always work in indirect light. Direct sun dries the bleach too fast and creates streaks before it can react evenly.
Keep your strokes wet-on-wet, blending each new brushful into the last while it’s still damp. This eliminates the lap marks that scream “amateur job.”
One trick pros swear by: bleach the entire surface, even areas that already look light. Partial bleaching almost always leaves a visible color line you’ll never fully hide once the finish goes on.
Frequently Asked Questions
Can You Bleach Any Type of Wood?
Most hardwoods like oak, ash, and beech bleach beautifully because their open grain absorbs the solution well. Softer woods such as pine and cedar respond less predictably and may turn blotchy. Some species, like cherry and chestnut, resist two-part bleach almost entirely. Always test a hidden area first to see how your specific wood reacts before treating the whole piece.
How Long Does Wood Bleach Take to Work?
Most wood bleach needs one to four hours of dwell time, depending on the product and how much lightening you want. Two-part bleach often shows visible results within 30 minutes but keeps working as it dries. After the active stage, let the piece dry overnight before neutralizing. Always follow the specific timing printed on your product’s label for the best results.
Is Bleaching Wood Safe to Do at Home?
Yes, bleaching wood is safe at home when you take proper precautions. Work in a well-ventilated space, ideally outdoors or in an open garage. Wear chemical-resistant gloves, goggles, and a respirator to protect against fumes and splashes. Keep the products away from children and pets, and never mix bleaches together. With good ventilation and protective gear, the process is completely manageable for beginners.
Do You Have to Neutralize Wood After Bleaching?
Absolutely, and skipping it causes problems down the line. Leftover bleach keeps reacting inside the wood fibers and can prevent your stain or topcoat from bonding properly. Neutralize oxalic acid with a baking soda solution, and use diluted white vinegar for two-part or chlorine bleach. Follow with a clean water rinse, then let the wood dry completely before you move on to finishing.
Will Bleaching Raise the Wood Grain?
Yes, because bleach is water-based, it raises the wood grain as it dries. You’ll notice the surface feels slightly fuzzy or rough once it’s fully dry. This is normal and easy to fix. A light final sanding with 220-grit sandpaper, worked gently along the grain, smooths everything back down and leaves the surface silky and ready for stain or a clear finish.
Conclusion
Bringing a worn piece back to life is one of the most satisfying projects you can take on. Now that you understand how to bleach wood furniture from start to finish, you have the power to erase stubborn stains, lighten dark tones, and create a clean surface for any finish you choose.
Remember the rhythm of the process: set up safely, strip and sand, pick the right product, apply it evenly, then dry, neutralize, and smooth before finishing. Each step builds on the last, and patience at the drying and neutralizing stages makes all the difference between a flawless result and a frustrating one.
Don’t let that dated dresser or stained tabletop intimidate you. Start with a small piece, test as you go, and trust the steps. With a little practice, you’ll turn forgotten furniture into pieces you’re proud to show off — and save real money doing it. Grab your gloves, pick your project, and bring that wood back to life.
