
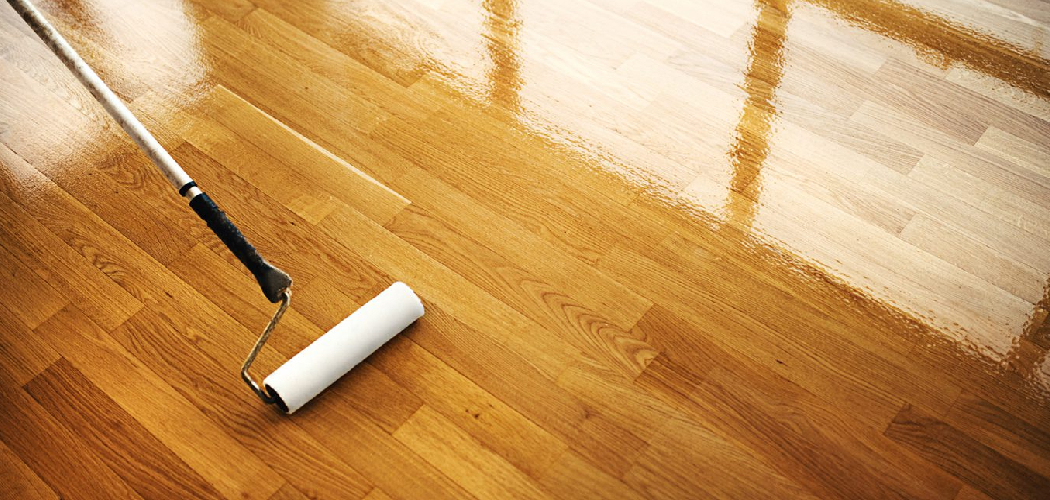
Lacquered wood looks sharp, but it shows every smudge, water ring, and dust film. Left alone, that grime dulls the finish and shortens the life of your furniture. The good news? Cleaning it right takes minutes and the supplies you already own. Learning how to clean lacquered wood protects the glossy seal that gives these pieces their shine and guards the wood underneath.
This guide assumes you want results, not theory. You’ll learn what to use, what to skip, and how to spot the difference between a clean finish and one you’ve quietly damaged. Whether it’s a dining table, a cabinet, or an heirloom dresser, the method is the same. By the end, you’ll clean any lacquered surface with confidence and keep that factory-fresh look for years.
Why Cleaning Lacquered Wood Matters
Neglect costs money. A lacquer finish acts as a sealed shield over the wood, blocking moisture, stains, and scratches. Skip regular care and that shield breaks down. Dust grinds into the surface like fine sandpaper. Spills sit and etch. Eventually you’re looking at refinishing, which runs hundreds of dollars per piece or a full weekend of sanding and recoating.
Proper wood care prevents all of it. Clean correctly and you extend the life of the finish, the wood, and your investment. You also avoid the most expensive mistake: using the wrong cleaner and stripping the lacquer yourself.
Confidence matters too. Once you know the routine, wood surface maintenance stops feeling risky. You clean fast, you clean right, and your furniture rewards you with lasting shine.
Tools and Materials You’ll Need
Gather everything before you start. The right supplies make the job fast and protect the finish.
- Two soft microfiber cloths — one for cleaning, one for drying. They lift dust without scratching.
- Mild dish soap — a few drops cut grease and grime safely.
- Warm water — your primary solvent for everyday cleaning.
- A small bowl — for mixing your soap solution.
- A dry, lint-free towel — buffs the surface to a streak-free finish.
- Distilled white vinegar — diluted, it tackles stubborn buildup on tougher jobs.
- Quality furniture polish or wax (optional) — adds protection and revives shine after cleaning.
Skip the paper towels, abrasive sponges, and ammonia-based sprays. They scratch, streak, or eat through lacquer. Stick to soft, gentle materials and you’ll never damage the surface.
Step-by-Step Guide on How to Clean Lacquered Wood
Follow these steps in order. Knowing how to clean lacquered wood the right way means working gently, drying fast, and never letting moisture linger.
Step 1 – Clear and Inspect the Surface
Remove everything first. Lift off lamps, books, decor, and coasters so you can reach every inch. Set them aside on a separate table.
Now look closely. Tilt the piece toward a light source. You’ll spot dust film, fingerprints, and any cloudy spots or water rings. Run a dry finger across the top — a clean lacquer finish feels smooth and slick, while grime feels gritty or tacky.
Note any damage too. Hairline cracks or peeling edges mean you need extra caution around those spots. Skipping this inspection is how beginners scrub right over a chip and make it worse. A two-minute check saves you trouble and tells you exactly where to focus your cleaning.
Step 2 – Dust With a Dry Microfiber Cloth
Start dry, always. Fold a clean microfiber cloth and wipe the entire surface in long, straight strokes. Move with the grain, not in circles. You’ll hear a soft, smooth glide — no scratching, no drag.
This step lifts loose dust and grit before any moisture touches the wood. Skip it and you’ll turn that dust into a muddy paste the moment you add water, then grind it into the finish.
Watch the cloth as you go. It’ll pick up gray dust fast on a neglected piece. Refold to a clean side often so you’re never dragging dirt back across the surface. When the cloth stays clean after a pass, you’ve cleared the dry debris and you’re ready for the next stage.
Step 3 – Mix a Gentle Cleaning Solution
Fill your bowl with warm water. Add two or three drops of mild dish soap. Swirl it gently until you see light suds — you want barely soapy water, not a foaming bubble bath.
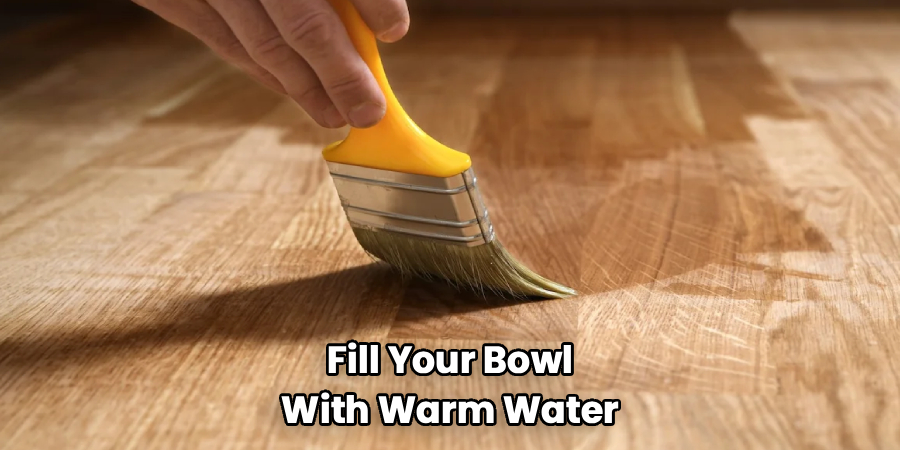
This diluted mix is the safest wood cleaner for a lacquer finish. Strong concentrations leave residue that dulls the shine and attracts more dust. Less is more here.
Dip a corner of your second microfiber cloth into the solution. Wring it out hard until it’s just damp, never dripping. Hold it up — if water beads off, wring again. The cloth should feel cool and barely moist against your palm. Standing water is the enemy of lacquer, so control the moisture before it ever reaches the wood.
Step 4 – Wipe Down the Surface
Work in sections. Wipe the damp cloth across the surface following the grain, using light, even pressure. You’ll see fingerprints and film lift away, leaving a brighter streak behind.
Don’t press hard or scrub. Lacquer responds to gentle, consistent motion, not force. If you hit a sticky spot, pause and wipe it a few extra times rather than digging in.
Cover one section, then move to the next so no area stays wet for long. The surface should look glossy and even as you go, not patchy or hazy. Rinse your cloth in the soapy water when it loads up with grime, wring it out again, and keep moving. This is the core of how to clean lacquered wood without leaving damage behind.
Step 5 – Tackle Stubborn Spots Carefully
Some marks resist soap and water. For sticky residue or greasy buildup, mix equal parts distilled white vinegar and water in a separate bowl. Dampen a clean cloth corner, wring it out, and dab the spot directly.
Let it sit five to ten seconds. You’ll see the grime loosen. Then wipe it away with light strokes. Vinegar cuts through buildup without the harshness of commercial solvents.
Test this mix on a hidden area first — the back edge or underside. Wait a minute and check for any dulling or color change. If the finish stays glossy, you’re clear to proceed. Never use vinegar full-strength and never let it pool. Treat one spot at a time, then dry immediately so the acid doesn’t sit on the lacquer.
Step 6 – Rinse Away Any Residue
Soap and vinegar both leave traces. Skip the rinse and that residue dries into a cloudy film that dulls your shine within a day.
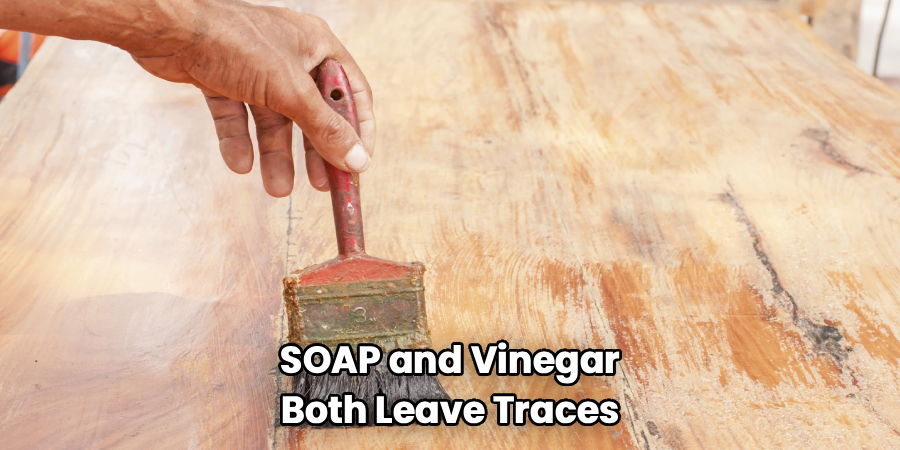
Rinse your cleaning cloth under clean warm water and wring it out until just damp. Wipe the entire surface again, following the grain, to lift away any leftover cleaner. You’re not adding moisture here — you’re removing what’s left behind.
Watch the light as you work. A properly rinsed surface reflects evenly, with no streaks or hazy patches. If you still see smears, rinse the cloth again and repeat the pass. This quick step separates a surface that looks clean from one that actually is. Take the extra minute; your finish depends on it.
Step 7 – Dry the Surface Thoroughly
Never air-dry lacquered wood. Standing droplets leave water spots and, over time, white rings that bite into the finish.
Grab your dry, lint-free towel and wipe the whole surface immediately after rinsing. Move with the grain in firm, smooth passes. You’ll feel the cloth glide and hear that soft, clean squeak when the moisture is gone.
Pay attention to corners, edges, and any carved details where water hides. Tilt the piece toward the light and check for missed droplets. The surface should look uniformly glossy with zero beading. A fully dry finish feels cool, slick, and dust-free under your hand. This is the moment your work pays off — clean, dry, and protected, exactly how a lacquer finish should look.
Step 8 – Apply Polish or Wax for Protection
This step is optional but worth it. A quality furniture polish or paste wax adds a protective layer, deepens the shine, and makes future cleaning easier.
Apply a small amount to a clean, dry cloth — never directly to the wood. Spread it in thin, even strokes following the grain. Less product means fewer streaks and no greasy buildup.
Let it haze over for the time the label specifies, usually a minute or two. Then buff it out with a fresh dry cloth using brisk, circular motions until the surface gleams. You’ll feel the friction warm slightly under your hand as the shine comes up. Done right, the finish looks rich and reflective, not oily. Reapply every few months for ongoing wood surface maintenance.
Common Mistakes to Avoid
The fastest way to ruin lacquered wood is using too much water. Lacquer seals the surface, but moisture finds seams and edges, seeps under the finish, and lifts it from the wood. Always wring your cloth until it’s barely damp and dry the surface right after. Standing water is your number one enemy.
Harsh chemicals come next. Ammonia, bleach, and all-purpose sprays strip lacquer and cloud the shine permanently. So do silicone-heavy “polish” products that build up into a sticky film. Stick to mild dish soap, diluted vinegar, and trusted furniture polish made for wood.
Abrasive tools cause damage you can’t undo. Paper towels, scrubbing pads, and rough cloths leave fine scratches that dull the glossy look. Microfiber is the only safe choice.
Many people also scrub in circles with hard pressure. This grinds dirt into the finish and creates swirl marks visible in any light. Wipe gently, with the grain.
Finally, skipping the dust step turns loose grit into abrasive mud the second water hits it. Always dust dry first.
Expert Tips
Professionals control moisture obsessively. They keep a dry towel in the other hand and follow every wet pass with an immediate dry pass — no exceptions. That single habit prevents almost all water damage.
Always test any new cleaner on a hidden spot and wait a full minute before trusting it on the visible surface. Finishes vary, and what’s safe on one piece may dull another.
Work in indirect light, not direct sun. Angled lighting reveals streaks, haze, and missed spots that flat lighting hides, so you catch problems before they dry.
For deep shine, buff with a clean microfiber cloth and zero product after polishing. The friction lifts the gloss without adding more residue. And clean lightly every week rather than waiting for heavy buildup — small, frequent passes beat hard scrubbing every time.
Frequently Asked Questions
Can You Use Vinegar on Lacquered Wood?
Yes, but only diluted. Mix equal parts distilled white vinegar and water, apply it with a damp cloth, and use it for stubborn spots rather than everyday cleaning. Never use it full-strength, and always dry the surface right after. Test it on a hidden area first to confirm the finish stays glossy and unchanged before treating visible areas.
How Often Should You Clean Lacquered Wood?
Dust weekly with a dry microfiber cloth and do a damp clean every two to four weeks, depending on use. High-traffic pieces like dining tables need more frequent attention. Frequent light cleaning prevents grime buildup and the hard scrubbing that damages the finish. Consistent wood care keeps the lacquer shielded and extends the life of the piece significantly.
What Should You Never Use on Lacquered Wood?
Avoid ammonia, bleach, all-purpose sprays, and silicone-heavy polishes. These strip or cloud the lacquer finish permanently. Skip paper towels and abrasive sponges too, since they leave fine scratches that dull the shine. Stick to soft microfiber cloths, mild dish soap, and diluted vinegar. The gentler your approach, the longer your finish stays bright and protected.
Why Does My Lacquered Wood Look Cloudy After Cleaning?
Cloudiness usually means leftover cleaner residue or trapped moisture. You either skipped the rinse step or let water sit too long. Wipe the surface with a clean, barely damp cloth to lift the residue, then dry it immediately with a lint-free towel. If the haze persists, it may be moisture under the finish, which needs professional attention.
Do You Need to Polish Lacquered Wood After Cleaning?
No, polish is optional. Cleaning alone keeps the surface fresh, but a quality furniture polish or wax adds a protective layer and deepens the shine. Apply it sparingly every few months, not every cleaning. Too much product builds up into a sticky film. A thin coat, buffed well, protects the finish and makes future cleaning faster and easier.
Conclusion
Clean lacquered wood the right way and it rewards you for years. The routine is simple: clear the surface, dust it dry, wipe it with barely soapy water, rinse, and dry immediately. Treat stubborn spots with diluted vinegar, and finish with polish when you want extra protection. Control the moisture, skip the harsh chemicals, and always work with the grain.
You don’t need expensive products or special skills. You need the right supplies and a gentle, consistent hand. Master how to clean lacquered wood and you’ll save money on refinishing, protect your furniture, and keep that glossy finish looking sharp.
Start with one piece this week. Pull out a microfiber cloth, mix a little dish soap and water, and see the shine come back in minutes. Once you’ve done it once, the process sticks. Your furniture stays beautiful, your investment stays protected, and you’ll never fear a smudge or spill again.
