
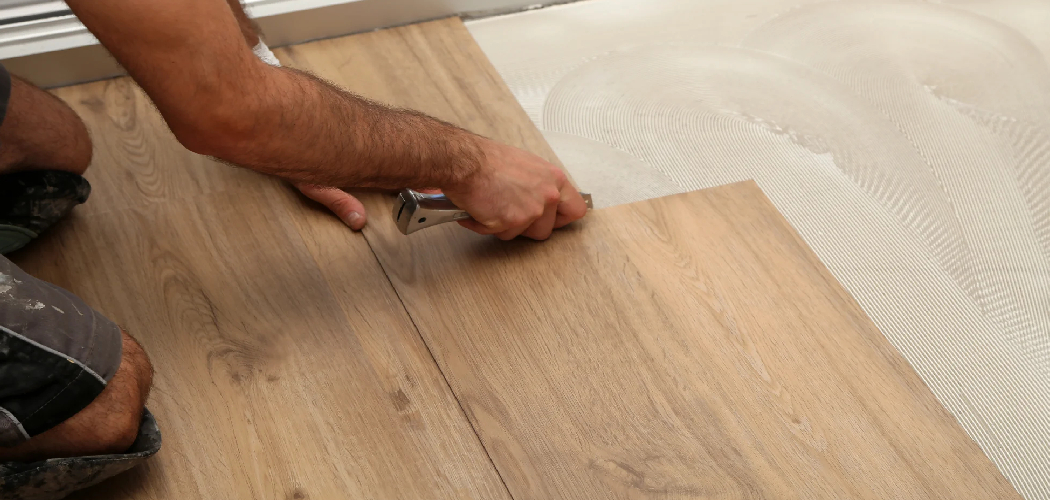
Peeling corners. Trapped air bubbles. Vinyl that slides off within a week. These are the problems that turn a simple wood project into a frustrating mess. Learning how to adhere vinyl to wood the right way fixes all of them. Wood is porous, textured, and unpredictable, which means it demands more prep than glass or metal ever will. But the payoff is worth it. A clean vinyl decal on a wood sign, crate, or shelf looks professional and lasts for years when applied correctly.
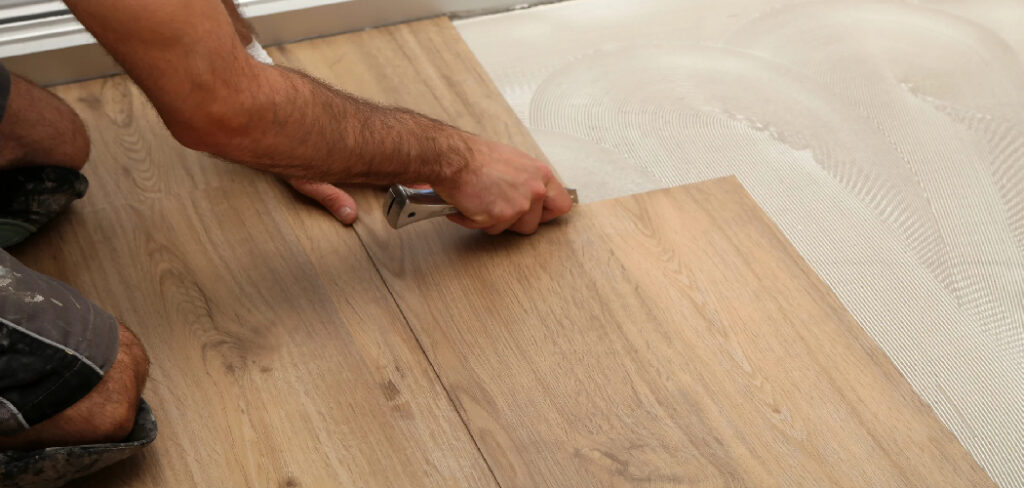
You don’t need a workshop full of tools or years of experience. You need the right materials, a steady hand, and a clear process. This guide walks you through every step, from surface prep to final seal, so your vinyl sticks the first time and stays put.
Why Adhering Vinyl to Wood Matters
Custom signs cost a fortune at boutique shops. A single personalized wood plaque can run $40 or more. Make it yourself for under $10. That’s the immediate value of mastering vinyl on wood.
Beyond the savings, this skill builds confidence fast. Each project teaches you how surfaces behave, how adhesive bonds, and how to fix small errors before they ruin the piece. You stop guessing and start producing clean, repeatable results.
It also protects your work. Poor application leads to lifting edges, moisture creeping under the vinyl, and decals that fail within weeks. Done right, your vinyl resists peeling, handles handling, and keeps wood projects looking sharp for years. One reliable technique extends the life of every sign, crate, and gift you make.
Tools and Materials You’ll Need
Gather everything before you start. Stopping mid-project to find a missing tool invites mistakes.
- Adhesive vinyl — pressure-sensitive permanent vinyl for lasting bonds.
- Transfer tape — moves your design from backing to wood in one piece.
- Squeegee or plastic scraper — presses vinyl flat and removes air.
- Sandpaper — 180 to 220 grit for smoothing rough grain.
- Tack cloth or microfiber — clears dust before application.
- Rubbing alcohol — degreases and preps the surface.
- Scissors or craft knife — trims excess vinyl cleanly.
- Measuring tape and pencil — marks placement accurately.
- Painter’s tape — holds your design in position while you work.
- Clear sealant (optional) — locks down edges on high-wear pieces.
Quality materials matter here. Cheap vinyl lifts at the corners and tears during transfer.
Step-by-Step Guide on How to Adhere Vinyl to Wood
Step 1 – Sand the Wood Surface Smooth
Rough wood ruins vinyl adhesion. The grain catches the adhesive unevenly and leaves gaps that turn into peeling edges later. Start by sanding the entire surface with 180 to 220 grit sandpaper.
Move in the direction of the grain, not against it. You’ll hear the paper shift from a gritty scratch to a smooth glide as the surface evens out. Run your hand across the wood. It should feel like fine paper, with no splinters or raised fibers catching your fingertips.
Pay extra attention to knots and edges, where wood tends to stay rough. A smooth, uniform surface gives the vinyl maximum contact. This single step does more for long-term hold than any product you’ll buy.
Step 2 – Clean and Degrease Thoroughly
Dust and oils block adhesion. Even invisible residue from your hands prevents vinyl from bonding fully. After sanding, wipe the surface with a tack cloth or microfiber to lift loose particles.
Next, dampen a clean cloth with rubbing alcohol and wipe the wood down. You’ll smell the sharp scent evaporate within seconds, leaving the surface dry and ready. Avoid water-based cleaners on raw wood, since they raise the grain and undo your sanding.
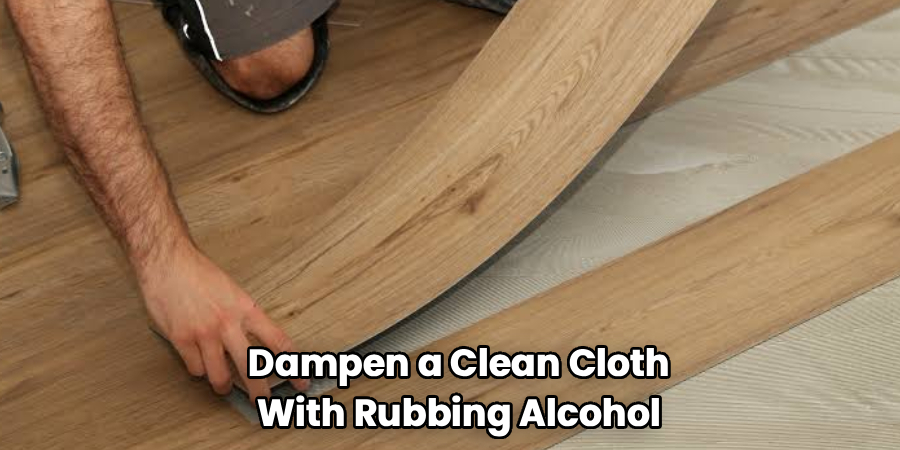
Let the wood dry completely before moving on. Run your fingertips across it one more time. No dust, no grit, no oily film. A clean surface is the foundation of every successful application, and skipping it guarantees lifting edges down the road.
Step 3 – Seal or Paint If Desired
Raw wood drinks adhesive. The porous fibers pull moisture and glue inward, which weakens the bond over time. If you’re working with bare wood, seal it first with paint, stain, or a clear coat.
Apply thin, even layers and let each one cure fully. You’ll know it’s ready when the surface feels hard and slick rather than tacky. A sealed surface gives pressure-sensitive vinyl a flat, non-absorbent base to grip.
This step is where mastering how to adhere vinyl to wood separates clean results from disappointing ones. Sealed wood holds vinyl far longer than raw grain. Skip it only if your wood already has a smooth, finished surface.
Step 4 – Measure and Mark Placement
Crooked decals ruin otherwise perfect work. Before any vinyl touches wood, plan exactly where the design lands. Use a measuring tape to find the center and mark light pencil reference points.
For larger signs, mark both horizontal and vertical centerlines. These guides keep your design level and balanced. Hold the vinyl over the marks and step back. Does it look centered to your eye? Trust both the measurements and your view.
Place small strips of painter’s tape at the corners to confirm positioning before committing. This dry run costs two minutes and saves you from peeling up misaligned vinyl. Precise placement now means no second-guessing once the adhesive grabs hold.
Step 5 – Apply Transfer Tape to the Design
Transfer tape moves your cut design onto the wood as one clean piece. Without it, intricate letters and shapes shift out of alignment. Lay your vinyl design face-up on a flat surface.
Cut a piece of transfer tape slightly larger than the design. Peel the backing and lower the tape onto the vinyl, working from one edge to the other. You’ll hear a faint crackle as it settles. Press firmly with your squeegee, sweeping side to side.
Flip the design over and peel away the paper backing slowly. The vinyl should release from the backing and cling to the transfer tape. If a piece stays behind, press it back down and re-squeegee that spot.
Step 6 – Position and Press the Vinyl Down
This is the moment everything comes together. Line up your design with the pencil marks from Step 4. Lower one edge of the transfer tape onto the wood first, then slowly roll the rest down to avoid trapping air.
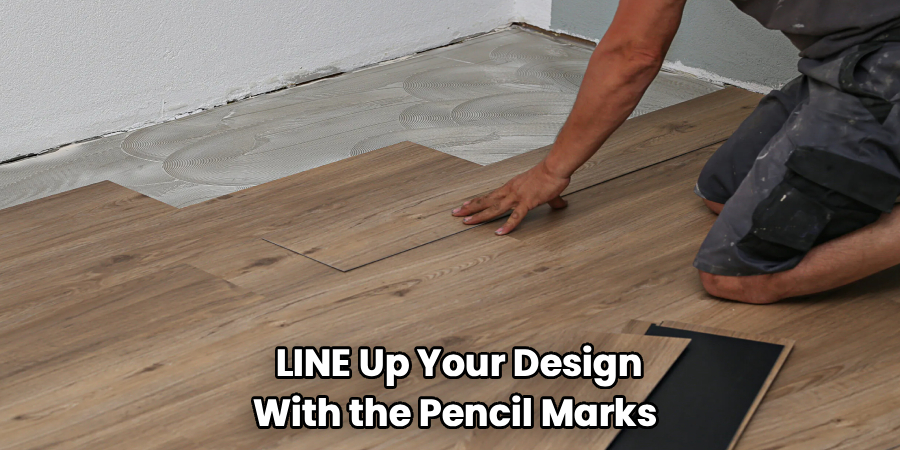
Once positioned, hold it steady. Knowing how to adhere vinyl to wood without bubbles comes down to this controlled, edge-to-edge contact. Press the squeegee firmly across the surface, moving from the center outward.
You’ll feel the vinyl grab the wood as you sweep. Work over every section, especially the corners and fine details. Watch for air pockets that look like small raised bumps and push them toward the nearest edge until the surface lies flat and tight.
Step 7 – Remove the Transfer Tape Slowly
Rushing this step lifts your vinyl right off the wood. Peel the transfer tape back at a low angle, almost flat against the surface, rather than pulling straight up.
Move slowly. Watch the vinyl as you go. If a letter or edge starts to lift with the tape, lay the tape back down, re-squeegee that area firmly, and try again. Wood’s texture sometimes needs extra pressure to release the tape cleanly.
You’ll feel the tape separate smoothly when the vinyl has bonded well. The design stays flat on the wood while the tape comes away clean. Take your time here. A patient peel preserves every detail you worked to position.
Step 8 – Press Edges and Seal for Durability
Edges fail first. They catch on hands, clothing, and moisture, which lifts them over time. Go back over every edge of the design with your squeegee or even a fingernail, pressing firmly to lock the borders down.
Run your finger around the perimeter. The edges should feel flush with the wood, with no lifting corners. For pieces that face handling, weather, or frequent touching, apply a thin clear sealant over the entire surface.
Use light, even coats and let each dry fully. The sealant locks the vinyl in place and shields it from moisture and wear. This final step transforms a good application into one that lasts for years.
Common Mistakes to Avoid
The biggest mistake beginners make is skipping surface prep. Applying vinyl to raw, dusty, or oily wood almost guarantees failure. The adhesive can’t grip properly, and within days you’ll see edges curling up. Always sand, clean, and seal before you start. This one habit prevents most adhesion problems.
Trapping air bubbles is another frequent error. When you slap the entire design down at once, air gets caught underneath and creates raised bumps. Instead, anchor one edge first and roll the vinyl down gradually while pressing outward with your squeegee. Patience here pays off.
Pulling transfer tape too fast or at the wrong angle lifts the vinyl right back up. Peel slowly at a low, flat angle and re-press any sections that resist. Yanking straight up is the fastest way to ruin a design.
Many people also ignore the edges. Unpressed borders are where peeling begins. Always burnish the perimeter firmly. Finally, rushing the whole job leads to crooked placement and weak bonds. Slow down, measure twice, and let each layer cure. Good vinyl work rewards a steady, deliberate pace.
Expert Tips
Warm the vinyl slightly before applying it to textured or curved wood. A quick pass with a hair dryer makes the adhesive more pliable, so it conforms to grain and corners without tension. Cold vinyl resists curves and snaps back.
Burnish through a sheet of backing paper rather than directly on the transfer tape. This protects the vinyl from squeegee scratches while still driving out air. Pros use this trick on glossy and sealed surfaces constantly.
For raw wood, a coat of clear polyurethane creates the ideal non-porous base. It outperforms paint for adhesion in most cases. And always let sealed or painted wood cure for a full 24 to 72 hours before applying vinyl. Surfaces that feel dry on top often hold moisture underneath that quietly weakens your bond.
Frequently Asked Questions
Does Vinyl Stick Better to Painted or Raw Wood?
Vinyl sticks better to painted or sealed wood. Raw wood is porous and absorbs adhesive, which weakens the bond and causes lifting. A smooth, sealed surface gives pressure-sensitive vinyl flat, non-absorbent contact to grip. If you must use raw wood, sand it smooth and apply a clear coat or paint first, then let it cure fully before application.
How Long Should I Wait Before Sealing Over the Vinyl?
Wait at least 24 to 48 hours after applying the vinyl before sealing over it. This gives the adhesive time to bond fully with the wood surface. Sealing too soon can trap moisture or shift the vinyl. When you do seal, use thin, even coats of a clear product and let each layer dry completely before adding the next.
Why Does My Vinyl Keep Peeling at the Edges?
Peeling edges usually come from poor prep or unpressed borders. If the wood was dusty, oily, or too rough, the adhesive never gripped properly. Always sand, clean with rubbing alcohol, and seal raw wood first. After applying, burnish every edge firmly with your squeegee or a fingernail. For high-wear pieces, a clear sealant over the vinyl locks the borders down for good.
Can I Use Regular Vinyl or Do I Need Permanent Vinyl?
Use permanent, pressure-sensitive vinyl for wood projects. Removable vinyl uses a lighter adhesive designed to peel off cleanly, which makes it unreliable on porous, textured surfaces. Permanent vinyl bonds strongly and resists lifting, moisture, and handling. For signs, crates, and decor meant to last, permanent vinyl is the right choice every time. Save removable vinyl for temporary or indoor low-contact uses.
How Do I Remove Vinyl From Wood Later Without Damage?
Warm the vinyl first with a hair dryer to soften the adhesive. Then peel slowly at a low angle, working from one corner. Heat as you go to ease stubborn sections. Remove leftover adhesive with a little rubbing alcohol or an adhesive remover, then wipe clean. Test any remover on a hidden spot first, since some finishes react to chemicals.
Conclusion
Clean vinyl on wood comes down to preparation and patience. Sand the surface smooth. Clean and degrease it. Seal raw wood, measure your placement, and press the vinyl down edge to edge without trapping air. Peel the transfer tape slowly, burnish the borders, and seal high-wear pieces for lasting hold. Follow these steps and your decals stay flat, tight, and professional for years.
You now know how to adhere vinyl to wood the right way, from bare grain to finished sign. The skill saves money, sharpens your eye, and opens the door to custom signs, gifts, crates, and decor you’d otherwise pay a premium for.
Start with a small project to build confidence. A simple wood sign or labeled box teaches you the feel of the process. Each piece gets faster and cleaner. Grab your materials, take your time, and put your new technique to work. Your first flawless decal is closer than you think.
