
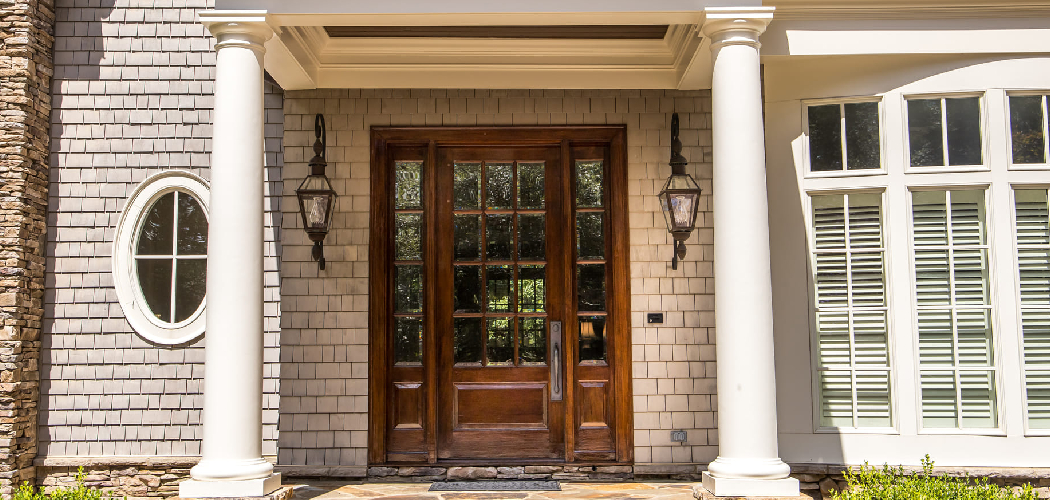
Your front door takes a beating. Sun, rain, wind, and temperature swings strip away its finish and leave the wood gray, cracked, or peeling. Left alone, that damage spreads and shortens the life of an expensive door. The good news: you can fix it yourself in a weekend. Learning how to refinish exterior wood door surfaces saves you money, restores curb appeal, and protects the wood from further weather damage.
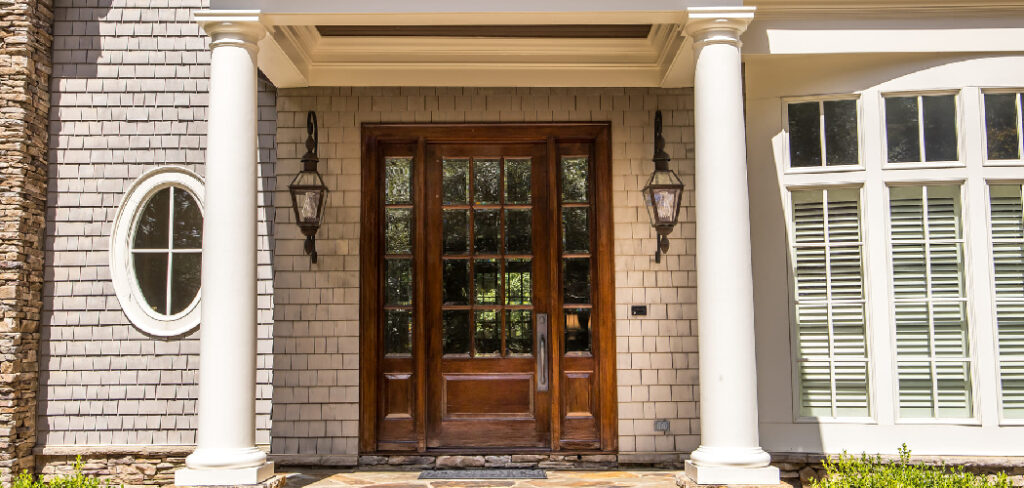
You don’t need a pro’s shop or years of experience. You need the right steps, a few tools, and a little patience. This guide walks you through the entire door refinishing project from start to finish—stripping the old finish, sanding the wood, applying stain, and sealing it for long-term UV protection.
Why Refinishing Your Exterior Wood Door Matters
A new exterior wood door costs hundreds to thousands of dollars. Refinishing the one you have costs a fraction of that. You keep the original craftsmanship and skip the install headaches.
Refinishing also extends the wood’s life. A solid finish blocks moisture and UV rays, the two forces that warp, crack, and rot outdoor wood. Catch the damage early and you avoid replacing the whole door later.
There’s a confidence payoff too. Once you refinish one door, you understand sanding, staining, and sealing well enough to tackle window frames, trim, and furniture. You also learn to spot small problems before they turn into costly repairs. That skill pays you back on every wood project you own.
Tools and Materials You’ll Need
Gather everything before you start. Stopping mid-project to buy supplies lets dust settle into wet finish.
- Chemical stripper or heat gun — removes old paint and varnish fast
- Sandpaper — 80, 120, and 220 grit for staged smoothing
- Orbital sander — speeds up flat-surface sanding
- Putty knife or scraper — lifts softened finish cleanly
- Tack cloth — wipes away fine sanding dust
- Painter’s tape and plastic sheeting — protects glass, hardware, and surrounding walls
- Wood stain or exterior paint — your chosen color and finish
- Exterior-grade sealant or spar varnish — adds UV protection and waterproofing
- Quality brushes and foam applicators — for smooth, even coats
- Drop cloth — catches drips and debris
- Door stand or sawhorses (optional) — holds the door flat for easier work
Step-by-Step Guide on How to Refinish Exterior Wood Door
Follow these steps in order. Rushing one stage shows up in the next, so give each its time.
Step 1 – Remove the Door and Hardware
Start by lifting the door off its hinges. Tap the hinge pins up with a screwdriver and hammer, then have a helper steady the door as the last pin comes free. You’ll feel the weight shift suddenly—grip firmly.
Lay the door flat across two sawhorses. A horizontal surface keeps stain and sealant from running into drips. Unscrew the handle, lock, knocker, and hinges. Drop the screws into a labeled bag so reassembly goes smoothly.
Working flat is the single biggest reason DIY door refinishing projects come out clean. You get even coats and full control. If you must work on a hung door, tape off everything and accept a longer cure time.
Step 2 – Strip the Old Finish
Now remove the worn paint or varnish. Brush on a thick, even layer of chemical stripper and wait. Within minutes you’ll see the finish bubble and wrinkle—that’s your cue it’s working.
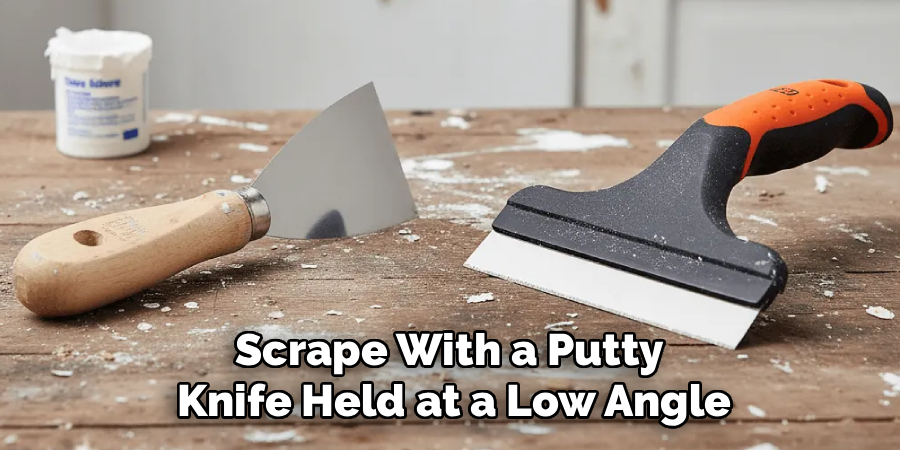
Scrape with a putty knife held at a low angle. The softened finish should lift in satisfying ribbons. If it drags or tears, give the stripper more time. Force it and you’ll gouge the wood.
For detailed panels and corners, switch to a stiff brush or fine steel wool. Wipe away residue with a damp rag and let the surface dry fully. Done right, the bare wood feels cool and slightly rough, with no glossy patches hiding under the old paint removal.
Step 3 – Sand the Wood Smooth
Sanding opens the grain so stain soaks in evenly. Start with 80-grit to knock down rough spots and leftover finish. Move your orbital sander with the grain, never against it, in slow overlapping passes.
You’ll hear the sander’s pitch change as the surface flattens—a smoother, higher hum means the wood is leveling out. Switch to 120-grit, then finish with 220-grit for a silky feel.
Run your bare hand across the wood. It should feel uniform, with no ridges or fuzzy patches. Pay extra attention to edges and panel grooves where old finish hides. Skipping grits leaves swirl marks that show through the stain, so don’t jump straight to fine paper.
Step 4 – Clean Off All Dust
Dust is the enemy of a smooth finish. Vacuum the door and surrounding area first to pull loose particles out of the grooves.
Then wipe every surface with a tack cloth. Drag it slowly so the sticky fibers grab the fine powder that vacuuming misses. Pay close attention to corners, raised panels, and trim details where dust collects.
Hold the door up to the light at an angle. A clean surface looks even and matte. If you spot a hazy film or feel grit under your fingertips, wipe again. Even a thin layer of dust traps under stain and creates a gritty, uneven texture you can’t fix without sanding back down.
Step 5 – Apply Wood Stain or Paint
This is the heart of how to refinish exterior wood door work, where the wood transforms. Stir your stain thoroughly—never shake it, since bubbles ruin a smooth coat.
Load your brush and apply in long strokes that follow the grain. Work in sections and keep a wet edge so the color blends without lap marks. After a few minutes, wipe off excess with a clean rag for even tone.
Watch for pooling in the panel grooves; drag those out before they dry dark. A good first coat looks consistent, with no blotchy light and dark zones. Let it dry per the label, then add a second coat if you want deeper color and richer grain.
Step 6 – Seal with Exterior Protectant
Stain colors the wood, but sealant protects it. Apply an exterior-grade spar varnish or outdoor wood sealant once the stain dries completely.
Use a clean brush and flow the sealant on in thin, even coats. Thick coats sag, drip, and dry cloudy. You want a glassy, wet-looking surface that levels out on its own within a minute.
Watch the light reflection as you work—it reveals missed spots and runs instantly. Let each coat cure fully, then sand lightly with 220-grit between coats for adhesion. Wipe the dust and recoat. Two to three coats give the best UV protection and waterproofing, keeping rain and sun from reaching the wood underneath.
Step 7 – Reinstall the Door
Wait until every coat cures hard—usually 24 to 72 hours depending on humidity. A tacky finish smudges the moment you touch it, so test an edge first. It should feel dry and slick, not sticky.
Reattach the hinges, handle, lock, and any hardware using your labeled screws. Have a helper lift the door into the frame while you line up the hinges and slide the pins back in.
Swing the door a few times. It should move freely without rubbing or sticking. If it catches, check the hinge alignment rather than forcing it. Step back and look: clean color, smooth sheen, and crisp edges mean your refinishing paid off.
Common Mistakes to Avoid
The biggest mistake is rushing the dry times. A fresh finish feels dry on the surface long before it cures underneath. Reassemble or recoat too soon and you’ll smear the finish, trap moisture, or leave fingerprints baked into the surface. Patience here protects all your earlier work.
Another common error is skipping sandpaper grits. Jumping from 80-grit straight to 220 leaves scratches that the finer paper can’t erase. Those swirls stay invisible until the stain hits them, then they show up dark and obvious. Work through each grit in order.
Many beginners apply stain or sealant too thick, thinking more equals better protection. Thick coats sag, wrinkle, and dry cloudy. Thin, even layers always win.
Poor surface prep ruins finishes too. Leftover dust, grease, or old finish stops stain from bonding, causing peeling within months. Clean thoroughly before you coat.
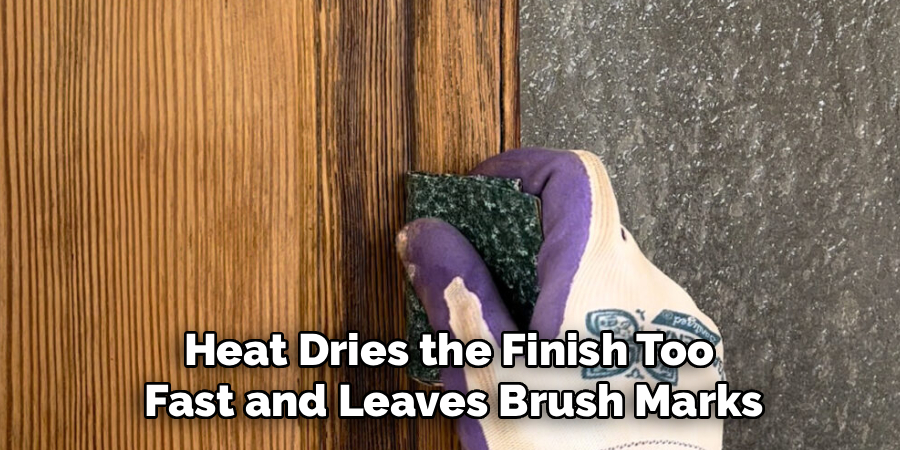
Finally, don’t refinish in direct sun or high humidity. Heat dries the finish too fast and leaves brush marks, while damp air clouds the sealant. Pick a mild, dry day in the shade.
Expert Tips
Refinish your door in stages across overcast days, not blazing afternoons. Cooler temperatures slow the dry time just enough to let brush strokes flatten and self-level. The result is a glass-smooth finish with no visible lines.
Always test your stain on the bottom edge or a hidden scrap first. Wood species absorb color differently, and that quick test saves you from an unwanted shade across the whole door.
Add a UV-resistant topcoat even over stain that claims built-in protection. South- and west-facing doors take the harshest sun, and an extra sealant coat doubles the time before fading.
Finally, keep a tack cloth in your free hand between coats. A quick wipe catches stray dust the second it lands, and clean surfaces between layers separate amateur work from professional results.
Frequently Asked Questions
How Long Does It Take to Refinish an Exterior Wood Door?
Plan on two to three days total. The hands-on work—stripping, sanding, staining, and sealing—takes four to six hours. The rest is dry and cure time between coats. Humidity and temperature affect drying, so cool or damp conditions stretch the timeline. Don’t rush; proper curing between each layer determines how long your finish lasts.
Can I Refinish My Door Without Removing It?
Yes, but removing it gives far better results. A flat, horizontal door lets stain and sealant level evenly with no drips or runs. If you leave it hung, tape off the hardware and frame, work in thin coats, and expect longer dry times. For panels and grooves especially, working flat prevents pooling and uneven color.
What’s the Difference Between Stain and Paint for an Exterior Door?
Stain soaks into the wood and shows off the natural grain, giving a warm, traditional look. Paint sits on the surface as a solid color and hides the grain completely. Paint offers strong UV protection but peels over time, while stain fades gradually and recoats easily. Choose based on the look you want and your maintenance preference.
How Often Should I Refinish My Exterior Wood Door?
Most exterior doors need refinishing every two to three years, though sun exposure changes that. South- and west-facing doors fade faster and may need attention yearly. Watch for dull color, fine cracks, or water that no longer beads on the surface—those are your signals. A quick fresh topcoat applied early prevents a full strip-and-sand later.
Do I Need to Sand Between Coats of Sealant?
Yes, light sanding between coats improves adhesion and smoothness. Use 220-grit paper with a gentle touch, just enough to dull the shine without cutting through. Wipe away every speck of dust with a tack cloth before the next coat. This step removes tiny bumps and dust nibs, giving you a smooth, professional finish that bonds layer to layer.
Conclusion
Refinishing your front door is one of the most rewarding weekend projects you can take on. You save the cost of a replacement, protect the wood from sun and moisture, and walk away with a skill that carries over to trim, furniture, and more. Knowing how to refinish exterior wood door surfaces means you control the look and lifespan of one of your home’s most visible features.
The formula is simple: strip the old finish, sand through the grits, clean every speck of dust, then stain and seal in thin, even coats. Respect the dry times and work on a mild, shaded day. Those habits separate a finish that lasts years from one that peels in months.
Gather your tools, pick a dry weekend, and follow the steps above. Your door will reward you with rich color, a smooth sheen, and protection that holds up season after season. Start your refinishing project today—your front entrance deserves it.
