
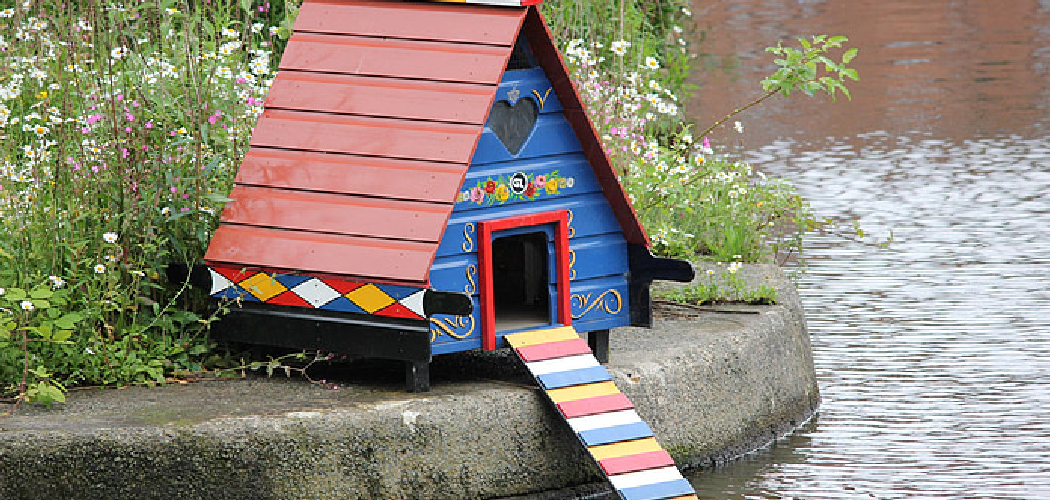
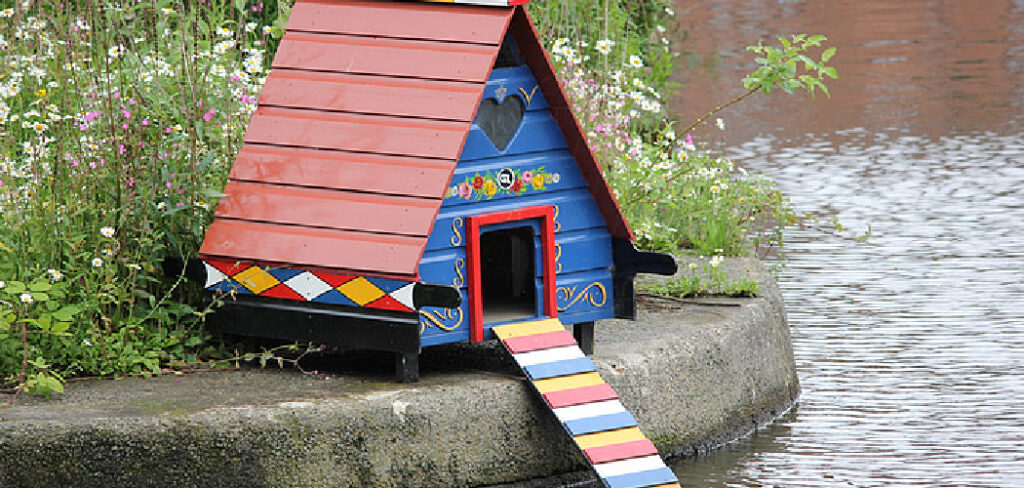
Few backyard projects feel as rewarding as watching a wood duck hen lead her ducklings out of a nesting box you built with your own hands. Wood ducks lost much of their natural habitat when old hollow trees disappeared from wetlands, and a well-made box gives them a safe place to raise their young.
The good news? You don’t need fancy gear or years of woodworking practice to make one. Learning how to build a wood duck box takes a single board, a few common tools, and an afternoon of focused work. This guide walks you through every step, from picking the right cedar wood to mounting your finished box near water, so you can support waterfowl nesting and enjoy a project that actually makes a difference.
Why Building a Wood Duck Box Matters
Building your own nesting box does more than fill a Saturday afternoon. It saves you money, since a store-bought box often costs two or three times what raw lumber does. You control the quality too. A homemade box built from solid cedar wood lasts far longer than the thin, glued-together kits sold online.
There’s a bigger payoff. Wood ducks depend on tree cavities that have grown scarce across North America. Your box becomes real wood duck habitat, helping a hen hatch a dozen ducklings each spring. For beginners, this project builds genuine confidence. You’ll cut, drill, and assemble with simple joints, then watch wetland wildlife use what you made. That mix of practical skill and visible impact is hard to beat.
Tools and Materials You’ll Need
Gather everything before you start so the work flows without interruptions. Here’s what gets the job done:
- One cedar board (1″ x 10″ x 10′, rough-cut, untreated) — cedar resists rot and needs no chemicals that could harm ducklings
- Galvanized or stainless steel screws (1 5/8″ deck screws) — they won’t rust or stain the wood
- Drill with bits, including a 1/4″ bit for drainage and pilot holes
- Jigsaw or hole saw to cut the entry hole
- Tape measure and pencil for accurate marking
- Carpenter’s square to keep your cuts true
- Wood rasp or coarse sandpaper to roughen the inside front panel
- Safety glasses and work gloves
- A handful of wood shavings or cedar chips for nesting material
- Optional: a clamp to hold panels steady while you screw them together
Step-by-Step Guide on How to Build a Wood Duck Box
Step 1 – Measure and Mark Your Cedar Board
Lay your cedar board flat on a stable surface and run your hand across it to find the smoother face, which becomes the outside. Using your tape measure and pencil, mark out each panel: a back (24″ tall), two sides (with sloped tops for the roof), a front, a floor, and a roof piece. Press firmly so the pencil lines stay visible against the reddish cedar grain. Use your carpenter’s square to keep every line straight. Double-check each measurement before moving on, because a crooked cut here throws off the whole box. Take your time. Clear, accurate marks are the foundation of how to build a wood duck box that fits together cleanly and lasts for years.
Step 2 – Cut the Panels to Size
Slip on your safety glasses and start cutting along your marked lines. A circular saw or handsaw works fine for straight cuts. Listen for a steady, even sound as the blade moves through the cedar; a chattering or binding noise usually means you’re pushing too fast. Cut the side panels with their angled tops first, since these set the roof’s gentle slope that sheds rain. When each panel drops free, the fresh cut should smell sharp and sweet, that classic cedar scent. Run your finger along the edges to check for rough spots. Stack your finished pieces in order so you can see the box taking shape before you assemble a single screw.
Step 3 – Cut the Entry Hole
The entry hole size matters more than any other detail. Wood ducks need an oval opening roughly 4 inches wide by 3 inches tall, placed about 19 inches up from the floor on the front panel. Mark the oval clearly, then drill a starter hole inside the line so your jigsaw blade has somewhere to begin. Cut slowly and follow the curve. The goal is a smooth oval, not a perfect circle, since the wider shape matches a duck’s body. When you finish, the edges may feel splintery. Smooth the outside lightly, but leave the bottom edge alone for now. That rough texture helps ducklings climb out when it’s time to leave the nest.
Step 4 – Roughen the Inside Front Panel
This step looks small but saves duckling lives. Newly hatched wood ducks must climb up the inside of the box to reach the entry hole, sometimes within a day of hatching. Smooth interior walls trap them at the bottom. Take your wood rasp or coarse sandpaper and scratch a series of horizontal grooves into the inside face of the front panel, running from the floor up to the entry hole. Press hard enough to leave a ladder of rough ridges your fingernail can catch on. You should feel distinct grip when you drag your hand upward. Some builders staple a strip of plastic mesh here instead, but roughening the cedar wood works just as well and stays chemical-free.
Step 5 – Drill Drainage and Ventilation Holes
Water and trapped heat both ruin a nest, so build in airflow and drainage now. Using your 1/4″ bit, drill four holes in the floor panel, one near each corner. These let any rain that blows in drain out fast, keeping the nesting material dry. Then drill a few holes near the top of each side panel, just under where the roof will sit. These vents release built-up heat on warm spring days. Keep the drill steady and let the bit do the work; you’ll feel it bite cleanly through the cedar. Blow away the sawdust and check that every hole is open. Good ventilation keeps the inside cool and comfortable for a nesting hen and her eggs.
Step 6 – Assemble the Box
Now the pieces come together. Start by attaching one side panel to the back, lining up the edges flush. Clamp them if you have a clamp handy, then drill pilot holes to stop the cedar from splitting. Drive your galvanized screws in slow and steady. You’ll hear a soft creak as the screw pulls the panels tight. Add the floor, setting it about a quarter inch up from the bottom edge so water can’t wick into the end grain. Attach the second side and the front last. As each panel locks in, the loose pile of wood becomes a real box. Give it a gentle shake; nothing should wobble or rattle if your screws are snug.
Step 7 – Attach the Hinged Roof
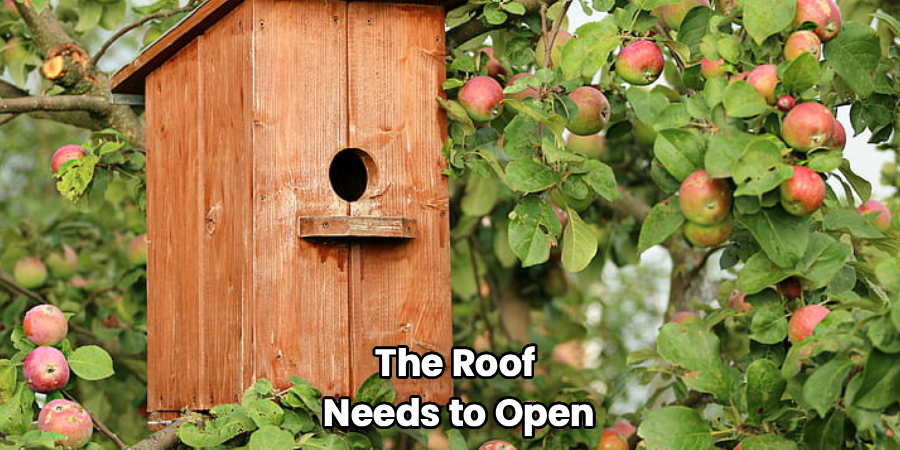
The roof needs to open so you can clean the box every year. Set the roof panel on top with a slight overhang at the front to keep rain off the entry hole. Instead of screwing it down solid, attach it along the back edge so it can pivot, or use a single screw on each side as a removable pivot point. Add a latch screw at the front that you can loosen by hand. Open and close the lid a few times to make sure it swings freely without binding. A roof that lifts easily means yearly cleaning takes minutes, not muscle, and a clean box draws nesting wood ducks back season after season.
Step 8 – Add a Predator Guard and Mount the Box
Predators are the biggest threat to any nesting box, so a predator guard isn’t optional. Slide a metal cone or cylinder around your mounting pole, just below the box, to stop raccoons and snakes from climbing up. Choose a steel mounting pole over a wooden post, since smooth metal is far harder to climb. Mount the box 6 to 10 feet high, facing open water if you can. Add three inches of wood shavings inside for nesting material. Stand back and check that the box sits level and the entry hole has a clear flight path. Place it in good wood duck habitat near a quiet pond or marsh, and you’ve done it.
Common Mistakes to Avoid
The most common error is using treated lumber or painting the inside. Treated wood contains chemicals that can harm eggs and ducklings, and painted interiors give off fumes in the heat. Stick to untreated cedar wood and leave the inside bare. Your ducks will thank you.
Skipping the rough interior ridges is another frequent slip. Builders often sand the inside smooth out of habit, not realizing that ducklings can’t climb glass-slick walls. Without that built-in ladder, an entire brood can die trapped at the bottom. Always scratch grooves below the entry hole.
Many first-timers also get the entry hole size wrong. Too big and predators or larger birds move in; too small and the ducks can’t enter. Stay close to the 4-inch by 3-inch oval. Mounting the box on a bare wooden post without a predator guard invites raccoons to raid the nest, so never skip that cone.
Finally, don’t forget yearly maintenance. A box packed with old nesting material and debris won’t attract a returning hen. Open the lid each winter, clear it out, and add fresh shavings.
Expert Tips
A few details separate a good box from a great one. Face the entry hole away from prevailing winds and toward open water, which gives the hen a clear, safe approach and exit. Group your boxes wisely, too. Wood ducks practice “egg dumping,” where several hens lay in the same box if they’re crowded, so space boxes at least 50 feet apart or place them out of sight of each other.
Mount your box over water if possible, since ducklings instinctively leap toward it on their first jump. If you mount on land, keep it within 100 feet of the shoreline. And check the box before nesting season starts in late winter, not spring, so a hen scouting early finds it clean and ready.
Frequently Asked Questions
What Is the Best Wood for a Duck Box?
Cedar wood is the top choice for a wood duck box. It naturally resists rot, decay, and insects without any chemical treatment, which keeps the box safe for eggs and ducklings. Cedar also handles years of rain, sun, and freezing weather better than pine or plywood. Choose rough-cut, untreated boards so the surface stays grippable inside and the wood breathes properly.
How High Should I Mount a Wood Duck Box?
Mount your box 6 to 10 feet above the ground or water surface. This height keeps it out of easy reach for most ground predators while staying accessible for your yearly cleaning. If you place the box over water, the lower end of that range works well, since ducklings have a soft landing. On land, aim higher and always add a predator guard below the box on the pole.
When Should I Put Up a Wood Duck Box?
Install your box in late winter, ideally by February, before nesting season begins. Wood duck hens scout for nest sites early, so a box that’s up and ready gives you the best chance of attracting one that first spring. If you miss the window, put it up anyway. Ducks may use it later in the season or return the following year once they’ve found it.
Do Wood Duck Boxes Need a Predator Guard?
Yes, a predator guard is essential. Raccoons, snakes, and squirrels raid unprotected nests and will eat eggs or ducklings. A metal cone or cylinder mounted on the pole below the box blocks climbing predators effectively. Pairing the guard with a smooth steel mounting pole instead of a wooden post gives the strongest protection. Without these, even a perfectly built box can fail in a single night.
How Big Should the Entry Hole Be?
The entry hole should be an oval roughly 4 inches wide and 3 inches tall. This size lets adult wood ducks slip in comfortably while keeping out larger birds and many predators. Place the hole about 19 inches above the floor so ducklings have room to climb. Cut it as a horizontal oval rather than a circle, since the wider shape matches the natural body shape of a wood duck.
Conclusion
You now have everything you need to turn a single cedar board into a safe home for wetland wildlife. Knowing how to build a wood duck box gives you a skill that pays off in two directions: you sharpen real woodworking confidence, and you create lasting wood duck habitat that helps a species rebound from lost nesting sites. Remember the details that matter most. Use untreated cedar wood, cut the entry hole to the right size, roughen the inside so ducklings can climb, add a predator guard, and mount the box near open water before nesting season.
None of these steps require special talent, just patience and care. Build your box this winter, fill it with fresh shavings, and watch your local pond come alive next spring. There’s a quiet pride in seeing a hen choose your handiwork for her nest. Grab your tools, pick a calm afternoon, and get started. Your wetland neighbors are waiting for a place to call home.
