
Perspex panels pop loose, crack at the edges, or cloud over when you use the wrong glue. The fix is simpler than most beginners think. Knowing how to glue perspex to wood gives you a clean, lasting bond for cabinet doors, picture frames, display cases, and protective covers. Perspex—also called acrylic sheet or plexiglass—is light, shatter-resistant, and crystal clear. But it behaves differently from glass or metal, so it needs the right adhesive and a little surface prep. Get those two things right, and your joint holds for years.
This guide walks you through every step, from picking the correct bonding agent to clamping the final joint, so you can attach acrylic to any wood surface with confidence.
Why Bonding Perspex to Wood Matters
A failed perspex joint wastes material, time, and money. Acrylic sheet isn’t cheap, and replacing a cracked panel twice costs more than learning the method once. Master this skill and you save on repairs, avoid frustrating do-overs, and build projects that actually last.
You also unlock dozens of practical builds. Think clear display boxes, framed photo mounts, light boxes, sliding cabinet windows, and protective tabletop covers. Each one depends on a strong, clean bond between clear plastic and a wood surface.
There’s a confidence factor too. Once you understand how acrylic reacts to different adhesives, you stop guessing. You pick the right product, prep the surface properly, and clamp with purpose. That control turns a nervous beginner into a steady, capable maker.
Tools and Materials You’ll Need
Gather everything before you start. A clean setup prevents rushed mistakes and weak joints.
- Perspex sheet (acrylic or plexiglass) cut to your project size
- Wood piece sanded and free of finish where the bond goes
- Clear epoxy or polyurethane adhesive for a strong, gap-filling bond
- Silicone adhesive for flexible joints or outdoor projects
- Fine-grit sandpaper (220–320 grit) for surface preparation
- Isopropyl alcohol to degrease both surfaces
- Clean lint-free cloths for wiping down
- Clamps or heavy weights to hold the joint under pressure
- Painter’s tape to mask edges and catch squeeze-out
- Disposable gloves to keep oils off the surfaces
- Caulking gun (optional) for smooth, even silicone or polyurethane application
Step-by-Step Guide on How to Glue Perspex to Wood
Step 1 – Choose the Right Adhesive
Pick your glue based on the job. The wrong bonding agent is the single biggest reason perspex joints fail.
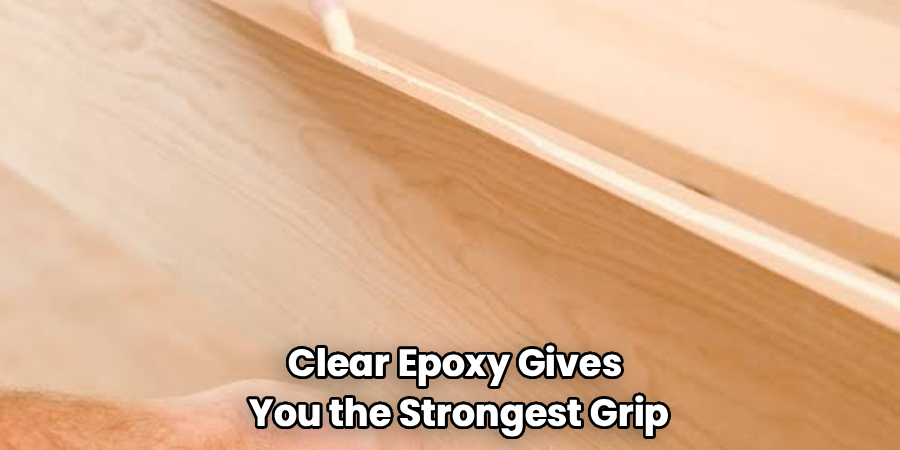
Clear epoxy gives you the strongest grip and fills small gaps between uneven surfaces. Use it for load-bearing joints and display cases. Polyurethane adhesive bonds fast and stays slightly flexible, which suits panels that face temperature swings. Silicone adhesive handles outdoor projects and joints that need to flex without cracking.
Avoid super glue on large panels—it bonds too fast and leaves a brittle line. Skip standard wood glue entirely; it won’t grip acrylic.
Knowing how to glue perspex to wood starts here, with matching the adhesive to the stress your joint will face. Choose well and the rest gets easier.
Step 2 – Measure and Mark Your Layout
Dry-fit before you glue. Place the perspex on the wood surface exactly where it will sit.
Mark the outline with a fine pencil or a strip of painter’s tape. This line becomes your guide and keeps the panel from sliding when you apply pressure. A clear layout also shows you where glue should go and where it shouldn’t.
Check your alignment twice. Acrylic is unforgiving once the adhesive grabs, so a crooked panel means peeling it off and starting over. Run your finger along the marked edge—you should feel the perspex tracking straight against your line.
Take your time here. Two minutes of careful marking saves you a ruined sheet and a fresh trip to the supplier.
Step 3 – Prepare the Wood Surface
Glue grips clean, slightly rough surfaces best. Smooth, finished, or dusty wood resists adhesion.
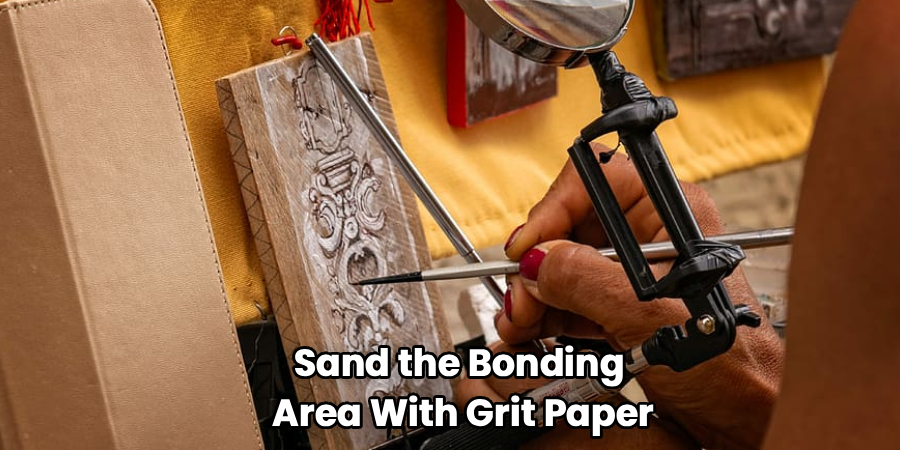
Sand the bonding area with 220-grit paper until you feel a light, even texture under your fingertips. You want to break any sealer or varnish so the adhesive can bite into the grain. Wipe away every speck of dust with a dry cloth, then a tack cloth if you have one.
The surface should look matte, not shiny, where the glue will land. If light still bounces off a glossy patch, sand again. A patchy, half-sanded surface creates weak spots that let the panel lift later.
Clean wood, lightly scuffed, is your foundation for a joint that holds.
Step 4 – Prep the Perspex Panel
Acrylic carries a thin protective film and a layer of static-grabbed dust. Both block adhesion.
Peel back the protective film only along the edge you plan to bond. Leave the rest in place to guard against scratches. Wipe the exposed strip with isopropyl alcohol on a lint-free cloth. You’ll hear a faint squeak as the cloth glides over truly clean acrylic—that sound means the surface is ready.
Don’t sand the visible face of the perspex; you’ll cloud it. A light scuff on the bonding edge alone is enough for epoxy to grip.
Skip the alcohol step and oils from your fingers will sabotage the bond. Wear gloves and handle the panel by its edges from here on.
Step 5 – Apply the Adhesive
Less is more. A thin, even layer bonds stronger than a thick, sloppy one.
Run a continuous bead of epoxy or polyurethane along the wood surface, staying just inside your marked line. For wide panels, add a few zigzag passes across the middle so the center doesn’t lift. If you’re using silicone, a caulking gun gives you smoother control.
Spread the adhesive thin with a scrap of card if needed. You want full coverage without pooling. Too much glue squeezes out and clouds the edges; too little leaves hollow gaps that crack under pressure.
This is the heart of how to glue perspex to wood—an even adhesive layer that grips the whole surface, not just the corners.
Step 6 – Position and Press the Perspex
Lower the panel slowly and align it to your marked edge. Once acrylic touches wet adhesive, it grabs fast.
Set one edge down first, then ease the rest flat like closing a book. This pushes air outward and prevents trapped bubbles. Press firmly across the whole surface with your palms. You should see the adhesive spread thin and even beneath the clear plastic.
Watch for air pockets—they look like cloudy spots or trapped silver patches under the sheet. If you spot one, lift gently and reseat before the glue sets.
A small, neat line of squeeze-out around the edge tells you the coverage is right. Wipe it away while it’s still wet.
Step 7 – Clamp and Apply Even Pressure
Pressure makes the bond. Without it, the joint cures weak and lifts at the edges.
Place clamps around the perimeter, or set evenly spaced weights across the panel. Slip scraps of soft wood or cloth under metal clamp heads so you don’t dent or scratch the perspex. Tighten until you see a thin, consistent squeeze-out—firm, but not crushing.
Spread the pressure so no single spot carries the whole load. An unclamped center on a wide panel will bow and create a gap you can’t see until it fails.
Let it sit undisturbed. You’ll feel the joint go rigid as the adhesive starts to set under steady, even pressure.
Step 8 – Cure, Clean, and Inspect
Patience now protects everything you just built. Rushing the cure ruins the bond.
Leave the clamps on for the full cure time on your adhesive label—usually 24 hours for epoxy, less for polyurethane. Keep the project at room temperature; cold slows the set and weakens the grip.
Once cured, remove the clamps and peel the protective film off the rest of the perspex. Clean any dried squeeze-out with a plastic-safe cleaner and a soft cloth. Avoid harsh solvents that fog acrylic.
Run your fingernail along the seam. A solid joint feels seamless with no lift or give. Hold the panel to the light—clear edges and no cloudy gaps confirm a clean, lasting bond.
Common Mistakes to Avoid
The most common error is choosing the wrong adhesive. Beginners reach for ordinary wood glue or super glue, then wonder why the panel pops off a week later. Wood glue can’t grip the smooth, non-porous face of acrylic, and super glue dries too brittle for large sheets. Match your adhesive to the job instead of grabbing whatever’s on the shelf.
Skipping surface preparation ranks a close second. A glossy, sealed wood surface or a dusty perspex edge gives the glue almost nothing to hold. Sand the wood to a matte texture and degrease the acrylic with alcohol every single time.
Applying too much adhesive causes its own trouble. Thick glue oozes out, clouds the clear edges, and traps bubbles. Spread a thin, even layer and wipe squeeze-out while it’s wet.
Many beginners also skip clamping. They press by hand for a minute and walk away. Without steady pressure during the full cure, the joint sets with hidden gaps that crack under stress. Finally, don’t rush the cure. Peeling clamps off early is the fastest way to undo good work.
Expert Tips
Warm the adhesive slightly before use. Epoxy and polyurethane flow smoother and bond stronger at room temperature, so never glue in a cold garage. A consistent 65–75°F gives you the cleanest set.
Test your adhesive on scrap first. Bond a small offcut of the same perspex and wood, let it cure, then try to pry it apart. This tells you if your product and prep work before you commit to the real piece.
For invisible joints, use a clear epoxy and apply it thinner than you think you need. Clouding almost always comes from excess glue, not the wrong product.
Finally, support wide panels from underneath while they cure. A flat backing board keeps the perspex dead level and stops the center from bowing as the adhesive sets.
Frequently Asked Questions
What Is the Best Glue for Bonding Perspex to Wood?
Clear epoxy is the best all-around choice. It bonds strongly, fills small gaps, and dries transparent for clean edges. For flexible or outdoor joints, use silicone adhesive instead, since it handles movement and weather without cracking. Avoid standard wood glue and super glue—neither grips acrylic reliably on larger panels. Match the adhesive to your project’s stress and environment.
Can I Use Super Glue on Acrylic Sheet?
Yes, but only for tiny joints. Super glue bonds acrylic fast, yet it dries brittle and leaves a thin, rigid line that cracks under stress or temperature change. It works for small repairs or quick tacks, not for full-size panels or load-bearing joints. For anything larger or permanent, epoxy or polyurethane gives you a far stronger, longer-lasting bond.
Do I Need to Sand the Perspex Before Gluing?
Lightly scuff only the bonding edge, never the visible face. A gentle sand on the contact strip gives epoxy more grip, but sanding the clear surface clouds it permanently. After scuffing, wipe the edge with isopropyl alcohol to remove dust and oils. Clean, lightly textured acrylic bonds far better than a smooth, glossy edge that the adhesive struggles to hold.
How Long Does the Adhesive Take to Cure?
Cure time depends on the adhesive. Most clear epoxy reaches full strength in 24 hours, while polyurethane often sets in 6 to 12 hours. Silicone needs about 24 hours to fully cure too. Always follow the label, and keep the project at room temperature. Cold slows curing and weakens the bond, so don’t rush or move the joint early.
Will the Glue Stay Clear Over Time?
Quality clear epoxy and silicone stay transparent for years when applied thin and cured properly. Clouding usually comes from too much adhesive, trapped bubbles, or harsh cleaners fogging the acrylic. Apply a thin, even layer, press out air pockets, and clean with plastic-safe products only. Done right, the bond stays invisible and your perspex keeps its crisp, clear finish.
Conclusion
A strong perspex-to-wood joint comes down to four things: the right adhesive, clean surface preparation, even glue coverage, and steady pressure during the cure. Get those right and your panel holds for years without cracking, clouding, or lifting.
Start by matching your bonding agent to the job—epoxy for strength, silicone for flexibility. Sand the wood to a matte texture, degrease the acrylic, spread a thin even layer, then clamp and wait. Patience during the cure protects all the careful work you put in.
You now know how to glue perspex to wood the right way, from layout to final inspection. That skill opens the door to display cases, light boxes, cabinet windows, and dozens of other clean, professional builds. Test on scrap, work at room temperature, and trust the process.
Grab your materials, prep your surfaces, and bond your first panel with confidence. Each project sharpens your touch, and soon a clear, seamless joint becomes second nature.
