
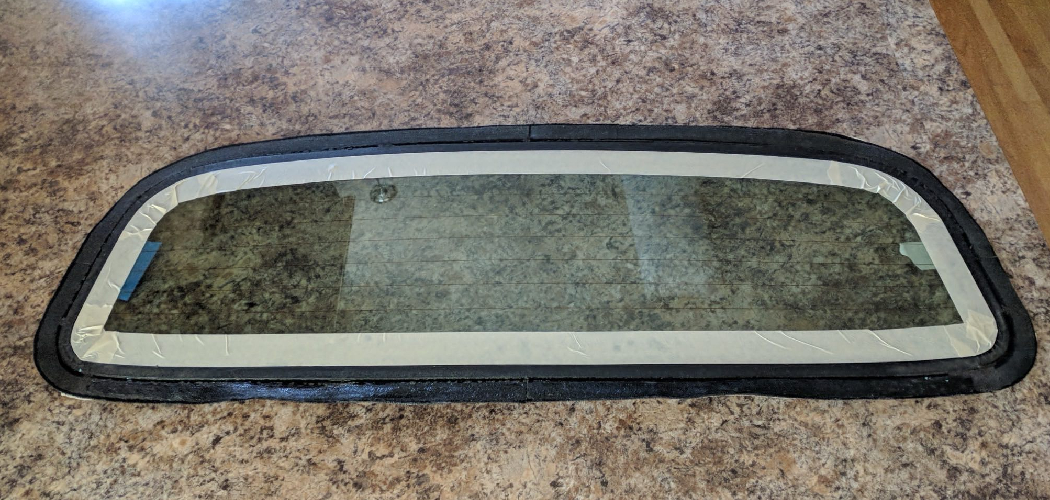
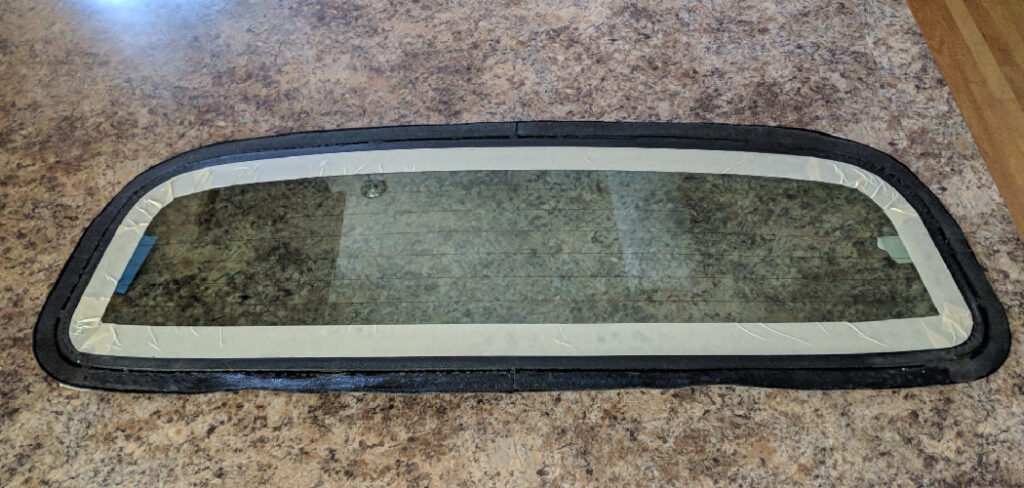
A wobbly glass tabletop or a glass panel that pops off its wooden frame ruins an otherwise great project. The fix is simpler than you think. Knowing how to glue glass to wood gives you a clean, permanent bond that holds up to weight, moisture, and daily use. Glass and wood behave differently. One is smooth and non-porous. The other soaks up moisture and shifts with temperature. Get the adhesive and surface prep right, and these two materials stay locked together for years.
This guide walks you through every step, from choosing the right glue to clamping for a strong, lasting bond. Whether you’re building a display cabinet, a coffee table, or a picture frame, you’ll finish with confidence.
Why Gluing Glass to Wood Matters
Replacing a broken glass-and-wood piece costs money. Repairing it yourself costs a fraction of that. Learn this skill once, and you stop paying for jobs you can handle at your own bench.
A solid bond also protects you from costly mistakes. Use the wrong glue, and the joint fails within weeks. The glass shifts. The wood stains. You start over, wasting both materials and time.
There’s a confidence payoff too. Once you’ve bonded glass to wood successfully, you’ll tackle bigger builds without hesitation. Glass cabinet doors, terrarium lids, mosaic tabletops, and framed mirrors all become approachable. Strong adhesive skills extend the life of every wood product you own and turn shaky repairs into solid, professional results you’ll be proud to show off.
Tools and Materials You’ll Need
Gather everything before you start. Stopping mid-project to find a clamp weakens your bond.
- Clear epoxy or silicone adhesive — the right adhesive for glass and wood bonding
- Isopropyl alcohol (90% or higher) — cleans glass for maximum bond strength
- Lint-free cloths — wipe surfaces without leaving fibers behind
- Fine-grit sandpaper (220 grit) — lightly scuffs the wood for better grip
- Painter’s tape — masks edges and holds glass during curing
- Clamps or weights — apply steady pressure while the adhesive sets
- Plastic spreader or putty knife — spreads epoxy in an even layer
- Disposable gloves — keep adhesive off your skin
- Mixing tray or scrap cardboard — for combining two-part epoxy
- Caulking gun (optional) — makes silicone application faster and cleaner for larger panels
Step-by-Step Guide on How to Glue Glass to Wood
Step 1 – Choose the Right Adhesive
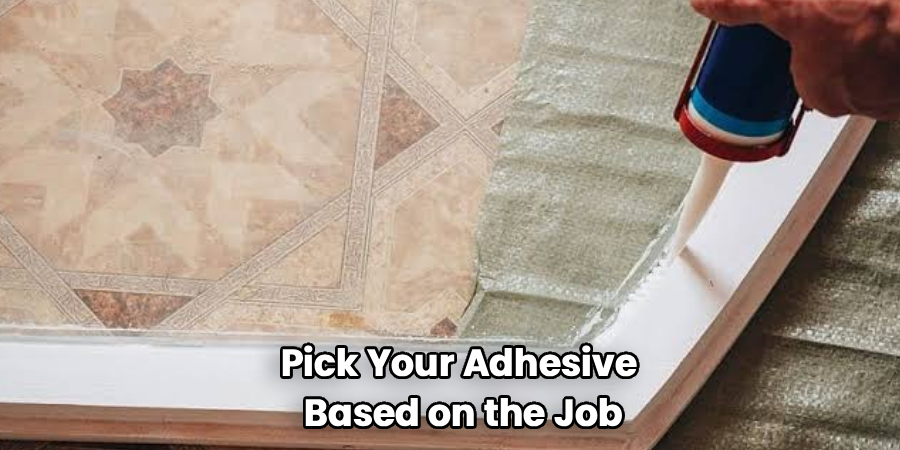
Pick your adhesive based on the job. The right choice decides whether your bond lasts years or fails in days.
Clear epoxy delivers the strongest hold. It bonds glass and wood permanently and resists water, heat, and weight. Use it for tabletops, shelves, and anything that carries a load.
Silicone adhesive flexes. That flexibility absorbs movement when wood expands or contracts with humidity. Choose it for picture frames, terrariums, and outdoor pieces.
Knowing how to glue glass to wood starts here. A heavy glass tabletop needs epoxy’s rigid strength. A decorative panel does better with silicone’s give. Match the adhesive to the stress the joint will face, and you’ve already won half the battle.
Step 2 – Prepare the Wood Surface
Surface preparation makes or breaks your bond. Skip it, and even the best epoxy lets go.
Start by sanding the wood where the glass will sit. Use 220-grit sandpaper and work in small circles. You want a lightly roughened surface, not deep scratches. Run your fingertips across it. It should feel faintly textured, like fine paper.
That texture gives the adhesive something to grab. A glossy, sealed surface offers nothing to hold onto, so the glue peels away later.
Wipe the sanded area with a dry, lint-free cloth. Remove every speck of dust. If you see a fine powdery film, brush it off. A clean, scuffed wood surface is your foundation for serious bond strength.
Step 3 – Clean the Glass Thoroughly
Glass looks clean even when it isn’t. Invisible oils and fingerprints sit on the surface and block adhesion.
Dampen a lint-free cloth with isopropyl alcohol, 90% or higher. Wipe the entire bonding area in one direction. You’ll hear a soft squeak as the alcohol cuts through residue. That squeak tells you the surface is grabbing clean.
Avoid glass cleaners with ammonia or added shine agents. They leave a slick film that ruins the bond.
Let the alcohol flash off completely. It evaporates in seconds and leaves no streaks. Don’t touch the cleaned area with bare fingers afterward. One fingerprint reintroduces the oil you just removed. Handle the glass by its edges from this point forward.
Step 4 – Mix the Epoxy
If you chose epoxy, mixing matters as much as the bond itself. Get the ratio wrong, and it never fully hardens.
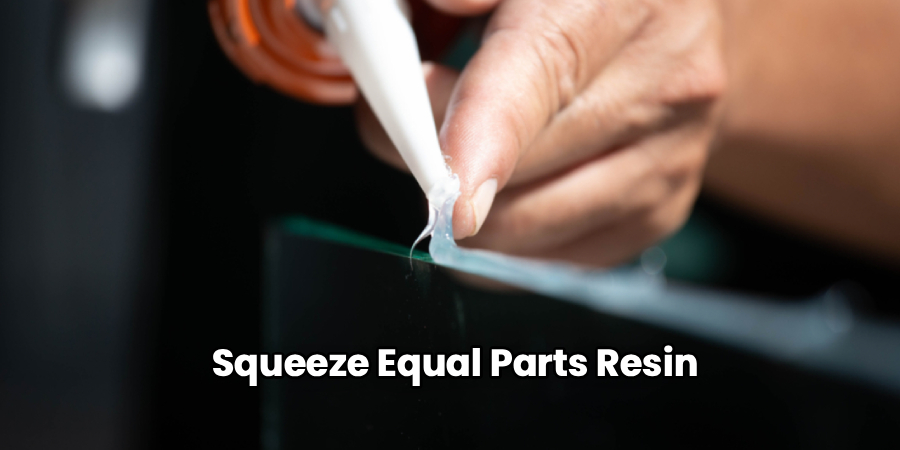
Squeeze equal parts resin and hardener onto a mixing tray or scrap cardboard. Most two-part epoxies use a 1:1 ratio, but check your product. The amounts should look balanced side by side.
Stir slowly with a wooden stick for two full minutes. You’ll watch the cloudy swirls turn into a clear, uniform liquid. Scrape the sides and bottom so no unmixed pockets remain.
Work fast once it’s blended. Most epoxy starts setting within five minutes. If it begins to thicken and pull like syrup, it’s already curing, and you’ve waited too long.
Step 5 – Apply the Adhesive
Now comes the moment that decides your finish. Learning how to glue glass to wood well means applying just enough adhesive, not too much.
Spread a thin, even layer on the wood using a plastic spreader. Aim for a coat about the thickness of a credit card. Too much epoxy squeezes out the sides and creates a messy bead.
For silicone, run a steady bead around the perimeter and a few dots in the center. A caulking gun gives you smooth, consistent control.
Watch the coverage. You want full contact across the joint with no dry gaps. The surface should look glossy and uniform, not patchy. Even application means even bond strength once everything cures.
Step 6 – Position and Press the Glass
Set the glass down once and set it right. Repositioning after contact drags adhesive and weakens the joint.
Lower the glass slowly onto the wood, lining up your edges before they touch. Use the painter’s tape as a guide if you marked your placement earlier. When the surfaces meet, you’ll feel a slight suction as the adhesive grips.
Press down with firm, even pressure across the whole panel. Small bubbles or excess glue will ooze from the edges. That’s normal and means you have full contact.
Wipe away the squeeze-out immediately with a cloth dampened in alcohol. Dried epoxy is brutal to remove later. A clean edge now saves you scraping and frustration after curing.
Step 7 – Clamp and Apply Pressure
Pressure during curing locks in the bond. Without it, tiny gaps form and the joint stays weak.
Place clamps around the edges, or set evenly distributed weights on top of the glass. Books, bricks wrapped in cloth, or sandbags all work. Spread the load so no single spot bears all the pressure.
Don’t overtighten clamps. Crushing the joint forces out too much adhesive and starves the bond. You want firm, steady contact, not maximum force. The glass should sit flush with no rocking.
Listen and look for shifting in the first few minutes. If the glass slides, reposition gently and re-clamp. Once everything sits still and even, leave it alone. Resist the urge to check it.
Step 8 – Allow Full Curing Time
Patience finishes the job. Rushing the curing time is the fastest way to ruin solid work.
Most epoxies set in 24 hours but reach full strength in 72. Silicone often needs 24 to 48 hours to cure completely. Check your product’s label and trust the longer number.
Keep the piece in a stable spot away from drafts, direct sun, and temperature swings. Cold slows curing. Heat can make epoxy brittle. A steady room temperature gives you the cleanest result.
Test the bond gently before full use. A properly cured joint feels rock-solid with zero movement. If you sense any flex or hear a faint cracking, give it more time before putting it to work.
Common Mistakes to Avoid
The biggest mistake beginners make is skipping surface preparation. They wipe the glass, slap on glue, and press. Without sanding the wood and cleaning the glass with alcohol, the adhesive has nothing to grip. The bond looks fine for a week, then quietly fails.
Choosing the wrong adhesive ranks a close second. People grab whatever glue is in the drawer. Standard wood glue and super glue can’t handle the stress between glass and wood over time. Use epoxy for strength or silicone for flexibility, and match it to the job.
Applying too much adhesive causes its own problems. A thick layer doesn’t mean a stronger bond. It means messy squeeze-out, longer curing time, and a weaker joint. A thin, even coat always outperforms a heavy one.
Rushing the curing time undoes everything. You touch it, move it, or load it too soon, and the bond shifts before it sets. Wait the full recommended hours.
Finally, working in poor conditions hurts results. High humidity, cold air, and dust all interfere with adhesion. Set up in a clean, dry, room-temperature space for the strongest bond.
Expert Tips
Warm your epoxy slightly before mixing. Set the bottles in warm water for a few minutes. Warm resin flows smoother, spreads thinner, and bonds tighter. This trick alone improves coverage on large panels.
Mask the glass and wood edges with painter’s tape before applying adhesive. Any squeeze-out lands on the tape, not your surfaces. Peel the tape while the glue is still tacky for a razor-clean edge.
Roughen the wood, never the glass. Sanding glass weakens it and creates micro-cracks. Texture belongs on the porous side only.
For outdoor or high-moisture projects, choose UV-resistant silicone. Standard epoxy yellows in sunlight over time. Pros pick adhesives rated for the exact environment, not just the materials.
Frequently Asked Questions
What Is the Best Glue for Bonding Glass to Wood?
Clear two-part epoxy is the best all-around choice for bonding glass to wood. It delivers the strongest, most durable hold and resists water, heat, and weight. For projects that flex or face moisture, silicone adhesive works better thanks to its elasticity. Match the adhesive to the stress your joint will face, and you’ll get a reliable, long-lasting bond every time.
How Long Does the Adhesive Take to Cure?
Most epoxies set within 24 hours and reach full strength in about 72 hours. Silicone typically cures in 24 to 48 hours. Temperature affects curing time directly. Cold air slows the process, while a stable, room-temperature space speeds it up. Always wait the full recommended time before loading or using the piece, even if the surface feels firm to the touch.
Can I Use Super Glue to Attach Glass to Wood?
Super glue works for tiny, low-stress repairs, but it’s a poor choice for anything load-bearing. It dries brittle and can’t absorb the natural movement of wood as humidity shifts. The bond often cracks within weeks. For a strong, lasting joint, use epoxy for rigid strength or silicone adhesive for flexible, weatherproof holds instead.
Do I Need to Sand the Glass Before Gluing?
No, never sand the glass. Sanding creates micro-scratches that weaken it and can lead to cracks. You only roughen the wood with fine-grit sandpaper to give the adhesive something to grip. Clean the glass thoroughly with isopropyl alcohol instead. A spotless, oil-free glass surface bonds far better than a scratched one and keeps your joint clear and strong.
Why Did My Glass Come Loose From the Wood?
Loose bonds almost always trace back to poor surface preparation. Skipped sanding, leftover oils on the glass, or dust in the joint all block adhesion. Using the wrong adhesive or rushing the curing time causes failures too. Re-clean both surfaces, scuff the wood, pick the right adhesive, and give it full curing time. Your next bond will hold.
Conclusion
Bonding glass to wood comes down to four things: the right adhesive, clean surfaces, even pressure, and patience. Nail those, and you’ll get a joint that holds for years. Choose epoxy for strength or silicone for flexibility. Prep both surfaces carefully. Apply a thin, even coat, clamp it steady, and let it cure fully before you touch it.
Now that you know how to glue glass to wood, you can repair, build, and finish projects that once seemed out of reach. Display cabinets, coffee tables, picture frames, and terrariums all become weekend wins instead of expensive replacements.
Every solid bond builds your confidence for the next project. You’ll save money, avoid frustrating failures, and produce work that looks professional. Grab your epoxy, prep your surfaces, and start your first glass-and-wood project today. The skill you build here pays off on every job that follows.
