
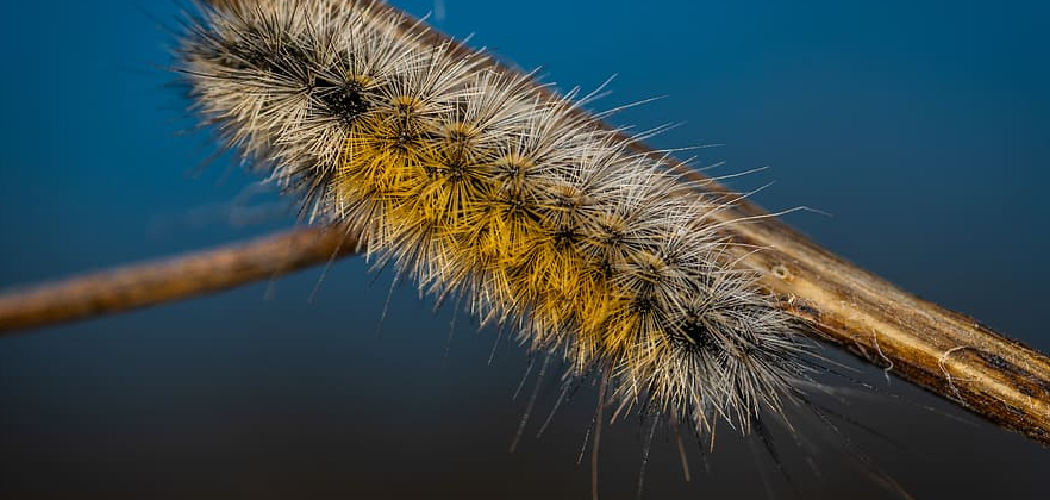
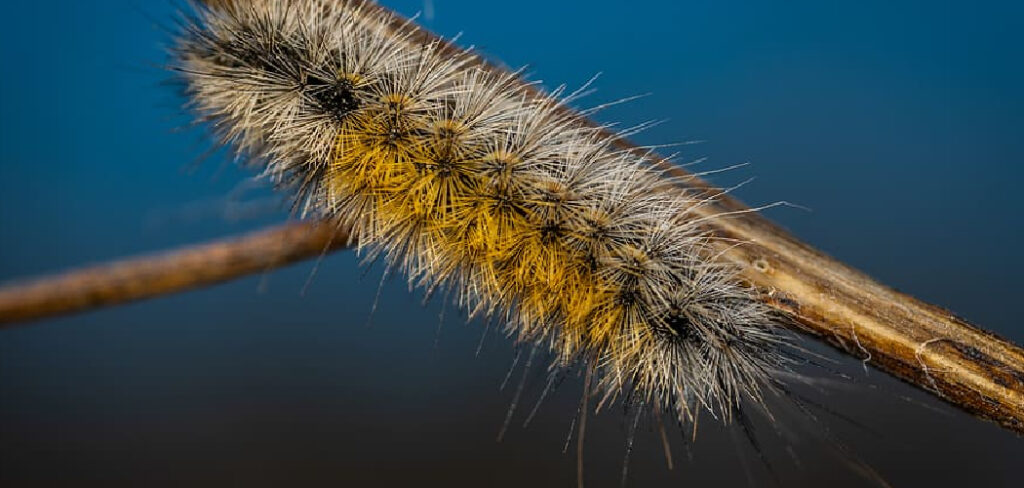
Tiny holes in your favorite oak chair. Fine powder collecting on the floor beneath a beam. These are the first signs that wood-boring insects have moved in—and they won’t leave on their own. Knowing how to get rid of worms in wood saves you from watching furniture, floors, and structural timber crumble from the inside out. The culprit usually isn’t a real worm at all. It’s the larvae of beetles, often called woodworm, chewing tunnels through the grain. Left alone, an active infestation spreads fast and weakens everything it touches. This guide walks you through a clear, proven process to identify, treat, and prevent wood-boring pests so your projects last for decades.
Why Treating Woodworm Matters
Ignore woodworm and the cost climbs quickly. A small infestation in a single chair leg can spread to floorboards, joists, and roof timbers. Replacing structural wood costs far more than a bottle of treatment and an afternoon of work.
Catching it early protects your money and your projects. You preserve antiques that carry real value. You extend the life of decks, furniture, and flooring you built yourself. You also avoid the stomach-drop moment when a beam flexes underfoot.
Learning this skill builds confidence too. Once you spot the signs and know the fix, you stop fearing every small hole. You handle problems before they become emergencies. That control is what separates a casual DIYer from someone who genuinely protects their work.
Tools and Materials You’ll Need
Gather everything before you start. Stopping mid-treatment to find a missing item wastes time and breaks your momentum.
- Permethrin-based woodworm treatment – kills active larvae and beetles on contact.
- Paintbrush or low-pressure sprayer – applies treatment evenly into the grain.
- Stiff wire brush – clears surface dirt and old finish for better absorption.
- Vacuum with crevice tool – removes frass (the powdery dust) and debris.
- Putty knife or scraper – lifts loose, damaged wood.
- Protective gloves, goggles, and a respirator mask – treatment chemicals irritate skin, eyes, and lungs.
- Wood filler – repairs holes and surface damage after treatment.
- Drop cloths or plastic sheeting – protects floors and nearby surfaces.
- Moisture meter (optional) – confirms whether damp conditions are inviting pests back.
Step-by-Step Guide on How to Get Rid of Worms in Wood
Step 1 – Confirm the Infestation Is Active
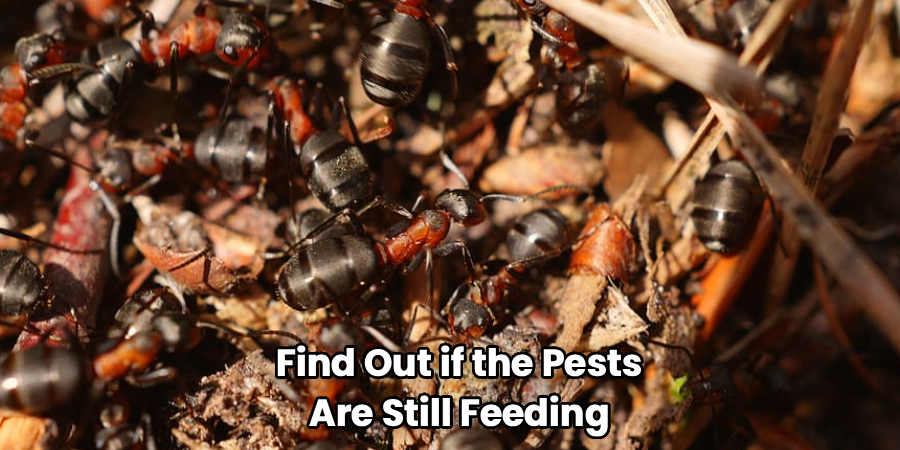
Before you treat anything, find out if the pests are still feeding. Active infestations leave fresh signs that dead ones don’t.
Look for clean, round exit holes about 1 to 2 millimeters wide. Run your finger near them. Fresh frass—a gritty powder the color of sawdust—signals living larvae chewing inside. Old, inactive damage looks gray and dusty, with no fresh powder.
Tap the wood and listen. A hollow, papery sound means the larvae have tunneled extensively beneath the surface. Solid wood gives a dull thud.
Knowing how to get rid of worms in wood starts here, because treating dead damage wastes product and effort. Confirm activity first, then move forward with confidence.
Step 2 – Isolate and Protect the Area
Stop the spread before you start treating. Wood-boring beetles fly to fresh timber, so an untreated infested piece infects everything nearby.
Move affected furniture away from healthy wood. If you can carry the item outside or into a garage, do it. Isolation keeps emerging beetles from laying eggs in your other projects.
Lay drop cloths beneath and around the work zone. Treatment chemicals stain finishes and floors, and the spray drifts further than you expect.
Open windows or set up a fan. Permethrin fumes build up fast in closed rooms, and you’ll feel the sharp, chemical sting in your throat within minutes. Good airflow keeps the air breathable and the job comfortable.
Step 3 – Clean the Surface Thoroughly
Treatment only works when it reaches the wood. Old finish, wax, and grime block absorption and waste your effort.
Drag a stiff wire brush along the grain. You’ll feel resistance loosen as dirt and flaking finish lift away. Brush in the direction of the grain to avoid scratching deep grooves into the surface.
Vacuum every hole and crevice with the crevice tool. The frass packs into tunnels, and clearing it lets treatment flow deeper. You’ll hear the rattle of powder pulling free.
Wipe the surface with a dry cloth afterward. The wood should feel clean and slightly rough—never slick or waxy. That open, bare texture is exactly what you want before treatment soaks in.
Step 4 – Remove Severely Damaged Wood
Some wood is too far gone to save. Crumbling, spongy timber won’t hold treatment or structure, so cut your losses.
Press a putty knife into questionable areas. Healthy wood resists firmly. Infested wood gives way like stale bread, flaking off in soft chunks. Scrape until you reach solid material underneath.
For structural pieces—joists, beams, frames—weak sections need replacement, not just treatment. A weakened joist won’t recover, and pretending otherwise risks collapse later.
Bag and dispose of every scrap you remove. Those fragments hide live larvae, and a pile left in the corner becomes a new breeding ground. Seal the bag and take it out the same day.
Step 5 – Apply the Woodworm Treatment
Now you tackle the larvae directly. This is the core of how to get rid of worms in wood, and careful application makes the difference.
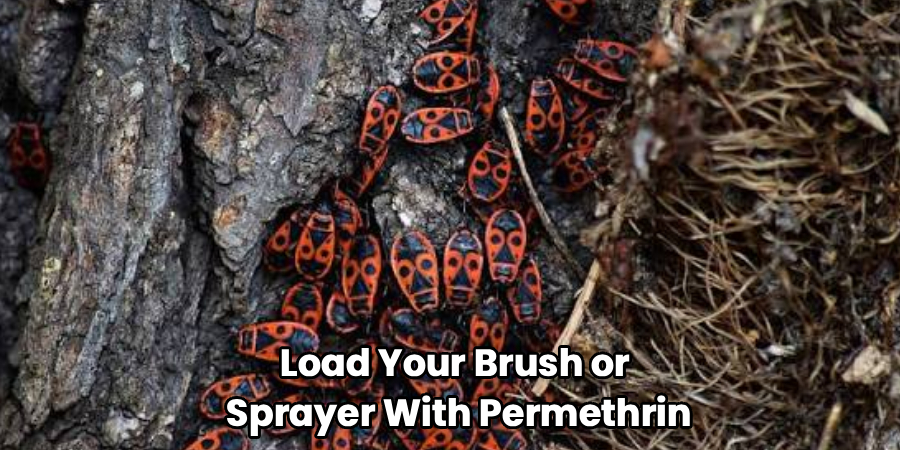
Load your brush or sprayer with permethrin-based treatment. Coat the entire surface generously, working along the grain. The wood darkens slightly as it absorbs the liquid—that wet, even sheen tells you coverage is good.
Force treatment into every exit hole. A small syringe or the sprayer’s narrow nozzle pushes fluid deep into the tunnels where larvae hide. You want it dripping into the channels, not just sitting on top.
Apply a second coat after the first dries. Two coats reach larvae the first pass missed. Patchy, dry spots leave survivors—so be thorough.
Step 6 – Let It Penetrate and Dry Fully
Patience finishes the job. Treatment needs time to reach larvae buried deep in the grain.
Leave the wood untouched for at least 24 to 48 hours. The surface should dry to the touch with no tacky or sticky feel. Rushing this step smears the chemical and reduces its killing power.
Keep the room ventilated during this window. The sharp solvent smell fades gradually as the treatment cures into the wood.
Resist the urge to refinish immediately. Sealing wet treatment under varnish traps moisture and weakens the protective barrier you just built. Wait until the wood feels completely dry and smells neutral before moving to repair. Good results reward the woodworker who waits.
Step 7 – Repair Holes and Damage
With the pests dead, restore the wood’s strength and looks. Repairs seal vulnerable openings and rebuild a smooth surface.
Press wood filler into each exit hole with a putty knife. Push it firmly so it fills the tunnel, not just the opening. Overfill slightly—filler shrinks as it dries.
Let the filler cure completely. It hardens from soft paste to firm solid, and you’ll feel the difference when you tap it. Then sand flush with the surrounding surface until smooth and level.
Match the filler to your wood tone before finishing. A close color blend hides repairs almost invisibly. Run your hand across the surface—it should feel seamless, with no raised bumps or sunken dips betraying where the holes once were.
Step 8 – Seal and Protect the Wood
Finished wood resists future infestations. A sealed surface gives beetles nowhere to lay eggs.
Apply your chosen finish—varnish, paint, or wood oil—once the treatment and filler have fully cured. Coat evenly and reach every edge and corner. Beetles target bare, exposed wood, so leave no gaps.
Watch for a uniform sheen as you work. Streaks and thin patches signal weak spots where pests could return. Two thin coats outperform one thick, gloppy layer.
Let each coat dry before adding the next. The finish should feel hard and smooth, not soft or tacky. This sealed barrier is your long-term defense, locking the wood away from the moisture and exposure that invite woodworm back.
Common Mistakes to Avoid
The biggest mistake is treating wood without confirming the infestation is active. Old holes from a long-dead infestation need no treatment at all. People spray expensive product over gray, dusty damage and accomplish nothing. Always check for fresh frass first.
Skipping protective gear is another costly error. Permethrin irritates skin, stings eyes, and harms your lungs over time. The fumes feel manageable at first, then your throat tightens. Wear gloves, goggles, and a respirator every single time—no exceptions.
Many DIYers apply just one thin coat and call it done. One pass rarely reaches larvae deep in the tunnels. Survivors keep chewing, and the infestation returns within months. Two coats, forced into the holes, give you reliable results.
Ignoring the root cause guarantees a repeat problem. Woodworm thrives in damp conditions. If you treat the symptoms but leave the moisture, fresh beetles move right back in. Fix leaks, improve ventilation, and check humidity.
Finally, don’t refinish too soon. Sealing wet treatment under varnish traps it on the surface and blocks penetration. Let everything dry fully before you move on.
Expert Tips
Treat the wood around an infestation, not just the visible damage. Beetles lay eggs in nearby timber you can’t see, so extending treatment 12 inches past the affected zone catches hidden larvae before they emerge.
Time your treatment for late spring. Adult beetles emerge between May and August to mate and lay eggs. Treating just before this window kills emerging adults and stops the next generation cold.
Use a moisture meter to find the real problem. Readings above 20% mean conditions favor woodworm. Drop the moisture below 12% and the wood becomes far less attractive to pests.
Keep records. Photograph treated areas and note the date. When you check back in six months, fresh frass over treated wood tells you instantly whether the job worked or needs a second round.
Frequently Asked Questions
How Do I Know If Woodworm Is Still Active?
Fresh frass is the clearest sign. Look for clean, sharp-edged exit holes with powdery dust beneath them—often appearing between spring and late summer when beetles emerge. Old, inactive damage looks gray, weathered, and produces no new powder. If you sweep an area clean and fresh frass returns within days, larvae are still feeding inside.
Can I Treat Woodworm Myself or Do I Need a Professional?
You can treat most furniture and small infestations yourself with permethrin-based products. DIY treatment handles localized problems in chairs, tables, and flooring effectively. Call a professional for widespread structural infestations in joists, beams, or roof timbers. Weakened structural wood threatens safety, and a specialist confirms whether the timber needs reinforcement or replacement.
Is Woodworm Treatment Dangerous to Use Indoors?
Permethrin-based treatments are safe indoors when you ventilate properly and wear protective gear. Open windows, run a fan, and keep pets and children out of the room during application and drying. Wear gloves, goggles, and a respirator. Once the wood dries completely—usually within 48 hours—the treated surface poses no ongoing risk.
How Long Does Woodworm Treatment Take to Work?
Treatment kills larvae on contact and as they tunnel through treated wood. Most active larvae die within days, but full results take longer since beetles emerge over a season. Check back after the next emergence period, typically the following spring. No fresh frass means the treatment succeeded and the infestation is gone.
What Causes Woodworm in the First Place?
Damp wood attracts wood-boring beetles. They lay eggs in timber with moisture levels above 20%, and the hatching larvae feed on the wood for years. Poor ventilation, leaks, and humid storage create ideal conditions. Keep wood dry, well-ventilated, and below 12% moisture, and you remove the conditions woodworm needs to survive.
Conclusion
Wood-boring insects don’t wait, and neither should you. The moment you spot fresh holes and powdery frass, you have a window to act before the damage spreads to floors, beams, and the projects you’ve poured hours into. Now you know how to get rid of worms in wood the right way—confirm the infestation, clean and treat the timber, repair the damage, and seal the surface against future attacks.
The process is straightforward when you follow each step in order. Confirm activity first. Protect yourself with proper gear. Apply two thorough coats and let everything dry fully before refinishing. Then tackle the root cause by keeping your wood dry and well-ventilated.
Handle the problem early and you’ll save serious money, preserve pieces you care about, and gain the confidence to protect every future project. Your furniture, floors, and structural timber will last for decades. Grab your supplies, work through the steps, and take back your wood from the pests trying to claim it.
