
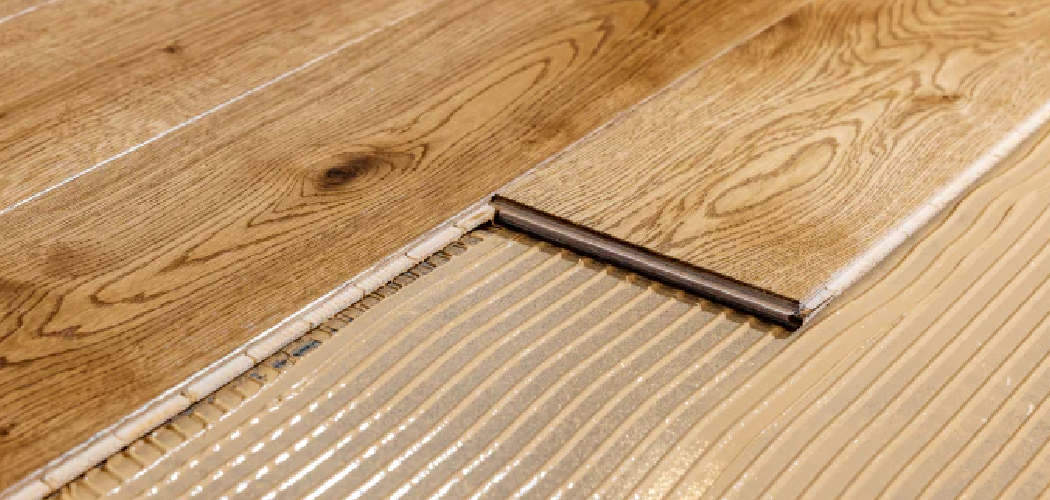
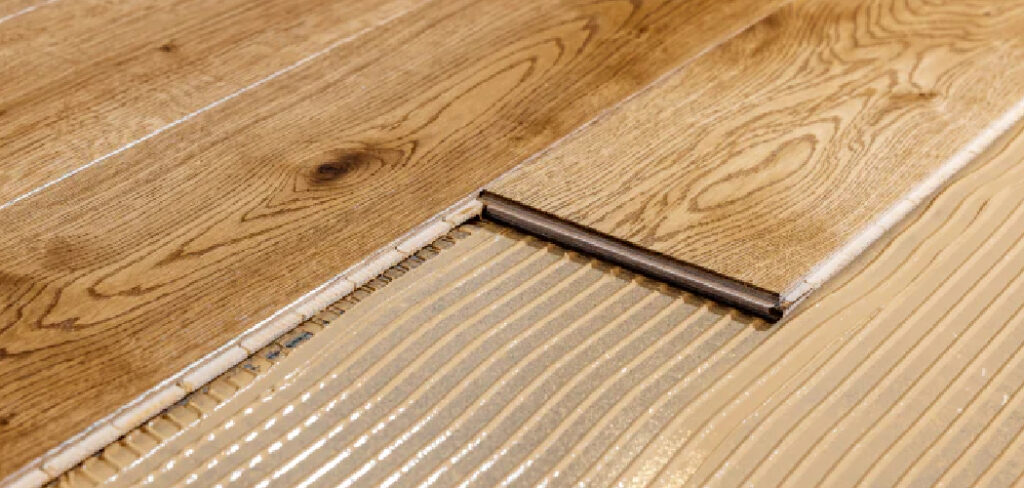
Joining wood to metal looks tricky, but it doesn’t have to be. The two materials behave differently. Wood breathes, swells, and shifts with humidity. Metal stays rigid and slick. Get the bond wrong and your project loosens, rattles, or falls apart within weeks. Get it right and the joint outlasts the furniture itself.
The good news? You don’t need a workshop full of clamps and machinery. You need the right adhesive, clean surfaces, and a clear process. That’s exactly what you’ll learn here. This guide walks you through how to glue wood and metal step by step, so your first attempt holds strong and your hands stay confident. Follow along and you’ll build joints that last for years, not days.
Why Bonding Wood and Metal Matters
Strong wood-to-metal joints save you money. Replacing a wobbly table leg bracket or a loose metal handle costs far less than buying new furniture. Learn this skill once and you stop paying someone else to fix simple problems.
It also builds confidence. Once you bond your first metal hinge to a wooden door or attach steel hairpin legs to a tabletop, bigger projects stop feeling intimidating. You’ll tackle shelving, signage, and custom builds without hesitation.
Most importantly, it prevents costly mistakes. Beginners often reach for the wrong glue, skip surface prep, or rush the cure. The result is a joint that fails under load. Master the basics here and you avoid the frustration of redoing work — and the risk of a project collapsing when someone leans on it.
Tools and Materials You’ll Need
Gather everything before you start. A smooth process beats a frantic search mid-glue.
- Two-part epoxy or polyurethane adhesive — the strongest bond for dissimilar materials
- 120 and 220-grit sandpaper — roughens both surfaces for better grip
- Isopropyl alcohol (90%+) — removes oils and grime from metal
- Clean lint-free rags — for wiping surfaces dry
- Plastic putty knife or mixing stick — spreads epoxy evenly
- Disposable nitrile gloves — keeps adhesive off your skin
- Clamps or heavy weights — hold the joint steady while it cures
- Painter’s tape — masks edges and catches squeeze-out
- Safety glasses — protects against splashes and dust
- Wire brush or rotary tool with sanding bit (optional) — speeds up scuffing tough metal surfaces
That optional rotary tool saves time on rusty or coated metal, but a strip of sandpaper does the same job with a little more elbow grease.
Step-by-Step Guide on How to Glue Wood and Metal
Step 1 – Choose the Right Adhesive
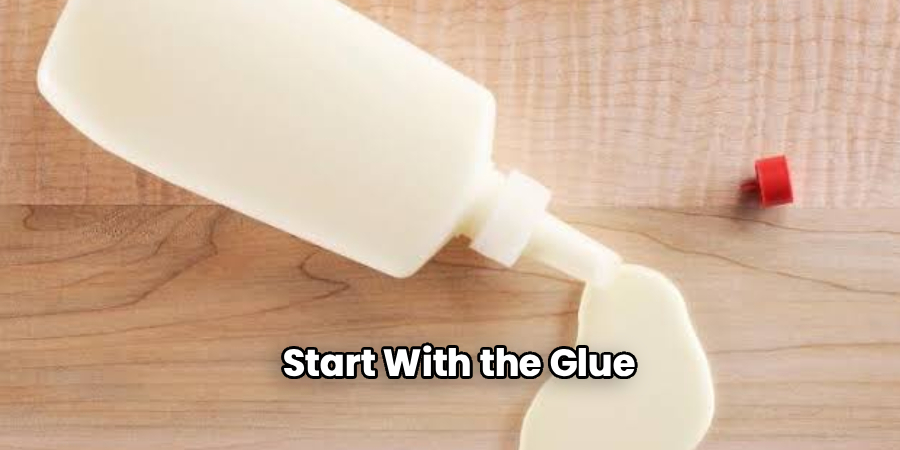
Start with the glue, because the wrong one dooms the joint before you begin. Wood and metal expand at different rates, so you need an adhesive that flexes slightly and grips both surfaces.
Two-part epoxy is your best bet for load-bearing joints. It fills small gaps and cures rock-hard. Polyurethane glue works well too, especially when you want a little flexibility and water resistance.
Skip white school glue and standard wood glue. They bond porous materials to each other, not slick metal. You’ll know you picked right when the label specifically lists both wood and metal. Knowing how to glue wood and metal starts here, with a deliberate choice instead of grabbing whatever’s in the drawer.
Step 2 – Prepare Your Workspace
Set up before you open any container. Epoxy and polyurethane cure on a clock, and you can’t pause once they’re mixed.
Work in a ventilated area. Open a window or run a fan, since adhesive fumes build up fast in a closed room. Lay down newspaper or a drop cloth to protect your bench.
Arrange your tools within arm’s reach. Sandpaper, alcohol, rags, gloves, mixing stick, and clamps should all sit where you can grab them without looking. Put on your safety glasses and gloves now.
You’ll feel the difference a tidy station makes. No scrambling, no spilled epoxy, no missed cure window. A calm workspace produces a clean, strong joint every time.
Step 3 – Roughen Both Surfaces
Smooth surfaces don’t bond well. Adhesive needs texture to grip, so you’ll scuff both the wood and the metal.
Sand the wood with 120-grit paper until the sheen disappears and the surface feels slightly rough under your fingertips. Then scuff the metal with the same grit or a wire brush. You’re aiming for fine scratches, not a polished shine.
Run your hand over each surface. The wood should feel like fine sandpaper. The metal should look dull and faintly hazed, never mirror-bright. Those tiny grooves give the glue something to hold onto.
This is the most skipped step, and it’s the difference between a joint that lasts and one that peels off in a month.
Step 4 – Clean Away Dust and Oil
Now remove every speck of debris. Even invisible oil from your fingers weakens the bond.
Wipe the wood with a dry rag to clear sanding dust. Then soak a clean rag in isopropyl alcohol and wipe the metal thoroughly. You’ll see grime and oily film transfer to the cloth — that’s exactly what you want off the surface.
Let both pieces air-dry completely. Alcohol evaporates in a minute or two and leaves no residue.
Don’t touch the prepped surfaces again with bare hands. The skin oils you just removed will come right back. If you need to reposition a piece, handle it by the edges or wear your gloves.
Step 5 – Mix the Adhesive
Mixing matters as much as the glue itself. With two-part epoxy, the ratio has to be exact.
Squeeze equal parts resin and hardener onto a disposable surface, unless your product says otherwise. Stir slowly with your putty knife for at least 60 seconds. You’ll feel the mixture thicken slightly and the color even out as the two parts combine.
Watch the clock. Most epoxies give you five to twenty minutes of working time before they start to set. Mix only what you’ll use in that window.
If you’re using polyurethane glue, no mixing is needed — just dampen the wood lightly first, since moisture activates the cure.
Step 6 – Apply and Position the Pieces
Spread a thin, even layer onto both surfaces. A thick glob doesn’t mean a stronger joint; it just squeezes out and makes a mess.
Press the wood and metal together firmly. You should feel slight resistance and see a thin bead of adhesive ooze from the seam. That squeeze-out tells you the surfaces made full contact.
Wipe away excess immediately with a rag and a little alcohol. Once epoxy cures, it’s brutal to remove.
Adjust the alignment now, while the glue is still wet. Knowing how to glue wood and metal cleanly means getting position perfect before you clamp, because there’s no second chance once the joint sets hard.
Step 7 – Clamp and Hold
Pressure makes the bond. Clamp the joint or stack heavy weights on top to keep the surfaces locked together.
Apply firm, even pressure — enough to hold the pieces still, but not so much that you starve the joint of adhesive. If you see clamps crushing the wood fibers, ease off slightly.
Slide a scrap block between the clamp and the wood to spread the load and prevent dents. You’ll hear the clamp ratchet tighten and feel the joint go solid and immovable.
Leave it alone. Resist the urge to test the bond every few minutes. Movement during the early cure breaks the chemical link that’s forming inside the joint.
Step 8 – Let It Cure Fully
Patience finishes the job. Epoxy and polyurethane reach handling strength in a few hours, but full cure takes longer.
Check your product label. Most adhesives need 24 hours before the joint carries any real weight, and some need up to 72 hours to reach maximum strength.
Keep the piece in a stable, room-temperature spot. Cold slows the cure and weakens the bond. Heat can make some epoxies brittle.
When the cure finishes, the squeeze-out will be hard and glassy. Tap the joint gently — it should sound and feel like one solid piece. Now you can sand any rough edges, paint, or put the project to work with full confidence.
Common Mistakes to Avoid
The biggest mistake is using the wrong glue. Beginners grab regular wood glue or super glue and wonder why the joint pops loose. Standard wood glue can’t grip metal, and cyanoacrylate brittle-bonds that crack under stress. Always match the adhesive to both materials.
Skipping surface prep ranks a close second. A shiny metal surface and a sealed piece of wood give the glue nothing to hold. If you don’t scuff and clean both sides, even premium epoxy will peel away. Those few minutes of sanding decide whether your joint survives.
Rushing the cure is another silent killer. People load the joint or move the piece hours too early, breaking the bond while it’s still forming. Read the label and wait the full recommended time, even when the surface feels dry.
Applying too much adhesive backfires too. A thick layer doesn’t add strength — it creates a weak, gummy seam and a messy cleanup. Thin and even always wins.
Finally, gluing in a cold garage slows or ruins the cure. Work at room temperature for a reliable, lasting bond.
Expert Tips
Pros warm metal slightly before gluing in cold weather. A few minutes near a heater brings the surface to room temperature and helps epoxy cure evenly. Cold metal pulls heat from the joint and weakens it.
For high-stress joints, add mechanical reinforcement. Drill a small hole and add a screw or pin alongside the adhesive. Glue plus a fastener creates a joint that handles real load and shock.
Keep a small amount of epoxy on a scrap piece as a cure indicator. When that test bead hardens, you know the joint underneath is ready too.
Finally, score deeper grooves in slick stainless steel or aluminum. These metals resist bonding more than mild steel, so extra texture makes the difference between a joint that holds and one that lets go.
Frequently Asked Questions
What Is the Strongest Glue for Wood and Metal?
Two-part epoxy is the strongest choice for bonding wood to metal. It cures rock-hard, fills small gaps, and grips both slick and porous surfaces. For joints that need slight flexibility or water resistance, polyurethane glue is a strong second option. Avoid standard wood glue and basic super glue, since neither holds metal reliably under stress or weight.
Can I Use Super Glue to Bond Wood and Metal?
Super glue works for small, lightweight, low-stress repairs only. It bonds fast but cures brittle, so it cracks under pressure, vibration, or temperature swings. For anything load-bearing — table legs, brackets, hinges — choose epoxy instead. If you do use super glue, scuff and clean both surfaces first and keep the bonded piece away from heavy use.
How Long Does the Glue Take to Dry?
Most epoxy and polyurethane adhesives reach handling strength in a few hours. Full cure usually takes 24 hours, and some products need up to 72 hours for maximum bond strength. Always check the label, since formulas vary. Keep the joint clamped and undisturbed at room temperature during this time. Cold or damp conditions slow the cure and weaken the final bond.
Do I Really Need to Sand Both Surfaces First?
Yes, sanding both surfaces is essential. Smooth wood and shiny metal give adhesive nothing to grip, so the joint peels apart over time. Scuffing creates fine grooves that lock the glue in place. Spend a few minutes with 120-grit sandpaper or a wire brush on each side. This single step does more for joint strength than almost anything else.
Will the Bond Survive Outdoor Weather?
It can, if you choose the right adhesive. Polyurethane glue and marine-grade epoxy resist moisture and temperature changes, making them suitable for outdoor projects. Standard epoxy may weaken with constant water exposure. Seal the finished joint with paint or a weatherproof coating for extra protection. Wood movement from humidity puts stress on the bond, so reinforce outdoor joints with a screw or pin.
Conclusion
Bonding wood to metal comes down to a few reliable habits. Pick an adhesive built for both materials. Scuff and clean every surface. Apply a thin, even layer, clamp with steady pressure, and let the joint cure fully before you put it to work. Skip any of those steps and the bond fails. Follow them and your joint outlasts the project itself.
You now have everything you need to do this right the first time. No guesswork, no wasted glue, no wobbly results. Each joint you build adds skill and confidence for the next one — bigger repairs, custom furniture, whatever you decide to tackle.
Learning how to glue wood and metal is one of those skills that pays off again and again. Start small, trust the process, and let the adhesive do its job. Grab your epoxy, prep your surfaces, and build something that holds. Your hands are ready. Your next project starts now.
