
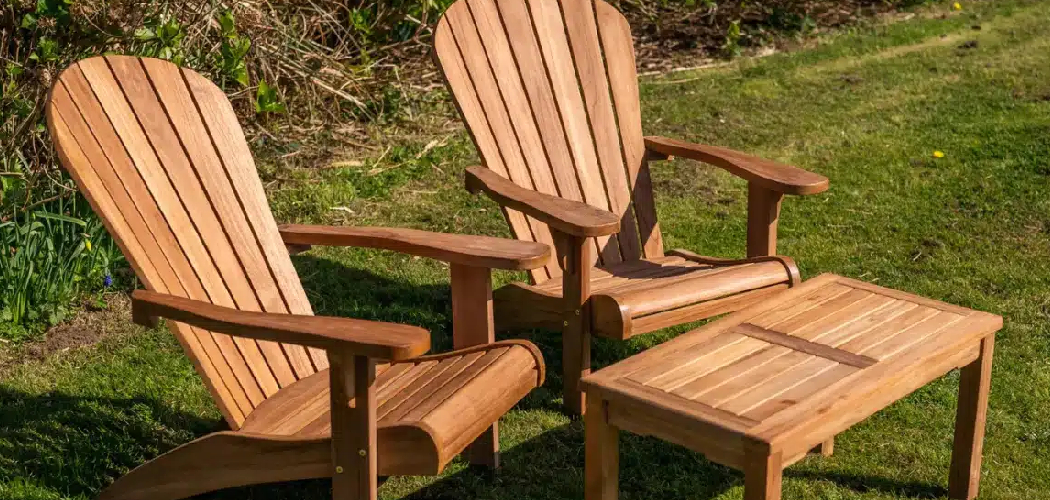
That tired old chair in your garage isn’t ready for the curb. Beneath the scratches, water rings, and peeling finish sits solid wood worth saving. Learning how to refinish wood chairs turns a forgotten piece into a standout one—and you do it with your own hands.
You don’t need a workshop full of expensive gear or years of training. You need patience, a few basic tools, and a clear plan. The payoff is real: a chair that looks better than the day you bought it.
This guide walks you through every step, from stripping old finish to applying that final protective coat. By the end, you’ll know exactly how to bring a worn chair back to life with confidence.
Why Refinishing Wood Chairs Matters
A solid wood chair costs hundreds to replace. Refinishing one costs a fraction of that—often under $30 in materials. You keep money in your pocket and a quality piece in your home.
Skills compound. Refinish one chair and you’ve learned techniques that apply to tables, dressers, and cabinets. Each project builds your confidence and sharpens your eye for detail.
There’s also the matter of longevity. A fresh finish seals the wood against moisture, spills, and daily wear. You’re not just making the chair look good—you’re protecting it for another decade or two.
Older furniture often outclasses new mass-produced pieces in build quality. Restoring that craftsmanship preserves something worth keeping. You save resources, reduce waste, and end up with furniture that fits your space exactly.
Tools and Materials You’ll Need
Gather everything before you start. Stopping mid-project to hunt for supplies wastes time and momentum.
- Chemical stripper or sander – removes old paint and finish
- Sandpaper – grits in 80, 120, and 220 for progressive smoothing
- Putty knife or scraper – lifts softened finish cleanly
- Tack cloth – picks up fine dust before staining
- Wood stain – your chosen color, oil- or water-based
- Foam brushes or staining pads – apply stain evenly
- Clear protective finish – polyurethane, varnish, or lacquer
- Wood filler – patches cracks, dents, and gouges
- Drop cloth – protects your floor and work area
- Rubber gloves and safety glasses – protect your skin and eyes
- Random orbital sander (optional) – speeds up sanding on flat surfaces
Quality matters here. Cheap brushes shed bristles into your finish. Buy decent tools once.
Step-by-Step Guide on How to Refinish Wood Chairs
Follow these steps in order. Skipping ahead leads to finish problems that force you to start over.
Step 1 – Inspect and Prep the Chair
Start by examining every joint, leg, and rung. Wobbly chairs need repair before refinishing—a loose joint only gets worse under stress.
Press on the seat and back. Listen for creaks. Gentle movement at a joint means the glue has failed and needs re-gluing before you go further.
Set up your workspace outdoors or in a ventilated garage. Lay down your drop cloth. Good airflow keeps fumes from building up and helps finishes cure properly.

Wipe the chair with a damp rag to clear surface grime. You want a clean starting point. Knowing how to refinish wood chairs begins with honest assessment—fix structural issues now, not after you’ve stained.
Step 2 – Strip the Old Finish
Apply chemical stripper with a brush in thick, even strokes. Work in one direction. Within minutes, the old finish bubbles and wrinkles like cracked paint—that’s your signal it’s working.
Wait the time listed on the product label. Rushing this step leaves stubborn patches behind.
Scrape the softened finish with a putty knife, holding it at a low angle. The old coating should lift in soft, gummy ribbons. If it flakes or resists, give the stripper more time.
Work the curved spindles and tight corners with steel wool or a brass brush. These spots trap old finish. Take your time here—rushed scraping gouges the wood and creates extra sanding work later.
Step 3 – Sand the Surface Smooth
Start with 80-grit paper to remove leftover finish and rough spots. Sand with the grain, never against it. Cross-grain scratches show up clearly once stain hits the wood.
Move to 120-grit next, then finish with 220-grit. Each pass should feel smoother under your palm. Run your hand across the surface—it should glide like polished stone when you’re done.
Watch for swirl marks if you use an orbital sander. Keep it moving and let the tool do the work. Pressing too hard creates dips you’ll see later.
Don’t forget the undersides of rungs and the backs of spindles. Skipping these spots leaves rough patches that catch on clothing and break the smooth look.
Step 4 – Repair Cracks and Dents
Press wood filler into any cracks, gouges, or nail holes with a putty knife. Overfill slightly—filler shrinks as it dries. Smooth the surface flush with the surrounding wood.
Let it cure fully. Most fillers need an hour or more before sanding. Touch the repair gently; it should feel hard, not tacky.
Sand the patched areas with 220-grit until they blend seamlessly. Run your fingers over the spot—you shouldn’t feel a ridge or dip where the filler sits.
Choose a stainable filler if you plan to stain the chair. Some fillers reject stain and leave pale blotches that ruin an otherwise clean finish. Check the label before you buy.
Step 5 – Clean Off All Dust
Wipe the entire chair with a tack cloth. This sticky fabric grabs the fine dust that a dry rag pushes around. Work into every crevice and corner.
Pay attention to joints and carved details. Dust hides in these spots and ruins a smooth finish. A small brush helps clear what the cloth misses.
Hold the chair up to the light and tilt it. A fine layer of dust shows up clearly against a bright background. Keep wiping until the surface looks clean from every angle.
Skipping this step is a common mistake. Even a thin dust layer creates a gritty, bumpy finish once you apply stain and topcoat. Clean wood is the foundation of a flawless result.
Step 6 – Apply Wood Stain
Stir your stain thoroughly—never shake it, since that introduces bubbles. Apply with a foam brush or staining pad, working in the direction of the grain.
Let the stain sit for two to five minutes, then wipe off the excess with a clean rag. The longer it sits, the darker the color. Test on a hidden spot first to check the shade.
You’ll see the grain pop as the stain soaks in. Even, consistent color means you’re doing it right. Dark streaks or blotches mean uneven application—wipe again to smooth them out.
When you learn how to refinish wood chairs, controlling stain absorption is where the chair’s character comes alive. Apply a second coat if you want a richer tone.
Step 7 – Seal with a Protective Finish
Apply your clear topcoat with a clean brush in thin, even layers. Thick coats run, drip, and dry cloudy. Patience beats speed every time.
Brush with the grain and watch for bubbles. Pop any that form with a light pass of the brush tip. The wet finish should look glassy and smooth.
Let the first coat dry completely. Most polyurethanes need a few hours. The surface should feel dry, not sticky, before you continue.
Lightly sand with 220-grit between coats. This rough texture helps each layer grip the last. Wipe away the dust, then apply your next coat. Two to three coats give you durable, lasting protection that handles daily use.
Step 8 – Cure and Final Inspection
Let the finished chair cure for several days before regular use. Dry to the touch isn’t the same as fully cured. Early use leaves dents and marks in soft finish.
Inspect the chair in bright light. Look for drips, dull spots, or missed areas. A properly cured finish feels hard and smooth, with an even sheen across every surface.
Run your hand over the seat and arms. Any rough patch means a spot needs a light sand and another thin coat.
Reattach any hardware or felt pads you removed earlier. Felt pads on the feet protect both the chair and your floors. Now your chair is ready for years of dependable use.
Common Mistakes to Avoid
The biggest mistake is rushing the prep work. Many beginners skip thorough sanding or cleaning, eager to see color on the wood. But stain and topcoat only look as good as the surface beneath them. A poorly prepped chair shows every flaw once the finish goes on, and fixing it means stripping back and starting over.
Another frequent error is applying finish too thick. It feels efficient to lay down one heavy coat instead of several thin ones, but thick layers drip, sag, and dry with a cloudy, uneven look. Thin coats cure faster and build a stronger, clearer finish.

Skipping the test patch trips up plenty of people. Stain behaves differently on different woods, and what looks perfect on a chart may turn out blotchy or far too dark on your chair. Always test on a hidden area first.
Working in poor conditions causes problems too. High humidity, dust, and bad ventilation all ruin a finish. Dust settles into wet topcoat, and humidity slows curing and leaves a hazy surface. Choose a clean, dry, well-ventilated space and your results will speak for themselves.
Expert Tips
Wipe stain with the wood grain using a lint-free cloth, then make one final pass to even out the tone. This last wipe removes lap marks that brushes leave behind.
Warm your finish slightly before applying it in cold weather. Cold polyurethane thickens and brushes poorly. A few hours at room temperature improves flow and leveling.
Sand the final coat with 0000 steel wool, then buff with paste wax for a silky, hand-rubbed feel. This trick separates pro results from amateur ones.
Keep a “wet edge” while brushing—always overlap into the area you just coated before it starts to dry. This prevents visible seams and lap lines.
Label your stain and finish cans with the date and chair project. When you need a touch-up next year, you’ll match the exact products without guessing.
Frequently Asked Questions
How Long Does It Take to Refinish a Wood Chair?
A full refinish takes one to three days, mostly drying time. Active work runs four to six hours: stripping, sanding, staining, and sealing. The rest is waiting for stain and topcoat to cure between steps. Rushing the dry times causes the most problems, so plan for a weekend project rather than a few hours.
Do I Need to Strip the Chair Before Sanding?
Not always. Stripping works best for thick, peeling, or multiple paint layers. For a thin, intact finish, sanding alone often does the job faster. If the old coating gums up your sandpaper quickly, switch to chemical stripper first. Heavy finishes overwhelm sandpaper, so match your method to the chair’s condition.
What Finish Is Best for a Wood Chair?
Polyurethane is the top choice for chairs. It resists scratches, spills, and daily wear better than varnish or lacquer. Use oil-based polyurethane for maximum durability and a warm tone, or water-based for faster drying and a clear finish. For chairs that see heavy use, two to three coats give lasting protection.
Can I Refinish a Chair Without Sanding?
Yes, with liquid deglosser or a bonding primer. These products etch the existing finish so new coats adhere without bare-wood sanding. This works well for painted chairs or quick updates. For staining, though, you need bare wood—so sanding or stripping stays essential when you want the natural grain to show.
Why Is My Stain Coming Out Blotchy?
Blotchy stain usually means uneven wood absorption or skipped prep. Softwoods like pine soak up stain unevenly, creating dark patches. Apply a pre-stain wood conditioner first to even out absorption. Also check your sanding—leftover finish or uneven grit blocks stain in spots. Conditioner and consistent sanding solve most blotching problems.
Conclusion
You now have everything you need to bring a worn chair back to life. Refinishing isn’t complicated—it’s a series of simple steps done with care. Prep thoroughly, work in thin layers, and respect the drying times. Those three habits separate a great result from a frustrating one.
The first chair teaches you the most. Once you’ve finished it, you’ll see your other furniture differently. That scratched table and dated dresser suddenly look like opportunities, not eyesores.
Knowing how to refinish wood chairs saves you money, builds real skill, and gives you furniture that fits your home perfectly. You keep quality pieces in service and out of the landfill. That’s a win on every front.
So pick that tired chair, gather your tools, and get started. The wood is waiting, and the results will surprise you. Your hands can do more than you think—prove it on your next project.
