
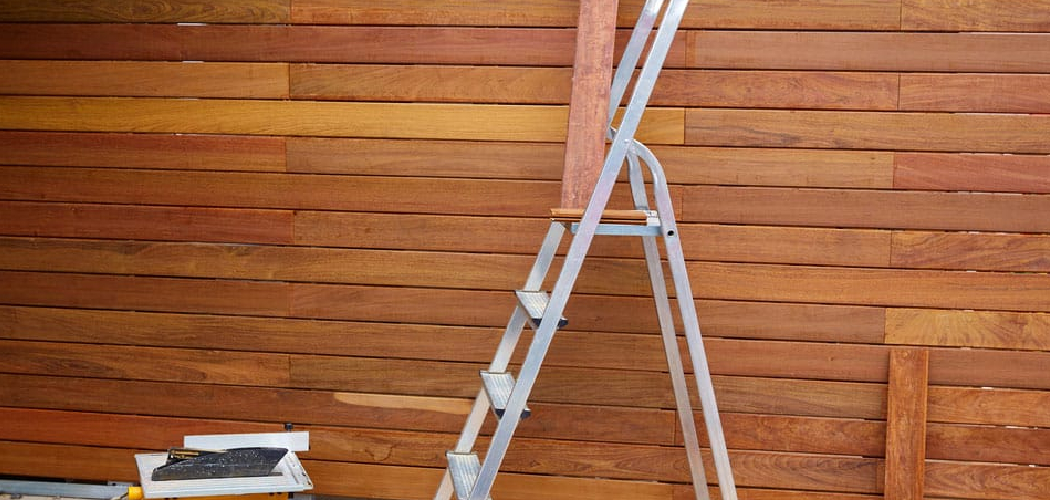
That dark, dated wood paneling makes your room feel smaller and stuck in another decade. Good news: you can fix it yourself in a weekend. Learning how to take off wood paneling is one of the most rewarding beginner DIY projects you can tackle, and it costs almost nothing but your time. The panels usually come off faster than you’d expect, especially once you find the right starting point.
Some panels are nailed straight to studs. Others are glued to drywall. Each calls for a slightly different approach, and we’ll cover both. This guide walks you through every step, from prep to cleanup, so you remove your paneling cleanly, protect the wall behind it, and avoid the rookie mistakes that turn a quick job into a costly repair.
Why Removing Wood Paneling Matters
Old paneling drags down your home’s value and your daily mood. Stripping it out brightens the room, modernizes your space, and gives you a fresh wall to paint, tile, or refinish.
Doing it yourself saves real money. A contractor charges $1,000 to $3,000 for a single room. You can do the same work for the price of a few tools you’ll keep forever.
It also builds confidence. Once you remove one wall, you understand how your home is built — where the studs sit, how drywall attaches, what’s behind the surface. That knowledge pays off on every future project. And by working carefully, you avoid the expensive drywall damage that catches careless first-timers off guard.
Tools and Materials You’ll Need
Gather everything before you start. Stopping mid-job to find a tool wastes time and momentum.
- Pry bar (flat and crowbar style) — lifts panels off studs without crushing them.
- Putty knife or 5-in-1 tool — slides behind edges to break the seal.
- Hammer — drives nails through and taps the pry bar.
- Utility knife — scores caulk, paint lines, and adhesive.
- Safety glasses and work gloves — protect against splinters and flying nails.
- Dust mask — old paneling and adhesive release fine particles.
- Stud finder — locates framing so you pry in the right spots.
- Drop cloths and trash bags — catch debris and speed cleanup.
- Pliers or nail puller — removes leftover nails from studs.
- Oscillating multi-tool (optional) — slices stubborn adhesive and trim fast.
Step-by-Step Guide on How to Take Off Wood Paneling
Step 1 – Prep the Room and Protect the Floor
Clear the room first. Move furniture out or push it to the center and cover it. Lay drop cloths along the wall to catch nails, splinters, and adhesive crumbs.
Cut power to any outlets or switches on the wall. Remove the cover plates and set them aside with their screws.
Now look closely at the wall. Run your hand across the surface and tap it. A hollow sound means the panel sits over drywall or open studs. A solid, dull thud usually means it’s glued tight to a backing.
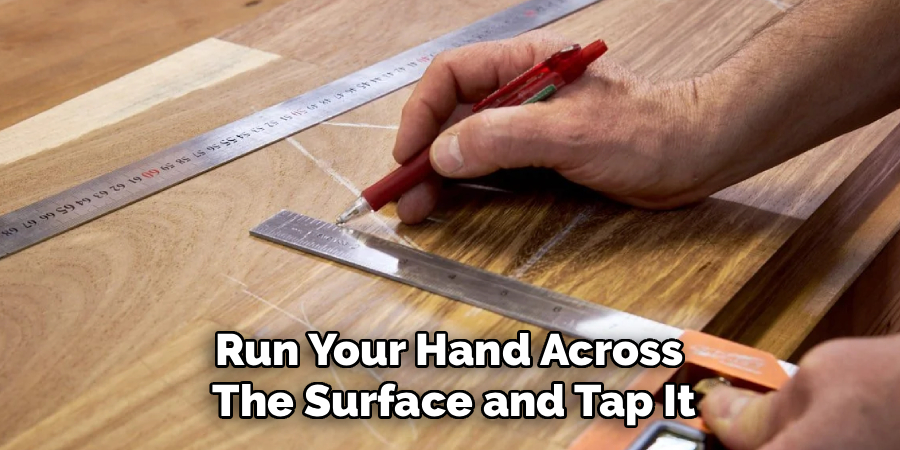
This first read tells you what you’re dealing with. Spend five minutes here and the rest of the job goes smoother. Rushing prep is where mistakes start.
Step 2 – Remove Trim and Molding
Start at the edges. Baseboards, crown molding, and corner trim hold the panel borders in place, so they come off first.
Score the paint line where the trim meets the wall with your utility knife. You’ll feel the blade cut through dried caulk and paint. Skipping this step rips paint and drywall paper off with the trim.
Slide your putty knife behind the trim, then work the flat pry bar in beside it. Apply slow, steady pressure. Listen for the soft creak of nails pulling free. Move along the length, prying a little at each point rather than forcing one spot.
Label each piece on the back if you plan to reuse it. Pull the old finish nails out with pliers.
Step 3 – Find the Starting Edge
Every paneling job has a weak point. Find it and the rest follows.
Look for a loose corner, a seam, or a spot near a door or window where the edge isn’t fully sealed. Press along the panels and feel for any give. A slight flex means you’ve found a good entry point.
Slide your putty knife into the gap. If it slips in easily, the panel is nailed and will pop off cleanly. If it hits resistance and feels stuck, adhesive holds it down — plan for a slower pull and possible drywall touch-up.
Knowing this before you yank saves your wall. Once you’ve located the loosest edge, you’re ready to start the actual removal.
Step 4 – Pry the First Panel Loose
This is the satisfying part. Knowing how to take off wood paneling without wrecking the wall comes down to leverage and patience.
Work your flat pry bar behind the panel at the loose edge. Place a putty knife or thin scrap of wood behind the bar to spread the force and protect the drywall.
Pull gently. You’ll hear nails groan and pop as they release. Move the bar down the edge every six inches and repeat. The panel peels away in a steady rhythm rather than one big tear.
If it cracks or splinters, stop and reposition closer to a stud. Forcing a glued panel here is how beginners punch holes in good drywall.
Step 5 – Work Across the Wall
Once the first panel gives, momentum builds. Move along the wall in the same order, prying each panel at its nailed or glued points.
Keep your free hand on the panel to control it. As it loosens, it can swing out and surprise you. Lower each piece to the floor instead of letting it drop and crack.
For glued panels, slide your putty knife or oscillating tool behind the surface and slice through the adhesive in long strokes. You’ll feel the panel release in sections. Some drywall paper may tear — that’s normal and easy to patch later.
Stack removed panels flat against an open wall. A clean staging area keeps you from tripping over debris as you go.
Step 6 – Remove Leftover Nails and Adhesive
The wall behind the paneling is never clean. Nails stay buried in the studs, and dried glue clings to the drywall in ridges.
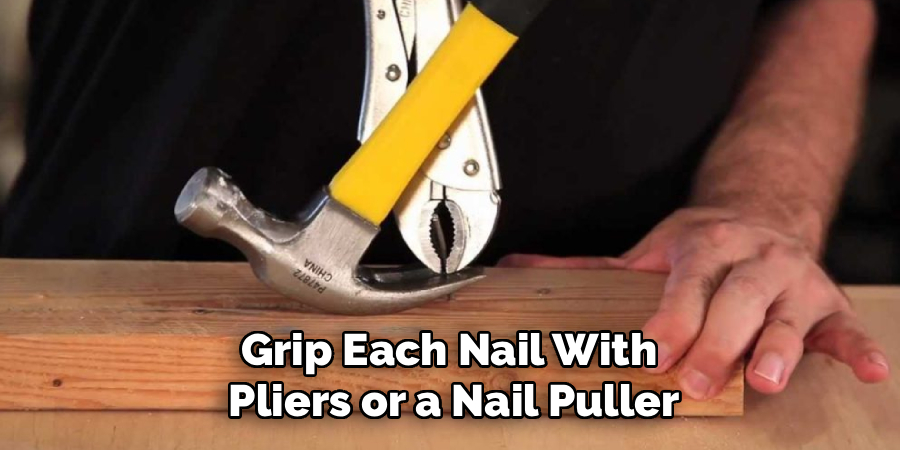
Grip each nail with pliers or a nail puller and rock it free. Pull at an angle to lift the head without gouging the wood. Run your hand across the studs afterward to catch any you missed — a stray nail snags clothing and skin.
For glue, scrape the ridges with your putty knife held at a low angle. Heavy adhesive may need a heat gun or adhesive remover to soften first. Work in small sections.
Smooth the surface as you go. The flatter you leave it now, the less sanding and patching you face later.
Step 7 – Inspect and Repair the Wall
Step back and look at what you’ve uncovered. You’ll see one of two things: solid drywall ready for paint, or torn paper and gouges that need attention.
Press on any soft or bulging spots. Drywall damaged by adhesive or prying needs patching with joint compound. Fill small holes and torn paper with a thin coat, let it dry, then sand smooth.
If you find open studs with no drywall behind them, you’ll need to hang new sheets — a bigger job, but a clean slate.
Run your hand over the finished surface. It should feel smooth and even, with no raised ridges or loose paper. This careful wall preparation sets you up for a paint job that looks professional.
Step 8 – Clean Up and Dispose of Debris
Finish strong. A clean workspace makes the final result feel complete.
Sweep up nails, splinters, and adhesive chips right away. Magnetic sweepers catch stray nails fast and protect bare feet. Bag the small debris as you go.
Break down the panels for disposal. Snap them along the grain or cut them to fit your trash bins or trailer. Check local rules — some areas treat old paneling and adhesive as construction waste.
Wipe down the wall and baseboards to clear fine dust. Vacuum the floor, especially in corners where nails hide.
Now your room is ready for its next chapter — fresh drywall, primer, and paint. The transformation from dark paneling to a bright, open wall is worth every minute.
Common Mistakes to Avoid
The biggest mistake is prying too fast. Beginners see one panel pop off and start yanking hard at the next. That speed punches holes in drywall and splinters panels you might have salvaged. Slow, steady leverage wins every time. Move your pry bar in small increments and let the nails release on their own.
Another common error is skipping the trim. People try to pull panels off with the baseboards still attached. The trim holds the edges locked, so forcing it tears both the panel and the wall. Always remove molding first and score the paint line before you pry.
Many first-timers also forget to check for wiring and outlets. Prying blindly near an outlet can nick a live wire or yank a box loose. Cut the power and locate every electrical point before you start.
Failing to protect the drywall is a costly slip too. Without a putty knife or scrap behind your pry bar, the metal edge digs straight into the wall, leaving gouges that mean extra patching.
Finally, don’t ignore leftover nails. A wall full of buried nails is a hazard and ruins your next finish.
Expert Tips
Map your studs before you touch a panel. Mark them with a pencil so you know exactly where the nails sit. Prying at the stud line, not between, gives you clean releases and fewer cracks.
For glued panels, warmth is your friend. A heat gun softens old construction adhesive in seconds, letting your putty knife glide through instead of fighting it.
Save the best panels. Removed carefully, they make great workshop shelving, garage liners, or scrap for future projects.
Keep a bucket of joint compound and a sanding block on hand from the start. Patching as you uncover damage, rather than at the end, keeps your momentum and dries while you work.
And wear your dust mask the whole time. Old paneling and adhesive release particles you don’t want in your lungs.
Frequently Asked Questions
Is Wood Paneling Hard to Remove?
No, wood paneling is one of the easier DIY removal jobs. Nailed panels pop off in minutes with a pry bar and patience. Glued panels take longer because you must slice through adhesive and patch the drywall afterward. Most homeowners finish a single room in a weekend. Work slowly to protect the wall behind it, and the job stays manageable.
Will Removing Paneling Damage My Drywall?
It depends on how the panels were installed. Nailed panels usually leave drywall intact, with just nail holes to fill. Glued panels often tear the paper surface when pulled, which needs patching with joint compound. Use a putty knife behind your pry bar to spread pressure and minimize gouges. Expect some touch-up work either way.
How Do I Know If My Paneling Is Glued or Nailed?
Slide a putty knife behind a panel edge and feel for resistance. If it slips in easily and you spot nail heads, the panel is nailed. If it sticks and won’t budge, adhesive holds it. Tapping the wall helps too — a hollow sound suggests nails over drywall, while a solid thud points to glue.
What Should I Do After Removing the Paneling?
Pull all leftover nails and scrape off dried adhesive first. Then inspect the drywall for tears, holes, or soft spots. Patch any damage with joint compound, let it dry, and sand smooth. Prime the wall before painting to seal the surface. If you find open studs, you’ll need to hang new drywall before finishing.
Can I Reuse Old Wood Paneling?
Yes, if you remove it carefully. Pry slowly and lower each panel to avoid cracks. Clean, intact panels work well as workshop shelving, garage wall covering, accent projects, or raw material for smaller builds. Label the backs as you remove them so reassembly is easy. Even damaged pieces serve as useful scrap for future jobs.
Conclusion
Stripping out dated paneling transforms a room faster than almost any other project. Now that you know how to take off wood paneling the right way, you have the full process: prep the space, remove the trim, find the loosest edge, pry with patience, then clean and repair the wall behind it.
The keys are simple. Go slow. Protect the drywall with a putty knife behind your pry bar. Cut the power before working near outlets. Pull every leftover nail and patch the damage as you uncover it. Follow those rules and you’ll avoid the costly mistakes that trip up beginners.
You’ll also save hundreds — even thousands — compared to hiring a contractor, and you’ll gain skills that carry into every future home project. Grab your tools, set up your drop cloths, and start with one corner. By the end of the weekend, you’ll stand in a brighter, modern room you built with your own hands. That’s a result worth the effort.
