
That branch from your backyard could carry mites, mold spores, or bacteria straight into your reptile’s home. Wild wood looks perfect for climbing and basking, but it hides parasites and pathogens that threaten your pet. Learning how to sanitize wood for reptiles removes those risks and turns raw branches into safe habitat décor.
The process is simple once you know the steps: clean off the debris, kill anything living in the grain, and dry the wood completely before it goes in the enclosure. Whether you collected oak from a hike or bought a piece of grapevine, the method stays the same. This guide walks you through every step, from inspection to final placement, so you can outfit your reptile enclosure with confidence.
Why This Matters
Skipping proper wood treatment costs you more than money. Untreated branches introduce parasites, fungal infections, and harmful bacteria that can make your reptile sick or worse. A vet bill for a parasite outbreak runs far higher than an afternoon of cleaning.
Doing it yourself saves you the premium prices on store-bought décor. A foraged branch costs nothing. The same piece sold as “reptile-safe” might run twenty dollars or more. Master the process once, and you furnish entire enclosures for free.
You also protect the wood itself. Proper drying prevents rot and mold from returning, so your branches last for years instead of weeks. The skill builds real confidence. You stop second-guessing every piece you add and start trusting that your reptile habitat is genuinely safe.
Tools and Materials You’ll Need
Gather everything before you start. A complete kit keeps the process moving and ensures nothing living survives the treatment.
- Scrub off dirt and loose bark — a stiff-bristle brush and warm water
- Kill bacteria safely — a reptile-safe disinfectant or diluted white vinegar
- Bake out parasites and eggs — an oven or a large pot for boiling
- Soak smaller pieces — a deep bucket or tub
- Protect your hands — rubber gloves
- Dry the wood fully — a sunny outdoor space or a low-heat oven
- Line your baking tray — aluminum foil or parchment paper
- Inspect tight spots — a bright flashlight
- Speed up large jobs (optional) — a pressure washer for heavy bark and dirt
Step-by-Step Guide on How to Sanitize Wood for Reptiles
Step 1 – Inspect the Wood Before You Start
Look before you clean. Not every branch belongs in an enclosure, and some woods are toxic to reptiles no matter how well you treat them.
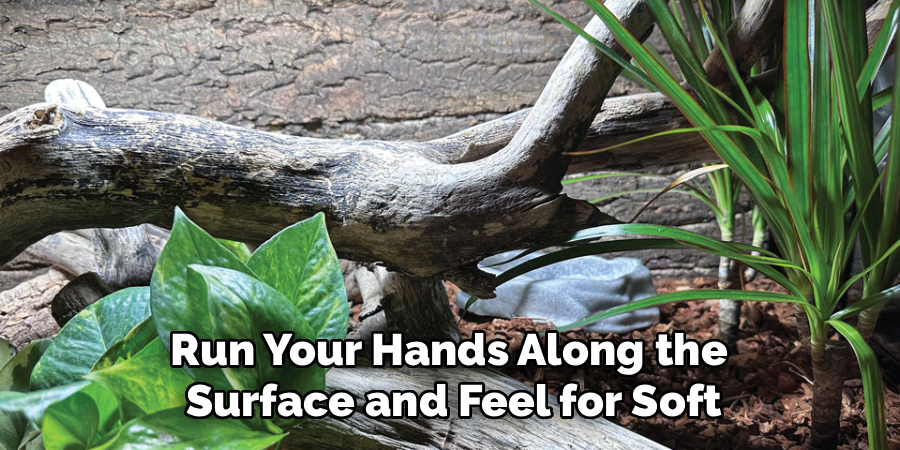
Choose safe species like oak, apple, grapevine, manzanita, or dogwood. Avoid cedar, pine, and other aromatic woods, since their oils release fumes that harm reptile lungs. Run your hands along the surface and feel for soft, spongy spots. Those signal rot you can’t fix.
Hold a flashlight close and check the bark and crevices. Look for boring holes, sawdust trails, or tiny moving specks. Those mean live insects. A solid, dry branch with firm bark is your best candidate. Set aside anything crumbling, damp-smelling, or crawling with life.
Step 2 – Remove Loose Bark and Debris
Strip away anything that hides pests. Loose bark, moss, and dirt trap insects and eggs that boiling alone won’t always reach.
Take your branch outside and scrub it with a stiff brush. Work along the grain, knocking off flaking bark, clinging soil, and any leftover leaves. You’ll hear the dry crackle of bark coming free and see a small pile of debris build up underneath.
Pay attention to knots and forks where dirt collects. A pressure washer makes quick work of stubborn grime on large pieces. When you’re done, the wood should look clean and feel rough but solid. Smooth, bare patches are fine. Soft, damp spots that flake apart mean rot you missed in the inspection.
Step 3 – Scrub With Warm Water
Wash off the fine particles your brush left behind. Surface dust and sap residue can interfere with the next steps, so a thorough rinse matters.
Fill a bucket with warm water and submerge smaller branches. For larger pieces, hose them down and scrub with the brush again. Skip the soap on this pass. You want clean water lifting the last of the loose dirt without leaving a chemical film.
Feel the surface as you work. It should turn from gritty to smooth-but-textured under your fingers. The runoff water will look brown at first, then run clear. Clear water is your signal that the surface is clean and ready for disinfecting. Don’t rush this step, since trapped grime weakens every treatment that follows.
Step 4 – Disinfect the Surface
Kill the bacteria your eyes can’t see. This is the core of how to sanitize wood for reptiles, and it’s where most of the real protection happens.
Mix a reptile-safe disinfectant according to its label, or make a solution of one part white vinegar to three parts water. Submerge the branch or wipe it down thoroughly, getting into every crevice and fork. Let it sit for the full contact time, usually 10 to 15 minutes.
You’ll smell the sharp tang of vinegar or the clean scent of the disinfectant. Don’t shortcut the soak time, since the solution needs those minutes to work. Wear gloves to keep your skin protected and to avoid pushing new bacteria onto the wood while you handle it.
Step 5 – Rinse Away All Residue
Remove every trace of cleaning solution. Leftover disinfectant or vinegar can irritate your reptile’s skin and eyes once the wood goes in the enclosure.
Rinse the branch under clean running water for several minutes. Rotate it so the stream reaches every angle. For soaked pieces, drain the disinfectant bucket, refill with fresh water, and rinse twice to be safe.
Bring your nose close and sniff. The vinegar smell should fade to almost nothing. A strong lingering odor means residue still clings to the grain, so keep rinsing. Run your fingers over the surface, too. It should feel clean and free of any slippery film. Thorough rinsing now prevents chemical exposure later, which is the whole point of safe wood treatment.
Step 6 – Heat-Treat to Kill Parasites
Heat finishes what cleaning starts. Boiling or baking destroys mites, eggs, and fungal spores buried deep in the grain where solutions can’t reach.
For small branches, boil them in a large pot for 30 minutes. For bigger pieces, bake them in the oven at 250°F for two to three hours on a foil-lined tray. Watch the wood as it heats. You may see tiny bubbles rise from the grain as trapped moisture and pests cook out.
Keep the oven temperature steady and check the wood every 30 minutes. It should never char or smoke. A faint warm, woody smell is normal. Scorching means your heat is too high. This step is your guarantee against parasite removal failures down the line.
Step 7 – Dry the Wood Completely
Wet wood breeds mold. Drying is the step beginners rush most, and it’s the one that ruins otherwise perfect branches.
Set the wood in direct sunlight for one to three days, turning it daily so every side dries evenly. Short on time? Return it to a low oven at 200°F for an hour or two. The wood should feel completely dry to the touch, with no cool dampness in the deeper grooves.
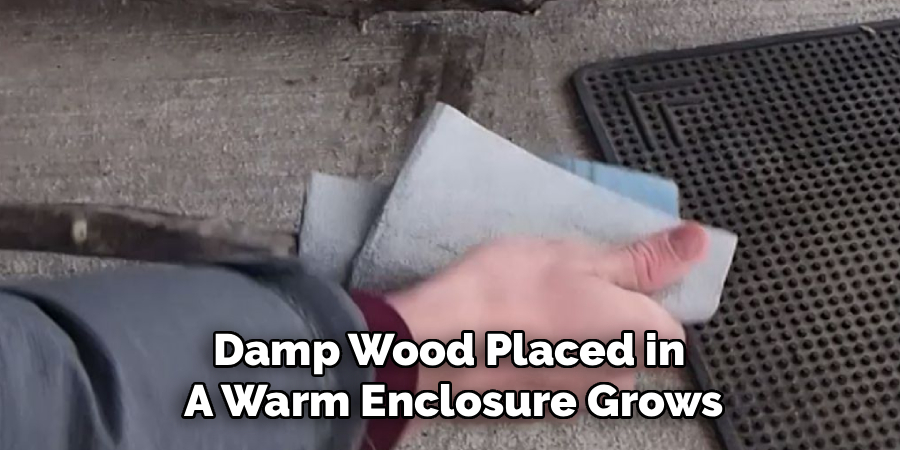
Tap the branch and listen. Dry wood gives a sharp, hollow knock. A dull thud means moisture still lingers inside. Damp wood placed in a warm enclosure grows mold within days, undoing all your work. Patience here protects the whole reptile habitat.
Step 8 – Inspect and Place in the Enclosure
Do a final check before placement. One last inspection catches anything the process missed and confirms the branch is enclosure-ready.
Shine your flashlight over every surface, looking again for cracks, sharp edges, or any sign of life. Run your hands across the wood to feel for splinters that could injure your reptile. Sand down rough edges if needed.
Position the branch securely so it can’t shift or fall under your pet’s weight. Wedge it against the enclosure walls or anchor it in the substrate. Watch your reptile explore it over the next day. Steady climbing and basking mean you’ve done the job right. With clean, dry, secure wood in place, your natural wood branches become safe habitat features.
Common Mistakes to Avoid
The biggest mistake is using toxic wood. Beginners grab cedar or pine because the branches look attractive and smell pleasant. Those aromatic oils release fumes that damage reptile respiratory systems over time. Always stick to safe species like oak, apple, or grapevine, and research any wood you’re unsure about before it goes anywhere near your pet.
Skipping the heat treatment is another common error. Some people scrub and disinfect, then assume the wood is clean. Surface cleaning never reaches the mites and eggs hiding deep in the grain. Boiling or baking is non-negotiable for true parasite removal, and skipping it invites an infestation straight into your enclosure.
Rushing the drying stage ruins more branches than anything else. Wood that feels dry on the surface often holds moisture inside. Placed in a warm, humid enclosure, that trapped water feeds mold within days. Give the wood the full drying time it needs.
Finally, leaving disinfectant residue causes problems. Inadequate rinsing leaves vinegar or chemicals on the surface that irritate sensitive reptile skin and eyes. Rinse thoroughly and trust your nose. If you still smell cleaner, keep rinsing until the odor fades.
Expert Tips
Quarantine new wood before you treat it. Set a fresh branch in a sealed bag for a few days and watch for emerging insects. Live pests crawl out where you can see them, telling you exactly how heavy an infestation you’re dealing with before treatment.
Match your heat method to the wood’s density. Dense hardwoods like manzanita handle baking well and hold up for years. Softer woods can crack under prolonged oven heat, so boiling treats them more gently.
Weigh your branch before and after drying if you want certainty. Wood loses noticeable weight as moisture leaves. When the weight stops dropping between dryings, the moisture is gone.
Treat several branches in one session. Heating the oven for one piece wastes energy, so batch your foraging and process everything at once. You’ll keep a ready supply of safe décor on hand.
Frequently Asked Questions
What Types of Wood Are Safe for Reptiles?
Oak, apple, grapevine, manzanita, and dogwood are among the safest choices. They lack the harmful oils found in aromatic woods. Avoid cedar, pine, fir, and other resinous species, since their fumes damage reptile lungs over time. When in doubt, research the specific wood before use. Choosing a safe species from the start prevents serious health problems down the road.
Can I Skip Boiling and Just Use Disinfectant?
No. Disinfectant cleans the surface but can’t reach mites, eggs, and fungal spores buried deep in the grain. Heat treatment through boiling or baking is the only reliable way to kill those hidden pests. Combine both methods for full protection: disinfect the surface first, then heat-treat to reach what cleaning solutions miss. Skipping the heat step risks an infestation in your enclosure.
How Long Does Wood Take to Dry Completely?
Air-drying in direct sunlight takes one to three days, depending on the wood’s size and density. Turn the branch daily for even drying. Oven-drying at 200°F speeds this up to one or two hours. The wood is ready when it feels completely dry and gives a sharp, hollow knock when tapped. A dull thud means moisture still lingers inside.
Is Vinegar Safe for Cleaning Reptile Wood?
Yes, diluted white vinegar is a safe, effective disinfectant for reptile wood. Mix one part vinegar to three parts water, apply it, and let it sit for 10 to 15 minutes. Rinse thoroughly afterward until the smell fades. Vinegar kills surface bacteria without leaving toxic residue, making it a reliable non-toxic cleaning option for reptile owners who want to avoid harsh chemicals.
How Often Should I Re-Sanitize Wood in the Enclosure?
Inspect enclosure wood weekly and re-sanitize every few months or whenever you spot mold, waste buildup, or pests. High-humidity habitats need more frequent cleaning, since moisture encourages mold growth. Remove the branch, scrub it, disinfect, and dry it fully before returning it. Regular maintenance keeps the reptile habitat clean and extends the life of your natural wood branches.
Conclusion
Safe wood comes down to a clear sequence: inspect for safe species, scrub off debris, disinfect the surface, heat-treat to kill hidden pests, and dry the wood completely before placement. Follow that order, and every branch you add becomes a safe, lasting feature in your enclosure.
Knowing how to sanitize wood for reptiles turns free foraged branches into professional-quality décor. You stop worrying about parasites, mold, and toxic fumes, and start trusting that your pet’s home is genuinely safe. The skill pays off every time you furnish a new enclosure or refresh an old one, saving you money on store-bought pieces while keeping your reptile healthy.
The work rewards patience over shortcuts. Give the disinfectant its full contact time, let the heat reach deep into the grain, and dry the wood until it knocks hollow. Pick a safe branch, run it through these steps, and watch your reptile climb and bask on wood you prepared with your own hands. Once you see how simple it is, you’ll never pay premium prices for habitat décor again.
