
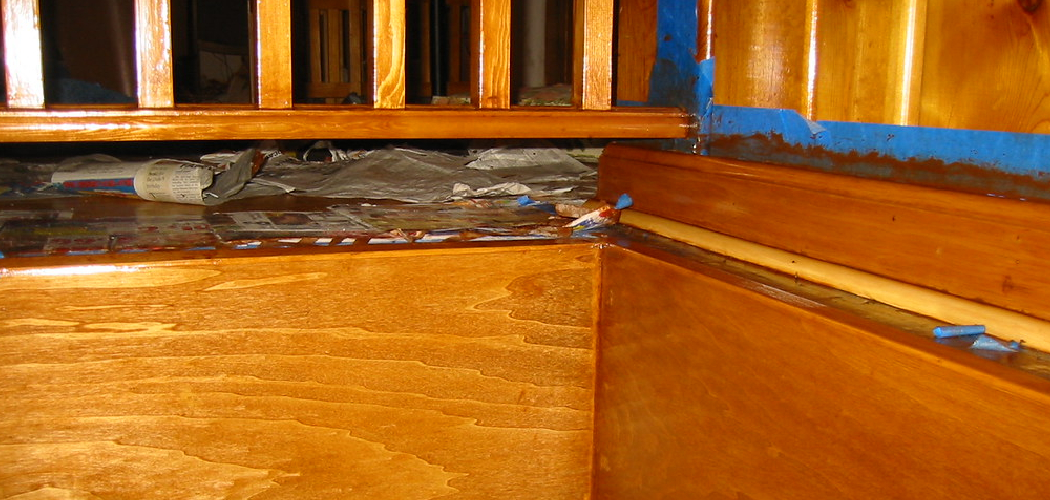
A bright patch of dried filler sitting in the middle of a stained board ruins an otherwise clean repair. You can fix it. Learning how to stain wood putty turns an obvious blemish into an invisible mend that blends with the surrounding grain.
Wood putty fills nail holes, cracks, gouges, and seams. But raw filler rarely matches finished wood on its own. Stain bridges that gap and ties the repair into the rest of the surface.
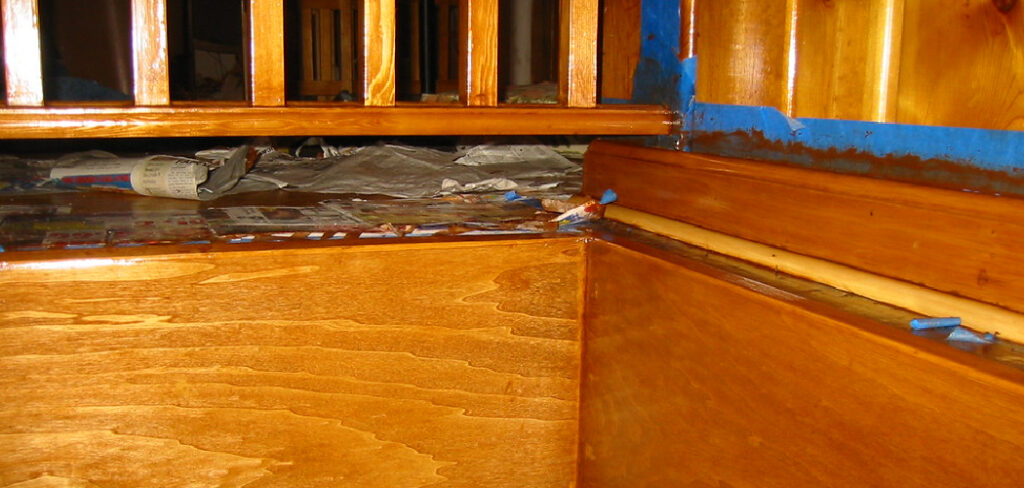
This guide walks you through every step — from choosing stainable putty to sealing the final color — so your patched spots disappear into the wood instead of standing out. By the end, you’ll know exactly how to repair, blend, and finish like someone who’s done it for years.
Why Staining Wood Putty Matters
A visible patch lowers the value of your work. A blended one protects it.
Most beginners spend money replacing whole boards or trim when a simple stained repair would do the job. Filler costs a few dollars. A new section of hardwood costs far more, plus the labor to install it. Staining putty saves both.
The skill also builds confidence. Once you patch and color one hole well, you stop fearing dents and gouges in furniture, floors, and cabinets. You see them as quick fixes, not disasters.
There’s a durability payoff too. Sealing a stained repair locks out moisture and stops the filler from cracking or popping loose. That extends the life of your project and keeps it looking finished for years.
Tools and Materials You’ll Need
Gather everything before you start. Stopping mid-repair to hunt for supplies leads to dried putty and uneven results.
- Fill the damage: stainable wood putty or wood filler
- Smooth the surface: 120-grit and 220-grit sandpaper
- Apply the filler: a flexible putty knife
- Match the color: oil-based or water-based wood stain
- Blend and control: clean lint-free rags and disposable gloves
- Test before committing: a scrap of matching wood or a hidden area
- Seal the repair: clear polyurethane or finishing topcoat
- Apply stain cleanly: a small foam brush or applicator
- Optional — speed up color matching: a stain marker or touch-up pen for tiny holes
Choose a putty labeled “stainable.” Many cheap fillers reject stain and dry to a chalky, off-color spot no matter what you do.
Step-by-Step Guide on How to Stain Wood Putty
Step 1 – Choose the Right Stainable Putty
Not all fillers take stain. That single choice decides whether your repair blends or stands out.
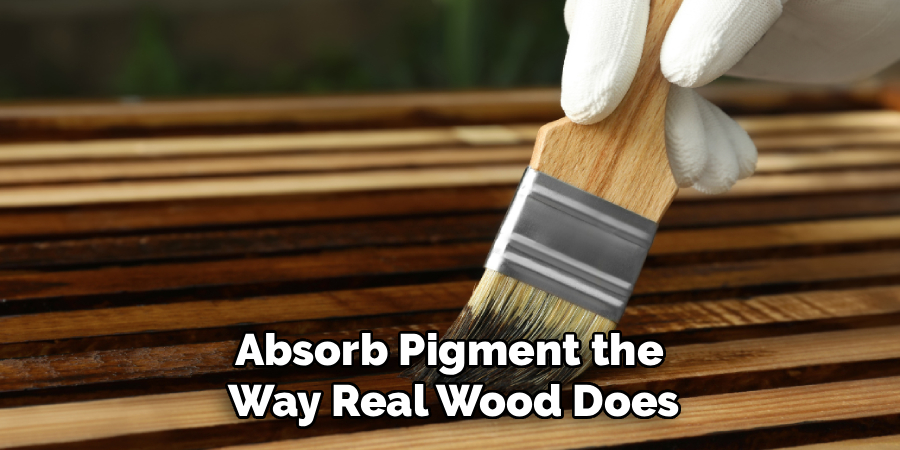
Read the label and pick a product marked “stainable wood putty” or “stainable wood filler.” These are built to absorb pigment the way real wood does. Solvent-based and latex fillers often resist stain and leave a pale, plastic-looking patch.
Match the putty’s base color to your wood. A natural or light putty works under most stains. A pre-tinted filler in a similar shade gives you a head start on color matching.
Press a little between your fingers. Good putty feels firm but pliable, not crumbly or runny. That texture spreads cleanly and sands smooth, which sets up everything that follows.
Step 2 – Clean and Prep the Damaged Area
Dust, grease, and old finish block both putty and stain. Clean the spot first.
Wipe the damaged area with a dry cloth, then a barely damp one to lift fine debris. Let it dry fully. Any moisture trapped under the filler weakens the bond and invites cracking later.
If old finish surrounds the hole, scuff it lightly with 220-grit sandpaper. This gives the putty a rough surface to grip. You’ll feel the slick coating turn slightly chalky under your fingertips — that’s the texture you want.
Check the cavity for loose splinters or jagged edges. Snap or sand them away so the opening is clean and stable. A solid foundation keeps the repair from popping loose months down the road.
Step 3 – Apply the Wood Putty
Load a small amount of putty onto the edge of your knife. Press it firmly into the hole.
Work the filler in at an angle, pushing it deep so no air pockets remain. Air gaps show up as dark dimples after staining. Overfill the spot slightly — putty shrinks as it dries, and a raised mound gives you room to sand flush.
Drag the knife across the surface to scrape off the excess. Keep the blade flat and pull in one smooth motion. You’ll hear a soft scrape and see a clean, slightly proud patch.
Wipe stray putty from the surrounding wood right away. Dried smears outside the repair area absorb stain unevenly and create a halo you’ll fight later.
Step 4 – Let the Putty Cure Completely
Patience here saves you from redoing the whole repair. Rushing is the most common reason putty fails.
Follow the drying time on the label, then add a buffer. Most fillers need two to eight hours, but deep fills can take a full day. Thick repairs cure from the outside in, so the center stays soft long after the surface feels hard.
Test it by pressing a fingernail at the edge. Cured putty resists the dent and feels cool and solid. Soft or tacky filler needs more time.
Color is another clue. Many fillers lighten as they fully dry. Wait until the shade stops changing before you sand or stain.
Step 5 – Sand the Repair Smooth
Sanding levels the patch and opens the filler so it can drink in stain evenly.
Start with 120-grit sandpaper to knock down the raised mound. Work in the direction of the grain, never across it. Cross-grain scratches catch stain and show up as dark streaks.
Switch to 220-grit and feather the edges where putty meets wood. Run your fingertips across the spot with your eyes closed — a perfect repair feels flat, with no ridge or dip. If you feel a bump, keep sanding.
Wipe away all dust with a clean cloth. Leftover grit muddies the stain and ruins the finish. Knowing how to stain wood putty starts with a surface this smooth and clean.
Step 6 – Test Your Stain First
Color surprises ruin good repairs. A test prevents them.
Filler absorbs stain differently than solid wood. The same stain can look lighter, darker, or slightly off on the patch. Always test before you commit.
Brush your stain onto a scrap board, or onto the same brand of putty smeared on a hidden surface. Let it sit the same time you plan to use on the real repair. Wipe it and compare against the surrounding wood in good light.
Too light? Add a second coat or pick a darker shade. Too dark? Wipe sooner or thin the stain. Oil-based stains give you more working time and richer color, while water-based stains dry fast and clean up with water. Adjust until the test matches.
Step 7 – Stain the Putty to Match
Now blend the patch into the surrounding grain. This is where the repair disappears.
Dip a foam brush or rag into your stain and apply a thin coat over the cured filler. Feather it slightly onto the nearby wood so there’s no hard color line. Let it soak for the time your test confirmed.
Wipe with a clean rag, following the grain. The putty should pull close to the wood’s tone. If it reads too pale, layer a second light coat once the first dries.
For a flawless finish, mimic the grain. Drag a fine brush or stain marker across the patch in thin lines to fake the wood’s natural pattern. That detail is the difference between hidden and obvious.
Step 8 – Seal and Protect the Finish
Stain alone won’t hold up. A topcoat locks in the color and shields the repair.
Wait until the stain dries fully — usually a few hours for water-based, longer for oil-based. Touch the surface; it should feel dry, not tacky.
Brush a thin, even coat of clear polyurethane or matching finish over the repair and the surrounding area. Blend the edges so the sheen matches. A glossy patch on a satin surface stands out as much as a color mismatch.
Let it cure, then lightly scuff with 220-grit and add a second coat for high-traffic spots like floors or tabletops. The finished repair should reflect light evenly, feel smooth, and vanish into the wood around it.
Common Mistakes to Avoid
The biggest mistake is using non-stainable filler. Many beginners grab whatever putty is on the shelf, apply it, then watch the stain bead off or dry to a pale blotch. Always confirm the label says stainable before you start. This one check saves hours of frustration.
Rushing the cure time runs a close second. Soft putty smears under sandpaper and absorbs stain unevenly, leaving dark, gummy patches. Deep fills especially need extra hours — sometimes a full day. When in doubt, wait longer.

Skipping the stain test trips up even careful workers. Filler rarely matches the color it shows on solid wood, so applying stain blind almost guarantees a mismatch. Test on scrap or a hidden spot every time, no exceptions.
Sloppy sanding causes problems too. Sanding across the grain leaves scratches that grab stain and turn into dark streaks. Leaving a raised mound creates a shiny lump under the finish. Sand with the grain, feather the edges, and check by touch.
Finally, don’t overfill the surrounding wood with smeared putty. Stray filler outside the repair soaks up stain differently and forms a visible halo around your patch.
Expert Tips
Layer your color instead of forcing one shade. Pros rarely match wood with a single stain. They start light, build slowly, and stop at the right tone. Light coats give you control; a heavy coat can’t be undone.
Mix two putty colors for tricky woods. A blend often matches grain better than any single tube, especially on species like oak or walnut with strong color variation.
Stain putty slightly darker than the surrounding wood when in doubt. Filler tends to fade as it fully cures and seals, and a hair darker reads more natural than too light.
Keep a stain marker on hand for pinholes and nail holes. It fills and colors in one pass, no curing or wiping needed. For tiny repairs, that’s faster and cleaner than mixing putty and stain.
Frequently Asked Questions
Can You Stain All Types of Wood Putty?
No. Only putty labeled “stainable” reliably accepts stain. Standard solvent-based and many latex fillers resist pigment and dry to a pale, plastic-looking patch no matter how you apply the stain. Always check the label before buying. If you’re unsure, smear a small amount on scrap, let it cure, and test your stain on it first.
How Long Should Wood Putty Dry Before Staining?
Most fillers need two to eight hours, but deep repairs can take a full day. Putty cures from the outside in, so the center stays soft after the surface feels firm. Press a fingernail at the edge — cured filler resists the dent. Many putties also lighten as they dry, so wait until the color stops changing before you stain.
Why Does My Stained Putty Look Lighter Than the Wood?
Filler absorbs stain differently than solid wood, so it often reads lighter. Fix it by adding a second thin coat once the first dries, or by choosing a darker stain. You can also mimic the grain with a fine brush or stain marker to add depth. Testing on scrap first helps you catch the mismatch before it reaches your project.
Should I Use Oil-Based or Water-Based Stain?
Both work. Oil-based stain gives you more working time and richer, deeper color, which helps when blending repairs. Water-based stain dries fast, smells less, and cleans up with water. Match your stain type to the existing finish on the wood for the best blend. When in doubt, oil-based stain is the more forgiving choice for beginners learning to color-match patches.
Do I Need to Seal Stained Wood Putty?
Yes. A clear topcoat locks in the color and protects the repair from moisture, wear, and cracking. Without it, stained filler can fade, lift, or pop loose over time. Brush a thin coat of polyurethane or matching finish over the patch and surrounding area, blending the sheen. For floors and tabletops, add a second coat for extra durability.
Conclusion
A bright, obvious patch tells everyone where the damage was. A blended one tells no one. That’s the whole goal.
You now know how to stain wood putty from start to finish: choose stainable filler, prep and apply it cleanly, let it cure fully, sand with the grain, test your stain, blend the color, and seal the repair. Each step builds on the last, and skipping any one shows in the final result.
The skill pays off fast. You save money by repairing instead of replacing. You protect your projects from moisture and wear. And you gain the confidence to tackle dents, holes, and gouges without hesitation.
Start with a small, hidden repair to build your touch. Test on scrap, work in thin layers, and trust the process. Once your first patch disappears into the grain, you’ll never look at a damaged board the same way again. Grab your putty, pick your stain, and make that next repair vanish.
