
A gouge, a burn mark, or a cracked board can ruin the look of an otherwise beautiful floor. The damage spreads if you ignore it, and replacing a whole floor costs thousands. The fix is simpler than you think. Learning how to patch wood floor damage lets you repair one board or one section without tearing up the room.
You don’t need a contractor or a truck full of tools. You need patience, a few basics, and the right order of steps. Done well, your patch disappears into the surrounding wood. Done wrong, it sticks out like a sore thumb. This guide walks you through every stage — from sizing the damage to blending the final finish — so your repair looks like it was never there.
Why Patching Wood Floors Matters
A small patch saves you a full replacement. Refinishing an entire room runs $1,000 or more, while a single board repair costs a fraction of that. You keep the cash and the original floor.
Patching also stops damage from spreading. Water seeps under loose boards. Splinters catch and widen. A cracked plank loosens its neighbors. Fix the problem early and you protect the rest of the floor.
There’s a skill payoff too. A floor repair teaches you how wood moves, how stain absorbs, and how finishes blend. These are the same skills you’ll use on stairs, furniture, and trim.
Most of all, a clean patch keeps your home looking cared-for. Buyers notice damaged floors. A tidy repair protects your home’s value and your daily pride in it.
Tools and Materials You’ll Need
Gather everything before you start. Stopping mid-job to find a tool wastes time and lets glue or filler set wrong. Here’s your checklist:
- Match the board — replacement flooring of the same species, width, and thickness
- Remove material cleanly — oscillating multi-tool or circular saw set to board depth
- Lift and pry — pry bar and a sharp wood chisel
- Fill small damage — wood filler or epoxy in a matching tone
- Bond the patch — wood glue and construction adhesive
- Smooth the surface — sandpaper in 80, 120, and 220 grit
- Match the color — wood stain and a clear polyurethane finish
- Clean as you go — vacuum, tack cloth, and clean rags
- Protect yourself — safety glasses, dust mask, and knee pads
One optional item earns its keep: a shop vacuum with a brush attachment. It pulls dust from the cut groove instantly, so glue grips bare wood instead of debris.
Step-by-Step Guide on How to Patch Wood Floor
Step 1 – Assess the Damage
Start by reading the damage. Run your hand across the spot. A shallow scratch or dent needs only filler. A crack, burn, or rot that reaches the board’s edge needs a full plank swap.
Press the board near the damage. If it flexes or makes a hollow tap, the subfloor or the board itself has failed. That’s a replacement, not a fill.
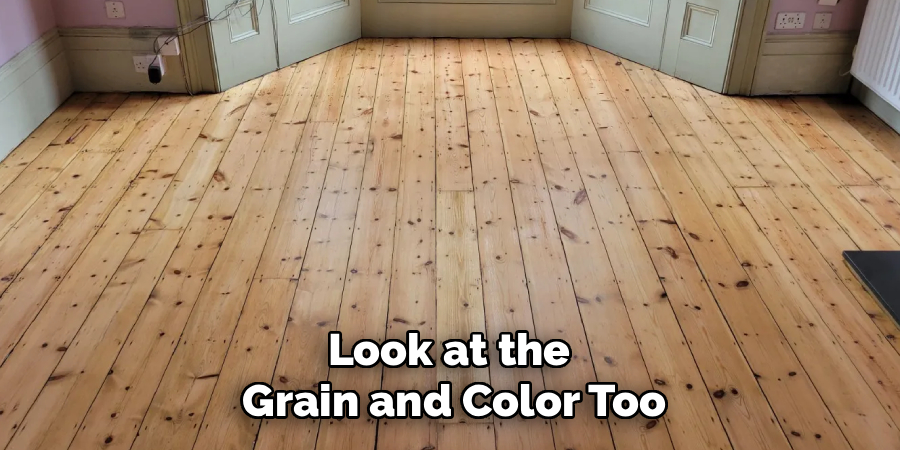
Look at the grain and color too. Note the board width and how the planks lock together — tongue-and-groove, click-lock, or face-nailed. This tells you how the board comes out later.
Knowing how to patch wood floor damage starts here. Match the repair method to the damage, and you avoid hours of wasted work on the wrong fix.
Step 2 – Source a Matching Board
A patch only disappears if the wood matches. Pull a board from a closet, under an appliance, or from leftover flooring in the garage. Hidden spots give you a perfect match without a visible scar.
No spare? Take a sample to a flooring supplier. Match the species, the width, the thickness, and the grain pattern. Oak, maple, and pine all look different up close.
Old floors carry years of color change from sunlight. A fresh board often looks too pale next to aged wood. Don’t panic — you’ll correct that with stain later.
Set the new board beside the damaged one in daylight. Check the grain direction and tone. The closer the raw match, the easier your blending job becomes at the end.
Step 3 – Mark and Cut the Damaged Board
Now define your cut. Mark a clean rectangle around the damaged area with a pencil and square. Keep your lines straight and your corners sharp — ragged cuts leave gaps that filler can’t hide.
Set your saw blade to the exact board thickness, usually 3/4 inch for solid hardwood. Cutting too deep slices into the subfloor and creates a new problem.
Plunge the blade into the center of the board, not the seam. You’ll hear the motor bite into the wood and see fine dust rise. Cut along your lines, then make a few extra passes through the middle to break the board into removable pieces.
Stop short of the corners. You’ll finish those with a chisel for clean, splinter-free edges.
Step 4 – Remove the Old Board
Pry out the cut piece. Tap your chisel into the center cut, then lever the loosened sections up and out. The middle pieces lift first, which takes pressure off the locked edges.
Work the tongue-and-groove edges free with care. Wedge your pry bar under the board and lift slowly. You’ll feel the joint release with a soft crack. Rushing here splinters the neighboring boards you want to keep.
Pull every nail or staple from the gap. Run your hand across the exposed subfloor. It should feel flat, dry, and clean.
If you see dark stains or soft spots, the subfloor took water damage. Dry it fully or replace that section before going further. A patch over rot fails fast.
Step 5 – Prep the Opening
A clean opening is the difference between a tight patch and a loose one. Vacuum the gap completely, then wipe it with a tack cloth. Even a thin layer of dust stops glue from gripping.
Test-fit your new board before any glue. Slide it into the opening. It should drop in with light pressure, not force. If it binds, sand the edges down a hair and try again.
For tongue-and-groove boards, you’ll need to trim the bottom lip of the groove so the plank lowers into place. A sharp chisel shaves it off in seconds.
Check the fit one last time. The board should sit flush with the surrounding floor, no high corner, no rocking. Mark anything that needs a final trim.
Step 6 – Glue and Set the New Board
Time to lock it in. Run a bead of construction adhesive across the subfloor inside the opening. Add wood glue to the tongue-and-groove edges that meet the existing boards.
Lower the board in at a slight angle to engage the groove, then press it flat. You’ll feel it seat into place. Wipe away any glue that squeezes out right away — dried glue blocks stain and leaves a shiny scar.
Weight the board down. Stack heavy books or set a clamp across it so it can’t lift while the adhesive cures. Most glues need a few hours; check the label for the full set time.
This is the moment that makes or breaks how to patch wood floor repairs. A solid bond now means no squeaks or lifting later.
Step 7 – Fill, Sand, and Level
Close the seams next. Press matching wood filler into the joints where the new board meets the old. Overfill slightly, since filler shrinks as it dries.
Let it cure fully. Then sand the patch with 80-grit to knock down any high spots, moving with the grain, never across it. Step up to 120-grit, then finish with 220 for a smooth surface.
Run your palm across the repair. The new board should feel level with the floor around it, with no ridge at the seams. Any bump you feel now will catch light and show later.
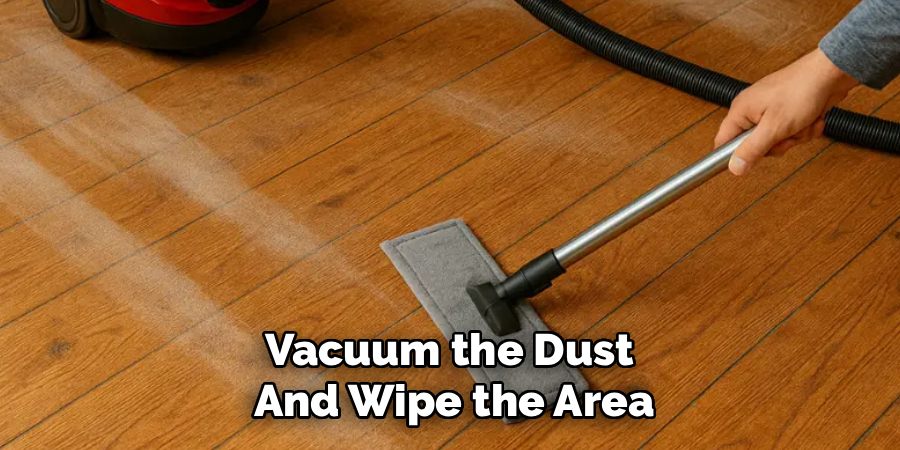
Vacuum the dust and wipe the area with a tack cloth. The bare patch should look clean, smooth, and ready to take stain evenly.
Step 8 – Stain and Finish to Match
Blend the color last. Test your stain on a scrap of the same wood first. Wood from different ages drinks stain differently, so a test saves you from a patch that’s too dark or too light.
Apply the stain with a clean rag, working it into the grain. Build the color in thin layers until the patch matches the surrounding boards. Wipe off the excess and let it dry.
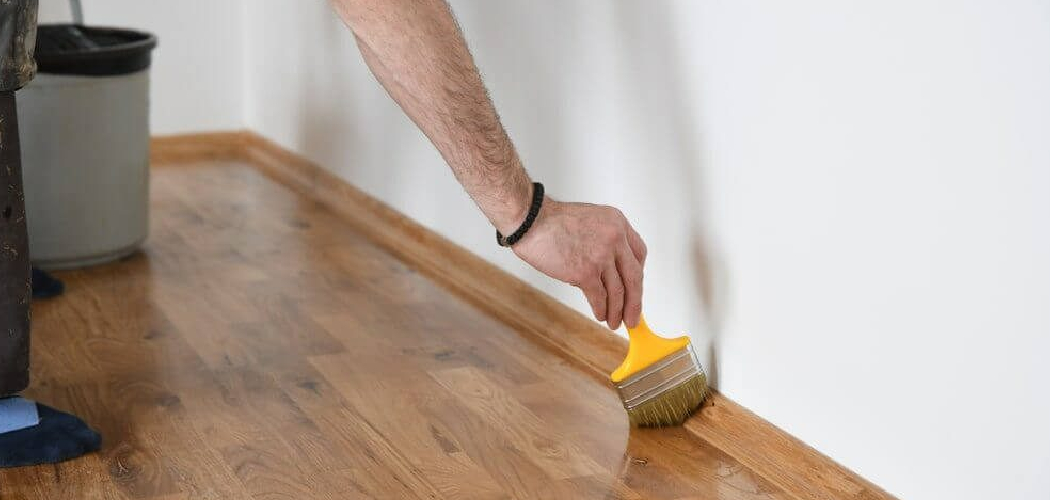
Once the color matches, brush on polyurethane in thin coats. Feather the edges into the old finish so there’s no hard line. Let each coat dry, then lightly buff with 220-grit before the next.
Two or three coats give lasting protection. When you’re done, the patch should catch the light just like the rest of the floor.
Common Mistakes to Avoid
The most common mistake is skipping the match. People grab any board that’s close and hope for the best. A wrong species or width never blends, no matter how much you stain it. Match the wood first, and the rest gets easier.
Cutting too deep ranks second. Set your blade to the board thickness, not deeper. Slice into the subfloor and you create a structural problem that’s far harder to fix than the damage you started with.
Rushing the glue is another floor-killer. Walk on a patch before the adhesive cures and the board shifts, squeaks, or lifts at the edges. Weight it down and wait the full set time. Patience here saves a redo.
Many beginners also forget to test stain. They wipe full-strength color straight onto the new board and end up with a dark blotch that screams “repair.” Always test on scrap and build the color slowly.
Finally, plenty of people sand across the grain to save time. Cross-grain scratches show up the second you apply finish. Sand with the grain, every pass, and your patch stays invisible.
Expert Tips
Pull your replacement board from a hidden spot — under the fridge or inside a closet. That board already carries the same age and sun exposure as your floor, so it blends with almost no staining.
Number and photograph the boards before you remove anything. When you reassemble a click-lock floor, you’ll know exactly which plank goes where.
Mix two stain shades to nail the color. Floors rarely match a single can off the shelf. Blend a lighter and darker tone until you hit the exact aged hue.
Feather your finish coats well past the patch edges. A hard line in the polyurethane catches light and gives the repair away, even when the wood matches perfectly.
Keep a damp rag in your back pocket. Wiping wet glue takes one second; sanding off dried glue takes ten minutes.
Frequently Asked Questions
Can I Patch a Wood Floor Without Replacing the Whole Board?
Yes, for shallow damage. Scratches, small dents, and minor gouges fill with wood filler or tinted epoxy, then sand and refinish. But cracks, burns, or rot that reach the board’s edge need a full plank swap. Press the board first. If it flexes or sounds hollow, replace it. If it’s solid with surface-only damage, fill it.
How Do I Match the Color of a New Board to an Old Floor?
Test stain on scrap wood first, then build the color in thin layers. Old floors darken from years of sunlight, so a fresh board starts too pale. Apply stain with a rag and add layers until the tone matches. Mixing two stain shades often gets you closer than a single color. Finish with polyurethane to match the sheen.
What’s the Best Filler for Wood Floor Cracks?
Use a wood filler that matches your floor’s tone for hairline cracks and small gaps. For deeper damage or chips near board edges, two-part epoxy holds stronger and resists shrinking. Both sand smooth and take stain. Overfill slightly, since filler shrinks as it dries, then sand flush with 220-grit once it cures fully.
How Long Should I Wait Before Walking on a Patched Floor?
Wait for the full glue cure time, usually 4 to 24 hours depending on the adhesive. Check the label. Walking on the patch too early shifts the board and creates squeaks or lifted edges. After finishing, give the polyurethane at least 24 hours before light foot traffic and several days before moving furniture back.
Do I Need Special Tools to Patch a Wood Floor?
No, but a few make the job cleaner. An oscillating multi-tool cuts damaged boards precisely without harming the subfloor. A sharp chisel and pry bar remove the old plank, and sandpaper plus stain handle the blending. A shop vacuum keeps the glue surface clean. Most of these you may already own or can rent affordably.
Conclusion
A damaged board doesn’t mean a damaged floor. Learning how to patch wood floor problems lets you fix the spot, protect the rest, and skip a four-figure refinishing bill. The process comes down to order: assess the damage, match the wood, cut clean, remove the old board, prep the opening, glue the new one, then sand, stain, and finish to blend.
Take your time with the two stages that matter most — matching the color and curing the glue. Rush either and the patch shows. Respect both and your repair vanishes into the floor.
Start small. Your first patch teaches you how wood cuts, fits, and takes stain — skills that carry into every future repair. Grab your tools, match your board, and get to work. The floor you save is the one you already love.
