
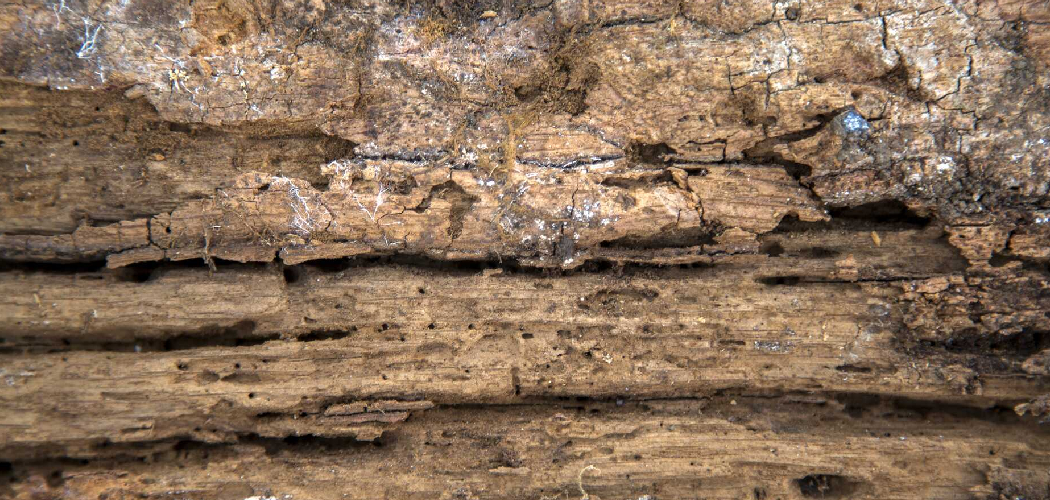
A smooth-sanded board can still feel rough the second you wipe on a water-based finish. The grain fibers swell, stand up, and ruin your topcoat. The fix is simple: raise the grain on purpose before you finish. Learning how to raise grain in wood means you control when those fibers lift, not your finish.
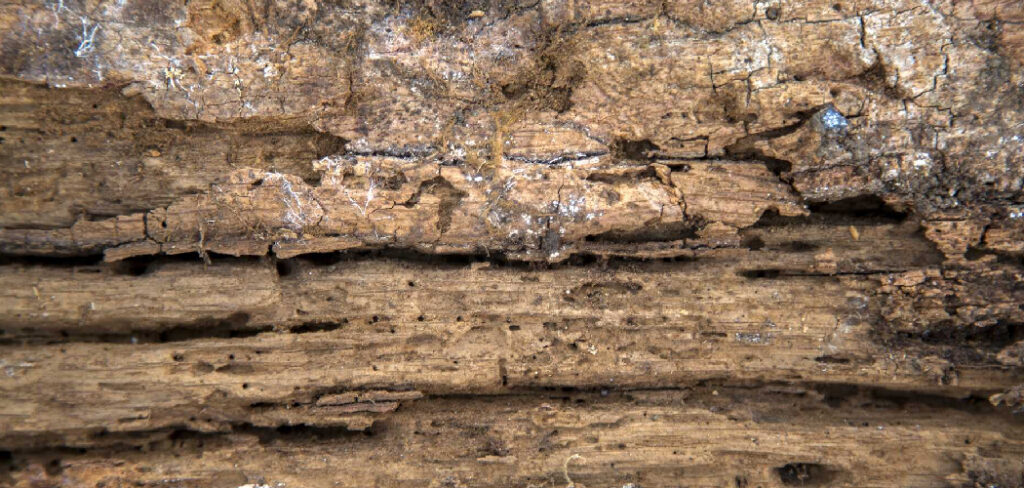
You wet the surface, let the fibers rise, then sand them flat. The result is a glass-smooth board that stays smooth after the first coat. No fuzzy texture. No re-sanding a tacky finish. This guide walks you through every step — from prepping the bare wood to the final pass before finishing — so your projects feel as good as they look.
Why Raising Wood Grain Matters
Skip this step and your finish fights you. Water-based stains and topcoats reactivate dry wood fibers. They swell, stand up, and leave a rough, fuzzy surface over what felt smooth an hour ago. Then you’re sanding a half-cured finish and starting over.
Raise the grain first and you stop that problem cold. You lift the fibers once, knock them down, and lock in a surface that stays flat through every coat.
The payoff is real for beginners. You save finish, save sandpaper, and save the hours a do-over costs. You also build a feel for how wood reacts to moisture — a skill that carries into staining, dyeing, and outdoor projects.
Best of all, your finish bonds better. A properly prepped surface improves topcoat adhesion and gives you a professional result on your first try.
Tools and Materials You’ll Need
Gather everything before you start. Stopping mid-job lets the wood dry unevenly and forces a redo. Here’s your checklist:
- Smooth the bare wood — sandpaper in 120, 180, and 220 grit
- Wet the surface evenly — distilled water in a spray bottle
- Spread water without flooding — clean lint-free cloth or sponge
- Knock down raised fibers — fine sanding block or sanding sponge
- Clear the dust — vacuum and tack cloth
- Protect your lungs and eyes — dust mask and safety glasses
- Speed up drying time — heat gun or hair dryer on low (optional)
One optional item earns its place: a heat gun on low. It dries the wetted surface in minutes instead of an hour, so you move from wetting to sanding without long waits. Keep it moving to avoid scorching the wood.
Step-by-Step Guide on How to Raise Grain in Wood
Step 1 – Sand the Bare Wood Smooth
Start with a clean, level surface. Sand the bare wood with 120-grit first to remove mill marks and scratches, then step up to 180. Always move with the grain, never across it. Cross-grain scratches show up the moment you apply finish.
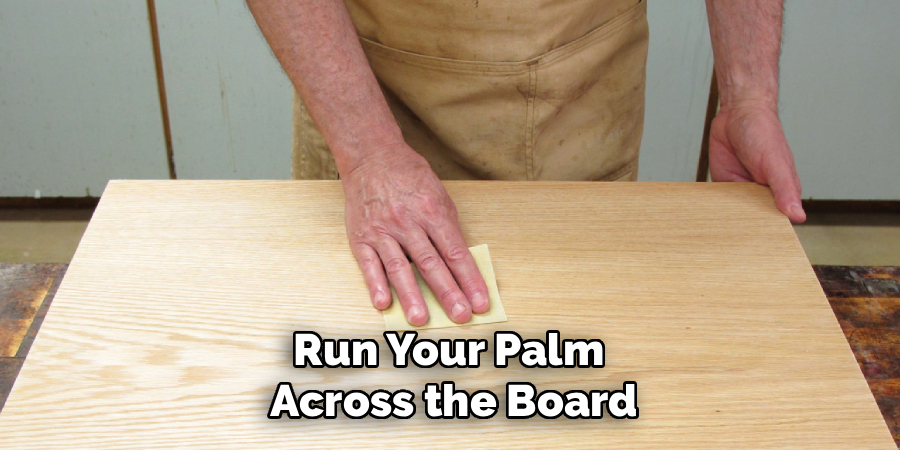
Run your palm across the board after each grit. It should feel smoother with every pass. You’ll hear the sandpaper bite less as the surface levels out.
Stop at 180-grit for now. Sanding past 220 before raising the grain burnishes the wood and closes the pores, which blocks the water from soaking in evenly.
This first pass sets your foundation. A board that starts uneven stays uneven, no matter how carefully you wet and sand later.
Step 2 – Clear All the Dust
Dust ruins the next step. Sanding leaves a fine layer in the wood pores, and water trapped over that dust dries into a gritty film. Vacuum the surface first, working into the grain direction.
Then wipe the board with a tack cloth. Drag it lightly across every inch. You’ll feel it grab the last fine particles your vacuum missed.
Check your work in raking light. Tilt a lamp low across the surface and the leftover dust shows up as a dull haze. Keep wiping until the wood looks clean and reflects light evenly.
A clean surface lets water reach the fibers directly. That’s exactly what you want — the water needs to soak into bare wood to lift the grain properly.
Step 3 – Wet the Surface Evenly
This is the heart of how to raise grain in wood. Fill a spray bottle with distilled water. Tap water leaves mineral spots on some species, so distilled keeps the surface clean.
Mist the board lightly and evenly. You want the wood damp, not soaked. Standing puddles raise the grain unevenly and can warp thin stock.
Spread the water with a clean cloth right away. Wipe in the direction of the grain so the moisture reaches into the pores. You’ll see the surface darken as the wood drinks it in.
Watch the fibers react within seconds. The grain swells and the surface turns slightly rough to the touch. That fuzzy feel means the water is doing its job.
Step 4 – Let the Wood Dry Fully
Patience pays off here. Wet fibers feel soft, and sanding them while damp tears the surface instead of cutting it clean. Let the board dry completely before you touch it with sandpaper.
Air drying takes 30 minutes to an hour depending on humidity. To speed it up, run a heat gun or hair dryer on low, keeping it moving so you don’t scorch the wood.
The board lightens back to its original color as it dries. Run your fingertips across it. You’ll feel the raised fibers standing up — slightly rough, almost like fine sandpaper.
Don’t rush this. A surface that’s still damp underneath will raise grain again after you sand, and you’ll be back to square one.
Step 5 – Sand the Raised Fibers Flat
Now knock the fibers down. Use a fine 220-grit sanding sponge or block and work with the grain, never against it. Apply light pressure — you’re shearing off the standing fibers, not removing material.
Listen as you sand. The first few passes sound slightly rough as the raised fibers come off. Then the sound smooths out and the board goes quiet. That shift tells you the fibers are gone.
Run your hand across the surface often. It should feel glass-smooth, with none of the fuzz you felt before. If you still feel roughness, keep sanding lightly until it disappears.
Stop the moment it feels smooth. Over-sanding here removes too much wood and exposes fresh fibers that will raise again.
Step 6 – Inspect the Surface
Check your work before moving on. Wipe the board with a tack cloth, then tilt a light low across the surface. Raking light reveals any spots you missed — they show as faint fuzz or rough patches.
Run your fingertips slowly over the whole board. Pay attention to edges and corners, where raised fibers hide most often. The surface should feel uniform from end to end.
Catch a rough patch now and the fix is one quick sanding pass. Miss it and it shows up in your finish, where fixing it means sanding through a wet coat.
For dense hardwoods like maple or oak, one round usually does it. Softer woods like pine sometimes need a second pass.
Step 7 – Repeat for a Flawless Finish
Some projects need two rounds. Knowing how to raise grain in wood for the smoothest possible result often means wetting and sanding twice, especially on softwoods or pieces that will see heavy use.
Repeat the same steps: mist lightly, let it dry fully, then sand with 220-grit. The second round lifts fewer fibers than the first. That drop tells you the surface is stabilizing.
Wipe and check again under raking light. By now the board should feel dead smooth and stay that way when wet.
One round suits most hardwood projects. Two rounds give you furniture-grade smoothness on softwoods, tabletops, and anything that takes a water-based finish. Match the effort to the project.
Step 8 – Apply Your Finish
Finish while the surface is prepped and clean. Wipe the board one last time with a tack cloth to clear sanding dust, then apply your stain, dye, or topcoat.
A water-based finish goes on smooth now. The fibers stay flat because you already lifted and cut them. The surface that felt fuzzy on raw wood stays glass-smooth under the coat.
Brush or wipe with the grain in thin, even layers. You’ll see the finish lay down flat instead of pulling up texture.
Let each coat dry, then lightly buff with 320-grit before the next. The prep work you did pays off in topcoat adhesion and a result that looks like a pro laid it down.
Common Mistakes to Avoid
The most common mistake is soaking the wood instead of misting it. Too much water raises grain unevenly and can warp or swell thin boards. Mist lightly, spread the moisture with a cloth, and never leave standing puddles on the surface.
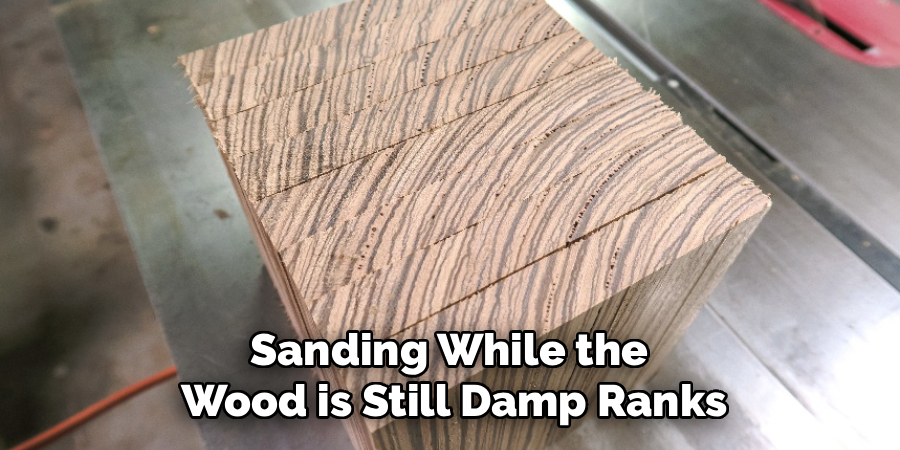
Sanding while the wood is still damp ranks second. Wet fibers are soft, so the sandpaper tears them rather than slicing them clean. You end up roughening the surface and lifting fresh fibers. Wait until the board dries fully and lightens back to its original color before you sand.
Sanding too hard or too coarse is another finish-killer. Heavy pressure or anything below 220-grit removes too much wood and exposes new fibers that raise all over again. Use a fine grit and a light touch — you’re shearing off raised fibers, not reshaping the board.
Many beginners also skip the dust cleanup. Water trapped over sanding dust dries into a gritty film that ruins your finish. Vacuum and tack the surface before you wet it.
Finally, plenty of people rush straight to finishing without checking under raking light. Missed fuzz shows up in the topcoat, where fixing it means sanding through a wet coat. Inspect first, finish second.
Expert Tips
Use distilled water, not tap. Minerals in tap water leave faint spots on light woods like maple and birch. Distilled keeps the surface clean and the grain reaction even.
Mark a test spot first. Wet a hidden corner, dry it, and sand it to learn how your specific board reacts before you treat the whole piece.
Raise the grain twice on any project that takes a water-based stain or dye. The first round lifts the bulk; the second locks the surface so your color goes on without fuzz.
Sand with a block, not just your hand. A flat block keeps pressure even and stops you from rounding over crisp edges.
Keep a tack cloth in reach the whole time. Wipe between every step, and your finish bonds to clean wood instead of trapped dust.
Frequently Asked Questions
Do I Need to Raise the Grain Before Every Finish?
No, only before water-based finishes, stains, and dyes. Water reactivates dry fibers and makes them swell, so raising the grain first stops that. Oil-based finishes and waxes don’t lift the grain the same way, so you can skip the step with them. When in doubt, test a hidden corner with your chosen finish first.
How Many Times Should I Raise the Grain?
Once is enough for most hardwoods. Dense species like oak and maple stabilize after a single round of wetting and sanding. Softwoods like pine, and any project taking a water-based stain, benefit from two rounds. The second pass lifts far fewer fibers — that drop tells you the surface is set and ready to finish.
Will Raising the Grain Change the Wood Color?
No, raising the grain doesn’t change the color on its own. The wood darkens while wet, then lightens back to its natural tone as it dries. The process only smooths the surface by lifting and cutting fibers. Any color change comes from the stain or finish you apply afterward, not from the water itself.
What Grit Should I Use to Sand Raised Grain?
Use 220-grit to knock down raised fibers. It’s fine enough to shear off the standing grain without removing much wood. Anything coarser cuts too deep and exposes fresh fibers that raise again. Sand lightly with the grain, and stop the moment the surface feels glass-smooth. A 220-grit sanding sponge works well on contours and edges.
Can I Raise the Grain on Plywood or MDF?
Raise the grain on plywood, but skip it on MDF. Plywood has a real wood veneer that reacts like solid wood, so wetting and sanding helps. MDF has no grain and swells permanently when wet, which damages the surface. For MDF, seal the edges and faces with a primer instead of raising grain.
Conclusion
A fuzzy finish doesn’t mean bad wood — it means skipped prep. Learning how to raise grain in wood gives you a surface that stays smooth through every coat, so your stain and topcoat lay down flat the first time. The process comes down to order: sand smooth, clear the dust, mist the surface, dry it fully, then sand the raised fibers flat.
Take your time with the two stages that matter most — drying the wood completely and sanding with a light touch. Rush either and the grain raises again under your finish. Respect both and your surface stays flat for good.
Start with a test board. Your first pass teaches you how wood reacts to water and how it feels when the fibers come off clean — skills that carry into every finish you apply. Grab your spray bottle, mist your board, and get to work. The smooth finish you want starts with the prep you do now.
