
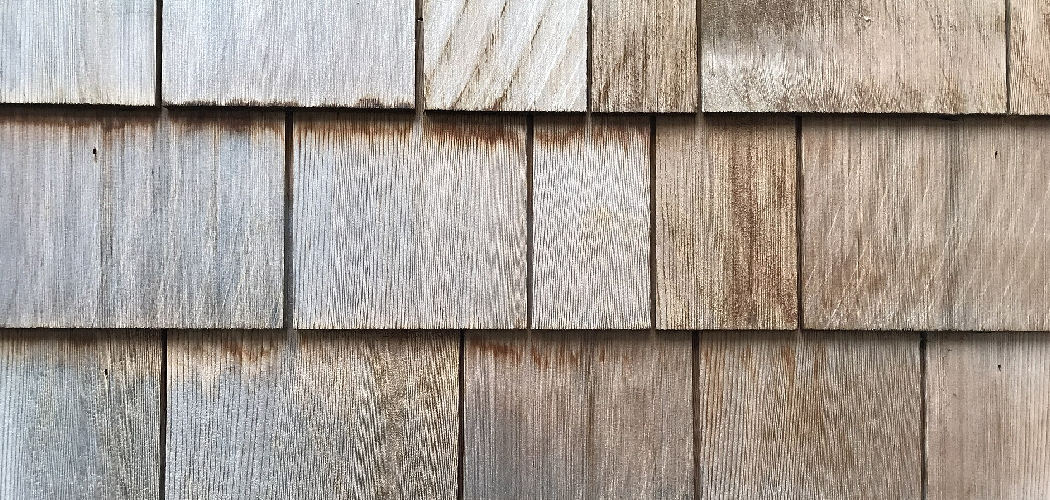
Dirty cedar siding ages your whole house. Green streaks, gray patches, and dark mildew spots turn a warm wood exterior into something tired and neglected. The good news? You can fix it yourself in a weekend. Learning how to clean cedar wood siding is one of the most rewarding DIY projects you can take on, and it costs far less than hiring a crew. Cedar is durable, naturally rot-resistant, and beautiful when cared for properly.
But it still needs regular attention to look its best and last for decades. This guide walks you through every step of cleaning cedar siding safely and effectively, so you protect your investment, restore that rich tone, and avoid the costly mistakes that damage soft wood.
Why Cleaning Cedar Siding Matters
Neglected cedar fails early. Mildew and algae trap moisture against the wood, which leads to rot, soft spots, and expensive board replacement. Clean siding stays dry, breathes properly, and holds its protective finish longer.
There’s a money angle too. Replacing rotted cedar boards runs hundreds of dollars per section. A scrub-down with the right cleaner costs you a fraction of that and adds years to the wood. You also build real skill. Once you understand how cedar responds to water, pressure, and cleaning solutions, you’ll handle staining and sealing with confidence.
Regular cedar siding maintenance protects curb appeal and resale value. Buyers notice clean, well-kept wood. They also notice neglect. A few hours of work keeps your home looking sharp and your repair budget low.
Tools and Materials You’ll Need
Gather everything before you start. A mid-project supply run wastes daylight and lets cleaner dry on the wood.
- Soft-bristle scrub brush with an extension pole for high reach
- Garden hose with an adjustable spray nozzle
- Oxygen bleach (sodium percarbonate) for safe mildew removal
- Two buckets — one for cleaning solution, one for rinse water
- Plastic sheeting and painter’s tape to protect plants and windows
- Safety gear: goggles, gloves, and a respirator mask
- Mild dish soap for light surface grime
- Drop cloths to catch runoff near foundations
- Pump sprayer (optional) to apply cleaning solution fast and evenly
Skip chlorine bleach. It strips cedar’s natural color and damages nearby plants. Oxygen bleach lifts stains without bleaching the wood or burning your landscaping.
Step-by-Step Guide on How to Clean Cedar Wood Siding
Follow these steps in order. Rushing or skipping ahead leaves streaks, water damage, or uneven color.
Step 1 – Inspect the Siding First
Walk the full perimeter before you touch a hose. Look for cracked boards, loose nails, peeling stain, and soft spots that feel spongy under your thumb. Press gently on dark areas. Healthy cedar feels firm and springs back. Rotted wood gives way and crumbles.
Note every mildew patch, water stain, and area of heavy grime. Black or green streaks usually mean mildew or algae. Gray, chalky surfaces signal weathered, sun-faded wood that may need refinishing later.
Mark any damage that needs repair before cleaning. Wet wood swells and hides problems, so this dry inspection matters. Knowing how to clean cedar wood siding starts with knowing what condition it’s in.
Step 2 – Protect the Surrounding Area
Cleaning solution runs off everywhere. Cover shrubs, flower beds, and grass with plastic sheeting or drop cloths. Cedar runoff can scorch leaves and stress roots, even with gentle oxygen bleach.
Tape plastic over outdoor outlets, light fixtures, and vents. Close every window and door fully. Move patio furniture, grills, and potted plants well clear of the work zone.
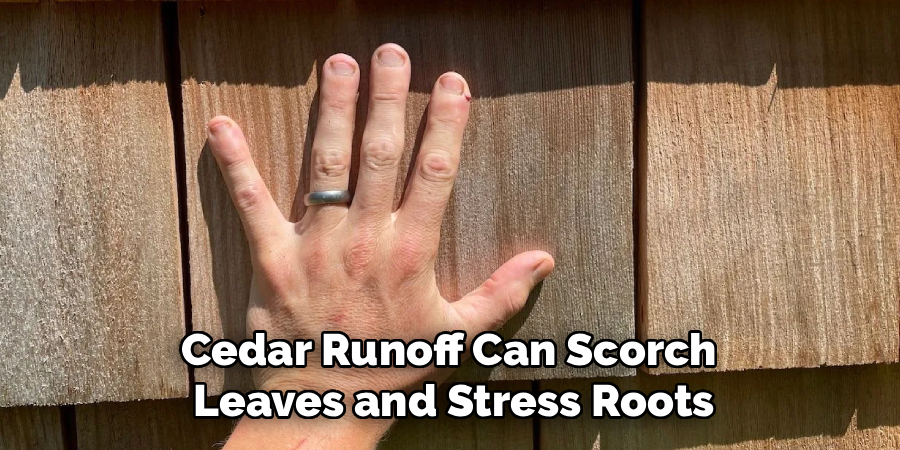
Wet down nearby plants with clean water first. Saturated leaves absorb less cleaning solution if a few drops sneak past your covers. This quick step saves you from brown, damaged landscaping and a frustrating cleanup later. Five minutes of prep beats a season of dead hostas.
Step 3 – Mix Your Cleaning Solution
Fill one bucket with the right wood cleaning solution. For light dirt, mix a few squirts of mild dish soap into warm water. For mildew and algae, dissolve oxygen bleach per the label — usually about one cup per gallon of warm water.
Stir until the powder fully dissolves and the water turns slightly cloudy. Warm water activates oxygen bleach faster and lifts stains better than cold.
Never mix oxygen bleach with other cleaners. Combining products creates dangerous fumes and unpredictable reactions. Keep your second bucket filled with plain water for rinsing your brush between sections. A clean brush spreads less grime and gives you an even, streak-free result across the whole wall.
Step 4 – Pre-Rinse the Wood
Spray the siding with plain water before any cleaner touches it. Start at the bottom and work up. This sounds backward, but it stops dry upper wood from soaking dirty runoff into streaks you can’t remove.
Use a wide, gentle spray. You want the surface damp, not blasted. Listen for the soft hiss of water spreading evenly across the grain rather than the hard slap of high pressure.
Pre-wetting opens the wood fibers and prevents the cleaning solution from absorbing too fast. Dry cedar drinks up cleaner unevenly and leaves blotches. A damp surface holds the solution on top where it can break down grime, exactly where you want the work happening.
Step 5 – Apply the Cleaning Solution
Work in shaded sections, never direct sun. Sunlight dries cleaner before it can lift stains, leaving streaks. Apply your solution with a pump sprayer or sponge it on with the scrub brush.
Move from bottom to top again, coating one manageable section at a time — about ten feet wide. Let the solution sit for ten to fifteen minutes. You’ll see mildew darken slightly and grime loosen as it works.
Don’t let it dry on the wood. If the surface starts looking dull or crusty, mist it lightly with water to keep it active. This dwell time does most of the heavy lifting, so resist scrubbing too early. Patience here means less elbow grease later.
Step 6 – Scrub Along the Grain
Take your soft-bristle brush and scrub in the same direction as the wood grain. Cross-grain scrubbing scratches the surface and traps dirt in fresh grooves. Use steady, moderate pressure.
You’ll feel grime release under the bristles and hear a soft, wet scrubbing sound. Stubborn mildew spots may need a second pass. Rinse your brush in the clean-water bucket often so you’re lifting dirt, not smearing it.
Work the corners, seams, and overlap edges where mildew hides. These shaded pockets stay damp longest and collect the worst buildup. Knowing how to clean cedar wood siding well means giving these neglected spots the same attention as the open, easy-to-reach faces.
Step 7 – Rinse Thoroughly
Rinse from top to bottom this time. Use a steady, gentle stream and let gravity carry the loosened grime and cleaner down and off the wall. Keep the nozzle moving so water sheets evenly across the boards.
Watch the runoff. It runs dirty and slightly foamy at first, then clears as the cleaner washes away. Keep rinsing until the water runs clean and you see no soapy residue.
Leftover cleaning solution dries into white streaks and can lighten the wood over time. Pay extra attention to lap joints and trim where solution pools. A thorough rinse locks in your work and reveals the true, refreshed color of the cedar underneath.
Step 8 – Let It Dry Completely
Cedar needs to dry fully before any sealing or staining. Give it at least two to three days of dry weather. Touch a few boards in different spots — they should feel dry and warm, not cool and damp.
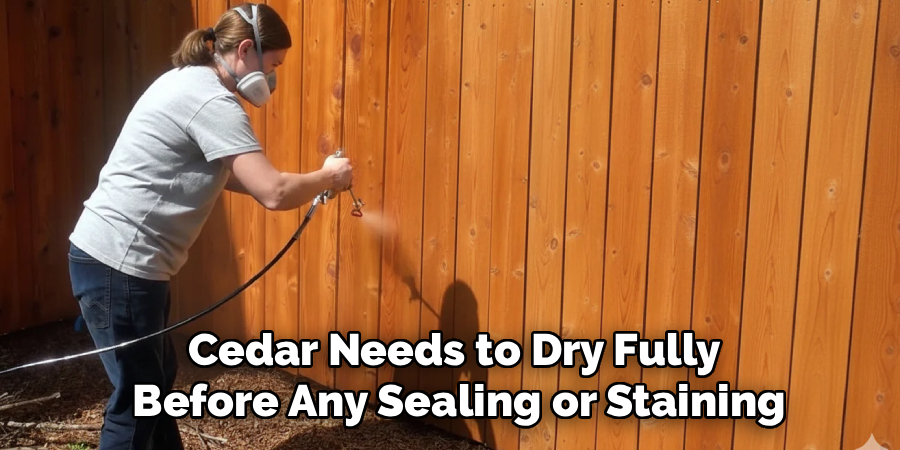
Drying time depends on sun, wind, and humidity. Shaded north-facing walls take longer than sunny southern exposures. Don’t rush this. Sealing damp wood traps moisture inside and causes peeling, mildew regrowth, and finish failure.
Use this drying window to do a final inspection. Now that the wood is clean, you’ll spot any cracks, gaps, or worn finish you missed earlier. This is the perfect moment to plan repairs or a fresh coat of protective stain.
Common Mistakes to Avoid
The biggest mistake is reaching for a pressure washer on full power. Cedar is soft, and high-pressure water gouges the surface, splinters the grain, and forces moisture deep into the boards. If you use a pressure washer at all, keep it under 1,500 PSI, hold a wide-fan tip well back, and never linger in one spot. Many DIYers permanently scar their siding in the first ten seconds.
Chlorine bleach is another trap. It strips cedar’s natural reddish-brown tone, leaves it gray and lifeless, and kills surrounding plants. Always choose oxygen bleach for mildew removal. It’s gentler on wood and your landscaping.
Working in direct sun ruins the job too. The cleaning solution dries before it can lift grime, baking streaks into the wood. Always clean in shade or on an overcast day.
People also forget to let the wood dry before sealing. Trapped moisture causes peeling finishes and fresh mildew within weeks. Finally, skipping plant protection leaves you with scorched shrubs and dead grass. A little prep saves your whole yard.
Expert Tips
Test your cleaning solution on a hidden section first. Try a spot behind a downspout or under the eaves. You’ll see how the wood reacts before committing to the full wall.
Clean cedar in early morning or late afternoon. Cooler temperatures slow evaporation, giving the solution more dwell time to break down stains.
For deep-set gray weathering, follow up with a wood brightener containing oxalic acid. It restores cedar’s warm color and neutralizes any leftover cleaner, balancing the pH so stain adheres better later.
Work top-down once when applying, bottom-up when rinsing — pros switch direction deliberately to control runoff. And always reseal within two weeks of cleaning. Bare, clean cedar absorbs moisture fast, and an unprotected wall invites new mildew before you know it.
Frequently Asked Questions
How often should I clean cedar siding?
Clean cedar siding once a year, ideally in spring or early fall. Homes in damp, shaded, or wooded areas may need cleaning twice a year because mildew and algae grow faster in humidity. Regular cleaning prevents heavy buildup, keeps the wood dry, and makes each cleaning session faster and easier than tackling years of accumulated grime.
Can I use a pressure washer on cedar siding?
Yes, but with caution. Keep the pressure under 1,500 PSI, use a wide-fan tip, and hold the nozzle at least two feet from the wood. High pressure gouges soft cedar, splinters the grain, and drives water behind the boards. For most jobs, a garden hose and soft brush deliver safer, better results without the risk of damage.
What’s the best cleaner for cedar siding?
Oxygen bleach (sodium percarbonate) is the best all-around choice. It removes mildew, algae, and grime without stripping cedar’s natural color or harming plants. For light dirt, mild dish soap and warm water work fine. Avoid chlorine bleach — it bleaches the wood gray, weakens fibers over time, and damages surrounding landscaping.
Will cleaning remove the gray color from my cedar?
Cleaning removes dirt and mildew but not deep gray weathering caused by UV exposure. To restore the original warm tone, use a wood brightener with oxalic acid after cleaning. It neutralizes the cleaner and lifts gray oxidation. For lasting color, apply a quality stain or sealer once the wood is fully dry.
Do I need to seal cedar after cleaning?
Yes, sealing protects clean cedar from moisture, UV damage, and new mildew growth. Wait two to three days for the wood to dry completely, then apply a penetrating stain or sealer within two weeks. Bare cedar absorbs water quickly and grays fast, so resealing locks in your cleaning work and extends the siding’s life significantly.
Conclusion
Clean cedar siding protects your home and your wallet. You’ve now got the full process — inspect, protect, mix, rinse, apply, scrub, rinse again, and dry. Follow these steps in order and you’ll restore that rich, warm cedar tone without damaging the wood or your landscaping.
The key takeaways are simple. Use oxygen bleach, not chlorine. Skip the high-pressure blasting. Work in the shade, scrub with the grain, and let the wood dry fully before sealing. Each step builds on the last, and the results speak for themselves.
Knowing how to clean cedar wood siding turns a daunting chore into a confident weekend project. You save hundreds on professional cleaning, add years to your siding, and keep your home looking sharp. Grab your supplies, pick a cloudy day, and get started. Your cedar will reward the effort with decades of beauty and protection. Roll up your sleeves — your best-looking exterior is just a weekend away.
