
Dust, grease, and dull buildup steal the warmth from wood panel walls fast. The good news? You can bring back that rich grain and soft sheen without hiring a pro or spending a fortune. Knowing how to clean wood panel walls is one of the most useful skills you can pick up as a beginner. It protects your investment, refreshes a tired room, and keeps your panels looking sharp for years.
Whether your walls are solid wood, veneer, or laminate, the right method matters. Use the wrong cleaner and you risk warping, dulling, or stripping the finish. This guide walks you through every step, from prep to polish, so you clean with confidence and avoid costly mistakes.
Why Cleaning Wood Panel Walls Matters
Neglected panels age fast. Dust traps moisture, grease attracts more grime, and over time the finish breaks down. Once that happens, repairs cost far more than a simple cleaning ever would.
Regular cleaning extends the life of your panels. It keeps the protective finish intact, which blocks scratches, stains, and water damage. For DIY beginners, this skill builds confidence and saves money. You skip the painters, the refinishers, and the replacement panels.
Clean walls also lift the whole room. Wood grain looks deeper. Colors look richer. Light bounces off a polished surface instead of getting swallowed by a dull film. Master this once, and you protect both your home’s value and its character for the long haul.
Tools and Materials You’ll Need
Gather your supplies before you start. The right tools prevent damage and speed up the job:
- Microfiber cloths — trap dust without scratching the finish.
- Soft-bristle duster or vacuum brush — clear loose debris from grooves.
- Mild dish soap — cuts grease without harsh chemicals.
- Two buckets — one for cleaning solution, one for clean rinse water.
- White vinegar — handles tougher grime when diluted.
- Dry towels — remove moisture fast to prevent warping.
- Wood polish or conditioner — restores shine and protects the surface.
- Drop cloths — shield floors and baseboards from drips.
- Soft toothbrush — reaches tight corners and detailed trim.
- Tack cloth (optional) — picks up the last bit of fine dust before polishing for a flawless finish.
Skip ammonia, bleach, and abrasive pads. They strip finishes and dull the wood.
Step-by-Step Guide on How to Clean Wood Panel Walls
Step 1 – Clear the Dust First
Always start dry. Wiping a wet cloth over dusty panels turns dust into muddy streaks that cling to the grain.
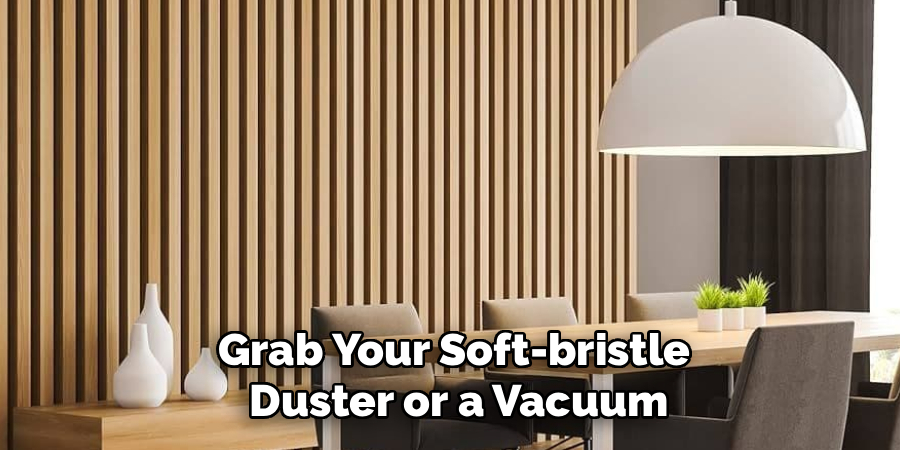
Grab your soft-bristle duster or a vacuum with a brush attachment. Work from the top down, following the wood grain in long, steady strokes. You’ll hear the soft swish of bristles catching loose particles. Pay close attention to the grooves between panels, where dust loves to settle.
Run your hand across the surface when you finish. It should feel smooth, not gritty. If you still feel grit, dust again. This first step makes every step after it easier and protects the finish from tiny scratches caused by dragging debris around.
Step 2 – Identify Your Panel Type
Not all panels react the same way to water and cleaners. Solid wood, veneer, and laminate each need a slightly different touch.
Check an inconspicuous corner. Solid wood feels warm and shows continuous grain. Veneer has a thin wood layer over a core. Laminate feels cooler and often shows repeating grain patterns. When in doubt, treat the surface as the most delicate option.
This step matters because moisture is the enemy of real wood. Solid wood and veneer swell and warp if they stay wet. Laminate handles water better but still hates pooling. Knowing your surface tells you how much liquid you can safely use.
Step 3 – Test Your Cleaning Solution
Mix a few drops of mild dish soap into a bucket of warm water until it’s lightly sudsy. Skip the heavy lather. Too much soap leaves a sticky residue.
Before you touch the whole wall, test the solution. Dip a microfiber cloth, wring it nearly dry, and wipe a hidden spot near a baseboard or behind furniture. Wait two minutes.
Look for any change. The finish should stay glossy and even, with no dullness, white spots, or softening. If the test area looks fine, you’re clear to continue. This quick check is the smartest part of how to clean wood panel walls, because it catches problems before they spread across the entire room.
Step 4 – Wipe Down the Panels
Now clean for real. Wring your cloth until it’s just damp, never dripping. A soaked cloth pushes water into seams and joints where it does the most harm.

Wipe in the direction of the grain using smooth, overlapping strokes. Start at the top and work down so drips fall onto areas you haven’t cleaned yet. You’ll watch the finish brighten as the film of grease and grime lifts away.
Rinse your cloth often in the clean-water bucket. A dirty cloth just smears grime back onto the wall. When the water turns cloudy, swap it for fresh. Patience here pays off in a streak-free, even result.
Step 5 – Tackle Stubborn Grease and Stains
Kitchen and high-traffic walls collect greasy buildup that mild soap can’t shift. For these spots, mix equal parts white vinegar and warm water.
Dampen a fresh cloth, wring it well, and rub the greasy area gently in small circles. You’ll feel the tackiness give way to a smooth, clean surface. Vinegar cuts grease without the harshness of commercial degreasers.
For corners and carved trim, dip a soft toothbrush in the solution and work the bristles into tight grooves. Go light. Scrubbing hard can wear down the finish. Wipe away loosened grime with a clean damp cloth right after, and check your progress before moving to the next section.
Step 6 – Rinse Away Residue
Soap and vinegar left on the wall attract dust and leave a hazy film. Rinsing removes it.
Dip a clean microfiber cloth in plain water, wring it nearly dry, and wipe down every section you cleaned. Follow the grain again with light, even strokes. The surface should look clear and bright, with no soapy streaks or cloudy patches.
Change your rinse water when it gets dirty. Clean water is the whole point of this step. Hold the cloth up to the light occasionally to check for residue you might have missed. A proper rinse sets up the wood for a flawless dry and polish, so don’t rush it.
Step 7 – Dry the Panels Thoroughly
Standing moisture is the fastest way to ruin wood panels. Dry them right away.
Grab a clean, dry towel and wipe each section in the direction of the grain. Press gently to absorb water from grooves and seams. You’ll feel the surface go from cool and damp to dry and smooth under your hand.
Don’t air-dry and walk away. Lingering moisture seeps into joints and causes swelling, warping, or white marks. Open a window or run a fan to speed evaporation in the room. Run your palm over the panels one last time. When they feel completely dry, you’re ready for the final, satisfying step.
Step 8 – Polish and Protect
This is where your work pays off. Polishing restores shine and adds a protective layer against future dust and grease.
Apply a small amount of wood polish or conditioner to a clean microfiber cloth, not directly to the wall. Rub it into the surface following the grain, using light, even pressure. You’ll see the color deepen and a soft sheen return.
Buff with a second dry cloth to remove excess product. Leftover polish feels slick and attracts dust fast. The finished panel should feel smooth and look rich, not greasy. For a flawless final pass, run a tack cloth over the surface first to lift any last specks of dust before you polish.
Read More : How to Clean Cedar Wood Siding
Common Mistakes to Avoid
The most common mistake is using too much water. Soaked cloths and pooling liquid drive moisture into seams, where it causes swelling, warping, and white stains. Always wring your cloth until it’s barely damp, and dry the panels right after cleaning.
Harsh chemicals cause the next big problem. Ammonia, bleach, and all-purpose sprays strip protective finishes and leave wood dull and exposed. Stick to mild dish soap or diluted vinegar, and test any cleaner on a hidden spot first.
Abrasive tools wreck finishes fast. Steel wool, scouring pads, and stiff brushes scratch the surface and leave permanent marks. Use soft microfiber cloths and gentle brushes only.
Skipping the dusting step is another trap. Wiping over loose dust grinds tiny particles into the finish like sandpaper. Always dry-dust before you introduce any liquid.
Finally, many beginners ignore the grain direction. Wiping in circles or against the grain pushes grime into the wood and leaves visible streaks. Follow the grain on every pass, from cleaning to drying to polishing, and your panels stay smooth and even.
Expert Tips
Work in small sections instead of attacking the whole wall at once. This lets you clean, rinse, and dry each area before moisture has time to settle into the wood.
Keep two buckets going at all times. One holds your cleaning solution, the other clean rinse water. This single habit prevents you from smearing dirty water back onto freshly cleaned panels.
For older or unfinished wood, condition the surface twice a year. A quality wood conditioner replaces natural oils, prevents drying and cracking, and keeps the grain looking deep.
Always test cleaners and polishes on a hidden corner first. Finishes vary even within the same room. A thirty-second test saves you from a costly, room-wide mistake that’s nearly impossible to undo.
Frequently Asked Questions
How often should I clean wood panel walls?
Dust your wood panels every one to two weeks to prevent buildup. Do a deeper clean with soap and water every three to six months, depending on the room. Kitchens and high-traffic areas need more frequent attention because grease and grime accumulate faster. Regular light cleaning beats infrequent heavy scrubbing, and it keeps the finish protected for far longer.
Can I use vinegar on wood panel walls?
Yes, but dilute it first. Mix equal parts white vinegar and warm water for stubborn grease and grime. Never apply vinegar at full strength, since the acidity can dull or damage the finish over time. Always test the diluted solution on a hidden spot, wipe gently with a damp cloth, and dry the area right away to protect the wood.
What’s the best cleaner for greasy wood paneling?
Diluted white vinegar handles most grease, mixed equal parts with warm water. For tougher buildup, a few drops of mild dish soap in warm water cut through grime without harsh chemicals. Avoid degreasers, ammonia, and bleach, which strip the finish. Apply with a wrung-out microfiber cloth, work in the direction of the grain, then rinse and dry the surface.
Will water damage my wood panel walls?
Standing water will. Brief contact with a damp, well-wrung cloth is safe, but pooling liquid and soaked cloths drive moisture into seams. That moisture causes swelling, warping, and white stains. Always wring your cloth until it’s barely damp, wipe in small sections, and dry each area immediately with a clean towel to keep moisture out of the wood.
How do I restore shine to dull wood paneling?
Clean the panels first, then apply a wood polish or conditioner. Put a small amount on a microfiber cloth, rub it in along the grain, and buff with a dry cloth to remove excess. The color deepens and a soft sheen returns. For older wood, condition twice a year to replace natural oils and keep the grain looking rich.
Conclusion
Clean wood panel walls transform a room. They deepen the grain, brighten the space, and protect your investment for years. Now you know how to clean wood panel walls the right way, from clearing dust to polishing the finish.
The process is simple when you follow the order. Dust first. Identify your panel type. Test your cleaner. Wipe with the grain using a barely damp cloth. Tackle grease with diluted vinegar, rinse, dry thoroughly, and finish with polish. Each step protects the wood and builds toward a rich, even shine.
Avoid the common traps. Skip harsh chemicals, abrasive pads, and too much water. Work in small sections, keep two buckets going, and always test before you commit. These habits separate a beginner mistake from a professional result.
You don’t need special skills or expensive gear to do this well. Grab your supplies, take it one panel at a time, and watch your walls come back to life. Your wood will look better and last longer for it.
