
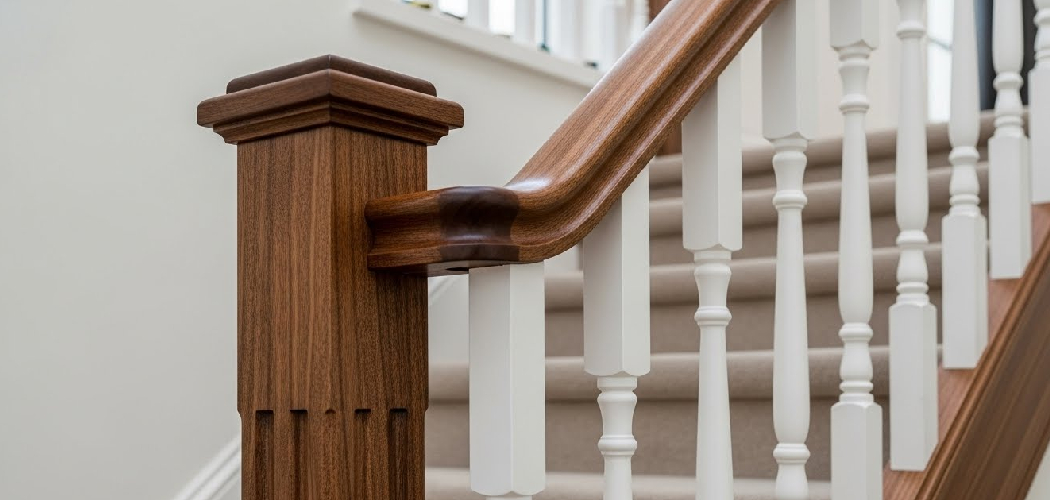
Your wood hand railings collect more grime than almost any surface in your home. Hands touch them dozens of times a day. Oil, dust, and dirt build up fast, dulling the finish and wearing down the wood beneath it. Left alone, that buildup leads to sticky spots, scratches, and a tired, gray look.
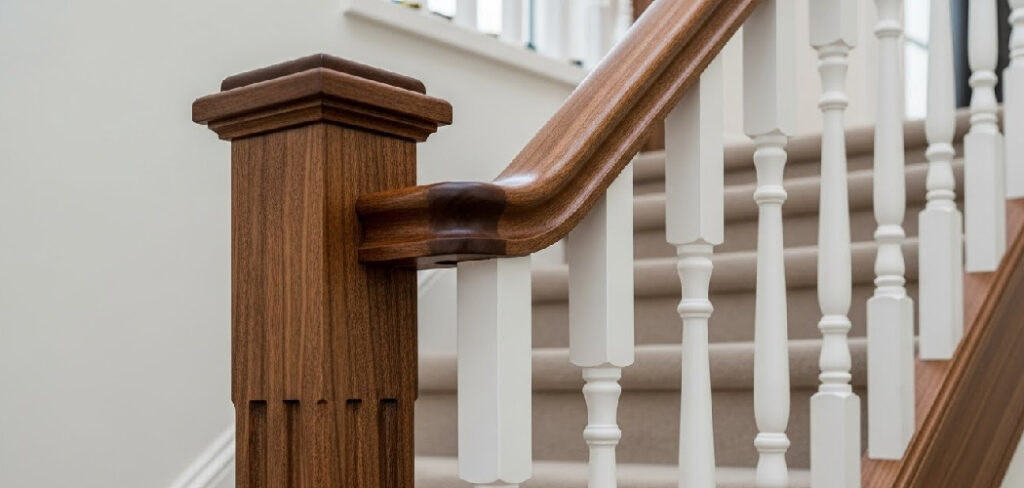
Good news: fixing this takes no special skill. Learning how to clean wood hand railings is a simple, repeatable job you can finish in under an hour with supplies you likely already own. Do it right and the wood looks rich, feels smooth, and lasts for decades.
This guide walks you through every step, tool, and technique you need to clean your wood railings safely and bring back their natural shine.
Why Cleaning Wood Hand Railings Matters
Skip cleaning and the cost adds up. Trapped oil and grit act like sandpaper every time you grip the rail. Over months, they grind through the protective finish and expose bare wood to moisture and stains. Repairing that damage means sanding and refinishing — a full weekend and real money.
Regular cleaning prevents all of it. You protect the finish, keep the grain sealed, and extend the life of the wood by years. For DIY beginners, this is one of the easiest wins in the house. You build confidence handling wood without risking expensive mistakes.
There’s a hygiene payoff too. Railings are high-touch surfaces. A clean rail means fewer germs passed hand to hand. Five minutes of upkeep beats a costly refinish every time.
Tools and Materials You’ll Need
Gather everything before you start. A complete setup means no wet rail left waiting while you hunt for supplies.
- Remove loose dust fast: soft microfiber cloths (two or three)
- Mix a safe cleaner: mild dish soap and warm water
- Reach tight corners and spindles: soft-bristle toothbrush or detailing brush
- Lift surface grime: a second bowl of clean rinse water
- Dry without streaks: dry lint-free towel
- Protect floors and stairs: drop cloth or old towels
- Restore shine and feed the wood (optional): wood conditioner or quality furniture polish
Avoid abrasive scrubbers, steel wool, and harsh all-purpose sprays. They strip finishes and scratch the surface. Stick to soft tools and a gentle soap solution. If you have a wax-finished rail, set aside a small amount of paste wax for the final step.
Step-by-Step Guide on How to Clean Wood Hand Railings
Follow these steps in order. Each one builds on the last, so don’t skip ahead.
Step 1 – Identify your wood finish
Start by knowing what you’re working with. Run a damp finger along the rail. If water beads up, you have a sealed finish like polyurethane or varnish. If the wood darkens or absorbs the moisture, it’s likely oiled or waxed.
This matters because finish dictates your cleaning approach. Sealed surfaces handle a damp cloth easily. Oiled and waxed woods need a lighter touch and less water.
Look closely at the surface. A glossy, smooth sheen signals a hard finish. A soft, matte feel points to oil or wax. Knowing this now saves you from damaging the rail later. When you understand the finish, the rest of how to clean wood hand railings becomes straightforward.
Step 2 – Dust the entire railing
Dry-dust before you add any moisture. Wrap a microfiber cloth around your hand and run it along the full length of the rail. Work from the top down so falling dust lands on areas you’ll clean next.
You’ll hear a faint drag as the cloth catches grit. That sound means the dust is lifting instead of grinding into the finish. Press lightly — no scrubbing needed yet.
Get into the spindles and corners with your dry brush. These spots hide the most buildup. A clean rail at this stage feels dry and smooth, with no gritty texture under your palm. Removing loose dust first prevents you from turning surface dirt into muddy streaks.
Step 3 – Mix your cleaning solution
Fill a bowl with warm water and add a few drops of mild dish soap. Stir gently until you see light suds. You want the water barely soapy — too much soap leaves a dull residue.
Keep a second bowl of plain water nearby for rinsing. This two-bowl method stops you from spreading dirty water back onto clean wood.
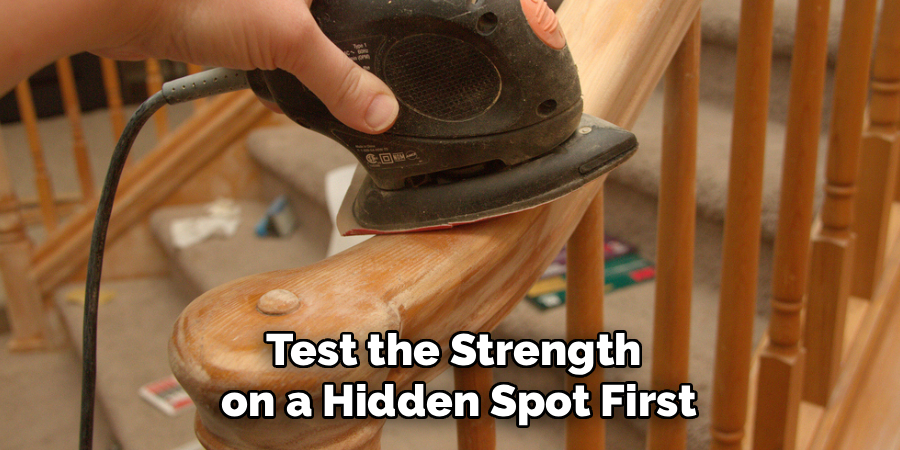
Test the strength on a hidden spot first, like the underside of the rail. Wipe it, let it dry, and check for any cloudiness or change in the finish. If the wood looks the same, your solution is safe. This mild soap solution lifts oil and grime without attacking the wood’s protective layer.
Step 4 – Wipe down the railing
Dip a microfiber cloth in the soapy water and wring it out hard. The cloth should feel damp, not dripping. Excess water is the enemy of wood — it seeps into seams and lifts the finish.
Wipe along the grain direction, not against it. You’ll feel the cloth glide smoothly with the grain and catch slightly when you go across it. Following the grain protects the surface and pulls dirt out of the fibers.
Work in sections about two feet long. As grime transfers to the cloth, you’ll see it turn gray. Rinse the cloth often. A clean, even sheen following behind your hand tells you the technique is working.
Step 5 – Scrub the tricky spots
Spindles, joints, and carved details trap grime that a flat cloth can’t reach. Dip your soft brush in the soapy water, shake off the excess, and work it gently into these areas.
Use small circles, then finish with strokes along the grain. You’ll hear soft bristles flicking against the wood. That’s the sound of dirt loosening from tight corners.
Wipe each spot with your damp cloth right after brushing so loosened grime doesn’t dry back onto the surface. Watch for sticky residue near the top of spindles — that’s where hands rest most. When the wood feels uniformly smooth and the brush comes away clean, that section is done. Mastering this detail work is the heart of how to clean wood hand railings well.
Step 6 – Rinse away soap residue
Soap left on the rail dries into a hazy film that dulls the finish. Wet a fresh cloth in your clean rinse water, wring it out, and wipe the entire railing again.
Follow the same grain direction and section approach you used before. This pass removes any lingering soap and lifts the last of the loosened grime.
Change the rinse water if it turns cloudy. You’re aiming for a surface that feels clean and slightly damp, with no slick or soapy texture under your fingers. Run your hand along the rail — if it squeaks faintly and feels smooth, the soap is gone. A streak-free surface here means you’re ready to dry.
Step 7 – Dry the wood thoroughly
Never let a wood railing air-dry. Standing water spots the finish and can swell the grain. Grab a dry, lint-free towel and wipe every inch immediately after rinsing.
Move with the grain again, pressing firmly enough to absorb moisture from seams and corners. Pay extra attention to the underside of the rail and the base of each spindle, where water collects.
The wood should feel completely dry to the touch, with a soft, even sheen returning. No cloudy patches, no damp spots. If you see streaking, buff it out with a clean section of towel. A properly dried rail looks revived already — richer in color and smooth under your hand.
Step 8 – Condition and protect (optional)
Conditioning feeds the wood and locks in your work. For oiled or waxed rails, apply a small amount of wood conditioner or paste wax with a clean cloth. For sealed surfaces, a quality furniture polish adds shine and a light protective layer.
Apply sparingly. A thin coat along the grain beats a thick one that leaves residue. Let it sit for the time listed on the product, then buff with a dry cloth until the rail glows.
You’ll feel the difference instantly — the wood turns silky and the color deepens. This final step repels future grime and keeps your stair railing cleaning routine quick next time. Skip it and the rail still looks great; add it and it looks restored.
Common Mistakes to Avoid
The biggest mistake beginners make is using too much water. Wood and standing moisture don’t mix. A soaking cloth pushes water into joints and under the finish, causing swelling, cloudiness, and lifted edges. Always wring your cloth until it’s barely damp. If you can squeeze out drops, it’s too wet.
Reaching for harsh chemicals is another common error. All-purpose sprays, ammonia, and bleach-based cleaners strip protective finishes and dry out the wood. They might clean fast, but they leave the surface vulnerable to stains and cracks. A mild soap solution does the job without the damage.
Many people also scrub against the grain or use abrasive pads. This scratches the finish and dulls the surface, leaving fine marks you’ll notice in the light. Always wipe with the grain and use soft cloths or brushes only.
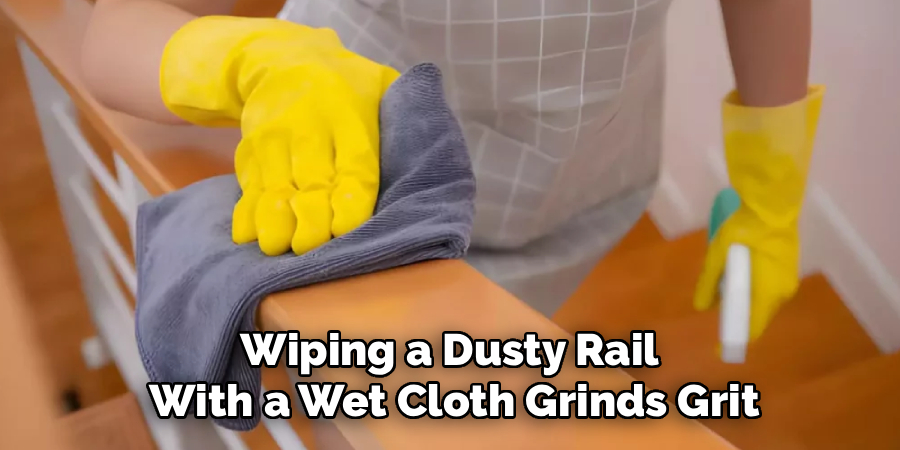
Skipping the dusting step is a quiet mistake with loud results. Wiping a dusty rail with a wet cloth grinds grit into the finish like fine sandpaper. Dust dry first, every time.
Finally, don’t ignore the rinse and dry steps. Leftover soap creates a hazy film, and trapped moisture spots the wood. Both undo your hard work.
Expert Tips
Clean your railings every two to four weeks in high-traffic homes. Frequent light cleaning beats occasional deep scrubbing — it stops grime from ever bonding to the finish.
Watch the light. Clean during daytime near a window or aim a lamp across the rail at a low angle. Raking light reveals streaks, missed spots, and residue that overhead lighting hides completely.
For stubborn hand-oil buildup near grip zones, add a splash of white vinegar to your soapy water. It cuts grease without harming sealed finishes. Test it on a hidden spot first.
Keep a dedicated microfiber cloth for railings only. Cloths used elsewhere pick up grit and abrasive particles that scratch wood.
Finally, fix small finish chips before cleaning. A touch-up marker matched to your wood seals exposed spots and stops water from reaching bare grain.
Frequently Asked Questions
How often should I clean my wood hand railings?
Clean high-traffic railings every two to four weeks. Households with kids, pets, or frequent guests should lean toward the shorter interval. Light, regular cleaning prevents oil and grime from bonding to the finish, which keeps deep scrubbing off your to-do list. For low-traffic rails, once a month or whenever you notice dullness or stickiness works fine.
Can I use vinegar to clean wood railings?
Yes, but dilute it. Add a splash of white vinegar to warm soapy water — never use it straight. Diluted vinegar cuts through hand oils and grease on sealed finishes without causing damage. Always test on a hidden spot first, and avoid vinegar entirely on waxed or unsealed wood, since the acid can dull or strip those softer surfaces.
What’s the best cleaner for sealed wood railings?
A mild dish soap and warm water solution is the safest, most effective choice. It lifts grime without attacking polyurethane or varnish finishes. Skip all-purpose sprays, ammonia, and bleach — they strip protective coatings and dry out the wood. For extra shine after cleaning, a quality furniture polish adds a light protective layer and restores the rail’s natural luster.
Why does my railing feel sticky after cleaning?
Sticky residue usually means leftover soap or too much polish. You either skipped the rinse step or used a heavy hand with cleaner. Wipe the rail again with a cloth dampened in plain water, then dry it thoroughly with a lint-free towel. If you applied polish, buff harder with a dry cloth until the tackiness disappears and the surface feels smooth.
Should I condition wood railings after every cleaning?
No. Conditioning every one to three months is plenty for most railings. Over-conditioning builds up residue that attracts more dust and grime. After routine cleaning, a simple dry buff restores shine. Save conditioner or wax for when the wood looks dry, dull, or thirsty. Sealed finishes need it least; oiled and waxed surfaces benefit from it more often.
Conclusion
Clean railings protect your investment and your home. You’ve now seen that learning how to clean wood hand railings takes no special tools and no expert skill — just the right method and a gentle touch.
Remember the core moves: identify your finish, dust dry first, use a barely damp cloth with mild soap, always work with the grain, rinse the soap away, and dry thoroughly. Each step guards the finish and adds years to the wood. Skip the harsh chemicals and the soaking cloths, and you’ll never grind grit into the surface or swell the grain.
The payoff is real. Smooth wood, rich color, fewer germs, and no costly refinishing down the road. Set a reminder to clean every few weeks and the job stays quick and easy.
Grab your microfiber cloths, mix that soap solution, and give your railings the care they’ve earned. Your wood will look better and last longer — starting today.
