
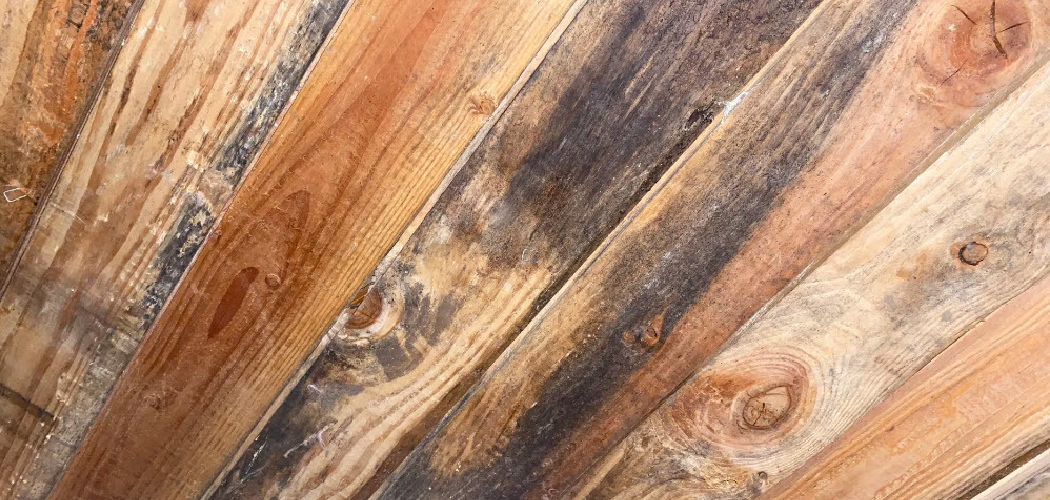
Fresh-cut wood looks ready to build with. It isn’t. Green lumber holds too much water, and if you skip drying, your project will warp, crack, and split as it dries on its own. That ruined tabletop or wobbly shelf? Almost always a moisture problem. The good news: you can fix this in your own backyard or garage.
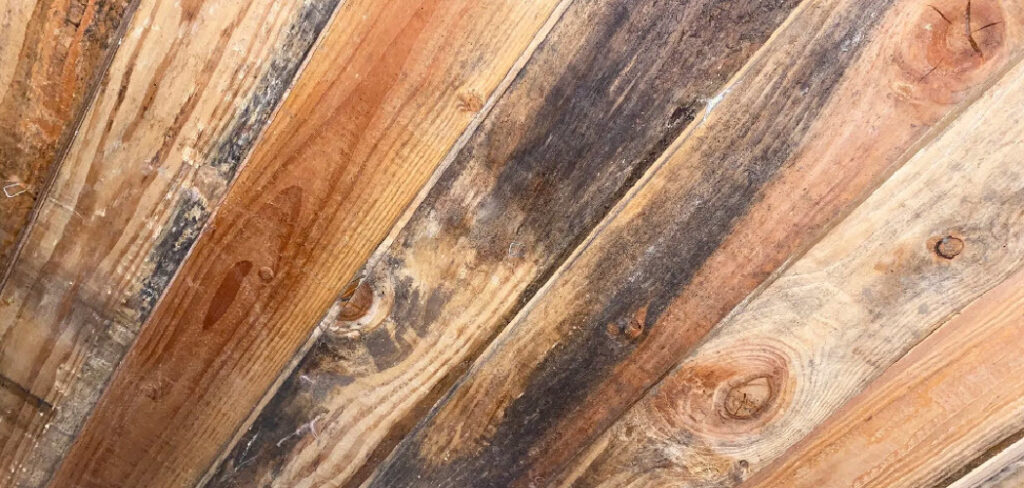
Learning how to dry green lumber at home turns rough, wet boards into stable, workable material—without a commercial kiln or a big budget. You control the moisture content, the stacking, and the timeline. This guide walks you through the full process step by step, so your next build stays flat, tight, and strong for years.
Why Drying Green Lumber Matters
Wet wood moves. As moisture leaves green lumber, the boards shrink, twist, and check. Build with it too soon and your joints loosen, your panels cup, and your finish fails. Drying first prevents all of that.
Drying your own lumber also saves real money. Kiln-dried boards cost a premium, and milling your own stock from a fallen tree or sawmill slab cuts that cost to nearly nothing. You get hardwood at firewood prices.
There’s a skill payoff too. Once you understand moisture content and how wood behaves, you stop guessing. You read the wood, plan around its movement, and build pieces that last decades instead of months. That confidence carries into every project you touch.
Tools and Materials You’ll Need
Gather these before you start. Most cost little, and several you likely already own.
- Sticker strips: Reduce cupping with uniform 3/4-inch dry spacers between layers.
- Moisture meter: Track drying progress with accurate, repeatable readings.
- Level base or pallets: Keep the bottom board off the ground and dead flat.
- Cinder blocks or heavy timbers: Anchor the foundation and resist bowing.
- Weight (concrete blocks or straps): Press top boards flat as they dry.
- End sealer (wax or latex paint): Stop end-grain checking and splitting.
- Tarp or roof cover: Block rain while allowing airflow underneath.
- Tape measure and chalk: Mark board feet and label stacking dates.
- Optional—box fan: Speed airflow in still, humid garages and shorten drying time.
Step-by-Step Guide on How to Dry Green Lumber at Home
Follow these steps in order. Rushing any one of them invites cracks and warping later.
Step 1 – Measure the Starting Moisture Content
Start by knowing where you stand. Press your moisture meter pins into the face of each board, about a foot from the end. Green lumber usually reads 30 percent or higher—sometimes off the scale entirely. That number is your baseline.
Record it. You’ll compare future readings against this starting point to track real progress. The goal for most indoor projects is 6 to 8 percent, and 12 to 15 percent for outdoor work.
Test several boards, not just one. Moisture varies across a stack, especially with thicker slabs. If your meter reads damp and the wood feels cool and heavy in your hand, that’s green wood doing exactly what green wood does. Knowing how to dry green lumber at home begins with this single, honest number.
Step 2 – Seal the End Grain
Wood loses moisture fastest through its ends. That uneven drying is what causes end checking—those ugly cracks that creep inward from the board tips. Stop them before they start.
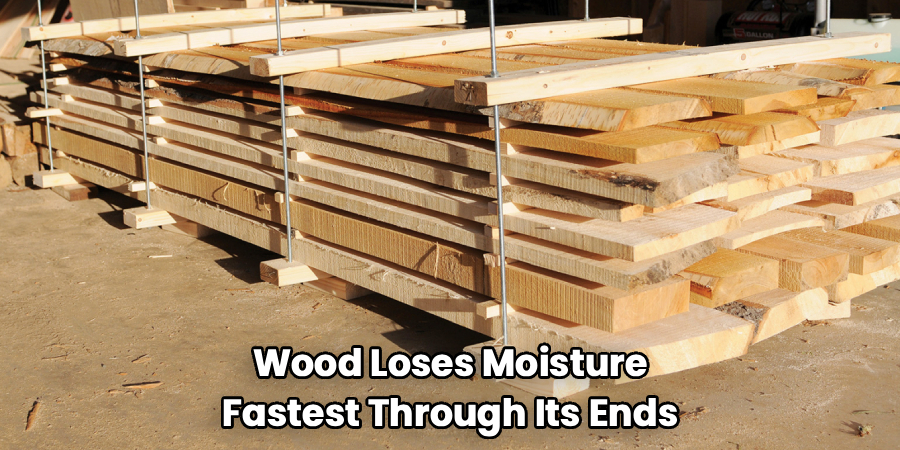
Brush a thick coat of wax-based end sealer, latex paint, or even melted paraffin across both end-grain faces. Cover the full thickness, edge to edge. You want a sealed, slightly glossy surface, not a thin streak that soaks in and disappears.
Let it dry to the touch before stacking. Done right, the ends look painted and feel slick. Skip this and you’ll watch hairline cracks open within days, sometimes splitting six inches up a perfectly good board. A few minutes of sealing saves you board feet of waste.
Step 3 – Build a Flat, Raised Foundation
Your stack is only as flat as the ground beneath it. Set pallets, cinder blocks, or heavy timbers on level ground, spaced no more than 16 inches apart. Check across the tops with a level in both directions.
Lift the base at least four inches off the soil. This keeps ground moisture from wicking up and lets air move freely under the bottom board. Damp earth contact is a fast track to rot and mold.
Run your foundation supports perpendicular to how the boards will lay. If the base sags or twists, every board above it inherits that flaw. A solid, level platform is cheap insurance against a cupped, bowed stack you can’t fix later.
Step 4 – Stack and Sticker the Boards
This is where most of the drying magic happens. Lay your first layer of boards across the foundation, leaving a small gap between each one for airflow. Then place dry sticker strips across them, lined up directly over your foundation supports.
Stack the next layer, add stickers, and repeat. Keep every sticker vertically aligned—a column from top to bottom. Misaligned stickers let boards sag between supports and bow as they dry.
Use dry stickers of equal thickness, around 3/4 inch. Wet or uneven stickers stain the wood and create dips. When you step back, the stack should look like a neat grid with consistent gaps. That uniform spacing is the airflow highway your lumber needs to dry evenly.
Step 5 – Weight the Top of the Stack
Boards on top dry with nothing holding them flat, so they cup and twist first. Pile weight across the top to press them down as they lose moisture.
Concrete blocks, sandbags, or heavy timbers work well. Aim for even pressure across the whole surface, not one heavy spot in the middle. Ratchet straps cinched over the stack add extra hold for thinner stock.
The top layer feels the most movement, so don’t skimp here. A well-weighted stack stays visibly flatter, and you’ll notice the difference when you pull boards months later. Without weight, that top board often becomes firewood. With it, you keep nearly every piece flat and usable.
Step 6 – Protect From Rain and Direct Sun
Now shield the stack without smothering it. Lay a tarp or a sheet of plywood over the top to block rain and harsh sun. Direct sunlight dries the surface too fast and causes surface checking.
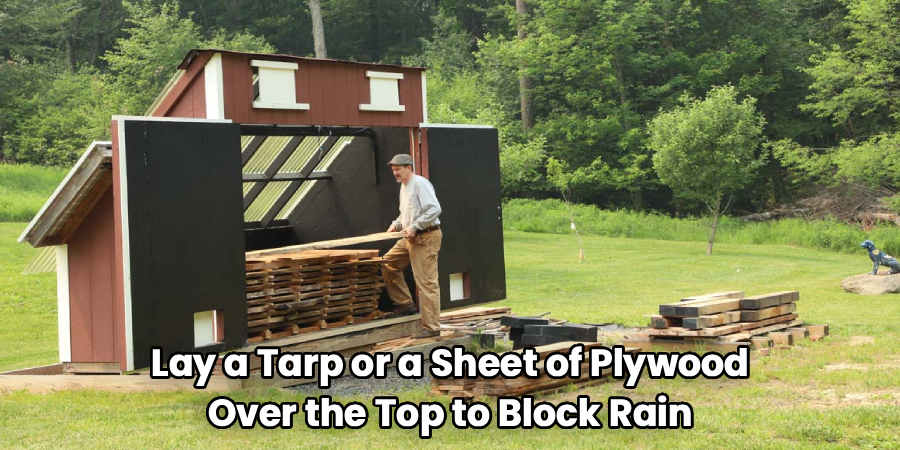
Leave the sides wide open. The cover protects the top only—airflow through the stack must continue. A fully wrapped pile traps humidity and breeds mold, which shows up as gray or black blotches across the faces.
If you store the stack in a garage or shed, that’s even better. A box fan set to push air through the layers speeds things along in still, humid spaces. You want steady, gentle airflow—not a sealed tomb and not a sun-baked oven.
Step 7 – Monitor Drying Time and Moisture
Patience starts paying off now. The old rule is roughly one year of air drying per inch of thickness, though humidity and wood species shift that. Don’t trust the calendar alone—trust your meter.
Check the moisture content every few weeks. Pull a board from the middle of the stack, since edges dry faster than the core. Watch the number fall steadily toward your target range.
When boards reach equilibrium moisture content for your area, the readings stop dropping. That plateau means the wood has settled into balance with the surrounding air. The surface will feel dry and warmer to the touch, and the boards lift noticeably lighter than they did green.
Step 8 – Acclimate Before You Build
Almost there—don’t rush the finish line. Move your dried boards into the same environment where the finished piece will live, ideally a week or two before you cut.
Indoor furniture wood needs to sit indoors. Garage humidity differs from your living room, and wood keeps adjusting until it matches its surroundings. Skip this and a flat board can cup after you’ve already glued the panel.
Recheck the moisture content once acclimated. For interior work, you want 6 to 8 percent and stable across readings. When the number holds steady in your shop, the wood is ready. Mastering how to dry green lumber at home means finishing with this acclimation step every single time.
Common Mistakes to Avoid
The fastest way to ruin a stack is rushing it. New woodworkers see boards that feel dry on the surface and assume they’re ready. Inside, the core is still soaked. Build with it and the piece keeps drying after assembly, pulling joints apart and cupping panels. Always check the core with a meter, not your fingertips.
Skipping the end sealer is another costly miss. Unsealed ends dry far faster than the rest of the board, and the stress cracks the wood from the tips inward. You lose inches off every board to checking that a cheap coat of wax would have prevented.
Poor stickering causes lasting damage. Misaligned or uneven stickers let boards sag and warp between supports, and wet stickers leave dark stains you can’t sand out. Keep them aligned, dry, and consistent.
Many people also wrap the entire stack in plastic to “protect” it. That traps moisture and grows mold across the faces. Cover the top only and leave the sides open. Finally, stacking on bare ground invites rot—always raise the base off the soil.
Expert Tips
Weigh your boards, not just meter them. A board that stops losing weight week over week has reached equilibrium, even if your meter wavers. A cheap bathroom scale catches this before a pin meter does.
Sticker thicker and denser woods with wider gaps. Oak and maple move slowly and crack under stress, so give them extra airflow and a longer timeline than softwoods.
Sticker the green lumber the same day you mill it. Boards left flat on the ground overnight cup within hours, and you can’t undo that bow.
Dry a few extra boards beyond what your project needs. Wood is unpredictable—some pieces twist, some check, and having spares means you never compromise a build around a flawed board.
Frequently Asked Questions
How Long Does It Take to Air Dry Green Lumber?
Plan on roughly one year per inch of thickness for air drying. A one-inch board often dries in 9 to 12 months, while thick slabs take years. Humidity, species, and airflow all shift the timeline. Never rely on the calendar alone—check the moisture content with a meter and build only when readings hold steady in your target range.
Can I Dry Green Lumber Faster Than Air Drying?
Yes. A box fan pushing steady airflow through the stack shortens drying time in still or humid spaces. A dehumidifier in a closed shed pulls moisture even faster. Just avoid forcing it with high heat or direct sun, which dries the surface ahead of the core and causes severe checking and cracking. Controlled, gentle airflow beats fast every time.
What Moisture Content Should Wood Reach Before Building?
Aim for 6 to 8 percent for indoor furniture and 12 to 15 percent for outdoor projects. These ranges match the equilibrium moisture content of most living spaces and exterior conditions. Always test the core of the board, not just the surface, and confirm the reading stays stable over several days before you cut into your dried stock.
Do I Really Need a Moisture Meter?
A moisture meter removes the guesswork, so yes—it’s worth it. Surface feel and weight give rough clues, but only a meter tells you what’s happening inside the board. Pin meters read core moisture accurately for under $40. Building without one means gambling on whether your wood is truly ready, and that gamble usually costs you the project.
Why Are My Boards Cracking While They Dry?
Cracking almost always comes from drying too fast or unevenly. Unsealed end grain checks from the tips inward, and direct sun or heat splits the surface ahead of the core. Seal both ends, cover the stack from sun, and keep airflow gentle and steady. Slower, balanced drying lets moisture leave evenly and keeps your boards intact.
Conclusion
Drying your own lumber is one of the most rewarding skills you can build. You take wet, unstable boards and turn them into flat, tight, workable material—on your terms, at a fraction of the cost. The process comes down to a few non-negotiables: seal the ends, stack on a flat raised base, sticker evenly, weight the top, protect from sun and rain, and let your moisture meter guide the timeline.
Get those right and your wood rewards you with stable panels, tight joints, and projects that hold up for decades. Rush them and you’ll be back to firewood. Now that you know how to dry green lumber at home, you can mill a fallen tree, salvage a sawmill slab, or stock up on cheap green boards with full confidence. Start your first stack this week. Measure, seal, and stack today—then let time and airflow do the rest. Your next build will be stronger for it.
