
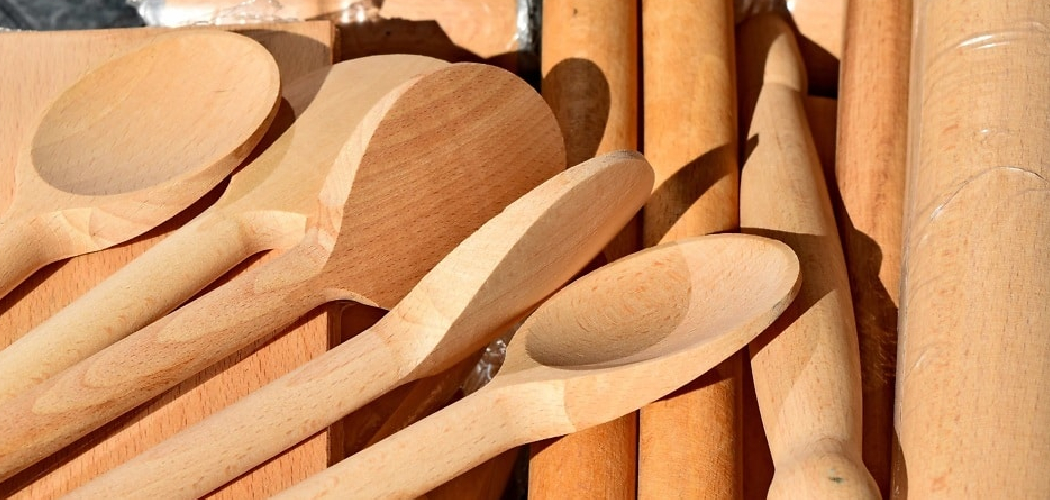
You want a useful object made by your own hands. A wooden spoon is the perfect place to start. It teaches grip, grain reading, and patience in a single afternoon project. Learning how to carve spoons from wood gives you a real, working result you can stir soup with the same week you finish it.
You don’t need a workshop full of machines. You need a knife, a piece of wood, and a willingness to make a few cuts that go wrong before they go right. The skill builds fast once your hands understand the wood.
This guide walks you through every step, from choosing a spoon blank to applying the final coat of finishing oil, so you can carve your first spoon with confidence.
Why Spoon Carving Matters
Spoon carving builds the core skill every woodworker needs: reading grain direction and cutting with control. Master a spoon, and you understand the same forces that govern furniture, bowls, and joinery. The lessons scale up.
It saves you money, too. A handmade wooden spoon costs you a scrap of firewood and an hour. The same spoon sells for $30 at a craft market. You also avoid the cracked, mass-produced utensils that warp after a month in the dishwasher.
Most of all, it builds confidence. You finish with something real in your hand. That first spoon proves you can shape wood deliberately, not just hope for the best. Every cut after that one comes easier, because you’ve already learned the most important thing: how the blade and the grain work together.
Tools and Materials You’ll Need
Keep your kit simple. These few items handle the entire project:
- Carve clean stop cuts and detail work — a straight wood carving knife (a sloyd knife).
- Hollow the bowl cleanly — a hook knife (also called a spoon knife).
- Source easy-to-cut material — a green wood blank from birch, cherry, or maple, roughly 10 inches long.
- Protect your hands — a cut-resistant carving glove for your holding hand.
- Mark your design — a pencil and a paper template.
- Smooth the finished surface — 120, 220, and 320-grit sandpaper.
- Seal and protect the wood — food-safe finishing oil like walnut or mineral oil.
- Optional: speed up roughing — a small hatchet for removing bulk waste before knife work.
Green wood cuts like a firm apple and saves your wrists. Dry hardwood works, but it fights you the whole way.
Step-by-Step Guide on How to Carve Spoons From Wood
Step 1 – Choose and Split Your Wood
Start with green wood, freshly cut and still holding moisture. It carves with a clean, satisfying slice instead of the dusty resistance dry wood gives you. Birch, cherry, and maple are forgiving choices for a first spoon.
Split your log down the center with a hatchet rather than sawing it. Splitting follows the natural grain, so your spoon stays strong and won’t crack along hidden fibers later. You’ll hear a sharp crack and see the wood separate along straight lines.
Pick a half without knots or twisted grain. Run your thumb along the surface; smooth, parallel lines mean predictable cutting. Wavy or swirling patterns signal trouble. This single choice shapes how the entire project feels, so take your time here.
Step 2 – Draw Your Spoon Template
Sketch your spoon shape directly onto the flat split face. Keep the first design simple: a rounded bowl, a gentle neck, and a straight handle about as long as your hand.
Align the spoon so the bowl sits where the wood naturally curves upward. This lets the grain follow the bowl’s shape, which makes for a stronger, more graceful spoon. A paper template traced with a pencil gives you a clean, repeatable outline.
Mark both the top view and the side profile. The side view matters most; it shows the lift in the handle and the depth of the bowl. Beginners who skip the side profile end up with flat, awkward spoons. Dark, confident pencil lines guide every cut that follows, so draw them clearly.
Step 3 – Rough Out the Shape
Now remove the bulk waste with your hatchet or a large carving knife. Work outside your pencil lines, leaving a small margin you’ll refine later. Cut away from your body and keep your fingers clear of the blade’s path.
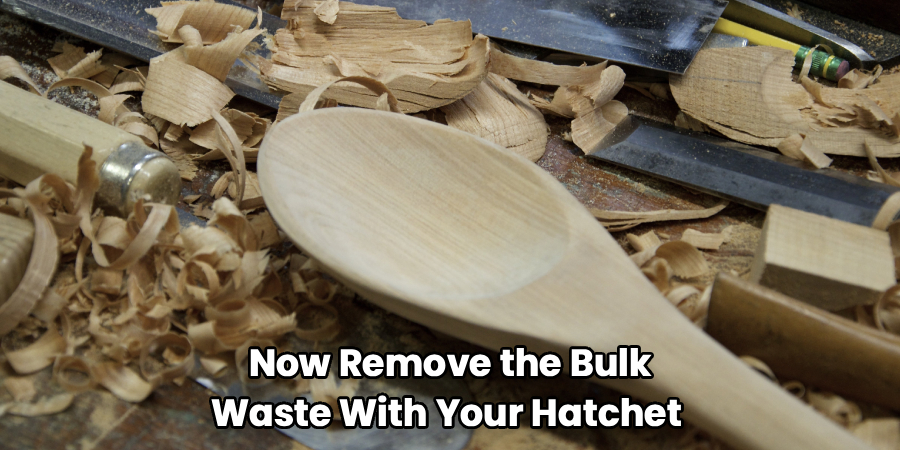
Chop or slice toward the end grain in controlled strokes. You’ll feel the wood release in thick, clean chips, and you’ll hear a solid thunk with each strike. Rotate the blank often to keep both sides even.
This stage is where learning how to carve spoons from wood starts to feel real, because the rough form finally emerges from the block. Don’t rush toward the lines yet. Leaving extra material now protects you from carving too deep, a mistake that ends a spoon early.
Step 4 – Refine the Profile With Your Knife
Switch to your straight carving knife and start shaping the outline cleanly. Use long, smooth slicing cuts, pulling the blade through the wood at a slight angle rather than pushing straight in. Each pass should peel a thin, curling shaving.
Carve toward the bowl, following the grain so the blade glides instead of catching. If the knife snags or tears the fibers, you’re cutting against the grain; flip your direction and try again. The surface should feel smooth, not fuzzy.
Shape the handle to fit your grip. Hold it as you go and trim where it feels bulky. A handle that feels good in your hand now will feel good for years. Watch your pencil lines shrink as the true spoon shape appears.
Step 5 – Hollow the Bowl
This is the moment many beginners worry about, but the hook knife makes it manageable. Grip the spoon firmly and pull the curved blade across the bowl in a scooping motion, working from the edges toward the center.
Take shallow passes. Each one lifts a thin ribbon of wood and deepens the bowl slowly. You’ll hear a soft scraping sound and watch the hollow grow with every stroke. Rotate the spoon so you carve across the grain, never straight into it.
Stop when the bowl feels deep enough to hold liquid, usually around a quarter-inch of remaining wall. Hold it up to the light; thin, even walls glow slightly. This control is the heart of how to carve spoons from wood, and it gets easier with every spoon you make.
Step 6 – Even Out the Walls and Curves
Step back and check the spoon for symmetry. Sight down the length and look for high spots, uneven walls, or a bowl that dips more on one side. Small imbalances stand out once you start looking.
Use your straight knife for the outside of the bowl and the hook knife for the inside. Make light, deliberate cuts to balance the thickness. Run your fingertips across the surface; you’ll feel ridges and dips that your eyes might miss.
Keep the rim consistent in thickness all the way around. A wobbly, uneven rim is the clearest sign of a rushed spoon. Aim for walls that feel the same under your fingers whether you touch the front, back, or sides. Patience here separates a good spoon from a great one.
Step 7 – Let the Spoon Dry
Green wood holds water, and that water has to leave before you finish. Set your roughly carved spoon in a cool, shaded spot for several days. Drying it too fast in direct sun or near a heater causes cracks.
Slow the process by placing the spoon in a paper bag with the wood shavings you’ve collected. The shavings hold moisture and let the spoon dry gradually, which protects it from splitting. Check it every day.
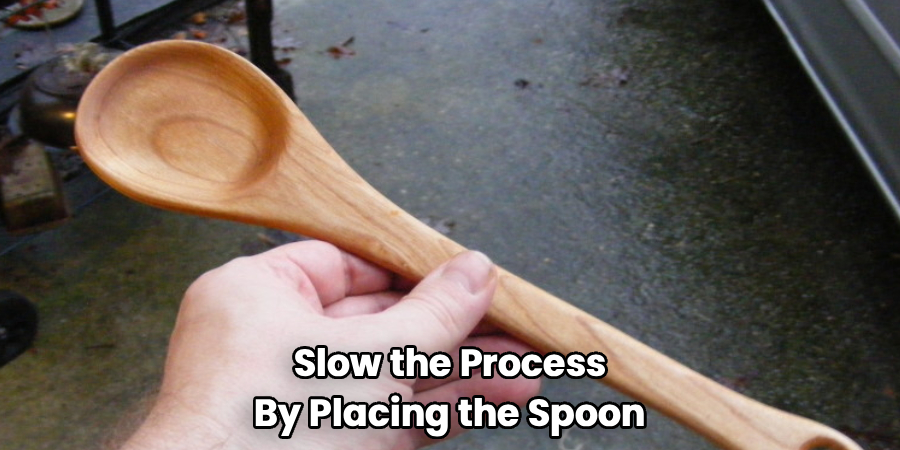
You’ll know it’s dry when the wood feels lighter and sounds higher-pitched when tapped. Drying may also shift the shape slightly, which is normal. Once it’s fully dry and stable, you can move on to the final shaping and smoothing that bring out its true character.
Step 8 – Sand and Smooth the Surface
Dry wood lets you sand cleanly without clogging the paper. Start with 120-grit to knock down tool marks and any rough spots left from carving. Move with the grain in long strokes.
Step up to 220-grit, then 320-grit, sanding the whole spoon between each grade. The surface transforms from rough and dull to smooth and faintly glossy. Run your hand over it; it should feel like polished stone, with no fuzz or splinters.
Pay special attention to the bowl and the rim, where your mouth and food will touch. Wipe the spoon with a damp cloth to raise the grain, let it dry, then give it one final light sanding. This extra pass keeps the surface smooth even after the spoon gets wet during use.
Step 9 – Apply Food-Safe Finishing Oil
The finishing oil protects your spoon and brings the grain to life. Choose a food-safe option like walnut oil, mineral oil, or a beeswax blend. Pour a small amount onto a clean cloth.
Rub the oil into every surface, working it into the wood in slow circles. The grain darkens and deepens instantly, revealing the natural pattern hidden inside the wood. You’ll see colors and lines you didn’t know were there.
Let the oil soak in for 20 minutes, then wipe away the excess. Apply two or three coats over a couple of days for lasting protection. Re-oil the spoon every few months once it’s in use. This final step seals your work and turns a raw carving into a tool you’ll reach for daily.
Common Mistakes to Avoid
The most common error is cutting against the grain. When you push the blade into rising fibers, the wood tears instead of slicing, leaving a fuzzy, ragged surface. Watch the shaving as you cut. A clean, curling ribbon means you’re going with the grain; a torn chunk means you should reverse direction.
Beginners also carve the bowl walls too thin. It’s tempting to keep scooping, but thin walls crack as the spoon dries and shifts. Stop at roughly a quarter-inch and check your progress against the light.
Rushing the drying stage ruins more spoons than any knife slip. Wood that dries too fast splits down the bowl, undoing hours of work. Use the paper bag method and give it time.
Many first-timers skip the side profile when drawing their template, producing flat, lifeless spoons with no lift in the handle. Sketch both views before you cut.
Finally, don’t ignore your finish. A spoon left unoiled absorbs water, stains, and odors fast. Seal it properly, and it lasts for years of daily use.
Expert Tips
Carve green wood whenever you can. Dry hardwood is technically usable, but green wood cuts with a fraction of the effort and saves your hands real strain over a long session.
Keep your knife scary sharp. A dull blade forces you to push harder, which causes slips and accidents. A sharp knife glides through wood with light pressure and gives you cleaner cuts and more control. Strop it on leather every 20 minutes.
Learn the grip variations: the chest-lever cut for power, the thumb-push for detail, and the pull stroke for refining. Each one handles a different part of the spoon.
Save your shavings. They’re perfect for slow-drying your next spoon and for kindling a fire. And carve a few “ugly” practice spoons first; the muscle memory you build pays off fast.
Frequently Asked Questions
What Is the Best Wood for Carving Spoons?
Birch, cherry, and maple top the list for beginners. They cut cleanly, resist cracking, and finish beautifully. Choose green, freshly cut wood over dried lumber, since green wood carves with far less effort. Avoid resinous softwoods like pine, which crush rather than slice. Fruit woods such as apple and pear are excellent too, offering tight grain and a smooth final surface that feels great in the hand.
Do I Need Expensive Tools to Start?
No. You can carve a complete spoon with two tools: a straight carving knife and a hook knife. Together they cost under $60 and last for years with proper sharpening. A hatchet speeds up the rough-out stage but isn’t essential. Skip the power tools and specialty gouges until you’ve made several spoons. Sharp, simple tools and good technique matter far more than an expensive setup.
How Long Does It Take to Carve a Spoon?
Active carving takes two to four hours for a beginner, spread across the rough-out, shaping, and hollowing stages. The drying period adds several days, since green wood needs time to release moisture before sanding and finishing. Plan for about a week from start to finished spoon, though most of that is hands-off waiting. Your first spoon takes longest; speed comes quickly with practice.
Is It Safe to Eat From a Hand-Carved Wooden Spoon?
Yes, as long as you finish it with food-safe oil. Walnut oil, mineral oil, and beeswax blends seal the wood and make it safe for daily eating and cooking. Sand the bowl smooth so no splinters remain, and re-oil the spoon every few months. Hand-wash it instead of using the dishwasher, and your wooden spoon stays safe and beautiful for years.
Why Does My Knife Keep Tearing the Wood?
You’re cutting against the grain, or your blade is dull. Wood fibers run in a direction, and slicing into rising fibers tears them instead of cutting cleanly. Reverse your cutting direction and watch for smooth, curling shavings. If tearing continues, sharpen and strop your knife. A truly sharp blade slices green wood with almost no resistance and leaves a polished surface.
Conclusion
You now have everything you need to make your first spoon. The process comes down to a few clear stages: choose good green wood, draw a solid template, rough out the shape, refine it with your knife, hollow the bowl, dry it slowly, then sand and oil it. Each step builds on the last.
Your first spoon won’t be perfect, and that’s fine. The fuzzy cuts and uneven walls teach you more than a flawless result ever could. By your third or fourth spoon, your hands will read the grain almost without thinking, and the work will feel natural.
Knowing how to carve spoons from wood opens the door to every other carving project you’ll ever try. The grip, the grain reading, and the patience all carry forward. So grab a knife, split a piece of wood, and start cutting. Your first handmade spoon is waiting inside that block, and the only way to find it is to begin.
