
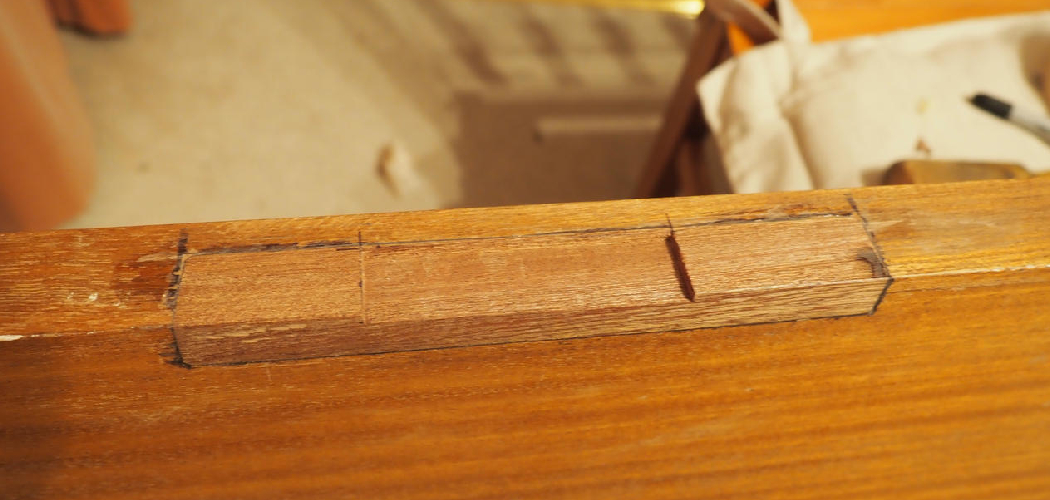
Metal hinges fail. They rust, squeak, and clash with fine woodwork. A wood hinge solves all three problems at once.
A wooden hinge is a working joint cut entirely from wood. It pivots on a single dowel pin and turns a box lid, cabinet door, or jewelry case into a clean, all-wood build. No screws. No metal. No visible hardware breaking the grain.
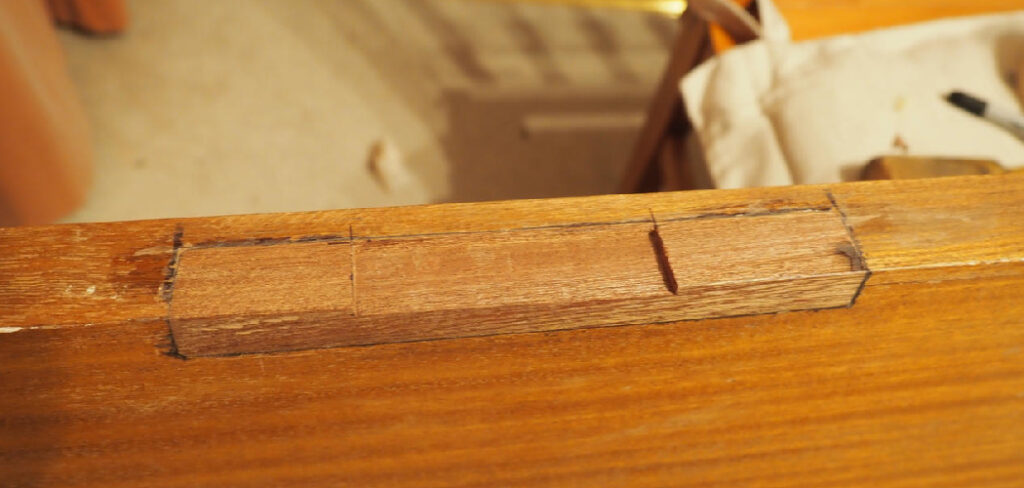
Learning how to make a wood hinge sounds advanced, but the core idea is simple. You cut interlocking knuckles, drill one straight hole, and slide a dowel through to form the pivot. Get those steps right and the joint swings smooth for years.
This guide walks you through every cut, measurement, and finish detail so you can build a strong, seamless wood hinge on your first try.
Why This Matters
You save money and elevate your work at the same time. A wood hinge costs pennies in scrap and dowel, yet it looks like custom joinery worth far more.
This project sharpens skills that carry into everything you build. You practice precise layout, accurate drilling, and tight-tolerance cuts. Those are the same skills behind drawers, doors, and fitted lids.
A wood hinge also outlasts cheap hardware. No rust. No loose screws stripping out of soft wood. The joint ages with the piece instead of failing before it.
Best of all, it looks intentional. A continuous grain line across a closed lid signals craftsmanship instantly. Friends notice. Buyers pay more. You build confidence with every clean pivot, and that confidence pushes you toward bigger, more ambitious projects.
Tools and Materials You’ll Need
Gather everything first. A clear bench keeps each cut accurate.
- Cut the knuckles — straight-grained hardwood (maple, oak, or walnut)
- Form the pivot — wood dowel sized to your drill bit
- Mark precise lines — sharp pencil, marking gauge, and square
- Make clean cuts — backsaw, dovetail saw, or fine-tooth pull saw
- Remove waste — sharp chisel set and mallet
- Drill the pin hole — hand drill or drill press with a brad-point bit
- Hold the work — bench vise or clamps
- Smooth the joint — sandpaper in 120, 180, and 220 grit
- Glue the pin — wood glue and a damp rag
- Protect the finish — clear oil, wax, or polyurethane
- Drill dead-straight holes — a drill press (optional, but it guarantees a true pivot)
Choose dense, dry hardwood. Softwoods crush at the knuckles and loosen fast.
Step-by-Step Guide on How to Make a Wood Hinge
Step 1 – Select and Prepare Your Stock
Soft or wet wood ruins a hinge before you cut it. Start with dry, dense hardwood.
Choose maple, oak, or walnut with straight, even grain. The grain should run along the length of each hinge leaf, never across the knuckles, or the small fingers snap under load.
Mill two matching pieces to the same thickness. Run your hand across each face—it should feel flat and smooth, with no cupping or twist. A board that rocks on the bench will bind in the joint.
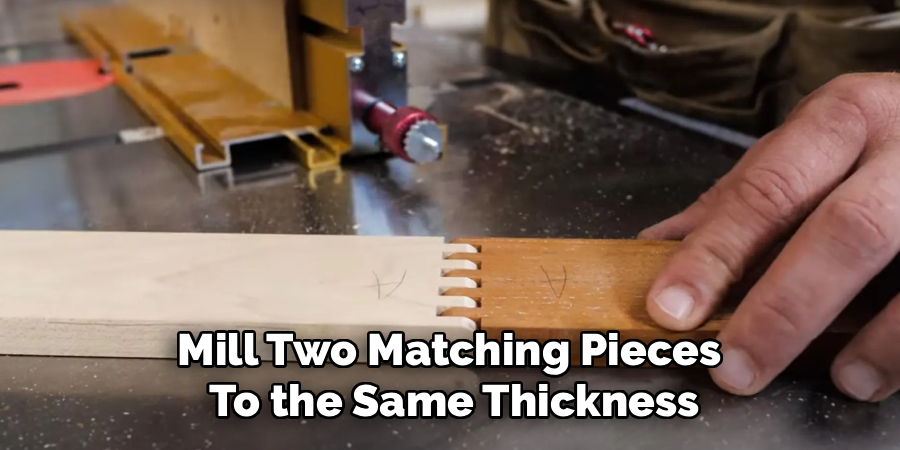
Square one end of each piece cleanly. That squared edge becomes your reference for every knuckle line. Tap the wood with your fingernail; a sharp, hard click means dense, dry stock that holds crisp cuts.
Step 2 – Lay Out the Knuckles
Sloppy layout makes a sloppy hinge. Mark every line with care.
Decide on an odd number of knuckles—three or five works well for most boxes. Odd counts balance the joint and lock it together evenly. Divide the hinge width by that number to size each knuckle.
Set your marking gauge to the stock thickness and scribe a shoulder line across both pieces. This line marks how deep each knuckle reaches. Use a square and sharp pencil to mark the knuckle widths along the edge.
Shade the waste sections you’ll remove. On one leaf, shade the alternating gaps; on the other, shade the opposite pattern. This is the heart of how to make a wood hinge that interlocks tight.
Step 3 – Cut the Knuckle Fingers
Rushed saw cuts wander and leave gaps. Slow, vertical strokes win.
Clamp the first leaf upright in your vise. Line your saw just inside the waste, leaving the pencil line visible. Start with light back strokes to score a groove, then settle into a steady rhythm.
Listen for a smooth, even rasp. A chattering or skipping sound means you’re forcing the blade—ease off and let the teeth cut. Keep the saw plumb so the kerf stays square through the full thickness.
Stop precisely at the shoulder line. Cutting past it weakens the knuckle and shows as a gap later. Repeat on every marked finger, then switch to the second leaf and cut its opposite pattern.
Step 4 – Remove the Waste
Clean waste removal creates the gaps that let knuckles mesh. Work to the line.
Lay the leaf flat and clamp it down. Place a sharp chisel on the shoulder line, bevel facing the waste, and tap gently with the mallet. Take thin slices rather than one deep cut—thick bites tear the grain and blow out the edges.
Pare from both faces toward the center to avoid splitting the back side. The waste should lift away in clean, pale curls. Dark crushed fibers mean a dull chisel; stop and hone it.
Check each gap with a test finger from the mating leaf. It should slide in snug but not tight. Trim high spots until every knuckle seats flush against its neighbor.
Step 5 – Dry-Fit the Joint
A joint that fights you now will jam forever. Test before you drill.
Bring both leaves together and mesh the knuckles like interlaced fingers. They should slide into alignment with light hand pressure. If you have to force them, find the tight knuckle and pare it back a hair at a time.
Hold the closed joint up to the light. Daylight between knuckles means gaps to trim or accept as rustic character. Even, tight seams signal accurate cuts.
Swing the leaves open and closed by hand. The motion should feel smooth, with the knuckles rotating against each other without catching. This dry-fit is your last checkpoint before the pivot hole locks the geometry in place.
Step 6 – Drill the Pivot Hole
A crooked hole kills the swing. Drill dead straight or the hinge binds.
Clamp the meshed joint tightly so the knuckles can’t shift. Mark the exact center of the knuckle row on the end. Choose a brad-point bit that matches your dowel diameter for a snug pivot.
A drill press guarantees a square hole, but a steady hand drill works if you sight carefully from two angles. Feed the bit slowly and let it clear chips—a screaming bit and burnt smell mean you’re pushing too hard.
Drill through all the knuckles in one pass so the hole stays aligned. Blow out the dust and slide a test dowel through. Knowing how to make a wood hinge with a true, centered hole is what makes it pivot like glass.
Step 7 – Fit and Glue the Pin
A loose pin rattles; a glued-wrong pin freezes the joint. Glue only the ends.
Cut your dowel slightly longer than the knuckle row. Test-slide it through the dry joint; it should pass with gentle resistance, not hammering.
Here’s the key: apply glue only to the first and last knuckle holes, never the middle. Glue in the center locks the leaves and stops the swing. The end glue anchors the pin while the joint still rotates freely.
Tap the dowel home with a small mallet until it sits flush at both ends. Wipe squeeze-out immediately with a damp rag. Open and close the hinge a few times before the glue sets to confirm a smooth, free pivot.
Step 8 – Trim and Sand Flush
Proud pins and rough knuckles look unfinished. Level everything smooth.
Once the glue cures, saw off any dowel sticking past the knuckles. Use a flush-cut saw flat against the wood so you don’t scar the surface. Pare the last sliver with a chisel for a clean, even end.
Sand the whole joint through 120, 180, then 220 grit. Round the outer knuckle edges just slightly so the hinge feels soft to the touch and clears its own travel.
Run your fingertip across the closed seam. A finished hinge feels continuous, with knuckles flush and edges smooth. Tilt it to the light—an even sheen and tight grain line mean your cuts and sanding paid off.
Step 9 – Apply Your Finish
Bare wood absorbs grime and dries out at the joint. Seal it to last.
Brush or wipe on your chosen finish—clear oil for a natural look, wax for a soft glow, or polyurethane for hard protection. Work it into the knuckles and let it reach the pivot.
Keep the coat thin around the joint. Heavy finish pools in the gaps, gums up, and stiffens the swing. Wipe excess from inside the knuckles before it sets.
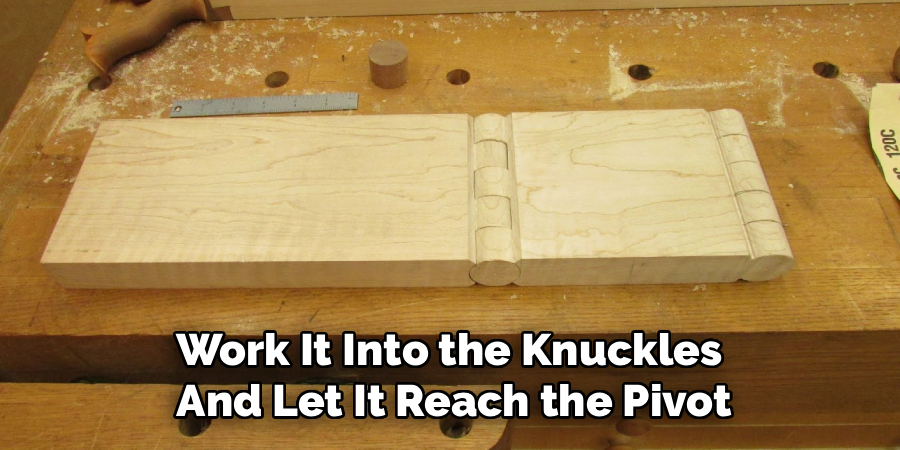
Let each coat dry fully, then work the hinge open and closed to break any tackiness. Add a second thin coat for durability. The cured joint should pivot smooth and feel sealed, ready for daily use on your box or cabinet.
Common Mistakes to Avoid
The biggest mistake is using soft or weak wood. Pine and other softwoods crush at the thin knuckles, and the joint loosens within weeks. Always pick dense, straight-grained hardwood like maple, oak, or walnut, and orient the grain along the leaf so the fingers resist breaking.
Sloppy layout ranks a close second. If your knuckle lines drift even a fraction, the leaves won’t mesh and the swing binds. Mark every line with a sharp pencil, a square, and a marking gauge. Use an odd number of knuckles so the joint balances and locks evenly.
A crooked pivot hole wrecks the whole hinge. Drill off-angle and the dowel binds the moment you close the lid. Clamp the meshed joint tight and drill straight through in one pass, ideally on a drill press, so the hole stays true across every knuckle.
Gluing the wrong spot is a subtle killer. Spread glue through the center knuckles and you freeze the hinge solid. Apply glue only to the two end holes, leaving the middle knuckles free to rotate around the pin.
Finally, flooding the joint with finish stiffens the action. Keep coats thin near the knuckles and wipe out any pooling before it cures.
Expert Tips
Pros cut both hinge leaves from one continuous board, then split them apart. The grain flows unbroken across the closed joint, and the knuckles line up perfectly because they started as one piece.
Size your dowel to a brad-point bit you actually own before you start. Matching the pin to a real bit prevents a sloppy or oversized hole that ruins the pivot.
Rub a little paste wax or candle wax on the dowel before final assembly. The wax lets the pin glide and keeps glue from grabbing the middle knuckles by accident.
For wide hinges, drill the pivot hole on a drill press with the joint clamped to a fence. The fence holds your center line dead straight across every knuckle.
Test the full motion before glue cures. You have a short window to free a tight spot—use it.
Frequently Asked Questions
What Wood Is Best for a Wooden Hinge?
Dense, straight-grained hardwood works best. Maple, oak, and walnut hold crisp knuckles and resist crushing under load. Run the grain along the length of each leaf so the thin fingers stay strong. Avoid softwoods like pine, which compress at the pivot and loosen quickly. Dry, stable stock also keeps the joint from shifting after assembly.
How Many Knuckles Should a Wood Hinge Have?
Use an odd number—three or five for most boxes and small doors. Odd counts balance the joint and interlock evenly, so the hinge sits flush when closed. Three knuckles suit narrow lids; five spread the load on wider doors. More knuckles add strength but demand tighter layout. Match the count to your hinge width and divide it evenly.
Why Does My Wood Hinge Bind When It Closes?
Binding usually means a crooked pivot hole or a tight knuckle. Check that the dowel runs straight through every knuckle; an off-angle hole locks the swing. Then look for a knuckle that’s too snug and pare it back a hair. Glue in the center knuckles also freezes motion, so confirm you only glued the two end holes.
Do I Need a Drill Press to Make a Wood Hinge?
No, but it helps. A drill press guarantees a square, centered pivot hole, which is the hardest part to nail by hand. With care, a hand drill works—sight the bit from two angles and feed slowly. Clamp the meshed joint tight so it can’t shift. For wide or high-use hinges, the drill press is worth the setup.
How Strong Is a Wooden Hinge Compared to Metal?
A well-built wood hinge handles lids, light doors, and boxes with ease, but it won’t match steel for heavy loads. Strength comes from dense hardwood, tight knuckles, and a snug pin. For cabinet doors or jewelry boxes, it lasts for years. For heavy gates or constant slamming, choose metal. Match the hinge to the job.
Conclusion
A wood hinge turns plain stock into a working joint that swings clean and lasts for years. The process comes down to a clear sequence: pick dense hardwood, lay out odd knuckles, cut and pare to the line, drill one straight pivot hole, glue only the ends, and finish thin.
The payoff is real. You build a seamless, all-wood joint that looks like custom joinery and costs almost nothing in scrap. Each hinge sharpens your layout, sawing, and drilling—skills that carry straight into drawers, doors, and fitted lids.
Knowing how to make a wood hinge gives you a quiet edge in every project. No rust, no screws, no metal breaking the grain. Just a smooth pivot and an unbroken grain line that signals craftsmanship at a glance.
Grab two pieces of hardwood this weekend and cut your first set of knuckles. Drill the pin, slide it home, and feel that first clean swing. Once you nail it, you’ll add wooden hinges to everything you build.
