
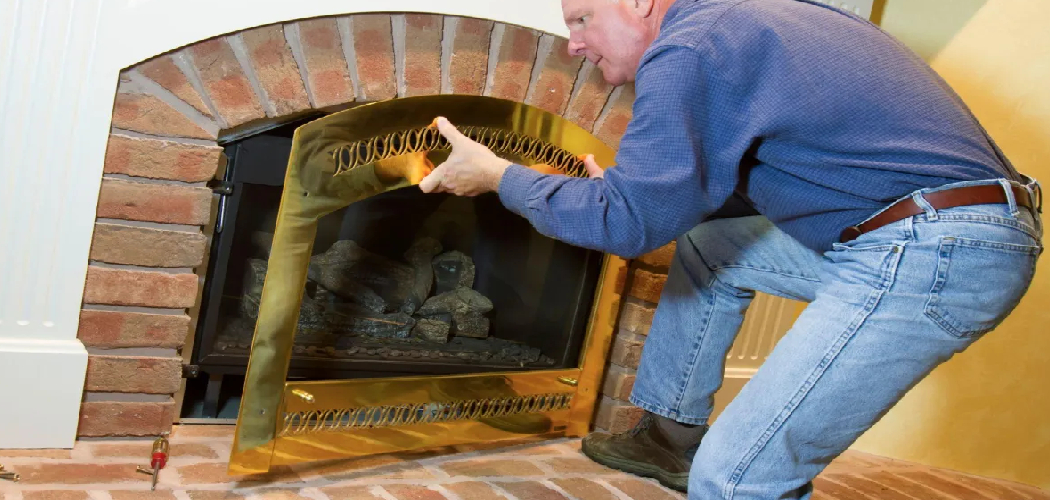
A bare brick fireplace looks unfinished. A solid wood mantel changes that in an afternoon. If you’ve stared at that empty masonry wall wondering how to anchor a heavy beam into brick without cracking it, you’re in the right place. Learning how to install a wood mantel on a brick fireplace is one of the most rewarding weekend projects you can tackle, and it’s far simpler than most people expect. You don’t need a contractor. You need the right anchors, a masonry drill, and a steady approach.
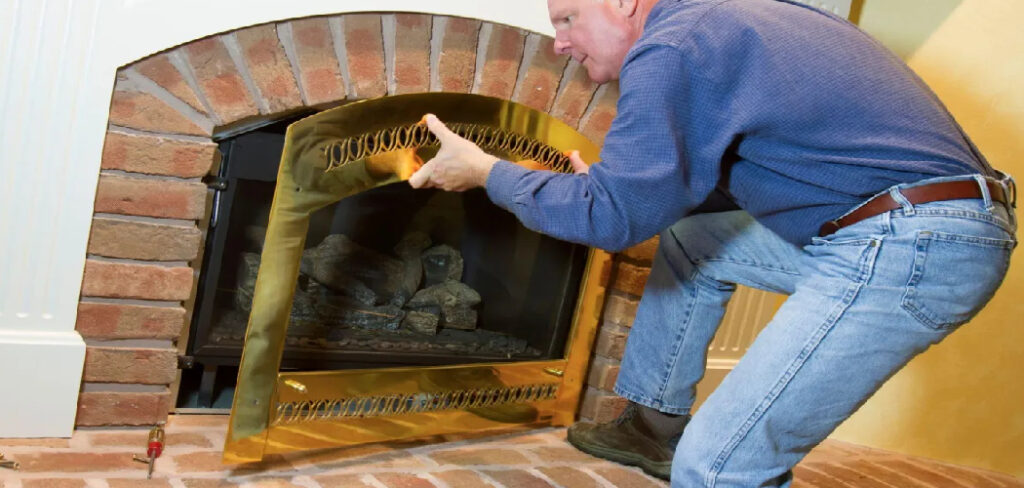
This guide walks you through every step, from measuring your fireplace surround to securing the mantel shelf flush against the brick. By the end, you’ll have a sturdy, level mantel ready for stockings, candles, or a favorite photo.
Why This Matters
Hiring a pro to mount a mantel runs $200 to $600 in labor alone. You can do the same job for the cost of a few anchors and a tube of construction adhesive. That’s real money back in your pocket.
Beyond savings, this project builds confidence. Drilling into brick feels intimidating the first time. Once you’ve done it, masonry stops being scary and a whole world of wall-mounted projects opens up.
Skill matters most when safety is involved. A mantel that’s poorly anchored can pull loose under the weight of decor or, worse, fail near heat. Doing this correctly protects your home and the people in it. You’ll also avoid the costly mistake of cracked brick or a crooked shelf that ruins the room’s whole look.
Tools and Materials You’ll Need
Gather everything before you start. Stopping mid-project to find a missing drill bit kills your momentum.
- Hammer drill with a masonry bit sized to your anchors
- Wood mantel or beam, pre-finished or ready to finish
- Ledger board (2×4 or 2×6) for hollow mantels
- Heavy-duty brick anchors or lag shields rated for your mantel’s weight
- Construction adhesive rated for masonry and wood
- Level (a 24-inch model works best)
- Stud finder is not needed, but a masonry pencil marks brick clearly
- Tape measure, safety glasses, and dust mask
- Lag bolts and washers matched to your anchors
- Socket wrench or impact driver
- Caulk for sealing gaps
Optional but worth it: a laser level speeds up alignment and removes guesswork on long beams.
Step-by-Step Guide on How To Install a Wood Mantel on a Brick Fireplace
Step 1 – Measure and Plan Your Layout
Start with numbers. Measure the width of your fireplace surround and decide how far the mantel will overhang each side. A balanced look usually means 3 to 6 inches of overhang per side.
Next, confirm your heat clearance. Most building codes require at least 12 inches between a combustible wood mantel and the firebox opening, but check your local code and your fireplace manufacturer’s specs. This number is non-negotiable for safety.
Mark your mounting height on the brick with a masonry pencil. Standard mantels sit 54 to 60 inches off the floor. Hold a scrap board at that line and step back. Trust your eye here. The right height feels natural; a too-low mantel crowds the firebox and looks cramped.
Step 2 – Choose Your Mounting Method
How you mount depends on your mantel type. A solid wood beam bolts directly to the brick with lag shields. A hollow box mantel slides over a ledger board that you anchor to the wall first.
The ledger board method is the backbone of how to install a wood mantel on a brick fireplace for most homeowners, because hollow mantels are lighter and easier to handle alone. Your 2×4 or 2×6 ledger becomes the hidden frame the mantel hugs.
Cut your ledger board about an inch shorter than the mantel’s interior width. This gives you wiggle room when fitting the shell over the frame. Dry-fit the board against the brick now to confirm it sits flat. Any rocking means an uneven brick face you’ll need to account for later.
Step 3 – Mark Your Drill Points
Hold the ledger board against the brick at your marked height. Set your level on top and adjust until the bubble centers dead between the lines.
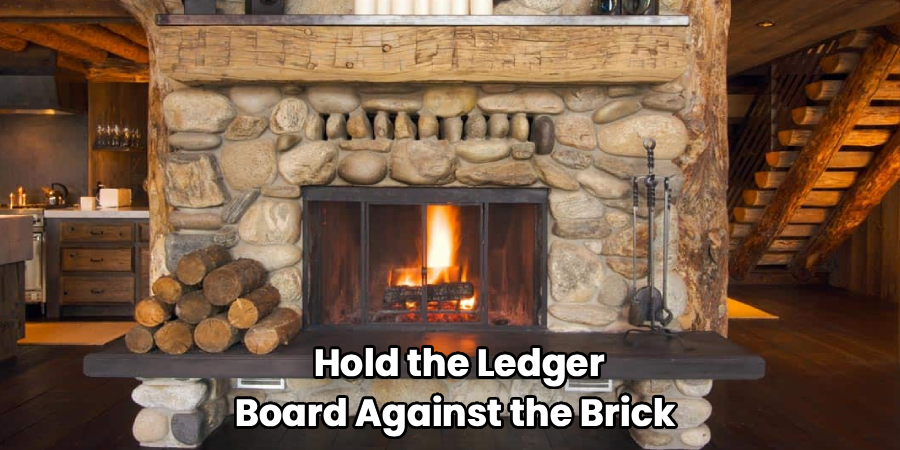
This is the most important moment of the whole job. A ledger that’s off by a degree throws the entire mantel crooked, and you won’t notice until everything’s mounted.
Once level, mark each drill point through the ledger’s pre-drilled holes with your pencil. Aim for the brick face itself, not the mortar joints. Brick holds anchors far better than crumbly mortar. Space your anchors every 12 to 16 inches for a heavy beam.
Step back and double-check your marks line up horizontally. Dots that drift up or down signal the board shifted while you were marking.
Step 4 – Drill Into the Brick
Fit your masonry bit into the hammer drill and put on your safety glasses and dust mask. Brick dust is fine and gets everywhere.
Press the bit to your first mark and start slow. Let the hammer action do the work; forcing it overheats the bit and can crack the brick. You’ll feel a steady chewing vibration and hear a low grinding hum. That’s correct.
If you hear high-pitched squealing or see the bit skating across the surface, ease off and reposition. Drill each hole to the depth of your anchor plus a quarter inch, so debris has somewhere to settle. A piece of tape on the bit marks your depth perfectly.
Blow the dust out of each hole when you finish. Clean holes let anchors seat fully.
Step 5 – Set Your Anchors
Tap a lag shield or brick anchor into each hole with a hammer. It should sit flush with the brick face, not poke out and not sink below.
A snug anchor makes a solid thunk when seated. If it slides in loosely or spins, your hole is too big. Move to the next brick and re-drill rather than trusting a sloppy anchor with a heavy mantel.
Run a bead of construction adhesive along the back of your ledger board for extra holding power. This isn’t a substitute for anchors, but it stops any micro-movement and seals the wood against the masonry. The combination of mechanical anchors and adhesive is what gives professional installs their rock-solid feel.
Step 6 – Bolt the Ledger to the Wall
Line up the ledger holes with your set anchors. Thread a lag bolt with a washer through each hole and into the shield.
Start every bolt by hand to avoid cross-threading. Then switch to your socket wrench or impact driver and tighten in sequence, working from the center out. This pulls the board evenly flat against the brick.
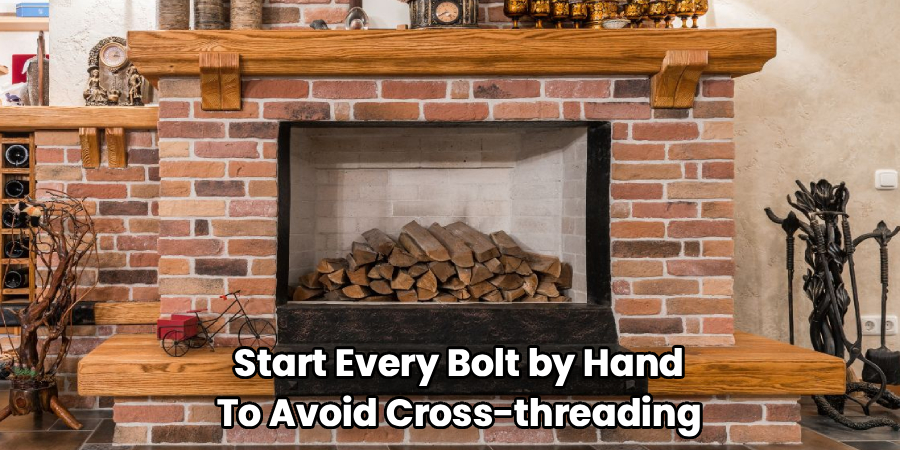
Snug each bolt firmly, but stop the moment it stops turning easily. Over-tightening can split the ledger or strip the shield. You want the board solid with zero flex. Push down hard on the mounted ledger. It shouldn’t budge, creak, or pull away from the wall even slightly. A board that flexes means a loose anchor you need to address before going further.
Step 7 – Mount and Secure the Mantel
Now for the satisfying part. Slide your hollow mantel shell over the ledger board. It should glide on with a snug, even gap on all sides.
If it sticks or won’t seat fully, check for adhesive squeeze-out or a ledger that’s slightly too thick. Shave the frame rather than forcing the shell.
Once seated, secure the mantel to the ledger with finish screws driven up through the bottom or down through the top where they’ll stay hidden. Pre-drill these holes so the wood doesn’t split.
Run your hand along the top. A properly mounted mantel feels immovable and sits dead level. Mastering how to install a wood mantel on a brick fireplace comes down to this final fit: tight, square, and silent when you press on it.
Step 8 – Finish and Seal the Edges
Step back and inspect the seam where wood meets brick. Small gaps are normal because brick faces are rarely perfectly flat.
Fill these gaps with a paintable caulk that matches your mantel or blends with the brick. Smooth the bead with a wet finger for a clean, professional line. This small detail separates a polished install from a DIY-looking one.
If your mantel is raw wood, now’s the time to apply stain or a protective finish. Wipe stain on with the grain, let it penetrate, then buff off the excess. A clear polyurethane topcoat protects against heat, soot, and the occasional dropped candle.
Let everything cure fully before loading the shelf. Adhesive needs 24 hours to reach full strength.
Common Mistakes to Avoid
The most dangerous error is ignoring heat clearance. People rush to get the mantel up and mount it too close to the firebox. A wood mantel within the danger zone of a working fire can scorch, discolor, or ignite over time. Always confirm the minimum clearance for your specific fireplace before you drill a single hole.
Drilling into mortar instead of brick is the second common slip. Mortar joints feel easier to drill, so beginners gravitate there. But mortar crumbles and won’t grip an anchor under load. Your mantel ends up sagging within weeks. Always anchor into solid brick.
Skipping the level is a costly shortcut. A mantel that’s off by even a small amount looks obviously crooked once it holds decor, and there’s no fixing it without re-drilling. Check level twice before committing.
Finally, many homeowners undersize their anchors. A decorative beam loaded with frames, garland, and a heavy clock needs anchors rated well above the mantel’s bare weight. Match your hardware to the real-world load, not just the wood alone, and you’ll never worry about a failure.
Expert Tips
Pros always drill into the brick face, never the corner of a brick. The edge chips and weakens the hold. Aim for the center of each brick for maximum grip.
Keep a spare masonry bit on hand. Drilling brick dulls bits fast, and a dull bit is when most cracks happen. The moment drilling slows or smells hot, swap it.
Here’s a trick few beginners know: vacuum each hole rather than just blowing it out. Packed dust at the bottom stops anchors from seating fully and quietly cuts your holding strength.
When staining, condition the wood first if you’re using pine or another soft species. It prevents blotchy, uneven absorption that screams amateur. And always finish all six sides of the mantel, even the hidden back, to stop moisture from warping the wood over the years.
Frequently Asked Questions
How much weight can a wood mantel on brick hold?
A properly anchored mantel holds 100 pounds or more, depending on your hardware. The brick anchors and lag bolts carry the load, not the wood itself. Use anchors rated above your expected weight, including decor, and space them every 12 to 16 inches. With solid brick and correct installation, your mantel will support far more than you’ll ever place on it.
Do I need a permit to install a mantel?
Usually no. Mounting a decorative mantel is a standard homeowner project that rarely requires a permit. However, heat clearance from a working firebox is governed by building code. If you’re unsure whether your mantel sits at a safe distance, check your local code or call your building department. Safety rules around fireplaces exist for good reason, so confirm before you drill.
Can I install a mantel without drilling into brick?
You can use heavy-duty construction adhesive alone for very light mantels, but it’s not recommended for anything substantial. Adhesive lacks the mechanical strength of anchors and can fail under weight or heat over time. For a safe, lasting install, drill into the brick and use rated anchors. Adhesive should support your fasteners, never replace them.
What’s the right height for a fireplace mantel?
Most mantels sit 54 to 60 inches from the floor, or roughly 12 inches above the firebox opening. The right height depends on your ceiling height, fireplace size, and required heat clearance. Hold a scrap board at your planned line and step back to judge it. The mantel should feel balanced with the room and never crowd the firebox.
How long does the installation take?
A typical install takes two to four hours for a beginner. Measuring and marking is quick, drilling and anchoring takes the most patience, and finishing adds time if you’re staining raw wood. Factor in 24 hours of cure time for adhesive before loading the shelf. Rushing the anchoring step is where mistakes happen, so give yourself an unhurried afternoon.
Conclusion
A wood mantel transforms a plain brick fireplace into the focal point of your room, and you now have everything you need to do it yourself. Measure carefully, respect your heat clearance, anchor into solid brick, and check your level twice. Those four habits separate a sturdy, professional result from a crooked, loose one.
Knowing how to install a wood mantel on a brick fireplace saves you hundreds in labor and gives you a skill you’ll use again and again. Drilling into masonry stops feeling intimidating the moment you’ve done it once. From there, mounting shelves, brackets, and beams becomes routine.
Take your time on the anchoring, finish all six sides of the wood, and let the adhesive cure before you load the shelf. Do that, and you’ll have a mantel that stays dead level and solid for decades. Grab your drill, gather your anchors, and get started. Your finished fireplace is just one focused afternoon away.
