
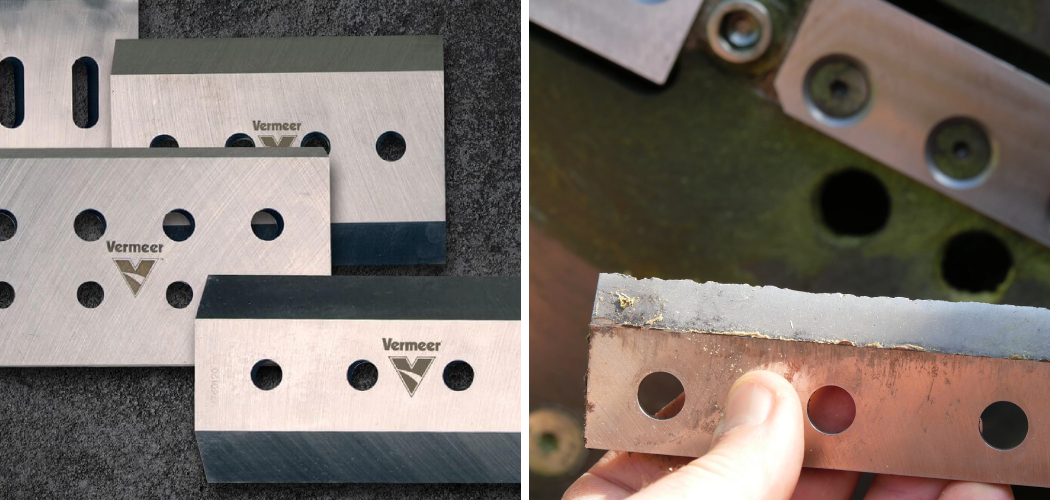
A dull chipper blade lies to you. It tells you the machine is working when it is only struggling. You feed in a branch. The motor groans. The wood jams. The chips come out ragged instead of clean. That is the moment most people blame the engine. The real culprit is the edge. Knowing how to sharpen a wood chipper blade brings that machine back to life faster than any repair shop ever could.
The skill is simpler than you fear. The payoff is bigger than you expect. You save money. You protect the motor. You finish jobs in half the time. This guide walks you through the entire process, step by step, so you can restore a razor edge with confidence and keep your chipper cutting like new.
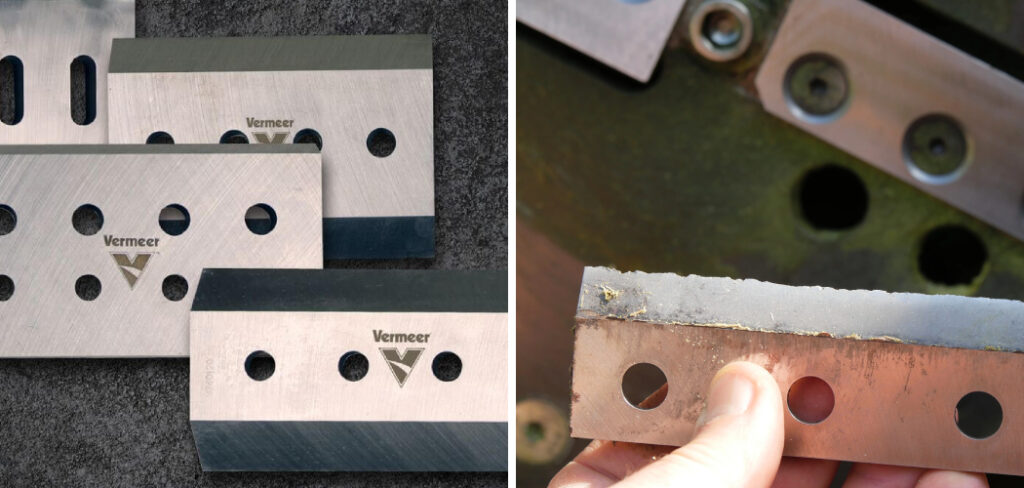
Why Sharpening Your Wood Chipper Blade Matters
A sharp blade does the work. A dull blade makes the engine do the work. That difference costs you.
Think of the edge as the front line. When it is keen, branches slice clean and the motor barely strains. When it is worn, the machine grinds, overheats, and burns fuel for nothing. That is silent damage. You may not see it today. You will see it the day the engine quits early.
Sharpening saves you money on replacement blades. It protects you from kickback and jams that turn dangerous fast. It extends the life of every moving part inside the housing. Learn this once, and you stop paying others for a job your own hands can do in under an hour. Will you?
Tools and Materials You’ll Need
Gather everything before you start. A clean workspace makes the job safer and faster.
- Cut-resistant gloves and safety glasses
- Socket wrench set or the manufacturer’s blade removal tool
- Angle grinder with a metal grinding disc, or a flat bench file
- Whetstone or honing stone for the final edge
- Permanent marker (to track your grind line)
- Wire brush for cleaning resin and grime
- Degreaser or mineral spirits
- Clean shop rags
- Bench vise to hold the blade steady
- A protractor or angle gauge to match the factory bevel
- Optional: A slow-speed wet sharpener for a polished, heat-free edge
Step-by-Step Guide on How to Sharpen a Wood Chipper Blade
Step 1 – Disconnect and Secure the Machine
Power comes first. Always. Before you touch anything, kill the source. Pull the spark plug wire on a gas model. Unplug an electric unit at the wall. Remove the battery if your chipper has one.
Now wait. Let the flywheel stop spinning completely. You will hear the hum fade to silence. That silence is your green light.
Set the machine on a flat, stable surface. Wedge a block against the rotor so it cannot turn while your hands are inside. A blade that shifts unexpectedly can take a finger. Treat every blade as if it were live. Knowing how to sharpen a wood chipper blade starts not with the file but with respect for the machine in front of you.
Step 2 – Remove the Blades Carefully
Open the access panel and find the mounting bolts. They are usually torqued tight, so a quality socket wrench earns its place here.
Loosen each bolt in turn. You will feel them give with a low, gritty creak. Keep your fingers clear of the cutting edge as it loosens, even when dull.
Lift the blade free and lay it on your bench. Note its orientation right away. Most chippers run two or more blades, and they must return to the exact same seat. Snap a quick photo with your phone if you doubt your memory.
Inspect the bolt threads as you go. Stripped or rusted hardware should be replaced, not reused. A loose blade at high speed is a hazard you never want.
Step 3 – Clean Off Resin and Debris
A dirty blade hides its true condition. Sap, bark, and dried gum cling to the steel and dull the surface beneath.
Soak a rag in degreaser and wipe the blade down. For stubborn buildup, work a wire brush along the flat in firm, steady strokes. You will feel the grit lift and the metal turn smooth under your fingers.
Hold the blade to the light. A clean edge shows you everything: the nicks, the rounded tip, the worn bevel. Those are your targets.
Dry the blade fully before sharpening. Moisture and grinding sparks do not mix well, and a damp surface clouds your view of the edge. A clean blade is an honest blade.
Step 4 – Inspect the Edge and Mark the Bevel
Run your thumb gently across the flat of the blade, never along the edge. Feel for chips, dents, and flat spots where the steel has rounded over. These tell you how much metal you must remove.
Now grab your marker. Color the entire bevel with a thick line of ink. This ink becomes your guide. As you grind, it disappears exactly where the disc makes contact, showing you whether your angle is true.
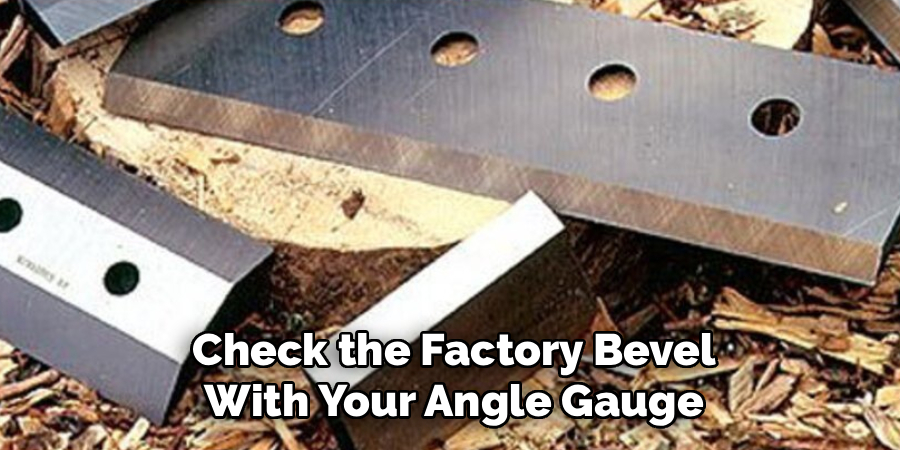
Check the factory bevel with your angle gauge. Most chipper blades sit between 30 and 45 degrees. Write that number down. Matching it precisely is the single most important detail in the whole job. Guess the angle, and you lose cutting power.
Step 5 – Set Up Your Grinding Station
Clamp the blade firmly in your bench vise with the bevel facing up and angled toward you. It should not wiggle when you push against it. A blade that shifts mid-grind ruins your edge and risks your hands.
Position a strong light over the work so the marker line stays visible. Put your safety glasses on and your gloves within reach.
Test your grinder away from the blade first. Listen to the disc spin up to a steady, even whine. Feel for vibration in the handle. A smooth tool gives you control. A wobbling one gives you scars.
Take a breath. Plant your feet. You want a stable stance before metal ever meets metal.
Step 6 – Grind to the Correct Angle
Lower the disc to the bevel and let it kiss the steel lightly. Watch the marker ink vanish in a thin, even stripe. That stripe confirms your angle is matched.
Move in slow, controlled passes from one end to the other. Never linger. A bright orange glow or a blue tint on the steel means you are overheating it and ruining its temper. Dip the blade in water if you see that color creep in.
Listen as you work. A clean grind sings a steady tone. A grabbing, screeching sound means too much pressure. Knowing how to sharpen a wood chipper blade well is mostly about patience here, removing the least metal needed to bring back a crisp, unbroken edge across the full length.
Step 7 – Hone the Final Edge
The grinder builds the edge. The stone perfects it. After grinding, you will feel a thin curl of metal on the back of the blade. That is the burr, and it must go.
Lay your whetstone flat. Drag the bevel across it at the same angle, smooth and even, pulling the edge over the surface in long strokes. You will feel the burr fold and then break away.
Flip the blade. Lay it flat on the stone and make two or three light passes to clear the back. The steel should feel slick now, not toothy.
Hold it to the light. A sharp edge shows no bright line along its tip. A dull one reflects back at you. Aim for darkness.
Step 8 – Reinstall and Torque the Blades
Set the blade back into its original seat, matching the orientation you noted earlier. It should drop in flush, with no gap behind it.
Thread the bolts by hand first. This protects the threads and tells you instantly if anything is cross-threaded. Then tighten with your wrench.
Reach for the manual now. Chipper blades have a specified torque value, and it matters. Too loose, and the blade can fly free. Too tight, and you stress the bolt to the point of failure. A torque wrench takes the guesswork out.
Spin the rotor by hand once everything is snug. It should turn freely, with no scraping or catching. That clean rotation is your sign the job is done right.
Common Mistakes to Avoid
The most common mistake is changing the bevel angle. Beginners eyeball it and grind whatever feels natural. The result is a blade that no longer slices the way the engineer intended. It tears wood instead of cutting it, and the motor strains to compensate. Always match the factory angle, and use a gauge rather than your gut.
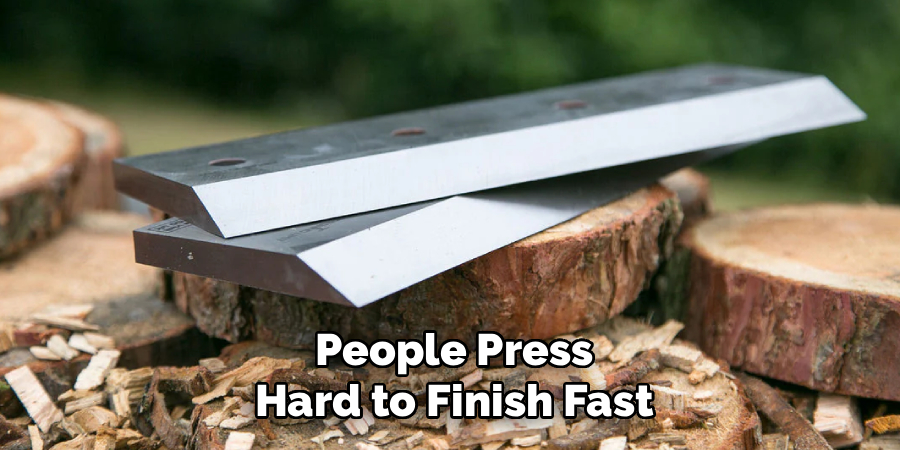
The second mistake is overheating the steel. People press hard to finish fast. The friction turns the edge blue, and that color signals lost temper. A blade with ruined temper goes dull within minutes of use. Grind in light passes and cool the metal often.
The third mistake is uneven sharpening across multiple blades. A chipper relies on balance. If one blade ends up thinner or sharper than its partner, the rotor vibrates and wears the bearings. Remove equal material from each.
The fourth mistake is skipping the burr. A grind leaves a fragile lip of metal that feels sharp but crumbles instantly. Hone it off on a stone.
The fifth mistake is reusing worn bolts. Cheap to replace, costly to ignore.
Expert Tips
A pro reads the chips, not the blade. Clean, uniform chips mean your edge is true. Stringy or torn output means you missed something, usually the angle. Let the machine tell you.
Keep a second set of blades sharpened and ready. When one set dulls in the field, you swap rather than stop. The job never waits on your grinder.
Mark each blade with a tiny dot so it always returns to the same slot. Steel wears into its seat, and consistency keeps the rotor balanced.
Sharpen little and often. A light touch-up every few hours of use beats one heavy regrind that eats away the blade’s life. The metal lasts longer. The edge stays keener. Your engine thanks you for it.
Frequently Asked Questions
How Often Should I Sharpen My Wood Chipper Blades?
It depends on use, but a good rule is to sharpen after every eight to ten hours of chipping. If you notice stringy chips, increased motor strain, or jams, sharpen sooner. Hardwoods and dirty branches dull blades faster than clean softwood. Frequent light sharpening keeps the edge keen and protects the engine far better than waiting until performance drops off completely.
Can I Sharpen Chipper Blades Without Removing Them?
You can touch up a slightly dull edge in place with a flat file, but it is not ideal. Removing the blade gives you full control over the angle, lets you clean both sides, and keeps you safe from the rotor. For anything beyond a quick refresh, take the blades out. The extra ten minutes delivers a far better, safer result.
What Angle Should a Wood Chipper Blade Be?
Most chipper blades use a bevel between 30 and 45 degrees, but the exact angle varies by brand and model. Always check your owner’s manual or measure the existing factory bevel before grinding. Matching that angle precisely is the key to clean cutting. Color the bevel with a marker and use an angle gauge so you reproduce it exactly every time.
When Should I Replace Instead of Sharpen?
Replace a blade when it has deep cracks, large chips you cannot grind out, or so little steel left that the bevel reaches the bolt holes. Repeated sharpening eventually thins the blade past its safe limit. If the metal looks fragile or warped, do not risk it. A spinning blade that breaks at speed is far more expensive than a new one.
Is It Safe to Sharpen Chipper Blades at Home?
Yes, when you respect the process. Disconnect all power, secure the rotor, and wear gloves and eye protection. Use steady, light passes on the grinder and never overheat the steel. The biggest risks come from rushing or skipping safety steps. Take your time, follow each step in order, and home sharpening is both safe and rewarding.
Conclusion
A dull blade hides its cost. A sharp one pays you back every time you start the engine. You have now seen the whole path. Disconnect the power. Remove the blades. Clean them. Match the angle. Grind light. Hone the burr. Reinstall to spec.
None of it requires a workshop full of machines. It requires patience and respect for the steel in your hands. Knowing how to sharpen a wood chipper blade turns a frustrating, jamming machine back into a tool that slices clean and runs cool.
You save the money you would have spent on new blades. You protect the motor from strain. You keep yourself safe from the jams and kickback that come with a worn edge.
So pick a quiet afternoon. Pull out your gear. Sharpen one blade from start to finish, and feel the difference the next time you feed in a branch. Will you give it an hour this week?
