
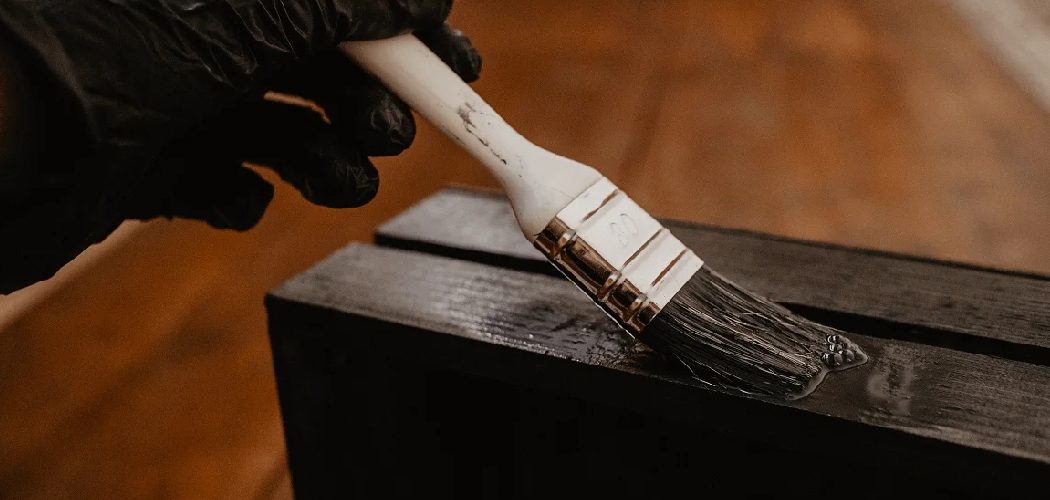
Cherry wood fools beginners. It looks easy. It is not. The grain is tight. The surface drinks stain unevenly. One careless pass and you get ugly blotches that no topcoat can hide.
That is the part nobody warns you about.
Cherry has a quiet beauty. It deepens with time. It glows under the right finish. But it punishes shortcuts. Learning how to stain cherry wood the right way means respecting how this wood behaves before you ever open a can.
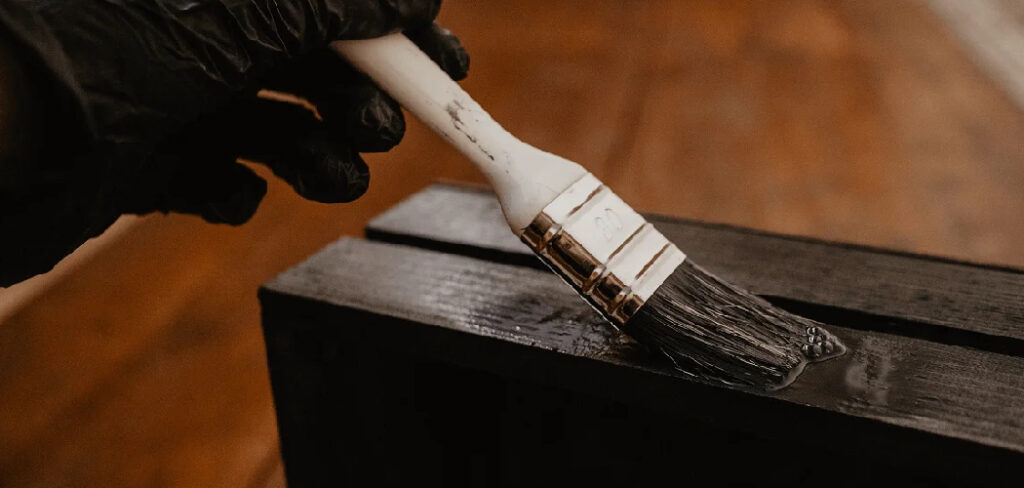
You will not need fancy gear. You will need patience, the right prep, and a steady hand. This guide walks you through every step — from raw board to rich, even color — so your first cherry project looks like the work of someone who has done it for years.
Why Staining Cherry Wood Matters
A botched stain job costs you twice. It costs you the wood. It costs you the hours you spent building.
Cherry is not cheap. A blotchy finish on an expensive board hurts more than a mistake on scrap pine. So learning to do this well protects your investment and your pride.
There is more at stake than looks. A proper stain and topcoat seal the surface. They guard against moisture, scratches, and daily wear. They extend the life of your table, cabinet, or shelf by years.
And confidence matters too. Stain cherry well once, and you stop fearing premium hardwoods. You start choosing them. You build better. You finish smarter. That single skill changes what you are willing to attempt next.
Tools and Materials You’ll Need
Gather everything before you start. Stopping mid-job to hunt for a tool leads to dried edges and lap marks.
- Sandpaper in 120, 180, and 220 grit
- An orbital sander or sanding block
- A wood pre-conditioner (gel or liquid)
- Oil-based stain in your chosen cherry tone
- Clean, lint-free rags or staining pads
- A natural-bristle brush or foam applicator
- Tack cloth for dust removal
- Nitrile gloves
- A clear protective topcoat (polyurethane or wipe-on poly)
- A drop cloth or scrap cardboard to protect your work surface
- A small artist’s brush for tight corners (optional, but a real time-saver on detailed pieces)
Quality tools matter less than clean ones. A dirty rag or dusty surface ruins good stain every time.
Step-by-Step Guide on How to Stain Cherry Wood
Step 1 – Inspect and Prepare Your Workspace
Start with light and air. Find a space with good ventilation and steady light. You need to see color changes clearly, and you need fumes to escape.
Lay down your drop cloth. Set your boards on raised supports so air reaches every side.
Run your hand across the wood. Feel for rough patches, dried glue, or pencil marks. These spots block stain and show up later as pale streaks.
Knowing how to stain cherry wood begins long before the stain. It begins with a clean, flat, well-lit surface you can work without rushing.
Check the temperature too. Stain behaves best between 65 and 75°F. Too cold and it sits gummy. Too hot and it dries before you can wipe it.
Step 2 – Sand the Surface in Stages
Sanding is not one step. It is three.
Start with 120 grit to knock down rough fibers and old marks. Move with the grain, never across it. Cross-grain scratches show up dark under stain like scars.
Then move to 180 grit. The surface should start to feel smooth and cool under your fingertips.
Finish with 220 grit. Do not go higher. Cherry has tight pores, and over-sanding burnishes the surface so smooth it stops absorbing stain.
Listen as you work. A consistent, soft hiss means even pressure. A scraping or skipping sound means you are pressing too hard.
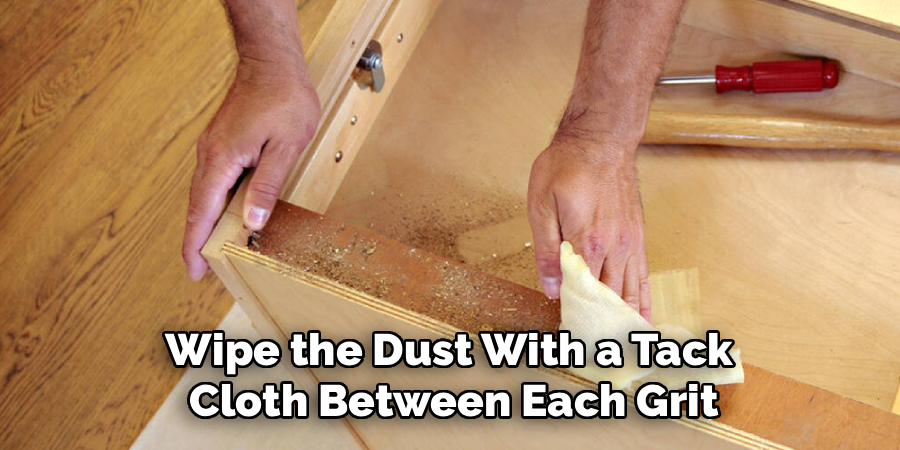
Wipe the dust with a tack cloth between each grit.
Step 3 – Apply a Pre-Conditioner
This is the step beginners skip. Then they wonder why their cherry looks splotchy.
Cherry is blotch-prone. Its uneven density makes some areas soak up stain fast while others barely take it. A pre-conditioner evens the playing field.
Brush or wipe a thin, even coat across the entire surface. Watch it sink into the wood pores. The grain will pop slightly and the surface will darken for a moment.
Let it sit for the time on the can — usually 5 to 15 minutes. Then wipe off the excess with a clean rag.
This is the secret behind mastering how to stain cherry wood without ugly dark patches. Do not stain over a dry conditioner that has cured past its window.
Step 4 – Stir and Test Your Stain
Never shake a can of stain. Shaking traps air bubbles that leave a pocked finish.
Stir instead. Slow and full. Reach the bottom where the heavy pigment settles. A well-stirred can looks uniform in color, with no thick sludge clinging to your stir stick.
Now test. Always test. Use a hidden scrap from the same board or an underside edge.
Apply your stain. Wait. Wipe. Check the color in your work light.
Cherry darkens naturally over weeks from light exposure. So aim for a tone slightly lighter than your goal. The wood will catch up on its own. Adjust your wipe timing here, not on the final piece.
Step 5 – Apply the First Coat of Stain
Now the part you have been waiting for.
Load your rag or brush with stain. Not dripping — just wet. Work in sections you can finish before the edge dries.
Move with the grain. Always with the grain. Apply a generous, even layer and watch it darken the wood pores as it settles in.
Keep a wet edge. Overlap each stroke into the last so you avoid lap marks — those darker bands where two dried sections meet.
Cover the whole surface. Then pause. Let the stain sit for two to five minutes so the pigment grabs hold.
The surface should look glossy and saturated, not dry or patchy.
Step 6 – Wipe Off the Excess
Timing here decides everything.
Take a clean, dry rag. Wipe in the direction of the grain. Firm, steady strokes. Lift away every bit of stain that did not soak in.
Leftover stain does not dry properly. It stays tacky for days. It clouds your topcoat. It feels sticky under your fingers weeks later.
Keep rotating to a clean part of the rag. A saturated rag just smears pigment back onto the wood.
The surface should feel slightly damp but not wet. The color should look even across the whole piece, with the wood grain showing through clearly.
Lay your used rags flat outside to dry. Oil-soaked rags can self-ignite when bunched up.
Step 7 – Let It Dry and Add a Second Coat
Patience pays here.
Let the first coat dry fully. Check the can, but oil-based stain usually needs 8 to 24 hours. Rushing this traps moisture and ruins everything above it.
Touch the surface. It should feel dry and smooth, never tacky or cool-damp.
Want deeper color? Apply a second coat the same way. Wet it on, let it sit, wipe it off. Cherry takes color richly, so one extra coat often adds real depth.
Between coats, scuff lightly with 320 grit if the surface feels rough. Wipe clean with a tack cloth.
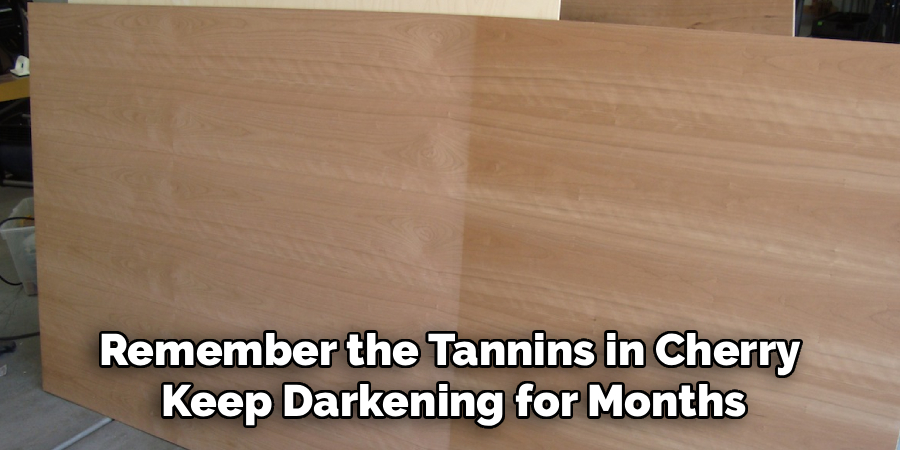
Stop when the color satisfies you. Remember the tannins in cherry keep darkening for months, so resist the urge to over-stain.
Step 8 – Seal With a Protective Topcoat
Stain colors the wood. It does not protect it. That job belongs to the topcoat.
Choose polyurethane for high-wear surfaces like tabletops. Choose wipe-on poly for an easier, thinner application on smaller pieces.
Stir, never shake. Apply a thin, even coat with a clean brush or pad, moving with the grain. A thin coat dries clear and hard. A thick coat traps bubbles and stays soft.
Let it cure. Sand lightly with 320 grit between coats. Two to three coats give lasting protection.
Run your hand over the cured surface. It should feel glass-smooth and slick. That smoothness tells you the cherry wood finishing is done right and built to last.
Common Mistakes to Avoid
The biggest mistake is skipping the pre-conditioner. People hear “extra step” and decide cherry will be fine without it. It will not. Cherry’s uneven density grabs stain in dark blotches wherever you least want them. That single skipped step is the number one reason beginner cherry projects look amateur.
Over-sanding causes its own trouble. When you sand past 220 grit, you burnish the surface so smooth that stain can no longer sink into the wood pores. The result looks pale and patchy no matter how much stain you apply. Stop at 220 and let the wood breathe.
Then there is impatience. You wipe the stain off too soon, or you rush the drying time between coats. Both leave you with a tacky, uneven finish that never fully hardens. Cherry rewards waiting.
Many beginners also chase a dark color too aggressively. They forget that cherry deepens on its own for months as it reacts to light and air. Stain too dark today and you end up with a muddy, lifeless piece by next season. Aim slightly lighter than your target.
Finally, never skip the topcoat. Stain alone offers almost no protection.
Expert Tips
Pros wet the wood first. Lightly dampen the surface with a wet rag before your final sanding pass. This raises the grain. Sand it back smooth, and your stain absorbs more evenly. It is a small trick with a big payoff.
Pros also keep a “color log.” Note your stain brand, coat count, and wipe times for each project. Cherry shifts over months, and your notes let you match a repair or addition years later.
Watch the light. Cherry’s color responds to sunlight more than almost any other hardwood. Place a finished piece in indirect light for a few weeks and watch it richen. Plan your final tone around that natural deepening, not against it.
And always finish all sides. Sealing only the top invites warping.
Frequently Asked Questions
Do You Have to Use a Pre-Conditioner on Cherry Wood?
You should, almost always. Cherry is one of the most blotch-prone hardwoods because its density varies across the board. A pre-conditioner partially fills the wood pores so stain absorbs evenly instead of pooling in soft spots. Skipping it is the top cause of patchy, amateur-looking results. The few extra minutes save you hours of frustration and a ruined surface.
What Is the Best Stain for Cherry Wood?
Oil-based stains work best on cherry. They penetrate slowly and evenly, giving you more time to control the color and avoid lap marks. Gel stains are another strong option, since they sit on top and resist blotching well. Avoid fast-drying water-based stains for your first project — they grab unevenly on cherry and leave little room to fix mistakes.
Why Does My Cherry Wood Look Blotchy After Staining?
Blotching usually means you skipped the pre-conditioner or over-sanded the surface. Cherry’s uneven density makes some areas soak up stain fast while others resist it. Burnishing the wood past 220 grit makes this worse by sealing the pores. Next time, condition first and stop sanding at 220. For a current blotchy piece, lightly sanding back and re-conditioning can sometimes rescue it.
How Long Does Stained Cherry Take to Dry?
Oil-based stain typically needs 8 to 24 hours to dry before a second coat or topcoat. Temperature and humidity affect this. In a cool or damp space, give it the full day or longer. The surface should feel dry and smooth, never tacky or cool to the touch. Rushing this step traps moisture and ruins any finish you apply over it.
Will Cherry Wood Darken Over Time?
Yes, significantly. Cherry contains natural compounds that react to light and air, deepening the color over weeks and months. A freshly stained piece will look noticeably richer in a season or two. This is why experienced finishers aim for a tone slightly lighter than their goal. Let the wood do part of the work, and you avoid ending up with an overly dark, muddy finish.
Conclusion
Cherry is not a forgiving wood. It rewards preparation and punishes shortcuts. But once you understand how it behaves, the process becomes simple and deeply satisfying.
Remember the order. Sand in stages. Condition first. Stir, never shake. Test before you commit. Apply with the grain, wipe on time, and let each coat dry fully. Then seal it and walk away while the topcoat cures.
That is the whole rhythm of how to stain cherry wood — patience at every step, respect for the grain, and trust that the color will deepen on its own.
Your first cherry project will teach you more than any single board of pine ever could. Take it slow. Watch the wood. Let the finish build in layers.
You have the steps now. You have the warnings. You have the small pro tricks that separate a clean finish from a blotchy one.
So pick a small piece this week. Practice the prep. Stain one board start to finish. Will you?
