
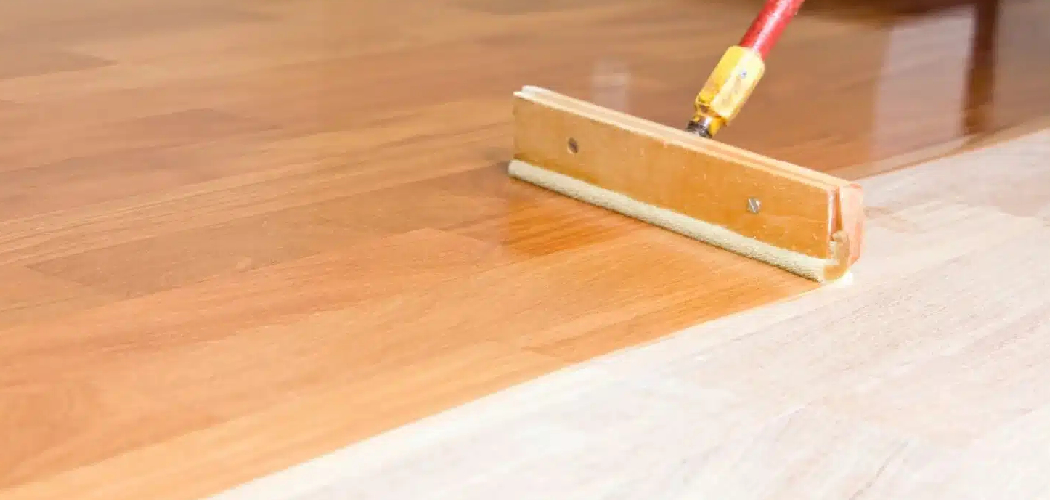
Your wood floor is exposed. Every day. To spills, dust, foot traffic, and the slow grind of time. That sounds harsh, but it’s true. A bare or worn floor soaks up moisture, scratches easily, and dulls fast. Sealing changes that. Learning how to seal a wood floor gives your hardwood a protective shield that locks out water, blocks stains, and brings out the grain you fell in love with.
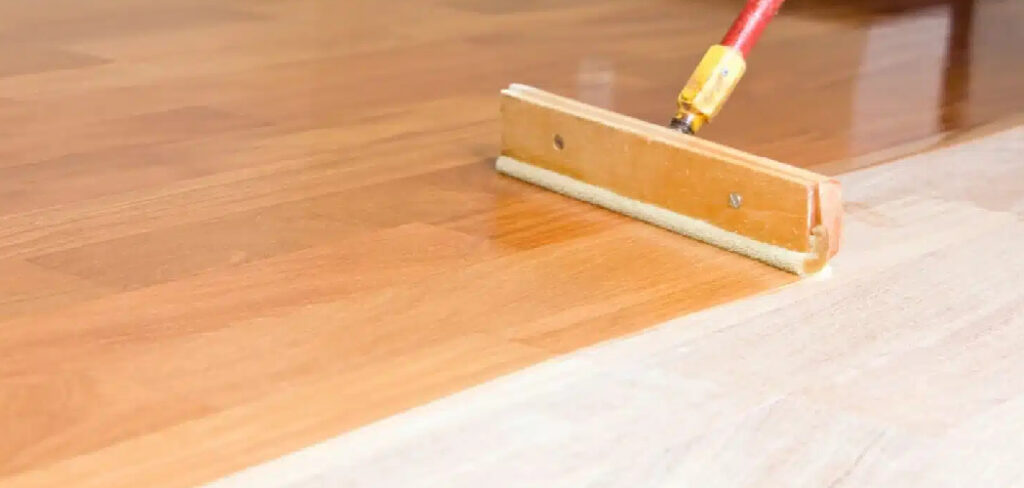
You don’t need a contractor. You don’t need years of skill. You need patience, the right materials, and a clear plan. This guide walks you through every step — from prepping the surface to laying that final smooth coat — so you can protect your floor with confidence and do it right the first time.
Why Sealing Your Wood Floor Matters
A sealed floor lasts. A bare floor wears out. The difference comes down to one thing: protection.
When you seal your hardwood floor, you stop moisture from creeping into the wood. You stop scratches from digging deep. You stop everyday dirt from staining the grain. For a DIY beginner, this skill saves real money. Hiring a pro to refinish a floor can cost thousands. Doing it yourself costs a fraction of that.
It builds confidence too. Once you finish one room, you’ll trust your own hands with the next project. And you’ll avoid the costly mistakes that come from neglect — warped boards, gray water marks, and floors that need full replacement years too soon. Sealing extends the life of your floor by decades. That’s a return worth the weekend.
Tools and Materials You’ll Need
Before you start, gather everything in one place. Stopping halfway to find a tool ruins your rhythm and your finish.
- Floor sander or orbital sander (rented or owned)
- Sandpaper in coarse, medium, and fine grits (40, 80, 120)
- Vacuum with a brush attachment
- Tack cloths or microfiber cloths
- Wood floor sealer (water-based or oil-based finish)
- High-quality polyurethane for the topcoat
- Lambswool applicator or a wide synthetic brush
- Paint tray and stir sticks
- Painter’s tape
- Knee pads
- Respirator mask and safety glasses
- A buffer or pole sander for between coats (optional, but it makes leveling coats far easier)
Choose your sealer based on your wood and your home. Water-based sealer dries fast and stays clear. Oil-based finish adds warmth but takes longer to cure.
Step-by-Step Guide on How to Seal a Wood Floor
Step 1 – Clear and Prepare the Room
Start with an empty room. Move out every piece of furniture, every rug, every loose object. You need clean, open floor from wall to wall.
Now look closely. Run your hand across the boards. Feel for raised nails, splinters, or lifted edges. Hammer down any nail that sits proud of the surface. A protruding nail will tear your sandpaper and gouge your applicator later.
Sweep the entire floor. Then vacuum. Then vacuum again. Dust hides in corners and along baseboards, waiting to ruin a fresh coat.
This is the foundation of how to seal a wood floor properly. Skip the prep, and every flaw you ignore now will show through later. Take your time here. A clean start saves you hours.
Step 2 – Sand the Floor Smooth
Sanding strips away old finish and levels the surface. Start with coarse 40-grit paper. Move the sander with the grain, never against it. Going against the grain leaves swirl marks you’ll regret.
Listen as you work. A steady, even hum means the sander is gliding right. A grinding, catching sound means you’re pressing too hard or hit debris.
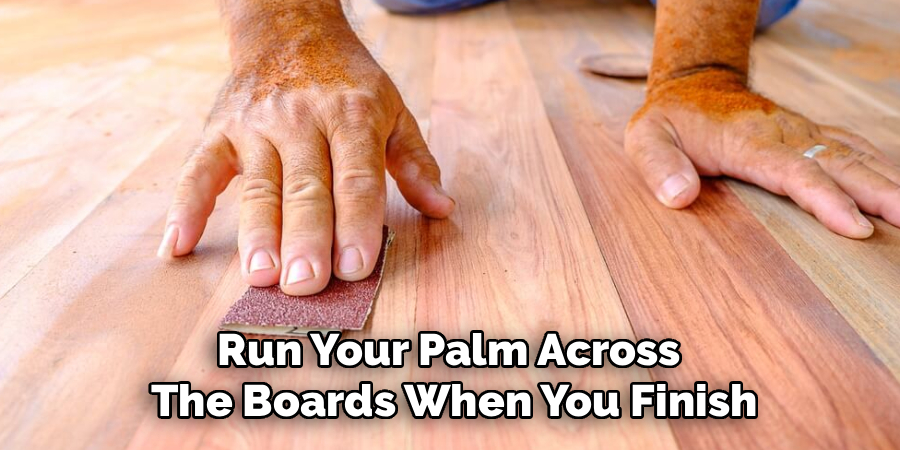
Make slow, overlapping passes. Don’t rush. Then switch to 80-grit, and finally 120-grit for a glass-smooth feel.
Run your palm across the boards when you finish. They should feel uniform and soft — no rough patches, no ridges. The wood will look pale and raw, almost matte. That bare, open grain is exactly what you want before sealing.
Step 3 – Vacuum and Tack the Surface
Sanding creates a storm of fine dust. It settles everywhere. On the floor, the walls, the windowsills. You have to remove all of it.
Vacuum the entire floor slowly, using the brush attachment to lift dust from between boards. Then vacuum the walls and trim. Dust falls back down if you leave it up high.
Now take a tack cloth or a slightly damp microfiber cloth. Wipe the floor in long, steady strokes. The cloth picks up the last clinging particles your vacuum missed.
Hold a flashlight low across the surface. Dust shows up as a faint haze in the beam. If you see it, wipe again. A truly clean floor feels almost silky and looks evenly dull.
Step 4 – Test Your Sealer First
Never seal the whole floor without testing. Wood reacts differently to different finishes.
Pick a hidden corner — inside a closet or under where furniture sits. Brush on a small patch of your floor sealer. Watch how it soaks in. Watch the color shift.
Oil-based finish deepens the wood to a rich amber. Water-based sealer keeps it light and natural. Let your test patch dry fully before you judge it.
This small step protects you from a huge mistake. Imagine sealing an entire room only to hate the color. That’s a costly do-over.
If you like the look and the wood feels smooth once dry, you’re ready. If not, adjust your product or your sanding before committing to the full floor.
Step 5 – Apply the First Coat of Sealer
Pour your sealer into the tray. Stir it gently — never shake it, since shaking creates bubbles that dry into tiny craters.
Start in the corner farthest from the door. You don’t want to seal yourself in. Dip your lambswool applicator and spread the sealer in thin, even strokes along the grain.
Keep a wet edge. That means you always overlap the section you just coated before it dries. Stopping mid-board leaves visible lap lines.
Work steadily across the room. The fresh sealer looks glossy and wet, smoothing into the grain. You’ll smell the finish — sharper with oil-based, milder with water-based. Open windows for airflow.
This first coat is the heart of how to seal a wood floor that lasts.
Step 6 – Let It Dry, Then Buff
Patience pays off here. Drying time depends on your product. Water-based sealer often dries in two to four hours. Oil-based finish can need eight to twenty-four. Check the can and don’t rush it.
Touch a hidden edge with a light fingertip. Tacky means wait longer. Dry and firm means you’re ready.
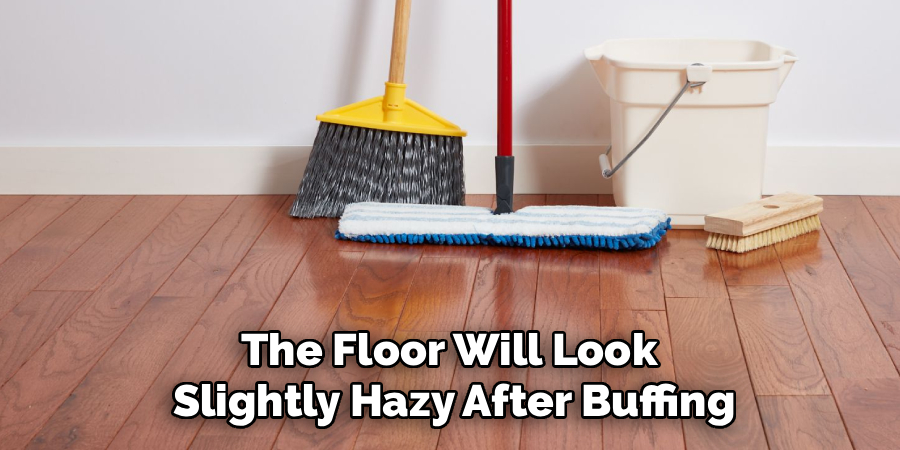
Now buff the surface. Use fine 220-grit paper or a buffing pad on a pole sander. Move with the grain, using light pressure. You’re not removing the coat — you’re scuffing it so the next coat grips.
The floor will look slightly hazy after buffing. That’s normal. Vacuum and tack again to clear the fine dust before your next layer.
Step 7 – Apply the Topcoat of Polyurethane
The topcoat seals everything in. Polyurethane gives your floor its durable, protective shell.
Stir your polyurethane slowly. Load your applicator and spread it the same way you did the sealer — thin, even, with the grain, keeping a wet edge.
Resist the urge to lay it on thick. A heavy coat sags, drips, and dries unevenly. Two thin coats always beat one thick one.
As it goes down, the finish looks smooth and reflective. Watch for puddles or streaks and feather them out fast before they set.
Let this coat dry fully. For high-traffic floors, add a second topcoat after another light buff. Each layer adds toughness and depth to the finish.
Step 8 – Cure and Reassemble
Drying is not the same as curing. Your floor may feel dry in hours, but the finish keeps hardening for days.
Wait at least twenty-four hours before walking on it in socks. Wait a full week before moving heavy furniture back. Rushing this step leaves dents and scuffs in a finish that hasn’t fully toughened.
Keep the room ventilated as it cures. The smell fades as the finish sets.
When you do move furniture back, lift it — never drag. Add felt pads under every leg to protect your fresh surface.
Step back and look. A well-sealed floor glows with an even sheen, feels smooth underfoot, and shows off the grain. That’s your work, done right.
Common Mistakes to Avoid
The biggest mistake beginners make is skipping the prep. They want to get to the fun part — the sealing — and rush through cleaning. But every speck of dust trapped under the finish becomes a permanent bump. Clean obsessively. Vacuum, tack, then check with a flashlight.
The second mistake is applying coats too thick. It feels efficient. It isn’t. Thick coats trap solvent, dry unevenly, and leave a gummy, wrinkled surface that never fully hardens. Thin coats dry clean and bond tightly. Always choose more thin layers over fewer fat ones.
Another common error is sanding against the grain. Those swirl marks vanish under raw wood but jump out the second sealer hits them. Always follow the direction of the boards.
People also ignore drying time. They touch, walk, or recoat too soon. A tacky floor smears under pressure and ruins hours of work. Read the can, then wait longer than you think you need.
Finally, many forget ventilation. Fumes build up fast in a closed room, especially with oil-based finish. Open windows. Wear your mask. Protect your lungs as carefully as you protect the wood.
Expert Tips
Climate controls your finish more than any tool. Seal on a dry, mild day. High humidity slows drying and can cloud water-based sealer. Heat dries the surface too fast and leaves brush marks. Aim for a steady room temperature around 65 to 75 degrees.
Keep a wet edge at all costs. Pros never stop mid-section. Plan your path before you dip the applicator, working toward the exit door.
Strain your sealer through a paint filter before the final coat. It catches stray grit and dried bits that would otherwise mar your finish.
And clean your applicator between coats, or use a fresh one. A stiff, gummy applicator drags and streaks. A clean one glides. That small detail separates an amateur finish from a flawless one.
Frequently Asked Questions
How Long Does It Take to Seal a Wood Floor?
Plan for two to three days for an average room. Sanding and prep take a few hours. Each coat needs drying time before the next — anywhere from two hours for water-based sealer to twenty-four for oil-based finish. Add full curing time of up to a week before heavy furniture returns. Rushing any stage hurts the result, so build in patience.
Should I Use Water-Based or Oil-Based Sealer?
It depends on your goal. Water-based sealer dries fast, stays clear, and has a lower odor — great for quick jobs and lighter woods. Oil-based finish dries slower but adds a warm, amber glow and extra durability. For high-traffic areas, oil-based offers toughness. For speed and a natural look, water-based wins. Test both on a hidden patch first.
Can I Seal a Wood Floor Without Sanding?
Sometimes, yes. If your floor is in good shape with no peeling finish, you can lightly buff and clean it, then apply a fresh coat. This is called a screen-and-recoat. But if the old finish is worn, scratched, or flaking, full sanding gives you the only reliable bond. When in doubt, sand for lasting results.
How Many Coats of Sealer Do I Need?
Most floors need one coat of sealer and two coats of polyurethane topcoat. High-traffic rooms like hallways and kitchens benefit from an extra topcoat for added protection. Always apply thin coats and buff lightly between them. Thin, layered coats bond better and last far longer than one heavy application that dries unevenly.
When Can I Walk on My Newly Sealed Floor?
Wait at least twenty-four hours before light foot traffic in socks. Avoid shoes for a few days. Hold off on rugs and heavy furniture for a full week, since the finish keeps curing long after it feels dry. Walking too soon leaves prints and scuffs in a finish that hasn’t fully hardened. Patience protects your work.
Conclusion
A sealed floor protects itself. A bare floor cannot.
You now know how to seal a wood floor from start to finish — clear the room, sand smooth, clean obsessively, test your sealer, lay thin even coats, and give it time to cure. None of these steps are hard. All of them matter.
The tools won’t do the work for you. The product won’t fix a rushed job. But your patience will. Your attention will. Your steady hand will turn a worn, tired floor into a surface that glows for years.
You don’t need to be a pro. You need to follow the plan and respect the process. Do that, and you’ll save money, build real skill, and protect an investment that runs through the whole house.
So pick your room. Gather your tools. Start with one weekend and one floor.
Will you give your floor the protection it deserves?
