
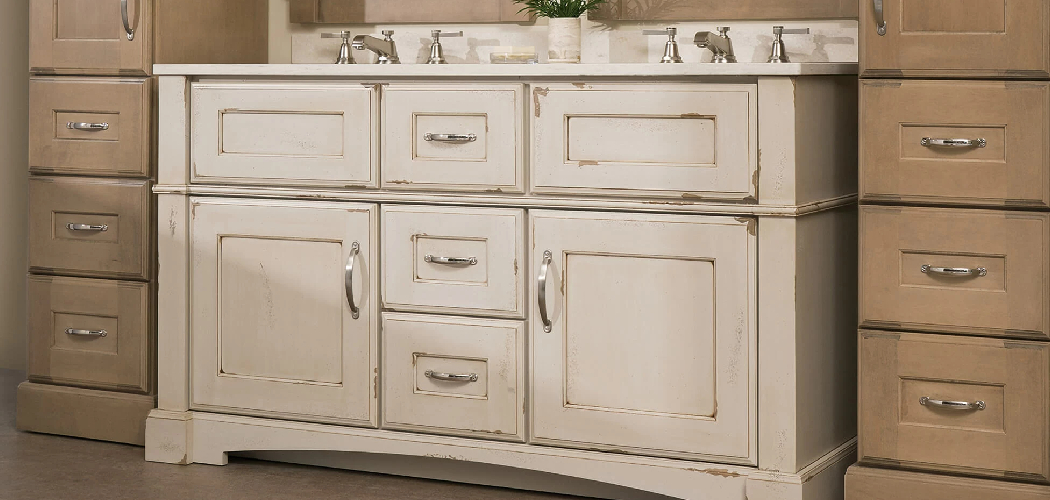
White wood furniture looks crisp and bright—until it doesn’t. Grease settles into corners. Hands leave gray smudges along edges. Sunlight turns once-bright surfaces a dull yellow. If your white dresser or dining table has lost its glow, you don’t need to repaint or replace it. You need the right method.
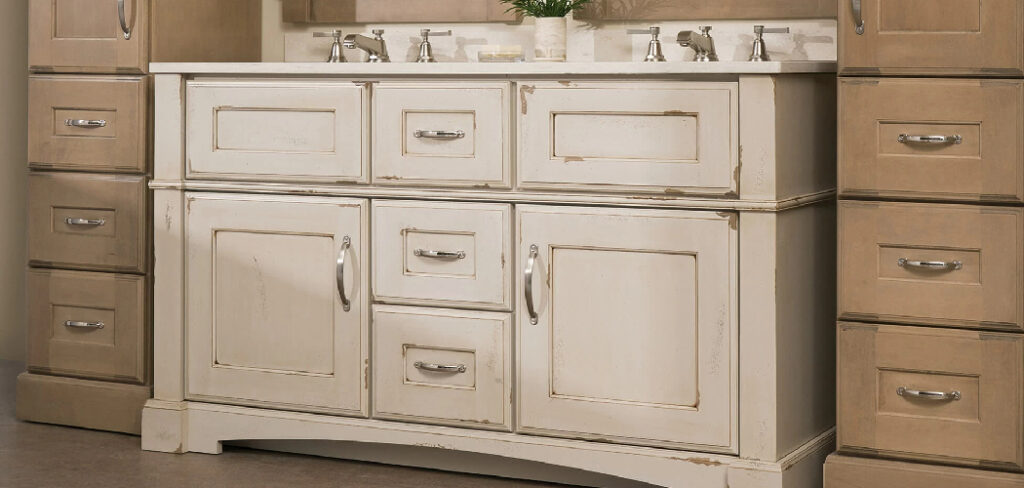
Knowing how to clean white wood furniture protects your investment and keeps every piece looking sharp for years. The process is simpler than most people think. You just need to match the technique to the finish and avoid the cleaners that do more harm than good.
This guide walks you through every step, from gathering supplies to tackling stubborn stains, so you can restore your furniture’s bright finish with confidence.
Why Cleaning White Wood Furniture Matters
Dirty white furniture shows every flaw. Grime, fingerprints, and yellowing stand out far more on white than on darker wood. Left alone, that buildup hardens, sinks into the finish, and becomes nearly impossible to remove.
Regular cleaning saves you money. A well-maintained piece lasts decades. A neglected one needs sanding, repainting, or full replacement—projects that cost time and cash you’d rather keep.
You also avoid costly mistakes. Beginners often grab bleach or harsh sprays, then watch the paint blister or discolor. Learning the correct approach the first time spares you that damage.
Clean furniture simply works better, too. A smooth, sealed surface resists future stains and wipes clean in seconds. Master this skill and you protect every white-painted piece you own.
Tools and Materials You’ll Need
Gather your supplies before you start. The right kit makes the job faster and prevents damage to delicate finishes.
- Two soft microfiber cloths — one for cleaning, one for drying
- Mild dish soap — gentle enough for painted and lacquered surfaces
- White vinegar — cuts grease and lifts light stains
- Baking soda — a mild abrasive for stubborn spots
- A small bucket of warm water — your base for every cleaning solution
- A soft-bristle toothbrush — reaches grooves, carvings, and corners
- Cotton swabs — for tight detail work
- Furniture wax or polish — restores shine and adds a protective layer
- Rubber gloves — keep your hands dry and protected
- A vacuum with a brush attachment (optional) — clears loose dust before wet cleaning
Stick with soft, non-abrasive tools. Anything rough scratches paint and dulls white lacquer fast.
Step-by-Step Guide on How to Clean White Wood Furniture
Follow these steps in order. Each one builds on the last, and skipping ahead often leads to streaks or water damage.
Step 1 – Clear and Inspect the Surface
Start by removing everything from the furniture. Take off lamps, books, decor, and drawer contents. You want a clean, open surface to work on.
Now look closely. Run your fingertips across the top. Feel for sticky patches, rough spots, or built-up grime. Notice where the white has yellowed or where gray smudges cluster around handles.
Check the finish, too. Painted white furniture feels matte or satin. White lacquer feels glassy and smooth. This tells you how gentle you need to be. Lacquer scratches easily, so you’ll use a lighter touch there.
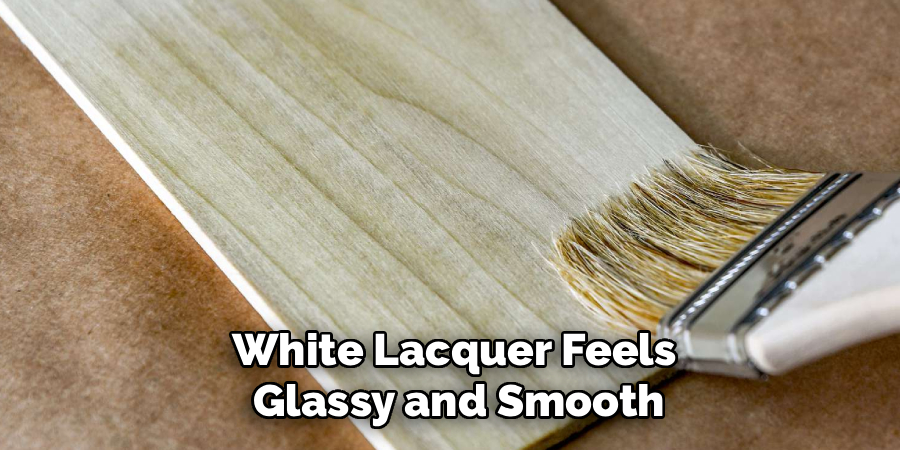
Spotting these details now saves you frustration later. You’ll know exactly which areas need extra attention before you reach for water.
Step 2 – Dust and Vacuum Loose Debris
Never wipe a dusty surface with a wet cloth. Dust mixed with water turns into a gritty paste that smears across the paint and can leave fine scratches.
Take a dry microfiber cloth and wipe the entire piece. Work from top to bottom so falling dust lands on areas you haven’t cleaned yet. You’ll hear the soft drag of the cloth catching particles.
For carved details, grooves, and corners, switch to your vacuum’s brush attachment. It pulls dust from spots a cloth can’t reach. If you don’t have one, a dry toothbrush works well.
When you’re done, the surface should feel smooth and look evenly white—no visible film of dust. This clean base is essential before any liquid touches the wood.
Step 3 – Mix a Gentle Cleaning Solution
Knowing how to clean white wood furniture starts with the right solution. Harsh chemicals strip paint and yellow the finish, so keep it mild.
Fill your bucket with warm water. Add a few drops of mild dish soap and swirl until you see light suds. That’s it. Soap and water handle most everyday dirt without risk.
For greasy buildup near handles or kitchen surfaces, mix equal parts white vinegar and warm water in a separate container. Vinegar cuts grease and lifts light yellowing without bleaching the paint.
Test your solution first. Dab a hidden spot—the back corner or underside—and wait a minute. If the paint stays firm and the color holds, you’re good to clean the whole piece.
Step 4 – Wipe Down the Surface
Dip a microfiber cloth into your soapy water. Wring it out hard. The cloth should feel damp, not dripping. Excess water seeps into seams and swells the wood underneath.
Wipe in long, even strokes, following the grain or the panel lines. You’ll feel the dirt release as the cloth glides smoother across each pass. Rinse the cloth often and re-wring it so you’re never spreading grime back onto clean areas.
Watch for the white brightening as you go. That visible lift means the dirt is coming off. If streaks appear, your cloth is too wet or too dirty—rinse it and try again.
Cover the whole piece this way, including legs and lower panels where dust settles unnoticed.
Step 5 – Tackle Stubborn Stains and Yellowing
Some marks won’t budge with soap alone. For grease stains on white wood or set-in grime, make a paste of baking soda and a little water. It should feel thick, like toothpaste.
Apply the paste to the stain with your finger or a cotton swab. Let it sit for a few minutes. The baking soda gently lifts the stain without scratching the finish.
Wipe it away with a damp cloth and check your progress. For yellowed areas, the vinegar-and-water mix often brightens the surface after a second pass.
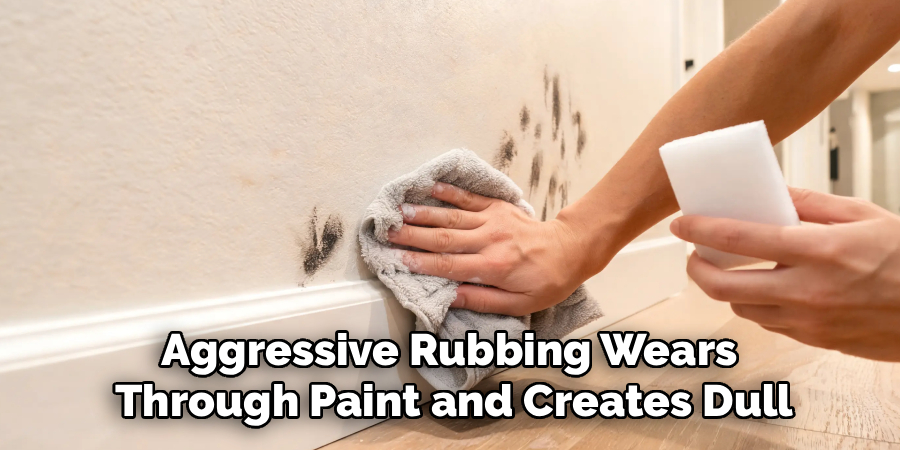
Work slowly and avoid scrubbing hard. Aggressive rubbing wears through paint and creates dull, shiny patches. Light, patient pressure restores the white far more safely.
Step 6 – Clean the Details and Hardware
The corners, carvings, and hardware collect the most grime. They also get overlooked.
Dip your soft toothbrush in soapy water and gently scrub grooves, edges, and decorative trim. You’ll feel the bristles dislodge buildup the cloth missed. Use cotton swabs for the tightest spots around hinges and handles.
If the hardware is removable, take it off and clean it separately. Knobs and pulls often hide a ring of dark grime where fingers touch them daily. A quick wipe restores their shine and makes the whole piece look newer.
Move carefully around lacquer surfaces here—too much pressure in a tight corner can chip the finish. When the details gleam as bright as the flat surfaces, you’ve done it right.
Step 7 – Dry Thoroughly
Water is the enemy of white wood. Left to air-dry, it leaves streaks, spots, and—worst of all—seeps into the finish and causes warping or lifting.
Take your second, dry microfiber cloth and wipe the entire piece. Follow the same direction you cleaned in. The surface should feel completely dry to the touch, not cool or tacky.
Pay special attention to seams, corners, and the base of legs where water pools. Press the cloth into these areas to absorb every drop.
You’ll know it’s dry when the white looks uniform and matte, with no shiny wet patches. Open any drawers and dry their edges too. Skip this step and you’ll undo all your hard work with water rings.
Step 8 – Polish and Protect
Now seal in your results. A coat of furniture wax or polish adds shine and creates a protective barrier against future stains and fingerprints.
Apply a small amount to a clean cloth. Rub it into the surface using small circular motions. You’ll feel the cloth glide more easily as the wax spreads. Use it sparingly—too much leaves a greasy haze.
Let it sit for the time listed on the product, then buff with a dry cloth until the surface shines evenly. You’ll hear a soft squeak as the cloth catches the polished finish.
This final layer keeps your white-painted furniture looking fresh longer and makes the next cleaning far easier. Now you understand how to clean white wood furniture from start to finish.
Common Mistakes to Avoid
The fastest way to ruin white furniture is reaching for bleach or harsh chemical sprays. People assume bleach whitens everything, but on painted wood it does the opposite. It eats through the finish, yellows the paint, and leaves blotchy patches you can’t reverse. Stick with mild soap and vinegar instead.
Using too much water is another common error. A soaking-wet cloth pushes moisture into seams and under the paint. The wood swells, the finish lifts, and you’re left with bubbling and warping. Always wring your cloth until it’s barely damp, and dry the surface right after.
Many beginners also scrub too hard on stains. Aggressive rubbing wears through the paint layer and creates shiny, worn spots that stand out against the matte finish. Patience and a gentle baking soda paste work far better than force.
Skipping the drying step causes water rings and streaks that appear hours later. Don’t let furniture air-dry.
Finally, never use abrasive pads or rough cloths. They scratch white lacquer and dull painted surfaces instantly. Soft microfiber is the only safe choice.
Expert Tips
A few pro habits make a real difference. Always clean in a single direction following the wood grain or panel lines. Circular wiping traps dirt in tiny swirls that show up under direct light.
Address yellowing early. Sunlight and oxidation slowly turn white finishes cream-colored. A monthly vinegar wipe slows this process and keeps the white bright far longer than waiting until it’s obvious.
For deep yellowing on white lacquer, a paste of baking soda and hydrogen peroxide can lift discoloration—but always test a hidden spot first. It’s a stronger fix that pros use carefully.
Keep furniture out of direct sun when you can. Position pieces away from windows, or use sheer curtains to filter harsh light. Prevention beats restoration every time, and it protects your finish for years.
Frequently Asked Questions
Can I use bleach to whiten yellowed white furniture?
No. Bleach damages painted and lacquered wood. It eats through the finish, causes uneven blotches, and often deepens the yellowing instead of fixing it. For yellowed surfaces, use a vinegar-and-water solution or a baking soda paste. These lift discoloration gently without harming the paint. Always test any cleaner on a hidden area before treating the whole piece.
How often should I clean white wood furniture?
Wipe it down weekly with a dry cloth to control dust, and do a deeper soapy clean once a month. High-touch pieces like dining tables or kids’ dressers may need cleaning more often. Regular light maintenance prevents grime from hardening into stains, which makes each cleaning faster and protects the finish far better than occasional deep scrubs.
What removes grease stains from white wood?
A baking soda paste works best. Mix baking soda with a little water until thick, apply it to the grease stain, and let it sit a few minutes. Wipe it away with a damp cloth. For lighter grease near kitchen surfaces, an equal mix of white vinegar and warm water cuts through it. Avoid harsh degreasers—they strip paint.
Will cleaning damage white lacquer furniture?
Not if you’re gentle. White lacquer scratches easily, so use only soft microfiber cloths and mild soap. Skip abrasive pads, baking soda scrubbing, and rough brushes on lacquer. Wipe lightly, dry immediately, and finish with a furniture polish made for lacquer. Test any solution on a hidden spot first to confirm it won’t dull or cloud the glossy surface.
Do I need to wax white furniture after cleaning?
Waxing isn’t required, but it helps. A thin coat of furniture wax or polish seals the surface, adds shine, and creates a barrier against fingerprints and future stains. It also makes your next cleaning easier. Apply it sparingly with a clean cloth and buff well. For high-use pieces, reapply every few months to keep the protective layer intact.
Conclusion
White wood furniture earns its place in any room—but only when it stays bright and clean. The good news is that keeping it that way takes simple tools and a little patience.
Start by dusting and inspecting the surface. Mix a mild soap or vinegar solution, wipe gently along the grain, and treat stubborn stains with a baking soda paste. Clean the details, dry every drop of moisture, then seal your work with a coat of polish. That’s the full process, start to finish.
Avoid the common traps—bleach, too much water, and hard scrubbing—and your furniture will reward you with years of crisp, bright color. Address yellowing early and keep pieces out of direct sun to protect the finish even longer.
You now know how to clean white wood furniture the right way. Grab your microfiber cloths, mix your solution, and bring that fresh, bright look back to every piece in your home. Your furniture will look newer—and last far longer—for the effort.
