
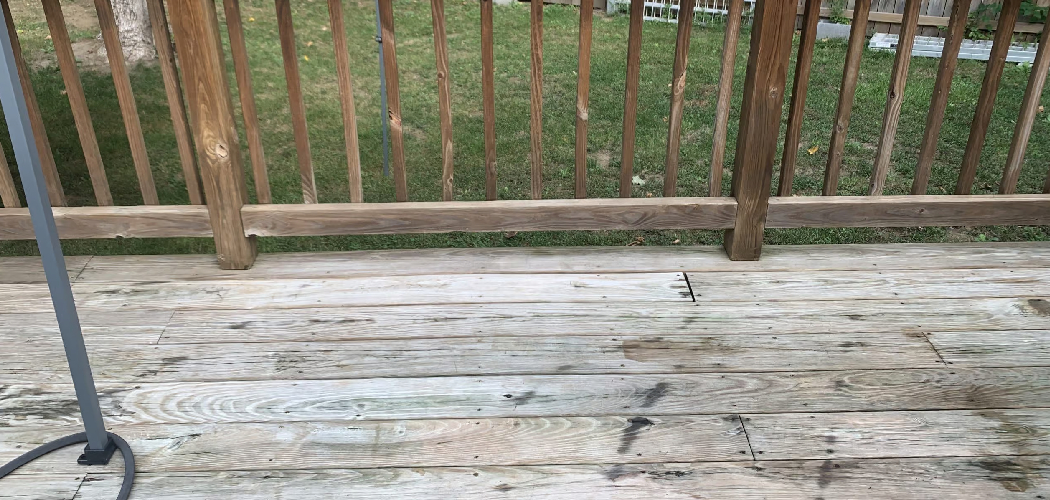
Your front porch takes a beating. Rain, foot traffic, fallen leaves, and stubborn mildew all leave their mark on the boards. Left alone, that grime traps moisture, dulls the finish, and shortens the life of your wood. The good news? You can fix it in a single afternoon.
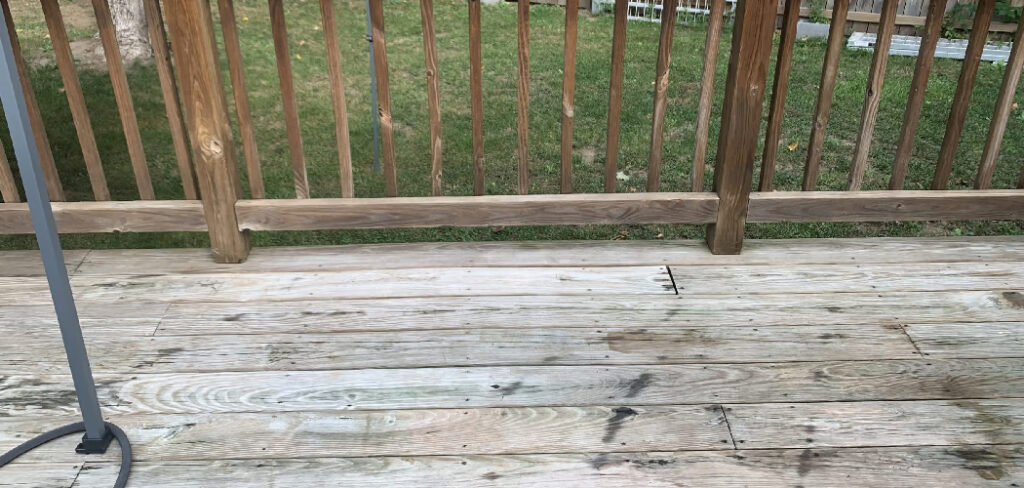
Knowing how to clean front porch wood the right way protects your investment and keeps the entrance to your home looking sharp. You don’t need a contractor or expensive gear—just the right method and a little muscle. This guide walks you through every step, from clearing the surface to applying a protective seal, so you finish with clean, solid boards that last for years.
Why Cleaning Your Front Porch Wood Matters
Dirty boards do more than look bad. They hold moisture against the grain, and trapped moisture rots wood from the inside. By the time you spot soft spots or splintering, you’re facing board replacement that costs hundreds of dollars.
Regular cleaning prevents that. It removes the mildew, pollen, and grime that break down your finish and feed decay. You extend the life of the wood, protect the sealant underneath, and avoid expensive repairs.
For DIY beginners, this is one of the easiest skills to master. You build confidence, save money on professional services, and learn how your wood reacts to water and cleaners. Outdoor wood care isn’t complicated. It just takes consistency. Clean twice a year and your porch outlasts the rest of your exterior.
Tools and Materials You’ll Need
Gather everything before you start. A quick trip mid-project costs you momentum and lets the cleaner dry on the boards.
- Stiff-bristle scrub brush – breaks loose ground-in dirt and mildew
- Garden hose with a spray nozzle – rinses without blasting the grain
- Bucket – mixes and holds your cleaning solution
- Oxygen bleach or dedicated wood deck cleaner – lifts stains without bleaching the wood
- Push broom – clears debris before the wet work begins
- Rubber gloves and safety glasses – protect your skin and eyes from cleaners
- Plastic sheeting – shields nearby plants and siding from runoff
- Wood sealant or stain – seals the boards once they dry
- Putty knife – digs grime out of board gaps and corners
- Pressure washer (optional) – speeds up rinsing on large or heavily soiled porches
Step-by-Step Guide on How to Clean Front Porch Wood
Step 1 – Clear the porch completely
Start with an empty surface. Move furniture, planters, doormats, and decor off the porch and onto the lawn or driveway. You want full access to every board.
Once it’s empty, grab your push broom and sweep hard. Push debris from the house side toward the steps. Listen for the gritty scrape of sand and dirt loosening from the grain—that sound tells you the broom is working.
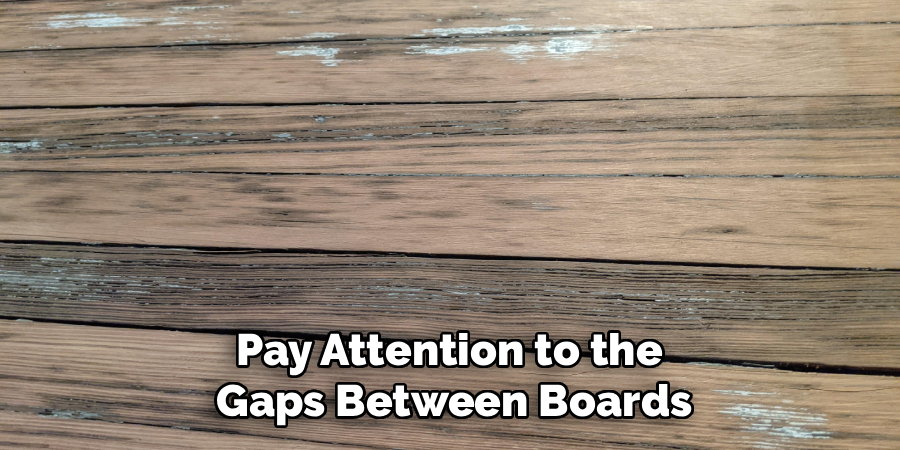
Pay attention to the gaps between boards. Leaves and dirt pack into those seams and stay damp, which invites rot. Run your putty knife along the cracks to dig out the buildup. A clean, bare surface lets your cleaner reach the wood instead of sitting on top of loose grime.
Step 2 – Protect surrounding surfaces
Cleaners and runoff don’t stay where you put them. Before you mix anything, cover what you want to keep safe.
Drape plastic sheeting over nearby shrubs, flower beds, and grass. Oxygen bleach is gentler than chlorine bleach, but concentrated runoff still stresses plants. Tuck the sheeting against the porch edge so drips roll onto the plastic, not the soil.
Check your siding too. If your porch sits against painted wood or vinyl, splash and spray can leave streaks. A light mist of water on the siding first helps it shed the cleaner instead of soaking it in. Move slow here. Five minutes of prep saves you an hour of cleanup later.
Step 3 – Mix your cleaning solution
Knowing how to clean front porch wood starts with the right solution strength. Too weak and it won’t lift the mildew. Too strong and you risk lightening the wood.
Fill your bucket with warm water and add oxygen bleach or a commercial wood deck cleaner. Follow the label ratio exactly—most call for roughly one cup of powder per gallon of water. Stir until the powder dissolves and the water turns slightly cloudy.
Test the mix on a hidden corner first. Brush it on, wait a minute, and check the color. If the wood looks clean and unchanged, you’re good. If it lightens, dilute the solution with more water. This quick test protects the whole porch from an uneven, blotchy result.
Step 4 – Apply the cleaner
Work in sections. Dip your scrub brush into the bucket and spread the solution across three or four boards at a time.
Don’t flood the surface. You want the wood damp and coated, not swimming. Push the cleaner into the grain with steady strokes, following the direction of the boards. You’ll see the solution darken as it pulls dirt and mildew from the wood.
Let it sit for 10 to 15 minutes. This dwell time does the heavy lifting—the cleaner breaks down grime so you scrub less. Watch the surface and never let it dry. If a section starts drying out under sun, mist it lightly with the hose to keep it active.
Step 5 – Scrub the boards
Now comes the muscle. Grab your stiff-bristle brush and scrub each section with firm, even pressure.
Always brush with the grain, never across it. Crossing the grain scratches the surface and traps cleaner in tiny grooves. As you work, you’ll feel the brush glide easier once the grime releases—that smoother drag tells you the board is clean.

Hit the high-traffic spots harder. The path from the steps to the door collects the most dirt and usually needs a second pass. Use your putty knife or a narrow brush to scrub the board seams and corners where mildew hides. Clean these tight spots now, because they’re the first places rot takes hold.
Step 6 – Rinse thoroughly
Mastering how to clean front porch wood means rinsing every trace of cleaner away. Leftover residue dulls the finish and attracts new dirt fast.
Set your hose nozzle to a steady, fanned spray. Start at the house side and push the water toward the steps, carrying the dirty runoff off the porch. Keep the nozzle moving and angled low to protect the grain.
If you use a pressure washer, set it to a low pressure—around 1,200 PSI—and hold the wand at least 12 inches from the boards. Too much pressure gouges the wood and raises the grain. Rinse until the water runs clear and the surface feels clean, not slick. That clean, residue-free feel signals you’re ready to dry.
Step 7 – Let the wood dry completely
Patience pays off here. Sealing or staining damp wood traps moisture and ruins the finish.
Give the porch at least 24 to 48 hours of dry weather. Direct sun and a light breeze speed the process. The boards should feel completely dry to the touch, with no cool, damp patches in shaded corners.
Check the gaps between boards too. Water pools in those seams and dries slowest. Press a paper towel into a few cracks—if it comes up dry, the wood is ready. Rushing this step is the most common reason a fresh seal peels within months. Wait until you’re sure every board has released its moisture before moving on.
Step 8 – Seal or stain to protect
Bare, clean wood needs protection. A quality wood sealant or stain locks out moisture and blocks the UV rays that gray and crack the surface.
Stir your sealant well—never shake it, since that creates bubbles. Apply a thin, even coat with a brush or roller, working with the grain in long strokes. Thin coats soak in better than thick ones, which puddle and stay tacky.
Watch for an even sheen as you go. Dull patches mean the wood drank up the sealant and needs a second light coat. Let the first coat dry per the label, usually four to six hours, before adding more. This final layer is what turns a clean porch into one that stays clean and solid.
Common Mistakes to Avoid
The biggest mistake is reaching for full-strength chlorine bleach. It strips the wood’s natural color, weakens the fibers over time, and kills surrounding plants. Oxygen bleach cleans just as well without the damage, so skip the harsh stuff and protect your boards.
Cranking a pressure washer to full power is another costly error. High pressure feels efficient, but it carves grooves into soft wood and tears up the grain. You end up with a fuzzy, splintered surface that holds even more dirt. Keep the pressure low and the nozzle moving.
Many beginners scrub across the grain instead of along it. Cross-grain scrubbing scratches the surface and leaves cleaner trapped in the wood, which dulls the finish and speeds wear. Always follow the direction of the boards.
Skipping the dry time ruins everything. Sealing wood that still holds moisture traps water under the finish, causing peeling, bubbling, and even rot. Give the porch a full day or two before you seal.
Finally, don’t forget the board gaps. Dirt and mildew pack into those seams and stay damp, quietly rotting your porch from the cracks outward. Clean them every time.
Expert Tips
Time your cleaning for an overcast day. Direct sun dries the cleaner before it can work, leaving streaks and forcing you to redo sections. A cloudy sky with no rain in the forecast gives you the ideal window.
Watch the wood’s color as you rinse. Pros read the boards like a gauge—if a spot stays darker after rinsing, cleaner is still trapped there and needs another pass.
Add a deck brightener after cleaning if your wood looks gray and tired. It restores the natural tone and helps stain absorb evenly.
For long-term porch board maintenance, do a quick sweep and rinse every few weeks between deep cleanings. This keeps grime from bonding to the surface, so your twice-a-year cleaning stays fast and easy.
Frequently Asked Questions
How often should I clean my front porch wood?
Clean your porch deeply twice a year—once in spring and once in fall. Spring clears winter grime and mildew, while fall removes summer pollen and dust before cold weather sets in. Between deep cleanings, sweep weekly and rinse monthly. This routine keeps dirt from bonding to the boards and makes each deep clean faster and far less work.
Can I use a pressure washer on porch wood?
Yes, but use it carefully. Set the pressure to around 1,200 PSI, attach a wide fan tip, and hold the wand at least 12 inches from the surface. Keep the wand moving and follow the grain. Too much pressure gouges soft wood, raises the grain, and creates splinters that trap more dirt. When in doubt, a scrub brush and hose work safely on any porch.
What’s the best cleaner for outdoor wood care?
Oxygen bleach is the safest, most effective choice for most porches. It lifts mildew, dirt, and stains without stripping the wood’s color or harming nearby plants. Mix it with warm water following the label ratio. For tough commercial jobs, a dedicated wood deck cleaner works well too. Avoid chlorine bleach, which weakens wood fibers and damages your landscaping over time.
Do I need to seal my porch after cleaning?
Sealing isn’t required, but it’s strongly recommended. A wood sealant or stain locks out moisture and blocks UV rays that gray and crack bare wood. Clean wood absorbs sealant best, so the timing is ideal. Wait until the boards are fully dry, then apply thin, even coats. A sealed porch stays cleaner, resists rot, and needs far less maintenance.
How do I remove stubborn mildew from porch boards?
For heavy mildew removal, apply oxygen bleach solution and let it dwell for 15 minutes instead of 10. Scrub firmly with a stiff brush, following the grain. Dig into the board seams where mildew hides with a putty knife or narrow brush. Rinse well, then repeat on any spots that stay dark. For recurring mildew, improve airflow and drainage around the porch.
Conclusion
A clean front porch protects your home’s first impression and your wallet. You’ve seen that learning how to clean front porch wood comes down to a simple sequence: clear the surface, protect the surroundings, apply the right cleaner, scrub with the grain, rinse fully, dry completely, and seal for protection. None of it requires special skill—just the right method and a free afternoon.
The payoff is real. You stop rot before it starts, extend the life of your boards, and skip the cost of professional service or board replacement. Twice-a-year cleaning keeps your porch solid for years instead of seasons.
So pick an overcast day, gather your tools, and get to work. Your boards will look brighter, feel cleaner, and last longer the moment you finish. Start with one section, follow the steps, and you’ll wonder why you waited. Your front porch is the entrance to your home—keep it looking like it.
