
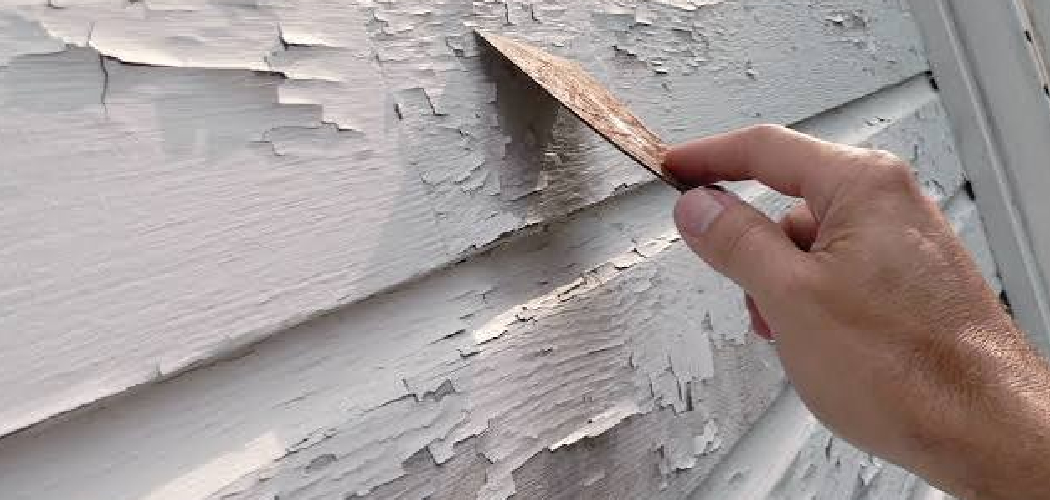
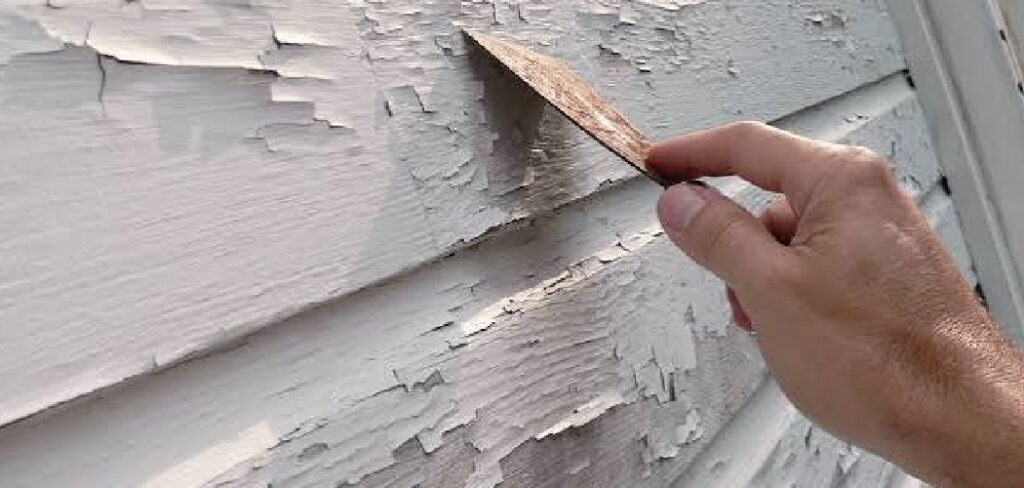
Old wood doesn’t have to look old. That gray, splintered fence or sun-bleached deck can come back to life with the right approach. Learning how to paint weathered wood saves you the cost of replacement and gives tired surfaces a fresh, protected finish. Weathered wood drinks up paint differently than new lumber, so the prep work matters more than the brush you choose. Skip the prep, and your paint peels within a season. Do it right, and the finish holds for years.
This guide walks you through every step — cleaning, sanding, priming, and painting — so you get a smooth, durable result on decks, fences, siding, and outdoor furniture, even if you’ve never picked up a paintbrush before.
Why Painting Weathered Wood Matters
Replacing a fence or deck costs hundreds, sometimes thousands. A few cans of paint and a weekend cost far less. That’s the first reason to learn this skill.
Painting weathered wood also extends the life of what you already own. Bare, aged wood absorbs moisture, splits, and rots. A solid coat of exterior wood paint seals out water, blocks UV damage, and stops decay before it starts.
You build real confidence too. Once you finish your first weathered wood restoration project, you’ll tackle the next one without hesitation. The skills transfer — fences, siding, garden benches, sheds.
Most beginners fear ruining the surface. You won’t. Follow the steps, respect the dry times, and you’ll get professional results the first time out.
Tools and Materials You’ll Need
Gather everything before you start. Stopping mid-project to find a missing supply wastes time and ruins your momentum.
- Stiff-bristle scrub brush — removes loose dirt and mildew
- Wood cleaner or oxygen bleach — kills mold and lifts gray fibers
- Garden hose or pressure washer — rinses surfaces clean
- 80- and 120-grit sandpaper — smooths splinters and rough grain
- Paint scraper — strips loose, flaking old paint
- Exterior wood filler — patches cracks and gouges
- Quality wood primer — seals porous wood and locks in stains
- Exterior wood paint — acrylic latex for flexibility and durability
- Angled brush and roller — cuts edges and covers flat areas fast
- Drop cloths and painter’s tape — protect surrounding surfaces
- Optional: paint sprayer — speeds up large fences and siding jobs
Step-by-Step Guide on How to Paint Weathered Wood
Step 1 – Inspect the Wood Surface
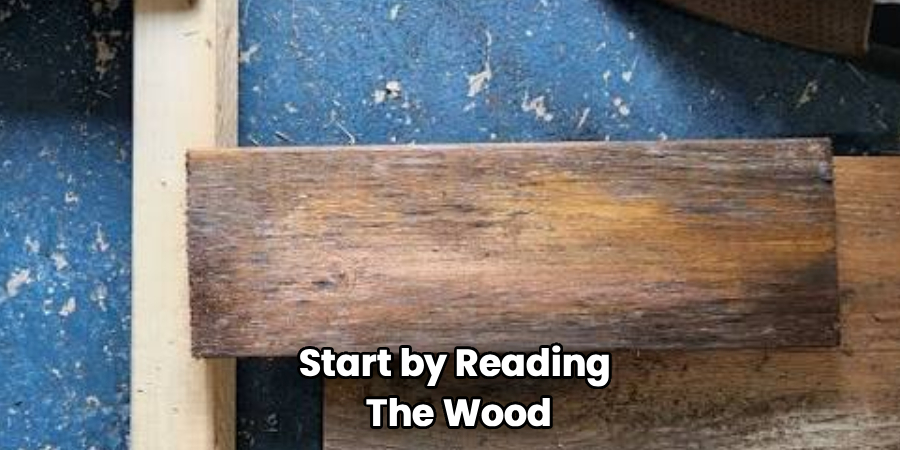
Start by reading the wood. Run your hand across the surface and feel for soft spots, deep cracks, and lifting fibers. Soft, spongy wood signals rot — replace those boards before you paint, because no finish saves rotted lumber.
Look for gray, fuzzy patches. That’s UV-damaged fiber and mildew. Tap suspect areas with a screwdriver; if it sinks in easily, the wood is too far gone.
Check old paint by pressing tape against it and pulling. Paint that lifts off needs scraping. This inspection takes ten minutes and tells you exactly how much prep lies ahead. Skipping it leads to painting over problems you’ll regret later. Knowing how to paint weathered wood starts with knowing what you’re working with.
Step 2 – Clean the Surface Thoroughly
Dirt and mildew block paint from bonding. Clean first, always.
Mix a wood cleaner or oxygen bleach solution and scrub the surface with a stiff-bristle brush. You’ll hear the bristles bite into the grain and see gray grime lift away in streaks. Work in sections so the cleaner doesn’t dry before you rinse.
Rinse with a hose or pressure washer set to a low, wide spray. Hold the nozzle at least a foot back. Too close, and you’ll gouge soft fibers and leave fuzzy tracks.
The wood should look noticeably brighter when you finish. Run your fingers across it — clean wood feels gritty, not slick or slimy. A proper cleaning sets the foundation for everything that follows.
Step 3 – Let the Wood Dry Completely
Wet wood rejects paint. Patience here pays off.
After washing, give the wood 24 to 48 hours to dry, longer in humid weather. Paint applied to damp wood traps moisture underneath, then bubbles and peels within weeks.
Test for dryness with a simple moisture meter, or sprinkle a few drops of water on the surface. If the water beads and sits, the wood still holds moisture. If it soaks in slowly, you’re getting close.
Pick two or three dry days for your project window. Direct sun speeds drying, but shaded fence sections take longer. Check the underside of boards too, since they dry slower than the tops. Dry wood feels warm and looks evenly colored, with no dark damp patches.
Step 4 – Sand Rough and Splintered Areas
Smooth wood holds paint better and feels better under your hand.
Start with 80-grit sandpaper on the roughest, most splintered spots. You’ll feel the grain flatten and hear the scratch turn to a softer whisper as the surface evens out. Follow the wood grain — never sand across it, or you’ll leave visible scratches.
Switch to 120-grit for a final pass. This knocks down raised fibers and creates a surface paint can grip.
Wipe away all dust with a damp cloth when you’re done. Leftover dust ruins adhesion and leaves a gritty texture under your finish. The surface should feel uniformly smooth, with no jagged edges catching your fingertips. Don’t aim for furniture-grade polish — just consistent, splinter-free wood ready for primer.
Step 5 – Fill Cracks and Repair Damage
Cracks let water in and weaken the wood. Seal them now.
Press exterior wood filler into gouges, splits, and old nail holes using a putty knife. Overfill slightly, since filler shrinks as it cures. Smooth it flush with the surface in one firm pass.
Let the filler dry fully — check the label, but most need an hour or two. Cured filler feels hard and sounds solid when tapped.
Sand the patched areas smooth with 120-grit paper until they blend into the surrounding wood. Run your hand over each repair; you shouldn’t feel a ridge or dip.
Solid repairs disappear under paint. Rushed ones telegraph through the finish as bumps and shadows. Take the extra few minutes per patch.
Step 6 – Apply a Quality Wood Primer
Primer is the step beginners skip and pros never do. Weathered wood is porous and stained, and primer seals both problems.
Brush or roll a coat of stain-blocking exterior wood primer across the entire surface. Work it into the grain, not just over it. You’ll see the wood color disappear under an even, chalky layer.
Cover knots and dark stains completely, since these bleed through paint without a primer barrier. Let the primer cure for the full time on the label, usually two to four hours.
Properly primed wood looks uniform and slightly dull. Patchy, see-through coverage means you need a second coat. This is the core of how to paint weathered wood that actually lasts — primer locks everything in place.
Step 7 – Paint the First Coat
Now the satisfying part. Stir your exterior wood paint thoroughly before you start.
Cut in the edges and corners with an angled brush, then fill large areas with a roller or sprayer. Apply thin, even coats — thick paint sags, drips, and dries unevenly. You’ll hear the roller’s steady hum and watch fresh color flow across the surface.
Work with the grain and keep a wet edge to avoid lap marks. Lap marks show up as streaky overlaps once the paint dries.
Don’t expect full coverage in one pass. Weathered wood soaks up paint, so the first coat looks thin and uneven. That’s normal. Let it dry the recommended time before judging the result or adding more.
Step 8 – Apply the Second Coat
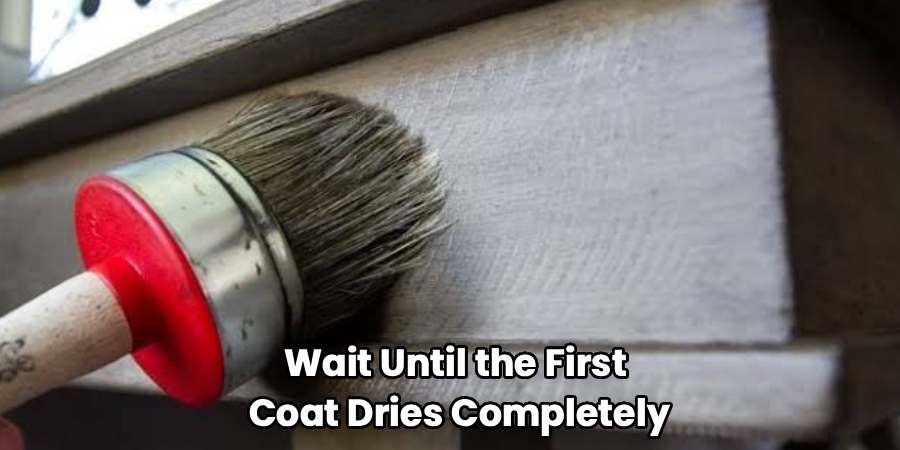
One coat rarely covers weathered wood. The second coat delivers the finish you want.
Wait until the first coat dries completely — tacky paint smears and pulls. Touch an inconspicuous spot; it should feel dry and firm, not sticky.
Apply the second coat the same way: cut in edges, then roll or spray the flats. This layer covers the patchy spots and deepens the color into a rich, even tone.
Watch the light as you work. Glossy, consistent coverage means you’re done; dull, thin patches need touch-up. Two solid coats protect the wood and give you a finish that holds up against rain, sun, and seasons of wear. Step back and check from a few angles before you call it finished.
Common Mistakes to Avoid
Skipping the cleaning step ruins more paint jobs than anything else. Dirt, mildew, and loose fibers stop paint from bonding. You might save twenty minutes now, but you’ll repaint the whole surface within a year. Clean every time, no exceptions.
Painting damp wood is the second big trap. Wood that looks dry on top can hold moisture deep in the grain. That trapped water pushes the paint off as it evaporates, leaving bubbles and peels. Wait the full 24 to 48 hours, and test before you commit.
Skipping primer tempts beginners who want to finish faster. Bare weathered wood drinks paint unevenly and lets old stains bleed through. Primer seals the surface and stretches your topcoat further. It’s not optional on aged wood.
Applying paint too thick feels efficient but backfires. Heavy coats sag, drip, and trap solvents that prevent proper curing. Thin, even layers dry faster and bond better.
Ignoring dry times between coats undoes careful work. Rushing the second coat smears the first and weakens the whole finish. Respect the clock on the label.
Expert Tips
Paint when the temperature sits between 50°F and 85°F. Paint cures poorly in cold and dries too fast in heat, leaving brush marks and weak adhesion.
Always paint the end grain of boards. End grain absorbs water fastest and rots first, so sealing it doubles your protection.
Choose 100% acrylic latex exterior paint over cheaper blends. It flexes as wood expands and contracts through seasons, which prevents cracking.
Decant paint into a smaller container as you work. You avoid contaminating the full can with dust and dried bits from the brush.
Sand lightly between coats with 220-grit paper. This knocks down any raised grain and gives the next coat a smoother surface to grip.
Finally, paint early in the day. You get full dry time before evening dew settles on the surface.
Frequently Asked Questions
Do I Need to Sand Weathered Wood Before Painting?
Yes, in most cases. Weathered wood has raised, splintered fibers that prevent paint from bonding smoothly. Sanding with 80-grit, then 120-grit, flattens those fibers and creates a surface paint can grip. You don’t need a glass-smooth finish — just consistent, splinter-free wood. Skip sanding only if the surface is already smooth and sound after cleaning.
Can I Paint Over Old Peeling Paint?
No, not directly. Loose, peeling paint pulls your new coat off with it. Scrape away all flaking paint with a paint scraper, then sand the edges smooth so they blend into the surrounding surface. Prime any bare wood you expose. Painting over peeling paint guarantees the same failure returns within months, wasting both your time and materials.
What Kind of Paint Works Best on Weathered Wood?
Use 100% acrylic latex exterior paint. It flexes as wood swells and shrinks through temperature and humidity changes, which prevents cracking and peeling. It also resists UV fading and mildew far better than oil-based or budget paints. Pair it with a quality stain-blocking primer for the longest-lasting result on decks, fences, and siding.
How Many Coats of Paint Does Weathered Wood Need?
Plan for two coats over primer. Weathered wood is porous and absorbs the first coat unevenly, leaving thin, patchy color. The second coat delivers full, rich coverage and the protection that makes the job last. Heavily damaged or very gray wood sometimes needs a third coat. Always let each coat dry fully before adding the next.
Should I Use a Primer on Weathered Wood?
Yes, always. Weathered wood is porous and often stained, and primer solves both issues. It seals the surface so your topcoat goes further, blocks old stains and knots from bleeding through, and improves paint adhesion dramatically. Skipping primer on aged wood leads to uneven color and early peeling. A stain-blocking exterior primer is the step that makes everything else hold.
Conclusion
Weathered wood gets a second life when you give it the right treatment. You’ve seen the full process: inspect the surface, clean it well, let it dry, sand the rough spots, fill the cracks, prime, then apply two solid coats of exterior wood paint. Each step builds on the one before it, and the prep work is where lasting results come from.
Don’t let an old fence, deck, or bench convince you it’s time for replacement. With a weekend and the right materials, you’ll protect the wood, boost your curb appeal, and save serious money. Now that you know how to paint weathered wood, you have a skill you’ll use again and again across every outdoor project you own.
Start with one surface. Clean it, prep it, paint it. Once you see the transformation, you’ll wonder why you waited. Grab your supplies, pick a dry weekend, and bring that tired wood back to life.
