
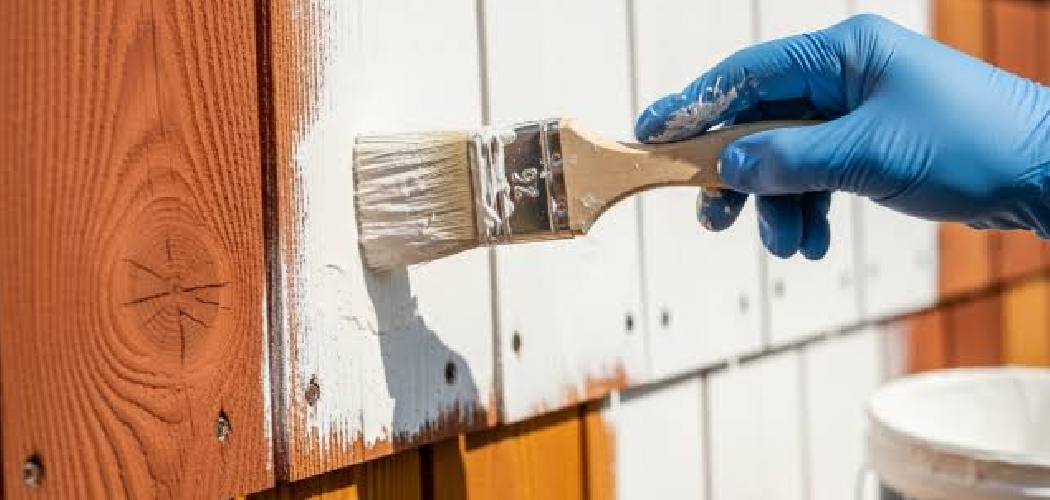
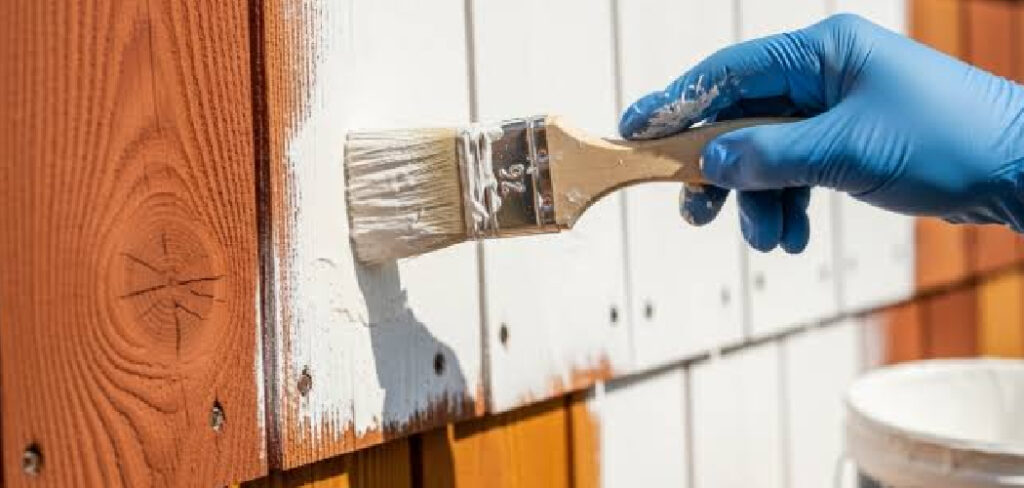
Cedar looks beautiful raw, but it won’t stay that way without protection. Sun, rain, and moisture break down the surface over time. Paint fixes that. It locks out water, blocks UV damage, and gives your siding, fence, or trim a finish that lasts for years.
The problem? Cedar fights back. Its natural oils and tannins bleed through cheap paint and leave ugly brown stains. Skip the right prep and primer, and your work peels within a season.
This guide solves that. Learning how to paint cedar wood the correct way saves you money, prevents do-overs, and keeps your project looking sharp. Below, you’ll get the exact tools, steps, and pro tactics that produce a clean, durable finish on any cedar surface.
Why Painting Cedar Wood Matters
Unpainted cedar weathers fast. Left alone, it turns gray, cracks, and traps moisture that invites rot. Paint stops all three.
A proper paint job extends the life of your cedar siding or fence by decades. You protect your investment instead of replacing boards. That matters when cedar costs more per foot than most softwoods.
For DIY beginners, the payoff is bigger than looks. You avoid the most expensive mistake in exterior work: redoing a failed coat. Peeling paint means scraping, sanding, and buying materials twice.
Do it right once, and you build confidence for the next project. You also gain control over color, sheen, and maintenance. A painted cedar fence resists mildew better and cleans up with a hose. That’s real money and real time saved.
Tools and Materials You’ll Need
Gather everything before you start. Stopping mid-project to buy supplies lets coats dry unevenly and wastes daylight.
- Stain-blocking oil-based primer — seals tannins and prevents bleed-through
- 100% acrylic latex exterior paint — flexes with the wood and resists peeling
- Medium-grit sandpaper (120–150) — smooths rough grain and old finish
- Paint scraper and stiff wire brush — removes loose paint and debris
- Synthetic-bristle brush (2.5-inch angled) — cuts clean lines on trim
- Mini foam or microfiber roller — covers flat siding fast
- Drop cloths and painter’s tape — protect surfaces and edges
- Wood filler and putty knife — patch cracks, nail holes, and gaps
- Mild detergent or wood cleaner — strips dirt, mildew, and chalk
- Painter’s pole (optional) — saves your back on tall siding and reduces ladder time
Buy quality primer and paint. Cheap products fail first on cedar.
Step-by-Step Guide on How to Paint Cedar Wood
Follow these steps in order. Each one builds on the last, and skipping ahead is where most finishes fail.
Step 1 – Inspect and Repair the Cedar
Walk the surface first. Look for split boards, loose knots, popped nails, and soft spots that signal rot.
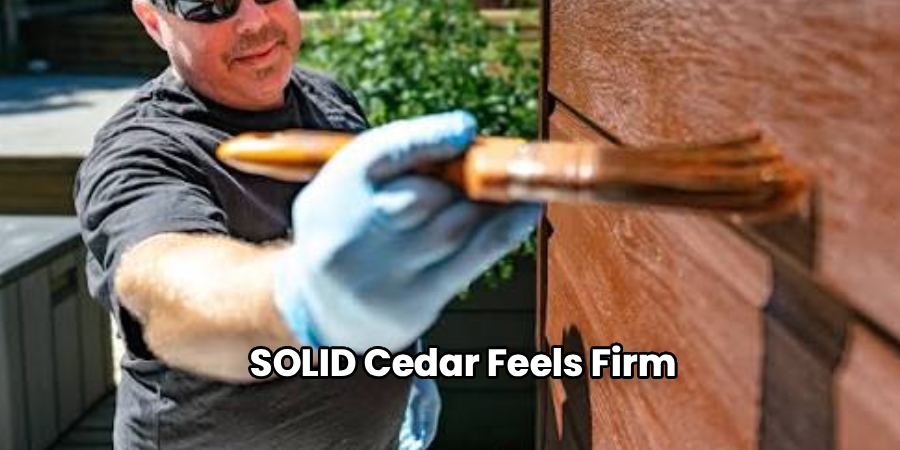
Press your thumb into questionable areas. Solid cedar feels firm and pushes back. Spongy wood needs replacing before you paint.
Fill small cracks and nail holes with exterior wood filler. Press it in with a putty knife, then scrape flush. You’ll feel the surface go from ragged to smooth under your blade.
Tighten or replace any nails that have backed out. Drive them just below the surface so they don’t telegraph through the finish.
This is the foundation of how to paint cedar wood that lasts. A flawed surface shows every imperfection once paint dries, so fix problems now while they’re easy to reach.
Step 2 – Clean the Surface Thoroughly
Paint won’t stick to dirt, mildew, or the chalky film old cedar leaves behind. Clean every inch.
Mix mild detergent with water, or use a dedicated wood cleaner for mildew. Scrub with a stiff brush, working in sections so the solution doesn’t dry on the boards.
You’ll see gray grime and black mildew lift away, leaving the cedar a lighter, cleaner tone. That color shift tells you the surface is ready.
Rinse with a garden hose. Avoid a high-pressure washer on close settings, since it gouges soft cedar grain and raises fibers you’ll have to sand again.
Run your hand across a dry section. It should feel clean and slightly textured, never slick or filmy.
Step 3 – Let the Wood Dry Completely
Moisture is the enemy of adhesion. Paint over damp cedar and it blisters, peels, and traps water inside the board.
Give washed cedar at least 24 to 48 hours of dry weather. Humidity and shade slow this down, so plan around the forecast.
Test it before priming. Tape a small square of plastic to the surface and leave it overnight. Condensation underneath means the wood is still releasing moisture.
A moisture meter makes this exact. Aim for a reading below 15% before you open a can of primer.
Dry cedar feels warm and light. Damp cedar feels cool and heavy, and you’ll smell that earthy, wet-wood scent. Wait it out.
Step 4 – Sand for a Smooth, Paint-Ready Surface
Sanding gives paint something to grip. It also knocks down raised grain and rough patches.
Use 120- to 150-grit sandpaper. Move with the grain, never against it, to avoid scratches that show through the finish.
You’ll hear the paper shift from a rough scrape to a smoother glide as the surface levels out. That sound is your cue to stop.
Focus on glossy old paint and any fuzzy fibers raised during cleaning. Dull the shine completely so primer can bond.
Wipe away every speck of dust with a tack cloth or a damp rag. Run your fingers over the boards afterward. They should feel even and clean, with no grit left behind to ruin your primer coat.
Step 5 – Apply a Stain-Blocking Primer
This step decides everything. Cedar’s tannins bleed through standard paint and leave brown or yellow streaks within weeks.
Use an oil-based or shellac-based stain-blocking primer. These seal the natural oils that water-based products can’t fully contain.
Brush primer into the grain and corners first, then roll the flat areas. Aim for full, even coverage with no thin spots where bare wood shows.
Watch the surface as it dries. A good primer coat looks uniform and matte. Patchy or shiny areas mean you missed spots or applied too little.
Knots need extra attention. Spot-prime them twice, because they leak the most resin. Let the primer cure for the time listed on the can before you topcoat.
Step 6 – Sand Lightly Between Coats
A quick scuff sand after priming creates a flawless base for paint. Don’t skip it.
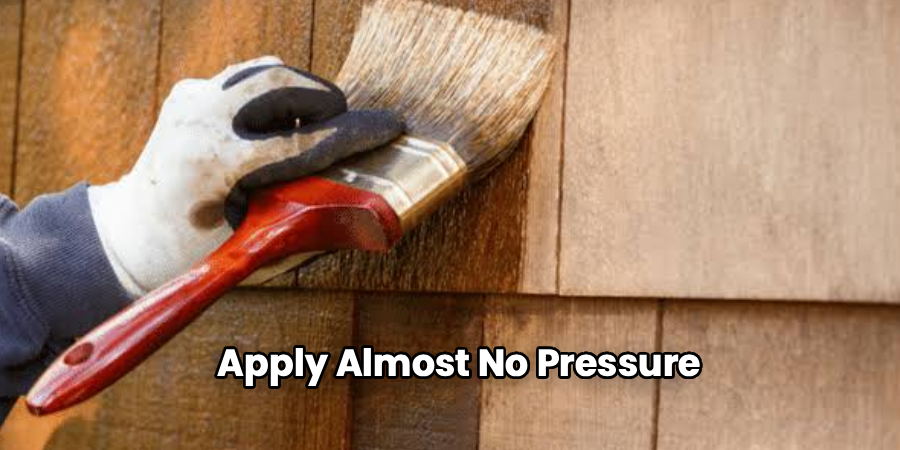
Use fine 220-grit paper and apply almost no pressure. You’re knocking down tiny raised fibers, not removing primer.
The surface should feel like fine cardboard when you’re done, smooth with a faint tooth. Wipe off the dust completely.
This is the hidden detail that separates a pro finish from an amateur one in how to paint cedar wood. The flat, even surface lets your topcoat lay down clean and bond tight.
Step 7 – Apply the First Coat of Paint
Now the color goes on. Use 100% acrylic latex exterior paint, which flexes with cedar as it expands and contracts through the seasons.
Stir the paint thoroughly. Cut in edges and trim with your angled brush, then roll the larger panels in long, overlapping strokes.
Keep a wet edge. Work in manageable sections so fresh paint blends into still-wet paint instead of drying into visible lap marks.
The first coat looks slightly uneven and may show faint primer underneath. That’s normal. Resist the urge to overload it.
Listen for the soft tack of the roller releasing cleanly. If paint drags or strings, it’s drying too fast and you need to work smaller areas.
Step 8 – Apply the Second Coat
One coat never covers cedar properly. The second coat delivers durability, even color, and a finish built to last.
Wait the full recoat time on the label, usually two to four hours for latex. Rushing traps solvents and weakens the bond.
Apply the same way: cut in first, then roll. This coat should glide on smoothly and hide every trace of primer and grain shadow.
Look across the surface at a low angle in good light. A finished coat reflects evenly with no thin streaks, holidays, or roller tracks.
The paint should feel uniform and slightly cool to the touch once it skins over. Let it cure fully before exposing it to heavy weather or contact.
Common Mistakes to Avoid
The biggest mistake is skipping the stain-blocking primer. Cedar’s tannins are aggressive, and a regular primer or paint-and-primer combo lets them bleed straight through. You’ll see brown streaks within weeks, and the only fix is sanding back and starting over with the right product. Spend the money on oil- or shellac-based primer the first time.
Painting damp cedar ranks a close second. The wood looks dry on the surface while it still holds moisture inside. That trapped water pushes the paint off the board as it escapes, causing blisters and peeling. Always confirm the wood is dry before priming.
Many beginners also skip cleaning. Mildew, chalk, and dirt block adhesion completely, and paint applied over them lifts away in sheets. A proper wash is non-negotiable.
Another frequent error is rushing recoat times. Painting before the previous layer cures traps solvents, softens the finish, and ruins durability. Follow the label.
Finally, people apply paint too thick to save a coat. Heavy layers sag, drip, and dry unevenly. Thin, even coats always outperform one thick one.
Expert Tips
Back-prime every board before installing new cedar. Sealing the unseen back and edges stops moisture from sneaking in and pushing your front finish off later. Most failures start where you can’t see them.
Paint in the right weather window. Stay between 50°F and 85°F with low humidity and no direct blazing sun. Hot surfaces flash-dry the paint before it levels, leaving brush marks and weak adhesion.
Use a paint conditioner like Floetrol in latex for smoother flow and fewer visible strokes on large siding runs.
Caulk gaps and joints after priming, not before. Primer gives the caulk a stable surface to grip, and the caulk then takes paint cleanly.
Keep a wet rag in your pocket. Wiping drips and overspray immediately beats scraping dried mistakes later.
Frequently Asked Questions
Do You Need to Prime Cedar Before Painting?
Yes, always. Cedar contains natural oils and tannins that bleed through paint and cause brown staining. A stain-blocking oil-based or shellac-based primer seals those compounds and creates a surface paint can grip. Skipping primer is the top reason cedar paint jobs fail. One coat of the right primer prevents bleed-through and dramatically extends how long your finish lasts.
What Kind of Paint Is Best for Cedar Wood?
Use 100% acrylic latex exterior paint. It flexes as cedar expands and contracts with temperature and moisture, which prevents cracking and peeling. Acrylic latex also resists fading and mildew better than oil-based topcoats on exterior surfaces. Pair it with a stain-blocking primer for the strongest result. For cedar siding and fences, this combination delivers the most durable, weather-resistant finish.
Can You Paint Cedar Without Sanding?
You can, but you shouldn’t. Sanding dulls glossy old finishes and removes raised fibers, giving primer and paint a surface to bond with. Without it, paint adhesion drops and peeling becomes likely. Light sanding with 120- to 150-grit paper takes minutes and makes a major difference. On new, smooth cedar a light scuff is enough, but never skip it entirely on weathered wood.
How Long Should Cedar Dry Before Painting?
Wait at least 24 to 48 hours after cleaning, longer in humid or shaded conditions. Cedar must read below 15% moisture before you prime. Painting damp wood traps water inside the board, which causes blisters and peeling as it escapes. Use a moisture meter for certainty, or tape plastic to the surface overnight and check for condensation underneath before you begin.
How Many Coats of Paint Does Cedar Need?
Plan on one coat of primer and two coats of paint. A single topcoat rarely covers cedar’s grain and color evenly, and it wears out faster. Two thin, even coats give you full coverage, deeper color, and the durability cedar needs outdoors. Always let each layer cure for the full time on the label before applying the next.
Conclusion
Painting cedar isn’t hard, but it punishes shortcuts. The wood’s natural oils, moisture, and grain demand the right prep, the right primer, and the right paint in the right order.
Get those three things right and your finish holds for years. Repair and clean the surface. Let it dry. Sand it smooth. Seal it with a stain-blocking primer. Then build durability with two even coats of acrylic latex.
That sequence is the whole secret to how to paint cedar wood that resists peeling, bleeding, and weather. Each step protects the one before it, and the payoff is a clean, lasting finish you won’t have to redo next season.
You have everything you need to start. Gather your tools, check the forecast, and tackle your siding, trim, or fence with confidence. Do it once, do it right, and let your cedar look its best for the long haul. Your future self will thank you every time it rains.
