
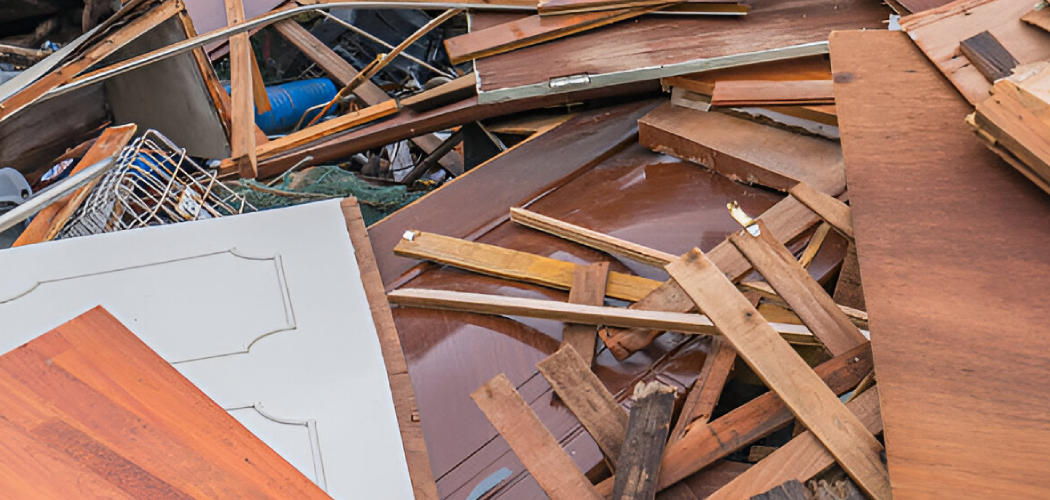
Wood piles up fast. Every project leaves you with offcuts, splintered boards, and odd chunks that crowd your garage and trip you up on the way to the workbench. Left alone, that clutter becomes a fire hazard, a pest magnet, and a roadblock to your next build. Learning how to dispose of scrap wood the right way clears your space, protects your local environment, and often puts a little money back in your pocket.
The trick is sorting smart and matching each piece to the best exit route — reuse, recycle, donate, or toss. This guide walks you through every step, from sorting your wood pile to choosing the safest disposal method for treated lumber, so you can clear out the mess without guesswork.
Why Disposing of Scrap Wood Matters
Scrap wood handled wrong costs you money and creates risk. Burn treated lumber in a backyard burn barrel and you release toxic chemicals into the air you breathe. Toss recyclable wood in the landfill and you pay dump fees for material a recycler would take for free.
Smart disposal saves cash. Clean, dry offcuts heat your home, mulch your garden, or fuel your next small project. Donating usable lumber earns goodwill and sometimes a tax write-off.
For DIY beginners, this skill builds confidence. You stop fearing the cleanup phase and start finishing projects strong. You also avoid the rookie mistake of mixing hazardous treated wood with clean scraps. Get this right once, and every future project ends cleaner, safer, and cheaper.
Tools and Materials You’ll Need
Gather a few basics before you start sorting. Most you already own.
- Work gloves — protect your hands from splinters and nail punctures.
- Safety glasses — shield your eyes when breaking down or cutting scraps.
- Claw hammer or pry bar — pull nails, screws, and staples from boards.
- Magnet or magnetic sweeper — find stray fasteners hiding in the wood pile.
- Heavy-duty contractor bags — bag splinters, sawdust, and small offcuts.
- Tarp or wheelbarrow — move sorted piles to your truck or curb.
- Permanent marker — label piles so nothing gets mixed up.
- Reciprocating saw or hand saw — cut long boards to fit bins or bags.
- Optional: a moisture meter — confirm wood is dry enough to burn or chip safely.
Keep everything within reach. A clean setup makes the whole job faster.
Step-by-Step Guide on How to Dispose of Scrap Wood
Step 1 – Gather and Centralize Your Wood Pile
Start by pulling every piece into one open area. Check under benches, behind shelving, and in the corners where offcuts hide. You’ll likely find more than you expected — that’s normal after a busy build season.
Lay the wood out on a tarp or clean garage floor. Spread it so you can see each piece clearly. Long boards lie flat; small chunks go in a bucket.
As you handle each piece, listen for the dull thud of solid wood versus the hollow rattle of rotted material. Solid pieces feel dense and cool. Rotted ones feel light and crumble at the edges. This first pass tells you what’s worth saving and what’s headed out.
Step 2 – Separate Treated and Painted Wood
Sort next by chemical treatment. This step matters most for safety. Pressure-treated lumber, painted boards, and stained wood need special handling and never belong in a burn barrel or garden mulch.
Look for the telltale greenish tint of pressure-treated wood. Run your fingers across the surface — treated boards often feel slightly oily or slick. Painted pieces flake at the edges, and old paint may hide lead.
Stack these in their own clearly marked pile. Write “TREATED — DO NOT BURN” on the tarp or a scrap board with your marker. Mixing treated wood into clean scraps ruins the whole batch for chipping, burning, or composting. Keep this pile isolated until disposal day.
Step 3 – Pull Out All Fasteners
Clear every nail, screw, and staple before the wood moves anywhere. Recyclers, chippers, and donation centers all reject fastener-laden boards.
Grip your claw hammer or pry bar and work each nail loose. You’ll hear a sharp squeak as the metal releases its grip. Screws back out with a steady turn; strip one and the bit spins free with a whine, so apply firm downward pressure.
Run a magnet or magnetic sweeper over the pile afterward. Stray staples and snapped nail tips cling to it instantly. A clean board feels smooth under your palm — no snags, no sharp surprises. This is the part of how to dispose of scrap wood most beginners skip, and it’s the one that causes flat tires and injured hands later.
Step 4 – Sort Reusable Wood for Future Projects
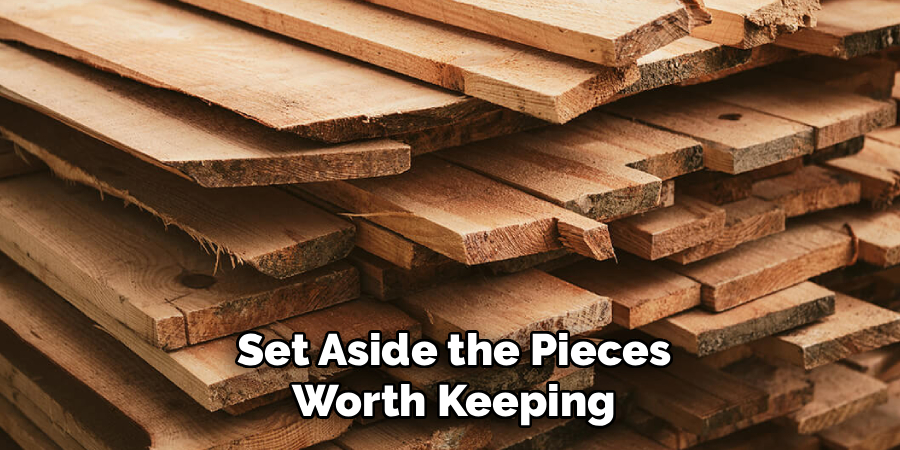
Set aside the pieces worth keeping. Hardwood offcuts, clean plywood scraps, and boards longer than a foot earn a second life. You’ll thank yourself on the next build.
Hold each piece up to the light. Straight grain, no warping, and a flat face mean it’s still good. Twisted or cupped boards rock when you press the center — those go to the disposal pile.
Stack keepers by size and type in a dry corner, off the concrete floor. Concrete wicks moisture upward and invites mold. A pallet or scrap 2x4s underneath keeps air flowing. This small habit turns waste into a free lumber stash and stretches your project budget further every month.
Step 5 – Identify Wood for Donation or Giveaway
Usable lumber you won’t need helps someone else. Habitat for Humanity ReStores, schools, theater groups, and makerspaces all take clean, dry wood in good shape.
Check each piece for donation readiness. It should be fastener-free, dry, and at least a foot long. Snap a quick photo of the pile for online giveaway groups and local buy-nothing pages.
You’ll often clear a stack in a day this way. People hunting for free craft wood respond fast. List the wood honestly — note any knots, paint, or rough edges so the taker knows what they’re getting. Donation keeps good material out of the landfill and saves you the trip to the dump entirely.
Step 6 – Chip or Mulch Clean Scraps
Turn untreated wood into garden gold. Small clean branches, bark, and softwood offcuts run through a chipper to make mulch for paths and beds.
Feed pieces in slowly and wear your safety glasses. The chipper roars, then settles into a steady grinding rhythm as it eats the wood. Fresh chips smell sharp and resinous — a clean, woody scent with no chemical edge. That smell tells you the wood was safe to process.
Spread the mulch around shrubs or down a walkway. Avoid mulching near tender seedlings until the chips age a few months, since fresh wood pulls nitrogen from soil. Never chip treated or painted wood — those chemicals leach straight into your garden beds.
Step 7 – Check Local Recycling and Curbside Options
Find out what your municipality accepts. Many areas offer wood waste recycling drop-off sites, and some provide curbside pickup for bundled untreated scraps.
Call your local waste authority or check their website. Ask three questions: Do they take treated wood? What size limit applies? Is there a fee?
Bundle long boards with twine and cut oversized pieces to fit the stated limits. Most curbside programs cap bundles at four feet and 50 pounds. Set them out the night before collection so you don’t miss the truck. Recycling centers grind clean wood into biomass fuel, particleboard, or animal bedding — far better than burying it in a landfill.
Step 8 – Dispose of Treated Wood Safely
Send treated lumber to the right facility. Pressure-treated, painted, and stained wood counts as construction waste and goes to a designated transfer station or landfill that accepts it.
Bag splinters and small treated pieces in contractor bags. Load larger boards directly into your truck bed on a tarp to catch loose chips. Wear gloves the whole time — the preservatives irritate skin.
Never burn this wood. The smoke carries arsenic and other toxins you don’t want in your lungs or yard. Knowing how to dispose of scrap wood that’s been treated protects your health and keeps you compliant with local rules. Confirm the facility’s hours and fees before you drive over, since treated wood often carries a small disposal charge.
Step 9 – Clean and Reset Your Workspace
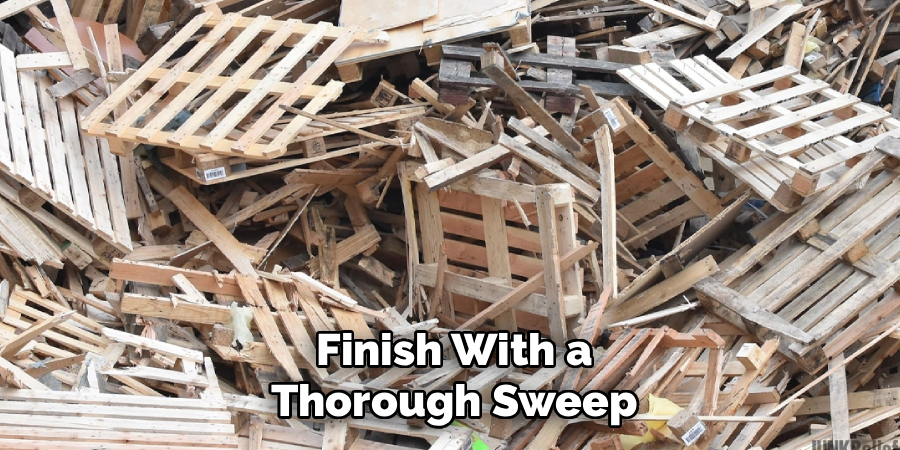
Finish with a thorough sweep. Sawdust, bark bits, and stray fasteners scatter across the floor during sorting.
Run your magnetic sweeper one final time across the whole area. You’ll hear the click of metal bits jumping to the magnet. Bag the sawdust — clean sawdust composts well, but treated dust goes in the trash.
Step back and look at the cleared space. A swept floor with sorted piles ready for their destinations means you did it right. The faint smell of fresh-cut wood should linger, not the musty odor of rot or the chemical tang of solvents. Your garage feels twice as big now, and you’re ready for the next project.
Common Mistakes to Avoid
The biggest mistake is burning treated wood. Beginners toss greenish or painted boards into a burn barrel without a second thought, releasing arsenic, chromium, and other toxins into the air. The smoke settles on your garden, your skin, and your lungs. If you can’t confirm a board is untreated, never burn it.
Another common slip is leaving nails and screws in the wood. Fasteners ruin chippers, puncture tires, and tear donation-center hands. Every recycler and reuse program rejects fastener-laden boards, so pulling them first saves you a wasted trip.
Many people also skip the moisture check before chipping or burning. Wet wood smolders, smokes heavily, and won’t chip cleanly — it just clogs the machine. A quick moisture-meter read prevents the headache.
Mixing piles causes trouble too. One treated board tossed into your clean scraps contaminates the entire batch for mulch or biomass recycling. Keep piles separate and labeled.
Finally, don’t assume your local landfill takes everything. Many refuse treated wood or cap load sizes. Call ahead, confirm the rules, and avoid the frustration of a rejected drop-off.
Expert Tips
Date your reusable stash. A grease-pencil note on each board tells you how long it’s been sitting, so you use the oldest stock first and prevent slow rot in the corner.
Keep a “burnable only” bin separate from everything else. Clean, dry softwood and kiln-dried offcuts make excellent kindling, but only if you never let a treated piece sneak in.
Photograph your treated-wood receipts from the transfer station. If a contractor or inspector ever asks, you’ve got proof of proper disposal.
Buy a cheap moisture meter and target wood under 20 percent before burning. Anything wetter wastes heat and coats your chimney with creosote. Pros check every time — it’s the difference between a clean burn and a flue fire.
Frequently Asked Questions
Can I Burn Scrap Wood in My Backyard?
You can burn clean, untreated, dry wood if local fire codes allow it. Never burn pressure-treated, painted, or stained wood — the smoke releases toxic chemicals like arsenic. Check your municipality’s open-burning rules first, since many areas restrict or ban backyard fires during dry seasons. Keep a water source nearby and burn only on calm, low-wind days.
Is Pressure-Treated Wood Recyclable?
No, standard recycling and chipping programs reject pressure-treated wood because of its chemical preservatives. It can’t be turned into mulch, biomass fuel, or animal bedding. Instead, take it to a transfer station or landfill that accepts construction waste. Call ahead to confirm they handle treated lumber and ask about any disposal fee, which is usually small but varies by location.
How Do I Get Rid of Scrap Wood for Free?
Donation and giveaway are your cheapest routes. Habitat for Humanity ReStores, schools, makerspaces, and local buy-nothing groups often take clean, dry, fastener-free wood at no cost. Post a photo online and usable lumber disappears fast. Many municipalities also offer free wood-waste drop-off sites for untreated scraps, saving you both dump fees and a wasted weekend.
Can I Put Scrap Wood in Regular Curbside Trash?
It depends on your local rules and the wood’s size. Small untreated offcuts often go in regular trash, while many areas require bundling and offer separate curbside pickup for wood waste. Most programs cap bundles at four feet and 50 pounds. Treated wood usually needs special handling at a transfer station. Always confirm your municipality’s guidelines before setting anything out.
What Can I Make With Leftover Scrap Wood?
Plenty. Clean offcuts become cutting boards, coasters, planters, birdhouses, shelving, and shop jigs. Longer boards work for small furniture or garden trellises. Softwood scraps make excellent kindling. Even small chunks turn into mulch through a chipper. Sort your keepers by size, store them dry and off the floor, and you’ll always have free material ready for the next quick project.
Conclusion
Clearing your scrap wood comes down to a simple system: gather, sort, and route each piece to its best destination. Pull the fasteners, separate treated from clean, and never burn anything chemical-laced. Save the good boards, donate the usable ones, chip the clean softwood, and recycle or properly dispose of the rest.
Done right, this routine costs you almost nothing and pays you back in saved dump fees, free lumber, and a safer workspace. You’ll finish every project with a clean garage instead of a growing hazard pile.
Knowing how to dispose of scrap wood is a core skill that separates organized makers from cluttered ones. It protects your health, your wallet, and your local environment all at once. Start small — sort one pile this weekend, pull the nails, and find a home for the keepers. Once you’ve run the process a single time, it becomes second nature, and your shop will never overflow with offcuts again.
