
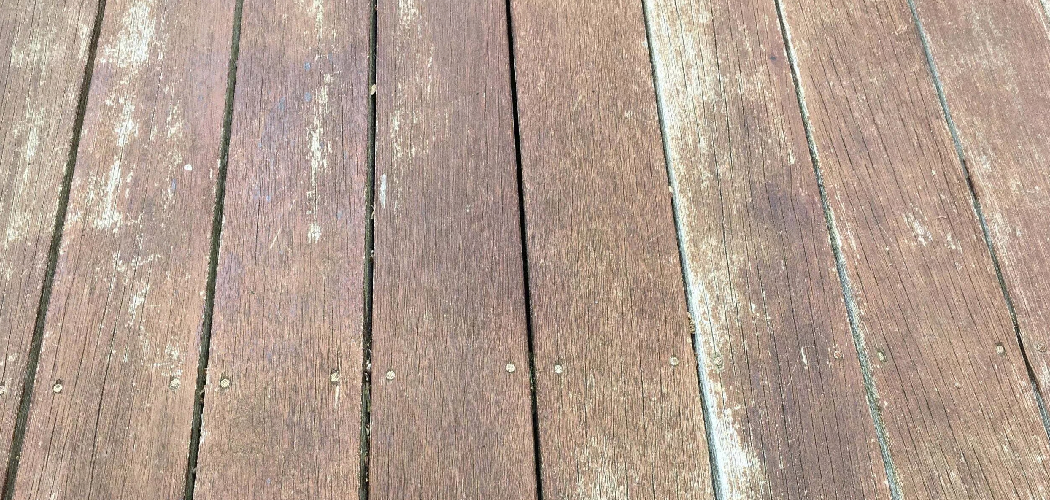
Your stained project came out lighter than you wanted. The color looks washed out, uneven, or just plain dull next to the rest of your furniture. Good news: you can fix it without starting over. Learning how to darken stained wood gives you control over the final color, and it takes far less work than stripping everything back to bare timber.
Whether you’re working with a tabletop, a cabinet door, or an old chair you rescued from the garage, the right approach delivers a richer, deeper tone you’ll be proud of. The wood grain stays visible, the finish stays smooth, and the result looks intentional. This guide walks you through every step to deepen your stain color safely and get professional results at home.
Why Darkening Stained Wood Matters
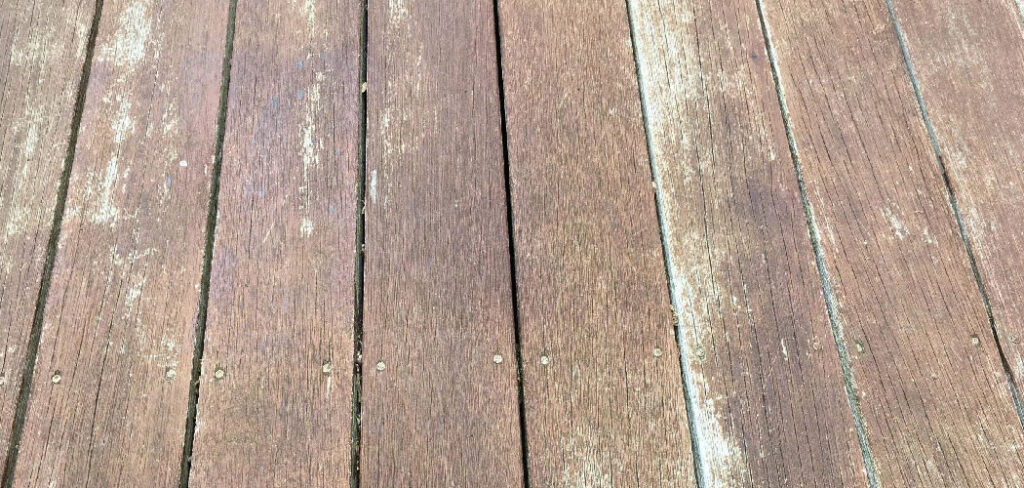
A darker finish hides flaws. It evens out blotchy patches, masks light scratches, and makes cheaper wood look like a premium hardwood. That alone saves you money on replacements and refinishing services.
You also build confidence. Once you know how to adjust color depth, you stop fearing the stain can. You experiment. You match existing pieces in your home instead of settling for a mismatch.
Skipping this skill leads to costly mistakes. People strip perfectly good projects because they assumed the color was permanent. It isn’t. A few coats of the right product extend the life of your wood and keep furniture out of the landfill. You protect your investment and your weekend at the same time.
Tools and Materials You’ll Need
Gather everything before you start. Stopping mid-project to find supplies leads to uneven results and dried brush marks.
- Darker wood stain — oil-based stain or gel stain in your target color (dark walnut or ebony stain for deep tones)
- Sandpaper — 220-grit for light scuffing between coats
- Tack cloth — removes every speck of dust before staining
- Foam brushes or lint-free rags — for smooth, even application
- Clean cotton rags — to wipe back excess pigment
- Wood conditioner — prevents blotching on softwoods like pine
- Polyurethane or topcoat — seals and protects the finish coat
- Nitrile gloves — keeps stain off your hands
- Drop cloth — protects your floor and work surface
- Painter’s pyramids (optional) — raises your piece off the table so edges dry evenly
Step-by-Step Guide on How to Darken Stained Wood
Step 1 – Assess Your Current Finish
Start by figuring out what’s already on the wood. Run your hand across the surface. If it feels slick and glossy, a topcoat is sealing the stain underneath. New color won’t soak in until you break through that layer.
Dab a little mineral spirits on a hidden spot. If the rag picks up color, you have an unsealed oil-based stain — easy to work with. If nothing transfers and the surface stays shiny, a polyurethane or lacquer is blocking you.
Knowing this saves hours. You’ll skip products that won’t bond and head straight for the method that works. This single check is the foundation of how to darken stained wood without wasting effort.
Step 2 – Clean the Surface Thoroughly
Dirt and grease ruin adhesion. Wipe the entire piece with a mild soap solution and a damp cloth. Pay attention to corners and carved details where grime hides.
Let the wood dry completely. Rushing here traps moisture under your new stain and causes cloudy patches. Give it an hour or two in a well-ventilated room.
You’ll know it’s ready when the surface feels dry and smells neutral — no lingering cleaner scent. A clean board has a slightly dull, matte look. If it still feels tacky or sticky, wait longer. Skipping this step is the most common reason a darker coat refuses to stick evenly across the grain.
Step 3 – Scuff Sand the Topcoat
Now you open the surface so new color can grip. Take your 220-grit sandpaper and sand with the wood grain using light, even pressure. You’re not removing the finish — just dulling it.
Listen for a soft, consistent scratching sound. That tells you the abrasive is cutting evenly. A squeaky, skipping noise means you’re pressing too hard on a slick spot.
When you finish, the glossy sheen should turn into a uniform haze. Glossy patches mean you missed areas, so go back over them. Don’t sand through to bare wood unless you want a lighter base. A gentle, even scuff is all you need for the next coat to bond.
Step 4 – Remove All Dust
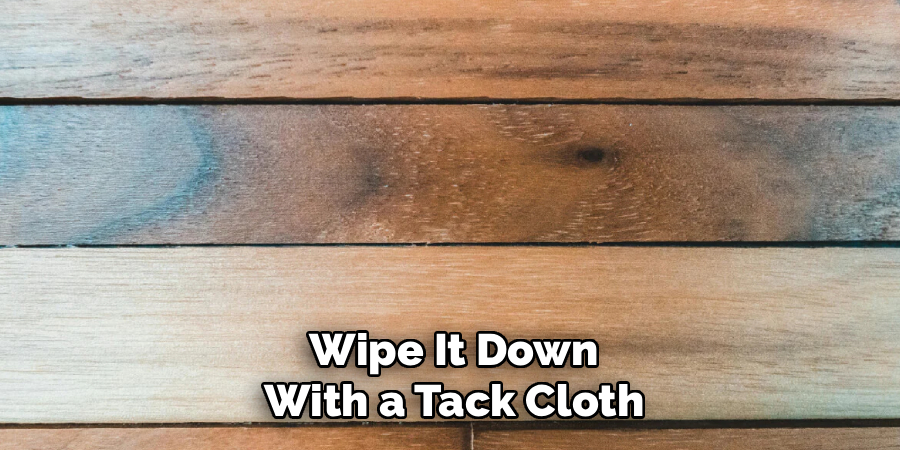
Sanding leaves fine powder that blocks stain from penetrating. Vacuum the surface first, then wipe it down with a tack cloth. Drag the cloth slowly so it lifts every particle.
Run your fingertips over the wood afterward. It should feel clean and smooth, with no gritty residue. Any leftover dust shows up as tiny bumps in your final finish coat.
Hold the piece toward a light at an angle. Dust glints when light hits it. If you spot specks, tack it again. This quick habit separates a gritty, amateur result from a glassy, professional one. Clean wood accepts pigment evenly and rewards you with a smooth, rich color.
Step 5 – Apply Wood Conditioner
Softwoods like pine and birch drink up stain unevenly. Some spots turn dark and blotchy while others stay pale. A pre-stain wood conditioner fixes this by sealing the pores so they absorb color at the same rate.
Brush a thin, even coat across the surface. The wood will look slightly damp and darker as it soaks in. Wait the time listed on the can, usually 15 minutes, then wipe off any excess.
Skip this step on dense hardwoods like maple if you want maximum depth — they don’t blotch as easily. But for most beginner projects, conditioner is cheap insurance against a patchy, frustrating finish that forces you to start over.
Step 6 – Apply the Darker Stain
Here’s where the color deepens. Stir your stain well — never shake it, since bubbles cause an uneven coat. Dip your rag or foam brush and apply along the wood grain in long, smooth strokes.
The surface darkens instantly. Let it sit two to three minutes so the pigment settles into the grain. The longer it dwells, the deeper the tone. For richer results when learning how to darken stained wood, a gel stain layers beautifully over existing finishes without running.
Then wipe back the excess with a clean cloth, following the grain. You should see even color with visible grain lines, not muddy pooling. Streaks or dark blotches mean you left too much stain sitting too long.
Step 7 – Wipe and Inspect
Wiping back excess stain controls the final color. Use a dry, lint-free rag and pull firmly along the grain. The rag drags slightly as it lifts surplus pigment.
Step back and inspect under good light. The tone should look uniform from edge to edge. Glance across the surface at an angle to catch any glossy wet spots where stain still pools.
If a section looks lighter than the rest, add a touch more stain and feather it into the surrounding area. Blend while everything is still wet. Dried edges create hard lines that are tough to fix later. A consistent, satin-dull surface tells you the color is set and ready to cure.
Step 8 – Let It Dry and Add Coats
Patience pays off here. Let the stain dry for the full time on the label — usually 8 to 24 hours. The surface should feel completely dry, never tacky or sticky to the touch.
Want it darker still? Apply a second coat using the same wipe-on, wipe-off method. Each layer deepens the tone toward dark walnut or near-black ebony. Restaining in thin coats beats one heavy coat every time.
Check your progress in daylight between coats. Color looks different under warm indoor bulbs versus natural light. Stop when you hit the depth you want. Two thin coats almost always look richer and more even than a single thick one that stays gummy.
Step 9 – Seal With a Protective Topcoat
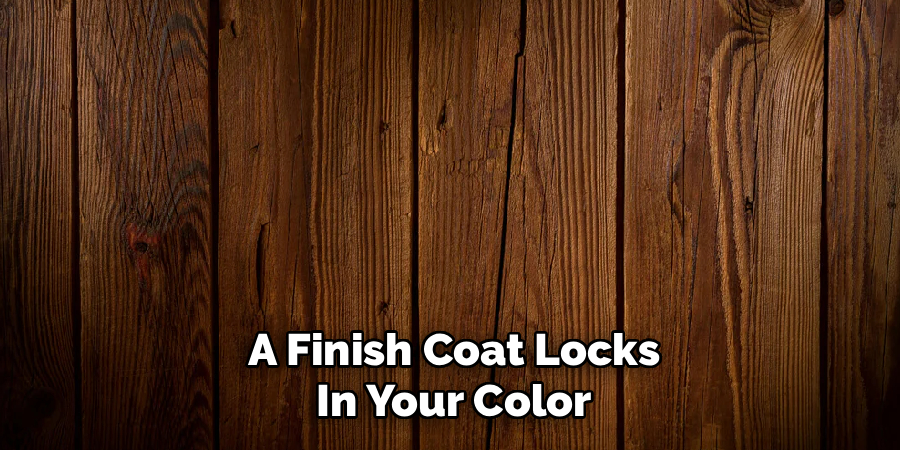
A finish coat locks in your color and guards against scratches, spills, and fading. Once the stain is fully dry, brush on a thin layer of polyurethane along the grain.
Work in one direction and avoid going back over drying areas — that creates drag marks and bubbles. The topcoat goes on milky and dries clear, slightly deepening the color one final notch.
Let it cure, scuff lightly with 220-grit, wipe with a tack cloth, and add a second coat for durability. Run your hand over the cured finish; it should feel smooth as glass. A protected piece resists daily wear and keeps that deep, rich color looking sharp for years.
Common Mistakes to Avoid
The biggest error is staining over a sealed surface. If you skip the scuff-sanding step, your new stain sits on top of the old topcoat and never bonds. It smears, stays tacky, and wipes right off. Always break the existing finish first so the pigment has something to grip.
Another frequent slip is leaving too much stain on the wood. Beginners assume more stain means a darker, better result. Instead you get a sticky, blotchy mess that never fully dries. Wipe back the excess every time, following the grain, and build depth with thin coats rather than one heavy layer.
People also rush the drying time. Wet stain trapped under a topcoat turns cloudy and gummy, and there’s no quick fix once it’s sealed. Respect the hours listed on the can.
Skipping wood conditioner on softwoods causes ugly blotching, especially on pine. And forgetting to remove sanding dust leaves gritty bumps in the finish. Both are simple to prevent and frustrating to repair after the fact.
Expert Tips
Test your color on a hidden spot or scrap board first. Stain looks different on every wood species, and a quick test prevents nasty surprises on the visible surface.
Warm your gel stain slightly before applying in a cold garage. Cold stain thickens and drags, leaving an uneven coat. Room temperature flows smoother and self-levels better.
For the deepest tone, layer a dye stain under a pigment stain. The dye penetrates and saturates the grain while the pigment adds surface richness. Pros use this combo to hit true ebony tones that a single product can’t reach.
Finally, wipe in the direction of the grain every single time — applying, blending, and removing. Cross-grain wiping leaves visible streaks that catch the light and broadcast amateur work the moment someone glances at the piece.
Frequently Asked Questions
Can You Darken Wood Without Sanding It First?
Yes, if the existing surface is an unsealed oil-based stain. You can apply a darker gel stain directly and it will bond. But if a topcoat like polyurethane is sealing the wood, you must scuff-sand first. Without that step, the new stain won’t penetrate and will simply wipe off, leaving you frustrated and back at square one.
What’s the Best Stain for Making Wood Darker?
Gel stain is the most beginner-friendly choice for darkening. It sits on the surface, layers easily over existing finishes, and resists running or blotching. For deep tones, dark walnut and ebony stains deliver dramatic results. Oil-based stains penetrate well on bare or lightly sanded wood and offer rich color depth with excellent durability once sealed.
How Many Coats Does It Take to Darken Stained Wood?
Most projects reach the desired depth in one to two coats. Thin coats build color gradually and dry evenly, so you stay in control. A single heavy coat stays gummy and blotches. Apply, wipe back the excess, let it dry fully, then judge the color in natural light before deciding whether to add another layer.
Do I Need a Topcoat After Darkening the Stain?
Yes. A topcoat like polyurethane seals the color, protects against scratches and spills, and prevents fading. Without it, your darker stain rubs off with handling and water leaves marks. Apply two thin coats for furniture and high-traffic surfaces, scuff-sanding lightly between them. This step locks in your work and keeps the finish looking sharp for years.
Why Does My Darkened Stain Look Blotchy?
Blotching usually means the wood absorbed stain unevenly, common on softwoods like pine. Skipping wood conditioner is the main cause. Leaving stain to pool without wiping it back also creates dark patches. To fix it, sand back the blotchy area, apply a pre-stain conditioner, then restain in thin, even coats while wiping along the grain.
Conclusion
Darkening your stain is one of the most rewarding finishing skills you can learn. You take a project that looks flat or mismatched and turn it into something rich and intentional — without stripping anything down to bare wood. The process rewards patience: clean the surface, scuff the finish, apply thin coats, wipe with the grain, and seal it all in with a durable topcoat.
Master how to darken stained wood and you stop fearing color choices. You match furniture sets, rescue thrift-store finds, and stretch the life of pieces you already own. Every coat you apply builds skill and confidence for the next project.
Start with a scrap board, test your color, and trust the steps. Take your time on the drying stages and resist the urge to rush. Do that, and you’ll pull a deep, even, professional finish out of an ordinary stain can — right in your own workshop.
