
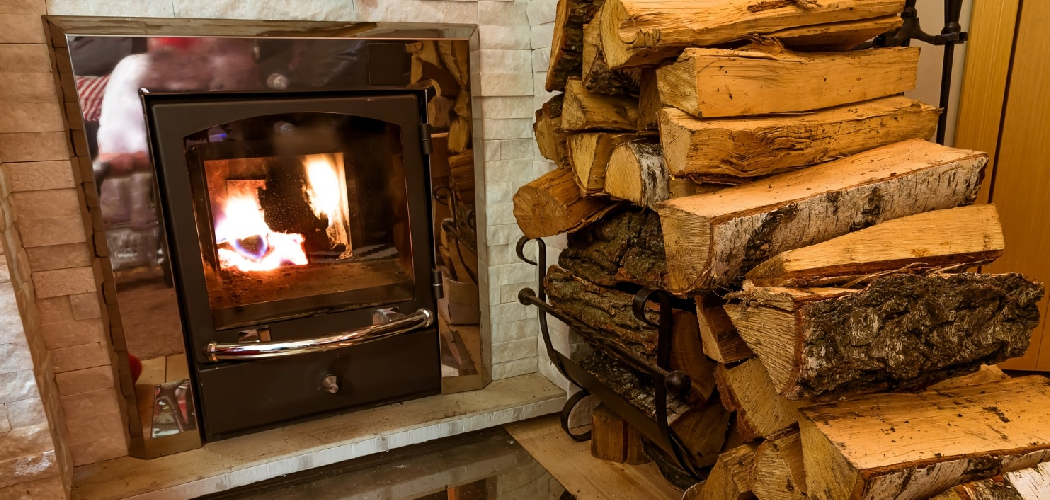
A grimy wood stove drags down the whole room. Dust settles into the cast iron, soot streaks the surface, and rust creeps along the edges where moisture lingers. You don’t need a professional or expensive gear to fix it. Learning how to clean outside of wood stove surfaces is one of the simplest maintenance skills any DIY beginner can pick up, and it pays off fast. A clean stove burns better, looks sharper, and lasts longer.
This is hands-on work, not guesswork. With the right approach, you can strip away grime, treat early rust, and bring back that deep matte-black finish in an afternoon. This guide walks you through every step, from gathering tools to applying stove polish, so your wood-burning stove looks and performs like it should.
Why Cleaning Your Wood Stove Matters
A neglected stove costs you money. Soot buildup traps heat against the metal, dulls the finish, and hides the small rust spots that turn into big repairs. Catch those early and you save the price of a new stove — often hundreds of dollars.
Regular cleaning also builds confidence. Once you handle your first wood-burning stove maintenance job, you’ll spot problems before they spread. You’ll know when the cast iron needs blacking and when paint is starting to fail.
There’s a safety payoff too. Heavy soot and creosote near the stove body raise fire risk. A clean exterior lets you inspect seals, hinges, and joints clearly. You see what’s actually happening with your stove, instead of guessing through a layer of grime.
Tools and Materials You’ll Need
Gather everything before you start. Stopping halfway to find a missing item leaves grime half-removed and streaky.
- Protect your hands and lungs: heavy-duty gloves and a dust mask
- Clear loose debris: stiff nylon brush and a soft handheld brush
- Vacuum the ash and soot: ash vacuum or shop vac with a fine filter
- Wipe surfaces clean: lint-free microfiber cloths and old rags
- Cut through grease and grime: mild dish soap and warm water
- Tackle rust spots: fine-grit sandpaper (220 and 400) or steel wool
- Restore the finish: stove blacking paste or high-heat stove polish
- Touch up bare metal: high-heat stove paint (matte black)
- Catch the mess: drop cloth or old newspaper
- Optional for convenience: a small detail brush for grates, vents, and tight corners
A detail brush isn’t essential, but it reaches the trim and air vents your hands can’t.
Step-by-Step Guide on How to Clean Outside of Wood Stove
Step 1 – Wait for the Stove to Cool Completely
Never start on a warm stove. Cast iron holds heat for hours after the fire dies, and a surface that feels cool to a quick touch can still burn you. Wait at least 12 hours after the last burn — overnight is safest.
Press the back of your hand near the metal without touching it. If you feel any warmth radiating, walk away and give it more time.
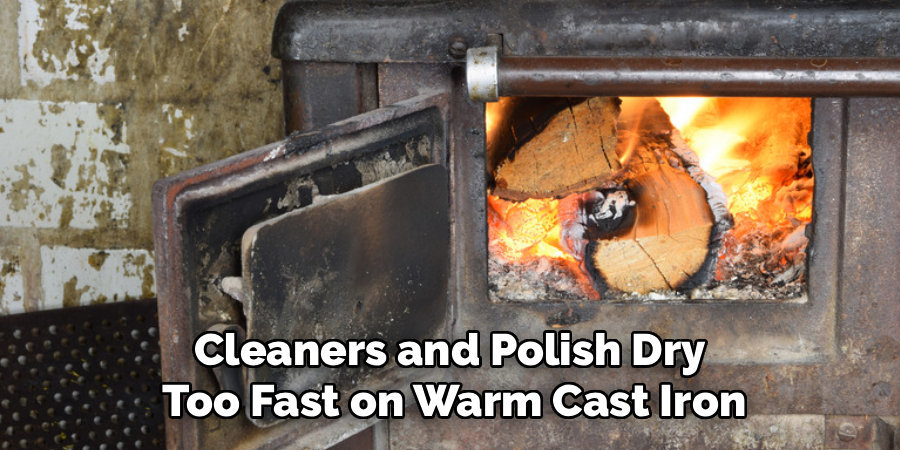
A cold stove also matters for results. Cleaners and polish dry too fast on warm cast iron, leaving streaks and patchy spots. The metal should feel room-temperature and neutral under your fingertips before you begin. Cold and dead is exactly what you want here, both for your safety and the finish.
Step 2 – Protect the Area Around the Stove
Cleaning a wood stove is messy work. Soot is fine and powdery, and it drifts onto floors, walls, and nearby furniture the moment you disturb it.
Lay a drop cloth or thick layer of newspaper across the floor in front of and beside the stove. Pull rugs back and move any cushions or curtains out of range. Soot stains fabric fast.
Open a window for airflow. You’ll kick up dust, and ventilation keeps it from settling back onto the surface you just cleaned.
Put on your gloves and dust mask now. Soot is gritty between the fingers and irritating in the lungs. A few minutes of prep saves you an hour of cleanup later — and keeps the job contained.
Step 3 – Clear Out Loose Ash and Soot
Start with the dry mess. Open the stove door and scoop out cold ash with a small shovel, then let the ash vacuum or shop vac handle the fine dust inside the firebox.
Move to the exterior next. Run your stiff nylon brush over the top, sides, and legs. You’ll hear a dry, scratching sound as loose soot lifts away in dark clouds. Brush from top to bottom so debris falls downward onto your drop cloth.
Vacuum as you go. The fine filter catches the powdery soot that a regular vacuum would blow straight back into the room.
This dry-removal step is the foundation of how to clean outside of wood stove the right way. Skip it, and you’ll just smear soot into a muddy paste later.
Step 4 – Wipe Down with Mild Soap and Water
Now tackle the grime that brushing left behind. Mix a few drops of mild dish soap into warm water — light suds, not a heavy lather.
Dampen a microfiber cloth, wring it out well, and wipe the cast iron in firm, even strokes. The cloth will turn black quickly. Rinse it often and switch to fresh water when it gets murky, or you’ll just spread the grime around.
Work one section at a time. You’ll feel the surface change under the cloth, going from gritty to smooth as the soot lifts.
Keep water to a minimum. Cast iron and excess moisture don’t mix — standing water invites rust. A barely-damp cloth cleans just as well without soaking the metal.
Step 5 – Dry the Surface Thoroughly
This step prevents rust, so don’t rush it. Cast iron starts oxidizing within minutes of contact with water, and any moisture left in seams or textured areas turns to orange rust fast.
Grab a dry microfiber cloth and go over every surface you just washed. Press into the corners, around the door frame, and along the legs where water pools.
Look closely. The metal should shift from a damp sheen to a flat, dry matte as you wipe. Any dark wet patches mean moisture is still sitting there.
For tight spots, your detail brush wrapped in a dry cloth reaches where fingers can’t. Give the stove ten minutes of air after drying, then run your hand over it — it should feel completely dry and slightly cool.
Step 6 – Remove Rust Spots
Find the rust before it spreads. Scan the surface for orange or reddish-brown patches, usually on edges, the top plate, or anywhere moisture collected.
For light surface rust, rub the spot with fine steel wool or 220-grit sandpaper using small circular motions. You’ll hear a gritty scrape and see the orange give way to bare gray metal underneath.
Switch to 400-grit to smooth the area once the rust is gone. Run your fingertip across it — the patch should feel level with the surrounding cast iron, not pitted or rough.
Wipe away the metal dust with a dry cloth. Don’t use water here; you’ve just exposed raw iron that will rust again instantly if it gets wet. This rust removal step preps the surface for fresh blacking or paint.
Step 7 – Apply Stove Blacking or Polish
Bring back the finish. Stove blacking paste restores that deep, even matte-black look and adds a protective layer against future rust.
Scoop a small amount onto a clean cloth or applicator brush. Work it into the cast iron in thin, even coats, following the grain of any texture. A little goes a long way — too much leaves a sticky, uneven film.
You’ll see the surface deepen from dull gray to rich black as you buff. Let it haze over for a few minutes, then polish with a fresh cloth until it shines softly.
Applying stove polish correctly is the finishing touch in how to clean outside of wood stove, turning a clean surface into one that looks newly installed. Buff in firm circles for an even sheen.
Step 8 – Touch Up Bare Metal with High-Heat Paint
Some spots need more than polish. Where rust removal exposed large patches of bare metal, or where old stove paint has flaked and chipped, reach for high-heat stove paint rated for at least 1,200°F.
Shake the can well and spray light, even passes from about ten inches away. Two thin coats beat one thick one — heavy spraying drips and runs on vertical surfaces.
Mask off any trim, glass, or handles you don’t want painted. Overspray drifts further than you’d expect.
Let each coat dry to the touch before adding the next, usually 15 to 30 minutes. The paint sets fully once you fire the stove, curing as it heats. Expect a faint odor on that first burn — that’s normal and clears quickly.
Step 9 – Final Inspection and Reassembly
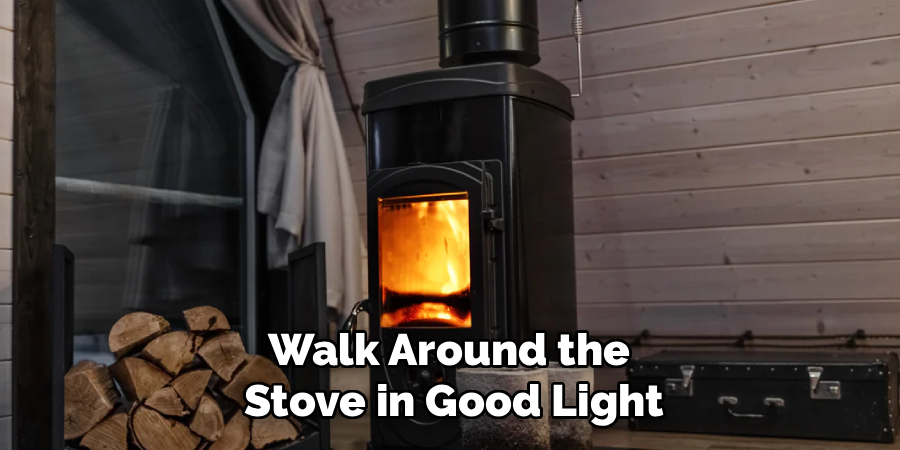
Step back and check your work. Walk around the stove in good light and look for missed soot streaks, dull patches, or spots where polish didn’t take evenly.
Run your hand over the cast iron. It should feel smooth, dry, and uniform, with no gritty residue or tacky polish lingering on the surface.
Check the door seals, hinges, and air vents while you’re close. A clean exterior makes worn gaskets and loose hardware easy to spot.
Reattach any grates, trivets, or parts you removed. Fold up the drop cloth carefully so trapped soot doesn’t spill, and vacuum the surrounding floor one last time. Your wood-burning stove maintenance is complete, and the stove is ready for its next fire.
Common Mistakes to Avoid
The biggest mistake is cleaning a warm stove. Heat dries cleaners and polish on contact, leaving streaks you can’t buff out, and the metal can still burn you hours after the fire dies. Always work on fully cooled cast iron.
Soaking the metal is another common error. Beginners reach for a dripping sponge and flood the surface, thinking more water means cleaner results. It doesn’t. Excess moisture seeps into seams and textured areas, and cast iron rusts within minutes. Use a barely-damp cloth and dry immediately.
Skipping the dry-brushing step causes trouble too. If you go straight to soap and water without removing loose soot first, you turn dry powder into black sludge that smears across the surface and clings to every crevice. Always brush and vacuum before you wash.
Many people also use the wrong paint. Regular spray paint blisters and burns off the moment the stove heats up, releasing fumes and ruining the finish. Only high-heat stove paint rated for 1,200°F or more belongs on a wood stove.
Finally, don’t overapply blacking or polish. A thick coat stays tacky, attracts dust, and never buffs to a clean shine. Thin layers always win.
Expert Tips
Work in sections rather than tackling the whole stove at once. Cleaning, drying, and polishing one panel before moving on prevents soap from drying and keeps your results even across the whole body.
Keep two sets of cloths separate — one for washing, one for drying and polishing. Mixing them reintroduces grime to a surface you just cleaned.
Time your deep clean for the off-season. Cleaning in spring, after your last fire, means the stove sits protected through the humid summer months when rust does the most damage.
A thin wipe of blacking every few weeks during burning season beats one heavy annual clean. Light, regular upkeep keeps soot from bonding to the cast iron in the first place — and turns your next deep clean into a quick job instead of an all-day project.
Frequently Asked Questions
How Often Should You Clean the Outside of a Wood Stove?
Clean the exterior once a month during burning season and do one deep clean at the end of winter. Light dusting and a quick wipe keep soot from bonding to the cast iron, while the seasonal deep clean handles rust treatment and re-blacking. Stoves that burn daily need more frequent attention than ones used only on weekends.
Can You Use Regular Paint on a Wood Stove?
No. Regular paint blisters, peels, and releases fumes the moment the stove heats up. Use only high-heat stove paint rated for at least 1,200°F. It bonds to cast iron, cures as the stove warms, and withstands repeated heating cycles without flaking. Standard spray paint ruins the finish and creates a safety hazard.
What’s the Difference Between Stove Blacking and Stove Polish?
Stove blacking is a paste that restores deep black color and protects bare cast iron, while stove polish often refers to the buffing product that adds shine. In practice, the terms overlap. Both go on in thin coats and buff to a soft sheen. Blacking offers more rust protection, making it the better choice after rust removal.
How Do You Stop a Wood Stove from Rusting?
Keep moisture off the metal. Dry the surface completely after every cleaning, apply blacking to seal bare cast iron, and store the stove in a low-humidity space when it’s not in use. Catch rust early with fine sandpaper or steel wool, then reseal the spot. Regular wood-burning stove maintenance is the strongest defense against rust.
Is It Safe to Vacuum Ash and Soot from a Wood Stove?
Yes, but only with an ash vacuum or shop vac fitted with a fine filter. A regular household vacuum blows powdery soot straight through the bag and back into your room, and warm embers can damage it. Always confirm the ash is completely cold first — even a small live coal can melt the hose or start a fire.
Conclusion
A clean wood stove burns hotter, looks better, and lasts years longer. You’ve seen that knowing how to clean outside of wood stove surfaces takes nothing more than basic tools, a free afternoon, and a little patience.
Remember the order that gets results. Cool the stove fully. Clear the dry soot and ash first. Wash with a barely-damp cloth, then dry every surface to stop rust before it starts. Treat rust spots with fine sandpaper, restore the finish with stove blacking, and touch up bare metal with high-heat paint.
The real win is what comes next. Once you’ve done it once, you’ll spot trouble early, handle small repairs yourself, and skip the cost of premature replacement. Light, regular upkeep keeps each clean quick and your cast iron looking sharp through every burning season.
Grab your gloves, set aside an afternoon, and give your wood-burning stove the maintenance it deserves. Your next fire will burn cleaner — and your stove will thank you for years to come.
