
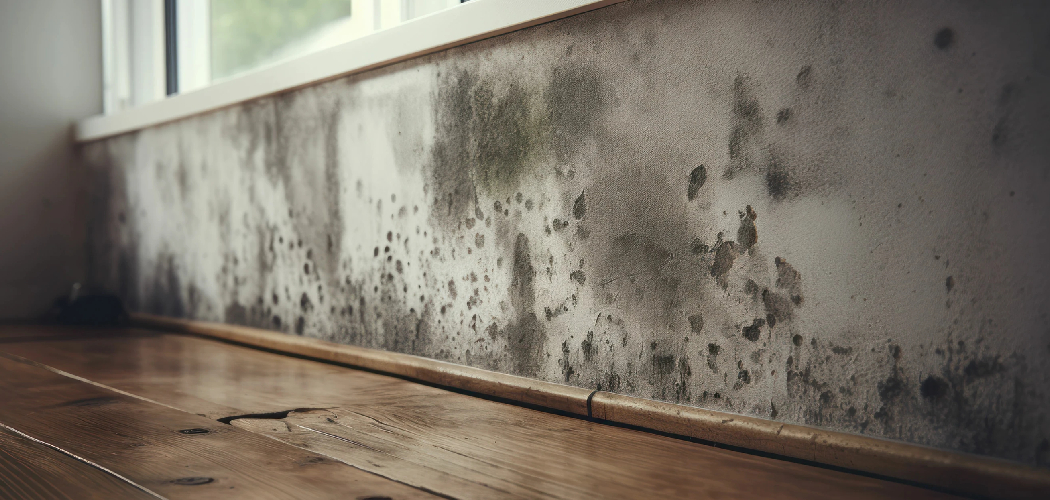
Wood swells when it absorbs moisture. That swelling warps doors, jams drawers, splits joints, and ruins finishes. If you have ever fought a sticking cabinet door in humid weather or watched a deck board cup after rain, you have seen the problem firsthand. The good news: you can prevent it.
Learning how to stop wood from swelling is a skill that protects every project you build, install, or repair. It comes down to controlling moisture and sealing wood properly before water ever reaches the grain. This guide walks you through the exact steps, tools, and pro techniques to keep your wood stable, flat, and looking sharp for years.
Why Stopping Wood Swelling Matters
Swelling wood costs you money. A warped tabletop, a split door panel, or a cupped floorboard means replacement materials, wasted hours, and a finish you have to redo. Stopping the problem at the source protects your investment.
For DIY beginners, the payoff is bigger than dollars. You build confidence. You stop second-guessing whether your project will survive the next humid summer. You learn to read wood the way a pro does — spotting moisture risks before they wreck your work.
Sealed, stable wood lasts decades longer than untreated wood. Outdoor furniture survives the rain. Indoor cabinetry stops sticking. Floors stay flat. Master moisture control once, and every future project gets easier and more durable.
Tools and Materials You’ll Need
Gather these before you start. Having everything ready keeps the job clean and prevents half-finished, exposed wood from soaking up moisture mid-project.
- Moisture meter — confirms wood moisture content before you seal
- Wood sealer or waterproofing product — blocks water from reaching the grain
- Sandpaper (120 to 220 grit) — smooths the surface and opens it for finish
- Tack cloth — removes dust before sealing
- Quality brush or foam applicator — applies even coats
- Clean rags — wipe excess and clean spills
- Penetrating wood finish or polyurethane — adds a durable topcoat
- Painter’s tape — protects edges and hardware
- Dehumidifier (optional) — controls shop humidity for faster, more reliable curing
Step-by-Step Guide on How to Stop Wood From Swelling
Step 1 – Measure the Wood Moisture Content First
Never seal wet wood. Trapping moisture under a finish causes swelling, peeling, and mildew. Start with a moisture meter.
Press the prongs into the wood and read the number. For most indoor projects, aim for 6 to 9 percent moisture content. Outdoor wood should sit between 9 and 14 percent. If your reading runs higher, the wood is too damp to seal.
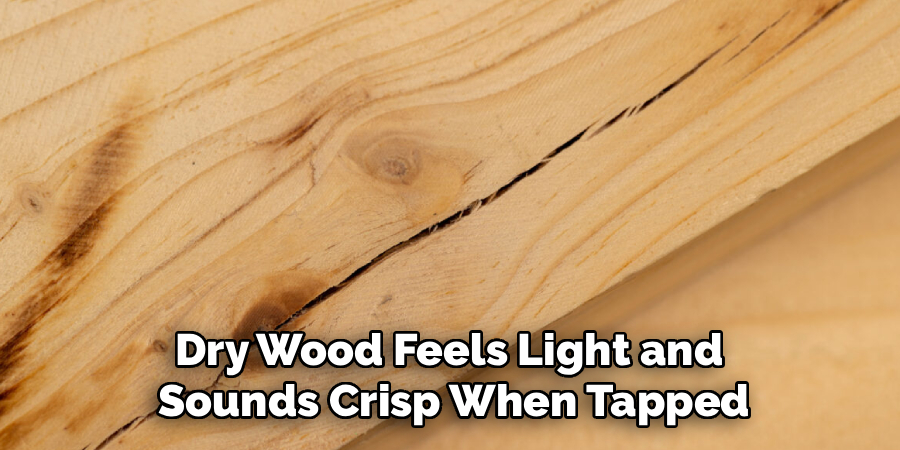
Set damp boards in a dry, well-ventilated space for several days and test again. You want a stable reading that doesn’t drop between checks. Dry wood feels light and sounds crisp when tapped. Damp wood feels cool and heavy. This single step is the foundation of how to stop wood from swelling — seal dry, stay dry.
Step 2 – Acclimate Wood to Its Environment
Wood moves until it matches the humidity around it. Install or build with wood that hasn’t adjusted, and it will shrink or swell after the fact.
Move your boards into the room where they’ll live. Stack them with thin spacers between each piece so air flows on all sides. Let them sit for three to seven days.
You’ll feel the difference as the wood settles. Edges that felt slightly damp turn dry and even. The boards stop shifting when you set them flat. Skipping this step is the top cause of gaps, cupping, and failed glue joints in finished projects. Patience here saves you from tearing the work apart later.
Step 3 – Sand the Surface Smooth
Sealer bonds best to a clean, even surface. Start with 120-grit sandpaper and work up to 220.
Sand with the grain, never across it. You’ll hear a smooth, consistent scratch and feel the surface turn silky under your fingertips. Rough patches, mill marks, and raised grain disappear. Run your hand over the wood — any drag or fuzz means you need another pass.
Pay attention to grain raising. The first coat of any water-based product lifts tiny fibers and roughens the surface. A light pre-wetting and sanding now reduces that effect later. Sand evenly across the whole board. Uneven sanding leaves spots where sealer soaks in differently and water can sneak through.
Step 4 – Clean Off All Dust and Debris
Dust ruins finishes. Trapped particles create a bumpy, weak seal that lets moisture slip past.
Wipe the surface with a tack cloth, moving slowly to lift every speck. For corners and joints, use a soft brush or vacuum with a nozzle attachment. The wood should look clean and feel completely smooth — no grit, no fuzz, no leftover sanding powder.
Check your work in raking light. Hold a flashlight at a low angle across the surface and watch for shadows that reveal dust or scratches. A truly clean surface reflects light evenly. This step takes five minutes and dramatically improves how well your sealer grips, which is exactly what stops water from reaching the grain.
Step 5 – Apply a Quality Wood Sealer
This is the core of waterproofing wood. A good sealer fills the pores and blocks moisture before it can cause wood expansion.
Stir the sealer gently — never shake it, or you’ll create bubbles. Load your brush or foam applicator and spread a thin, even coat with the grain. You want full coverage without puddles. Watch for a uniform wet sheen across the surface.
Don’t forget the end grain. End grain soaks up water far faster than face grain, so coat it generously. These exposed fibers are where most swelling starts. Apply sealer to undersides and hidden edges too. Sealing only the top leaves a path for moisture, and one open face is all it takes to ruin a board.
Step 6 – Let It Dry, Then Sand Lightly
Rushing the dry time wrecks everything. Read the product label and respect the full cure window — usually 2 to 24 hours depending on the sealer and humidity.
The surface is ready when it feels dry and slightly hard, with no tackiness. Touch an edge gently. If your finger sticks or leaves a mark, wait longer. A dehumidifier speeds this along in damp shops.
Once dry, scuff the surface with 220-grit paper. You’ll feel raised grain — those tiny fibers the sealer lifted. Sanding knocks them down and creates a tooth for the next coat. Wipe away the dust with a tack cloth again. The surface should feel glass-smooth before you continue.
Step 7 – Add a Durable Topcoat
The topcoat is your armor. Polyurethane or a penetrating wood finish locks in the sealer and adds a tough, water-resistant shell.
Apply thin coats — two or three beat one heavy layer every time. Brush with the grain, keeping a wet edge so coats blend without lap marks. Watch for an even, glossy or satin film, depending on your finish.
Let each coat dry fully, then scuff lightly before the next. You’ll build a smooth, hard surface that beads water instead of absorbing it. This layered defense is the heart of how to stop wood from swelling for the long haul. Properly topcoated wood shrugs off spills, humidity, and seasonal moisture swings without warping or cupping.
Step 8 – Maintain Humidity Control Around the Wood
Sealing helps, but the environment matters too. Wide humidity swings stress even well-finished wood.
Keep indoor spaces between 35 and 55 percent relative humidity. Use a dehumidifier in damp basements and a humidifier in dry winter air. A simple hygrometer tells you where you stand.
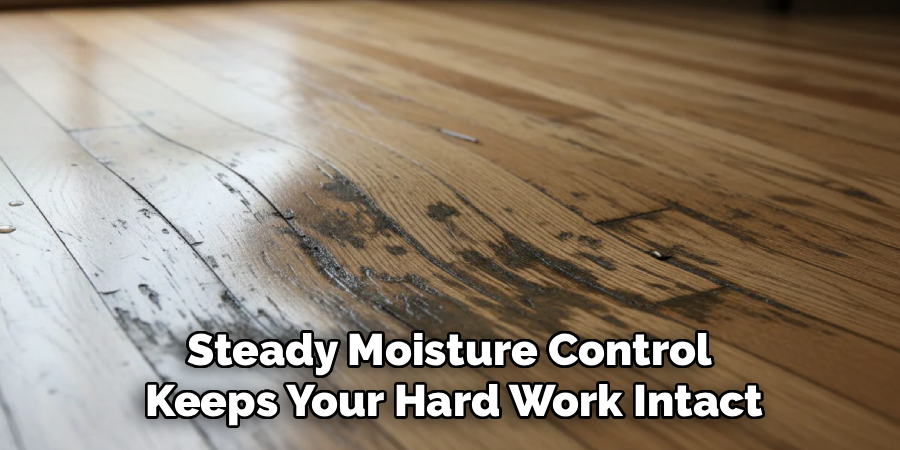
For outdoor projects, store furniture under cover during heavy rain and reseal exposed surfaces each season. You’ll notice stable wood stays flat, quiet, and tight — no creaking joints or sticking drawers. Wood in unstable humidity shifts constantly, opening gaps and stressing finishes. Steady moisture control keeps your hard work intact and extends the life of every piece for years.
Common Mistakes to Avoid
The biggest mistake is sealing wood that’s still wet. Trapping moisture under a finish guarantees swelling, peeling, and even mold. Always check moisture content with a meter before you start — guessing by feel fails more often than not.
Skipping the end grain is another costly error. End grain absorbs water like a straw, far faster than the flat faces. Many beginners coat the top and sides beautifully, then leave raw end grain exposed. Water wicks straight in, and the board swells from the inside out. Seal every surface, especially the ends.
Rushing dry times ruins finishes constantly. A coat that feels dry on top may still be soft underneath. Pile on the next layer too soon, and you trap solvents, create a gummy mess, and weaken the moisture barrier. Patience pays here.
People also apply finish too thick, hoping one heavy coat will do the job. It won’t. Thick coats trap bubbles, dry unevenly, and crack over time. Thin, multiple coats build a stronger, smoother shield. Finally, ignoring humidity after finishing undoes your effort — stable wood needs a stable environment to stay flat.
Expert Tips
Seal end grain twice. Those open fibers drink moisture, so a second coat there pays off more than anywhere else on the board. Pros do this automatically.
Pre-raise the grain before your final sanding. Wipe the bare wood with a barely damp rag, let it dry, then sand at 220. The grain lifts now instead of after your first finish coat, giving you a smoother result with less rework.
Buy wood from a supplier who stores it indoors. Lumber stacked in a damp yard arrives loaded with moisture you’ll have to remove yourself.
Finish both sides of any panel, door, or tabletop. Coating only one face creates uneven moisture exchange, and the wood cups toward the unsealed side every time.
Frequently Asked Questions
What Is the Best Sealer to Prevent Wood From Swelling?
Penetrating sealers and polyurethane both work well. Penetrating oil sealers soak into the grain and resist moisture from within, ideal for furniture and trim. Polyurethane forms a hard surface film, perfect for floors and tabletops. For outdoor wood, choose a marine-grade or exterior sealer with UV protection. Match the product to the project, and always seal every surface.
Can You Fix Wood That Has Already Swollen?
Sometimes. If the swelling came from temporary moisture, dry the wood slowly in a ventilated space and it may shrink back close to its original size. Sand high spots smooth once fully dry. Severe or repeated swelling that crushes the fibers is usually permanent, meaning you’ll need to replace the affected piece. Prevention beats repair every time.
How Long Should Wood Dry Before Sealing?
Wood should reach a stable moisture content first, not a fixed number of days. Indoor projects need 6 to 9 percent; outdoor wood, 9 to 14 percent. Use a moisture meter and retest until the reading stops dropping between checks. Freshly purchased lumber often needs three to seven days of acclimation in its final environment before you seal it.
Does Sealing End Grain Really Matter That Much?
Yes, more than any other surface. End grain absorbs water up to ten times faster than face grain because the wood’s open pores point straight out. Unsealed end grain is the most common entry point for moisture, leading to swelling, splitting, and cupping. Always apply at least two coats to every exposed end for reliable protection.
How Often Should I Reseal Outdoor Wood?
Reseal outdoor wood every one to two years, depending on sun and rain exposure. Test by sprinkling water on the surface — if it beads, your seal holds. If it soaks in and darkens the wood, it’s time to recoat. High-traffic surfaces like decks and railings wear faster and may need yearly attention to stay protected.
Conclusion
Swelling wood is a solved problem once you understand moisture. Measure the wood moisture content, acclimate your boards, sand smooth, and seal every surface — especially the end grain. Add a durable topcoat, control the humidity around your project, and you’ll keep your wood flat, tight, and beautiful for years.
You now know how to stop wood from swelling using the same approach pros rely on. None of these steps require special talent. They require patience and a willingness to do the job right the first time. Skip the shortcuts, respect the dry times, and seal completely.
Your next project deserves that care. A sealed tabletop survives spills. A finished door stops sticking. A protected deck shrugs off the rain. Put these steps to work, and you’ll spend less time fixing warped wood and more time building things that last. Grab your moisture meter and get started — your future self will thank you.
