
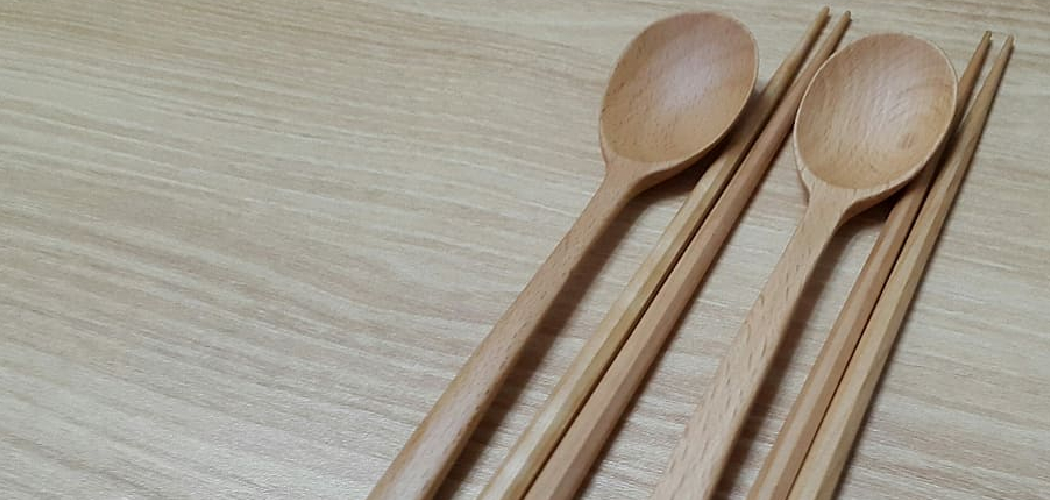
Wooden chopsticks last for years when you treat them right. Neglect them, and they crack, warp, or grow mold within months. That’s a waste of good utensils and a hygiene risk you don’t want near your food.
If you’ve ever wondered how to clean wooden chopsticks without ruining the grain, you’re in the right place. These tools demand a different approach than metal forks or plastic spoons. Wood absorbs water, holds onto oils, and reacts badly to heat and harsh soap.
This guide walks you through every step — from the first rinse to the final oiling — so your chopsticks stay smooth, sanitary, and ready for the next meal.
Why Cleaning Wooden Chopsticks Matters
Dirty chopsticks cost you more than you think. Trapped food particles feed bacteria. Moisture left in the grain invites mold. Both shorten the life of your utensils and put your health at risk.
Proper wood care fixes all of that. Clean chopsticks resist splitting, keep their natural color, and stay free of that musty smell old bamboo chopsticks develop. You also save money. A good pair treated well outlasts a dozen cheap replacements.
There’s a confidence factor too. When you know how to care for wooden tools, you stop second-guessing every meal. You serve food on utensils you trust. That small skill protects your investment and keeps your kitchen safer with almost no extra effort.
Tools and Materials You’ll Need
Gather these before you start. Most are already in your kitchen.
- Clean your chopsticks fast — warm water and a soft sponge
- Cut grease without stripping wood — a small amount of mild dish soap
- Reach tight grooves — a soft-bristle brush or old toothbrush
- Dry without leaving lint — a lint-free cloth or paper towel
- Restore the grain — food-safe oil such as mineral oil or fractionated coconut oil
- Sanitize naturally — white vinegar diluted with water
- Protect the wood long-term (optional) — beeswax-based wood conditioner
Skip the dishwasher and skip steel wool. Both destroy the surface. The list above costs little and keeps your bamboo chopsticks in service for years.
Step-by-Step Guide on How to Clean Wooden Chopsticks
Step 1 – Rinse Immediately After Use
Rinse your chopsticks the moment you finish eating. Don’t let sauce or rice dry on the surface. Dried food hardens into a film that’s tough to remove later.
Hold them under warm running water. Rub the tips gently with your fingers to loosen any residue. You’ll feel the surface go from sticky to smooth as the food lifts away.
Avoid hot water at this stage. High heat opens the wood grain and pushes moisture deep inside, which leads to warping. Lukewarm is the sweet spot — warm enough to dissolve grease, cool enough to protect the fibers.
This quick rinse is the foundation of how to clean wooden chopsticks well. Skip it, and every later step gets harder.
Step 2 – Wash With Mild Soap
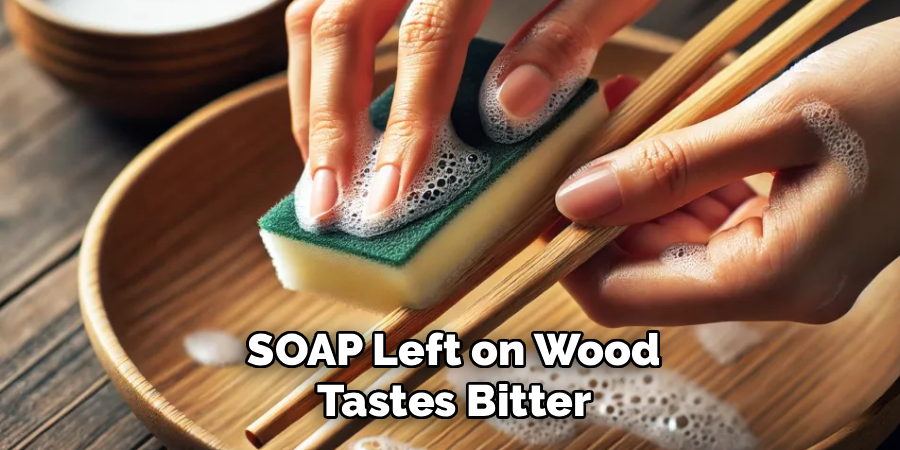
Now bring in the soap. Put a tiny drop of mild dish soap on a soft sponge. You don’t need suds everywhere — a small amount cuts grease without soaking the wood.
Wipe each chopstick from top to tip, following the grain. Listen for the faint squeak of clean wood under the sponge. That sound tells you the oil and residue are gone.
Pay attention to the eating end. That’s where food clings most. Roll the chopstick between your fingers so the sponge reaches every side evenly.
Keep the wash quick. The longer wood sits in soapy water, the more it absorbs. Thirty seconds per pair is plenty. Then move straight to rinsing.
Step 3 – Scrub the Grooves and Tips
Some chopsticks have textured tips or carved grooves that catch food. A sponge alone won’t reach those spots. Grab your soft-bristle brush or an old toothbrush.
Work the bristles into the grooves with light pressure. You’re lifting debris, not sanding the wood. Too much force scratches the finish and raises the grain, leaving a rough, fuzzy surface.
Look closely under good light. Trapped food shows up as dark specks wedged in the texture. Brush until those specks disappear and the grooves look clean and uniform.
For painted or lacquered chopsticks, go even gentler. Hard scrubbing chips the coating and exposes bare wood underneath, which then absorbs water and stains.
Step 4 – Rinse Off All Soap
Soap left on wood tastes bitter and attracts grime. Rinse every trace under warm running water.
Turn each chopstick as the water flows over it. Run your thumb along the surface — if it still feels slick or slippery, soap remains. Keep rinsing until the wood feels clean and slightly grippy.
Watch the water too. Cloudy or foamy runoff means you’re not done. Clear water that sheets off cleanly signals success.
Don’t rush this part. Residue is the most common reason chopsticks develop an off taste over time. A thorough rinse now saves you from that problem and keeps the next meal tasting the way it should.
Step 5 – Sanitize When Needed
Regular washing handles daily use. But after raw meat, fish, or a long stretch in storage, give your chopsticks a deeper clean.
Mix one part white vinegar with four parts water in a shallow dish. Lay the chopsticks flat and let them soak for two to three minutes. Vinegar kills bacteria and neutralizes odors without harsh chemicals.
You’ll notice the slightly sharp smell of vinegar — that’s normal and rinses away completely. Pull the chopsticks out, then rinse them under warm water to remove any lingering tang.
Don’t soak longer than a few minutes. Extended time in liquid swells the wood and weakens the grain. Quick and controlled is the rule when sanitizing utensils made of wood.
Step 6 – Dry Thoroughly
Drying is where most people fail at how to clean wooden chopsticks. Water trapped in the grain is what causes mold, warping, and that gray, tired look on old bamboo chopsticks.
Pat each chopstick with a lint-free cloth or paper towel. Press along the grain to pull moisture from the surface. The wood should feel dry to the touch, not damp or cool.
Then stand them upright in a holder, tips facing up, so air circulates around every side. Avoid laying them flat in a drawer while still moist — that traps water against the surface.
Give them a few hours of open air before storing. Fully dry wood feels warm and light, not heavy or clammy.
Step 7 – Season With Food-Safe Oil
Washing strips natural oils from the wood over time. Seasoning wood puts that protection back and keeps the surface smooth.
Once your chopsticks are completely dry, put a few drops of food-safe oil on a clean cloth. Mineral oil or fractionated coconut oil both work well. Rub the oil along the grain in thin, even strokes.
The wood drinks it in. You’ll see the color deepen and the surface gain a soft sheen. That glow tells you the oil is doing its job — sealing the grain against future moisture.
Wipe off any excess so the chopsticks aren’t greasy. Let them rest overnight. Do this once a month, and your chopsticks stay flexible, sealed, and resistant to cracking.
Step 8 – Store in a Dry, Ventilated Spot
Storage finishes the job. Even perfectly cleaned chopsticks degrade in a damp drawer or a sealed container that traps humidity.
Keep them in an open holder on the counter or in a slotted drawer organizer with airflow. Tips up is best — it lets the eating end breathe and dry fully between uses.
Avoid stacking wet chopsticks in a tight bundle. Pressed together with no air, they hold moisture and develop dark mildew spots within days.
Check your storage spot for dampness. A cabinet near the sink or dishwasher often runs humid. Move your chopsticks somewhere drier, and you’ll extend their life by years with zero extra work.
Common Mistakes to Avoid
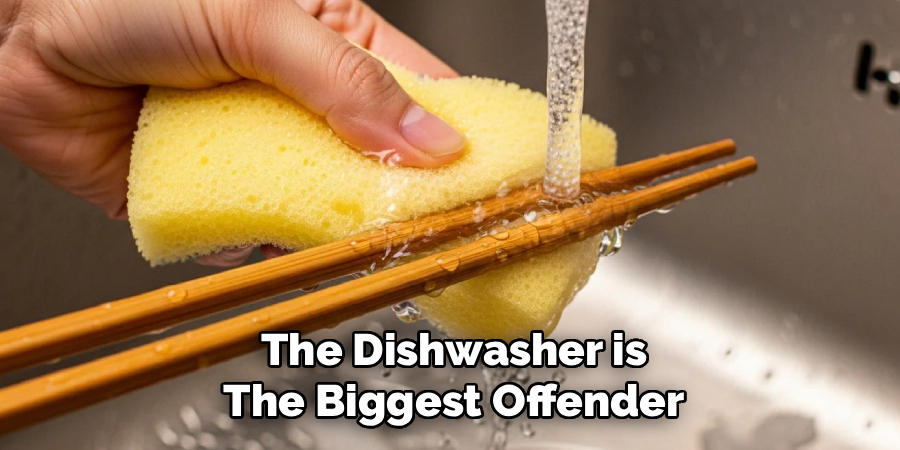
The dishwasher is the biggest offender. High heat and prolonged water exposure warp the wood, crack the finish, and fade the color. One cycle can ruin a quality pair. Always wash wooden chopsticks by hand, no exceptions.
Soaking is the second trap. Leaving chopsticks in a sink full of water feels harmless, but wood absorbs liquid fast. Within minutes the grain swells, and over time it splits. Keep contact with water short and deliberate.
Skipping the drying step causes more damage than people realize. Tossing damp chopsticks into a closed drawer locks moisture against the surface. That’s how mold takes hold and how that musty smell develops. Dry them fully every single time.
Harsh scrubbing ranks high too. Steel wool and abrasive pads scratch the surface, raise the grain, and strip protective finishes. A soft sponge or brush does the job without the damage.
Finally, many people never oil their chopsticks. Without regular seasoning, the wood dries out, turns brittle, and cracks. A monthly oiling takes two minutes and prevents the slow decline that sends chopsticks to the trash early.
Expert Tips
Season new chopsticks before their first use. Factory wood is often bone-dry. A quick oiling on day one seals the grain and stops early cracking that most people never see coming.
Color tells you when to re-oil. When the wood looks pale, dull, or chalky, it’s thirsty. Deep, even color means the seal is still intact.
Rotate your pairs if you use chopsticks daily. Letting each set rest a full day between uses gives the wood time to dry completely and doubles their lifespan.
For stubborn odors, rub the chopsticks with a paste of baking soda and water, then rinse. It pulls out smells that vinegar alone can’t reach.
And never store oiled chopsticks before the oil fully absorbs. Wet oil attracts dust and turns sticky.
Frequently Asked Questions
Can I put wooden chopsticks in the dishwasher?
No. The dishwasher’s high heat and long water exposure warp, crack, and discolor wooden chopsticks. The intense drying cycle strips natural oils and dries the grain until it splits. Always hand-wash with warm water and mild soap, then dry and store them properly. This simple habit keeps your chopsticks smooth and intact for years instead of months.
How often should I oil my wooden chopsticks?
Oil them about once a month with regular use. If the wood looks pale, dull, or feels rough, season it sooner. Use a food-safe oil like mineral oil or fractionated coconut oil. Apply a thin coat along the grain, wipe off the excess, and let it absorb overnight. Monthly oiling keeps the wood sealed, flexible, and resistant to cracking.
Why do my wooden chopsticks smell musty?
A musty smell means moisture got trapped in the wood, usually from poor drying or damp storage. The damp grain breeds mold and bacteria, which create that odor. Soak the chopsticks in diluted white vinegar for two to three minutes, rinse, and dry them completely. Then store them tips-up in a ventilated spot to stop the smell returning.
Is it safe to keep using cracked chopsticks?
No. Cracks trap food particles and bacteria that washing can’t fully remove, creating a hygiene risk. Cracked wood also splinters, which can hurt your mouth. Once a chopstick splits, retire it. To prevent cracking, season the wood monthly, dry it thoroughly after each wash, and store it away from heat and humidity.
What oil is best for wooden chopsticks?
Food-safe mineral oil is the top choice because it never goes rancid and seals the grain well. Fractionated coconut oil works too and stays liquid at room temperature. Avoid regular cooking oils like olive or vegetable oil — they turn rancid, leave a sticky film, and create off smells. Stick to oils made or rated for kitchen wood care.
Conclusion
Wooden chopsticks reward good care with years of reliable use. Rinse them right after eating, wash with mild soap, scrub the grooves, rinse out every trace, sanitize when needed, dry them fully, and season the wood monthly. Each step protects the grain and keeps your utensils clean, smooth, and safe.
The payoff is real. You save money by skipping constant replacements. You protect your health by keeping bacteria and mold out. And you build a small skill that makes your whole kitchen more dependable.
Now that you know how to clean wooden chopsticks the right way, the routine takes just minutes. Make it a habit, and your chopsticks will stay in top shape meal after meal. Treat the wood well, and it returns the favor — pair after pair, year after year. Start with your next meal, and watch the difference good care makes.
