
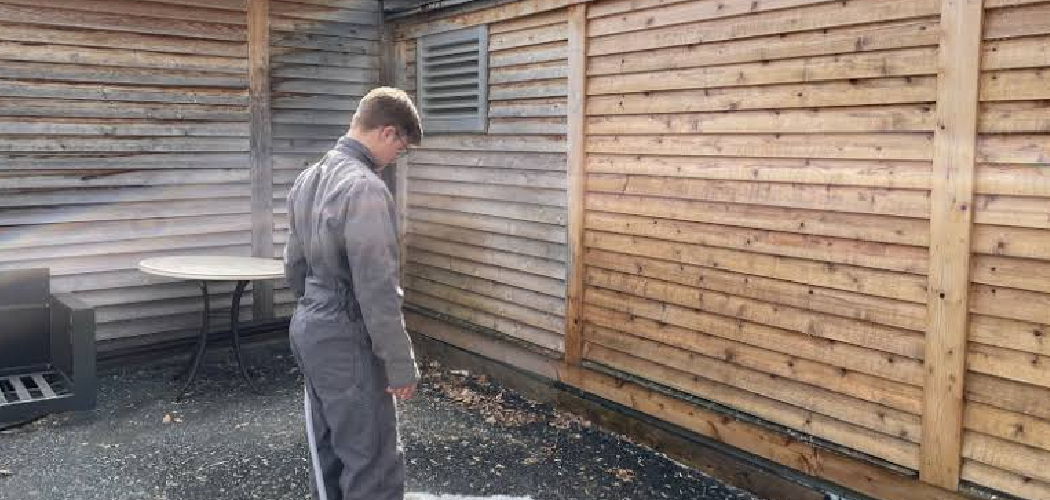
Mildew turns clean wood siding into a patchy gray-green mess. It clings to the surface, traps moisture, and slowly breaks down the fibers and finish underneath. Left alone, those stains spread fast across shaded walls and north-facing boards. The good news? You can fix it yourself in an afternoon.
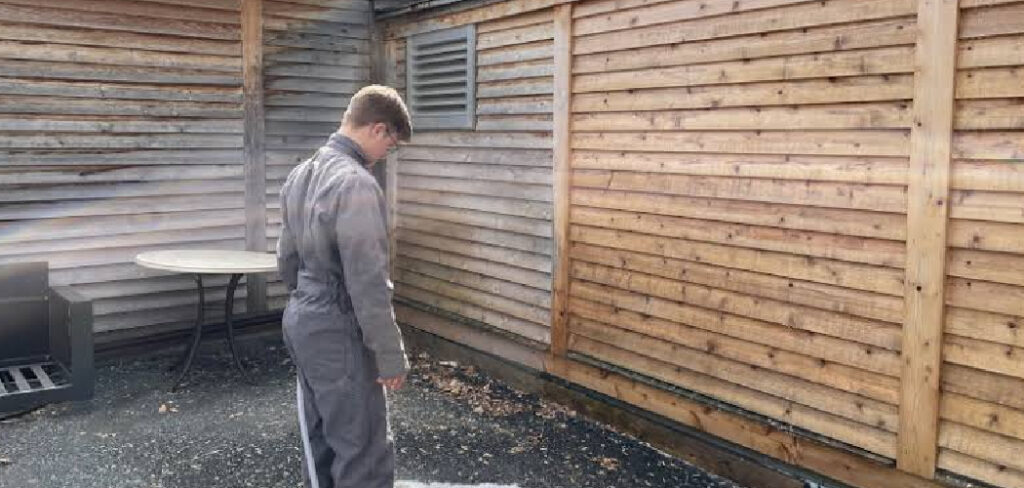
Learning how to remove mildew from wood siding takes no special skills, just the right cleaner, a steady scrub, and a careful rinse. Most homeowners spend more time worrying about the problem than actually solving it. This guide walks you through the entire process, step by step, so you can strip away mildew stains, protect your wood, and restore that fresh, even color across every board on your home.
Why Removing Mildew From Wood Siding Matters
Mildew does more than look bad. It feeds on moisture and organic film, and it slowly degrades the wood beneath your paint or stain. Ignore it, and you trade a quick cleaning job for full board replacement down the road.
Clean siding lasts longer. You protect your investment, keep your finish intact, and avoid the high cost of repairs or repainting before their time. A simple wash every year or two extends siding life by years.
There’s also confidence in doing it right. Once you handle exterior wood cleaning yourself, you stop paying for service calls and start spotting small problems early. You control the upkeep, the timing, and the results — all for the price of a bucket and a brush.
Tools and Materials You’ll Need
Gather everything before you start. A quick trip mid-project leaves wet siding to dry unevenly.
- Oxygen bleach — lifts mildew stains without harming wood or nearby plants
- Stiff-bristle scrub brush — loosens growth from grain and seams
- Garden hose with spray nozzle — rinses surfaces and clears debris
- Bucket — mixes and holds your cleaning solution
- Rubber gloves and safety goggles — protect skin and eyes from splash
- Drop cloths or plastic sheeting — shield plants and walkways
- Soft cloth or sponge — handles trim and tight corners
- Wood preservative or fresh finish — seals and protects after cleaning
- Pump sprayer (optional) — speeds up applying cleaner across large walls
Skip chlorine bleach when you can. It strips color, kills landscaping, and dries out wood fibers faster than oxygen-based cleaners.
Step-by-Step Guide on How to Remove Mildew From Wood Siding
Step 1 – Inspect the Siding and Confirm It’s Mildew
Start with a close look. Mildew shows up as gray, green, or black blotches, often in shaded, damp spots. Rub a small patch with a cloth dipped in oxygen bleach solution. If it lightens, it’s mildew. If it stays put, you’re likely dealing with dirt or weathered stain.
Run your hand across the boards. Mildew feels slightly slick or filmy, while plain grime feels gritty. Check the seams and lower courses, where moisture lingers longest.
Knowing what you’re treating saves time. The whole point of learning how to remove mildew from wood siding is matching the right cleaner to the right problem — and mildew responds best to a gentle, oxygen-based approach.
Step 2 – Protect Plants and Surrounding Areas
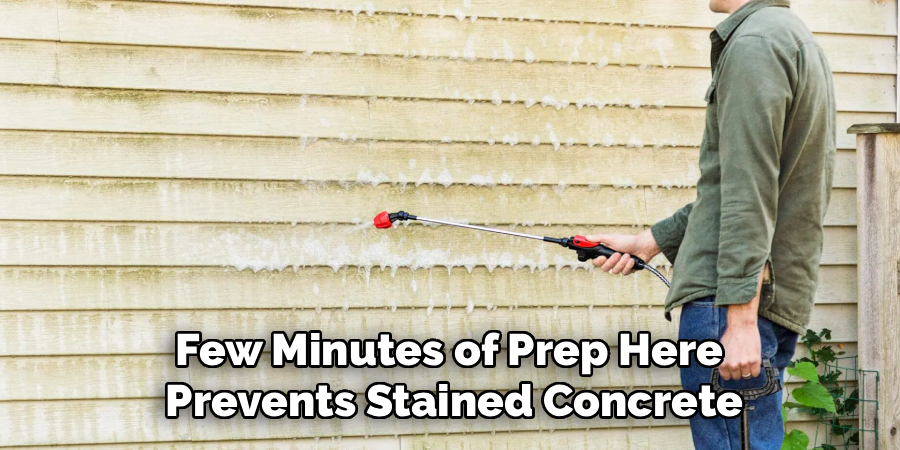
Before any cleaner touches the wall, shield everything below it. Lay drop cloths over flower beds, shrubs, and walkways. Move patio furniture, grills, and planters well clear of the work zone.
Wet your landscaping first. Damp leaves and soil absorb less cleaning solution, which protects roots from runoff. Give nearby plants a quick rinse again halfway through the job.
You’ll hear the difference when everything’s set — no scrambling, no splash hitting bare soil. Close any open windows near the wall, too. A few minutes of prep here prevents stained concrete, scorched plants, and water inside your home. Tape plastic over outdoor outlets and light fixtures for extra safety.
Step 3 – Mix Your Cleaning Solution
Fill your bucket with warm water and add oxygen bleach according to the label. Most blends call for roughly one cup per gallon. Stir until the powder dissolves and the water turns slightly cloudy.
Oxygen bleach works without the harsh fumes of chlorine. You won’t get that sharp, eye-watering sting — just a mild, soapy scent. That’s your sign you’ve mixed it right.
Let the solution sit for a few minutes so it fully activates. Test it on a hidden section of siding first. The cleaner should foam lightly against the mildew and start lifting the stain within a minute. If nothing happens, add a bit more bleach and stir again.
Step 4 – Apply the Cleaner to the Siding
Work from the bottom up to avoid streaks. Dip your brush or load your pump sprayer, then coat the siding generously. Starting low keeps clean water from running over dirty boards and leaving dried tracks.
Cover one section at a time, about a six-foot span. You’ll see the solution cling and bubble where mildew sits thickest. That foaming means it’s breaking the growth loose from the grain.
Keep the surface wet. If it dries before you scrub, the cleaner loses its grip and stains set back in. On hot days, work in the shade and tackle smaller areas. The wood should look saturated and slightly darkened — never patchy or already drying.
Step 5 – Let the Solution Dwell
Patience pays here. Let the cleaner sit for ten to fifteen minutes. This dwell time lets the oxygen bleach penetrate the mildew and loosen its hold on the wood fibers.
Watch the surface. The gray-green tint should fade and lighten as the solution works. Stubborn black spots may need a second coat — reapply before the wall dries.
Don’t walk away too long, though. If the solution dries fully, it stops working and leaves a faint residue. Keep a hose nearby to mist any spots that dry too fast in sun or wind.
This waiting period does most of the heavy lifting, so you scrub less and protect the wood more.
Step 6 – Scrub Away the Mildew
Now put your back into it. Use the stiff-bristle brush and scrub along the grain, never across it. Working with the grain lifts mildew from the wood pores without scratching the surface.
You’ll feel the slick film give way to clean, smooth wood. The brush should glide easier as the growth releases. Listen for that steady, even scrub — a sign you’re applying consistent pressure.
Hit the seams, edges, and end grain hard. Mildew hides where boards meet and moisture pools. For trim and tight corners, switch to a sponge or soft cloth.
If a spot resists, dab on more solution and let it sit another few minutes before scrubbing again. Don’t gouge the wood.
Step 7 – Rinse Thoroughly
Switch to your hose and rinse top to bottom this time. Use a steady, moderate spray to flush away the cleaner and loosened mildew. Skip the high-pressure setting — too much force drives water behind boards and gouges soft wood.
Watch the runoff. Cloudy, gray water means you’re clearing the grime. Keep rinsing until it runs clear and the siding looks evenly clean, with no soapy streaks left behind.
Pay attention to seams and laps, where solution collects. Trapped cleaner dries into a chalky film and attracts new growth. Rinse your landscaping one more time, too, to dilute any runoff. The boards should look fresh, uniform, and free of any green or gray tint.
Step 8 – Let the Wood Dry Completely
Give the siding time to dry before you do anything else. Depending on weather, that means one to three full days of dry, breezy conditions. Wood holds moisture deep in the grain even when the surface feels dry.
Press a cloth against a few boards to check. If it picks up dampness, wait longer. Sealing wet wood traps moisture and invites mildew right back.
You’ll know it’s ready when the boards lighten to their natural color and feel dry to the touch in both shaded and sunny spots. Choose a stretch of clear weather for this stage. Rushing it undoes all your work and leaves the wood vulnerable.
Step 9 – Apply a Wood Preservative or Fresh Finish
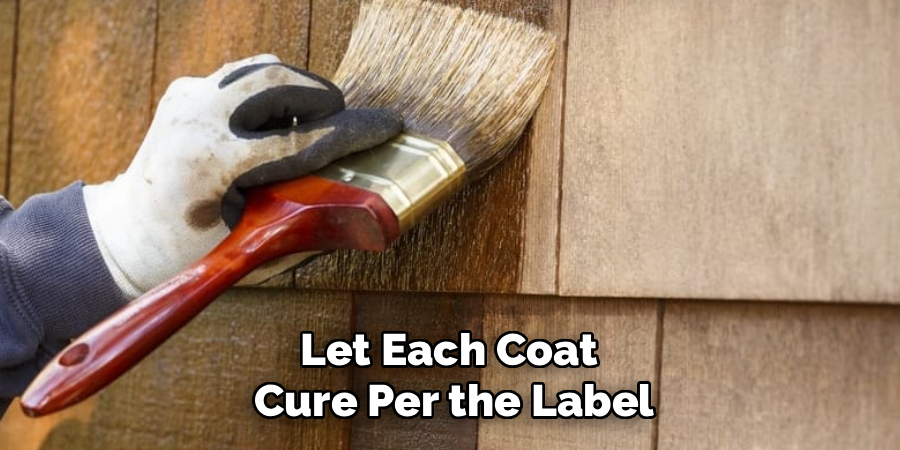
Bare, clean wood needs protection. Once fully dry, brush on a wood preservative, water-repellent sealer, or fresh stain to lock out moisture and block future growth.
Work in thin, even coats along the grain. You’ll see the wood drink in the first layer and deepen in color. A proper finish beads water and keeps mildew from gaining a foothold.
This final step is what separates a quick fix from lasting wood siding maintenance. Sealed wood sheds moisture, resists stains, and stays cleaner far longer between washes.
Let each coat cure per the label before adding the next. The surface should feel smooth and slightly satin, never tacky or uneven once dry.
Common Mistakes to Avoid
The biggest mistake is reaching for chlorine bleach. It seems faster, but it strips the wood’s natural color, dries out the fibers, and kills any plant it touches. Oxygen bleach cleans just as well without the damage, so save the chlorine for other jobs.
Pressure washing too aggressively ranks a close second. A high-powered spray feels efficient, yet it forces water behind boards, splinters soft grain, and carves visible lines into the wood. Stick to moderate pressure and let your cleaner do the work instead of brute force.
Many people also skip the dwell time. They apply cleaner, scrub immediately, and wonder why stains return. Give the solution those ten to fifteen minutes — it loosens mildew so you scrub less and protect more.
Sealing damp wood is another costly error. Trapped moisture feeds new mildew under your fresh finish, so always confirm the boards are bone-dry first.
Finally, don’t ignore the cause. If shade and poor drainage keep your siding wet, the mildew comes back. Trim branches and redirect downspouts to break the cycle.
Expert Tips
Clean on an overcast day. Direct sun dries your cleaner too fast, which cuts its effectiveness and leaves streaks. Cloud cover gives you a longer working window and better results.
Treat the whole wall, not just visible spots. Mildew spores spread beyond what your eye catches, so cleaning the entire surface prevents fast regrowth around the edges.
Add a mildewcide to your finish coat. Many quality sealers offer a mildew-resistant version that buys you extra years between cleanings.
Tackle the north and shaded sides more often. These walls stay damp longest and grow mildew first, so a quick spot-clean there each season saves a full wash later.
Keep your gutters flowing and shrubs trimmed back at least a foot from the siding. Airflow and dryness are your best long-term defense against mold on siding.
Frequently Asked Questions
What Kills Mildew on Wood Siding Best?
Oxygen bleach kills mildew on wood siding most effectively without damaging the wood. Mix it with warm water, apply it to the affected boards, and let it dwell before scrubbing. Unlike chlorine bleach, it won’t strip color, dry out fibers, or harm your landscaping. For light growth, a vinegar-and-water solution can work, but oxygen bleach handles tougher stains far better.
Can I Use a Pressure Washer on Wood Siding?
Yes, but only on a low setting. High pressure forces water behind boards, splinters soft wood, and carves permanent lines into the grain. Keep the nozzle at least a foot from the surface, use a wide spray tip, and angle it downward. For most mildew jobs, a garden hose and stiff brush give you cleaner results with far less risk of damage.
How Often Should I Clean Mildew From My Siding?
Clean your siding once a year in most climates, or every six months on shaded, damp walls. North-facing sides and areas under trees grow mildew fastest, so check them seasonally. A quick spot-clean when you first spot gray-green patches prevents bigger jobs later. Regular wood siding maintenance also extends the life of your finish and keeps repairs to a minimum.
Will Mildew Come Back After I Clean It?
Mildew returns if the underlying cause stays. Shade, trapped moisture, and poor airflow all invite regrowth. After cleaning, seal the wood with a mildew-resistant finish, trim nearby branches, and redirect downspouts away from the wall. These steps keep boards drier and slow new growth. With proper sealing and good drainage, you can go a year or more between cleanings.
Is Mildew Damaging My Wood Siding?
Yes, over time. Mildew traps moisture against the wood and feeds on the surface film, which slowly breaks down the finish and the fibers beneath. Caught early, it cleans off with no lasting harm. Left for years, it leads to soft, rotting boards that need full replacement. Prompt cleaning and sealing stop the damage before it spreads.
Conclusion
Mildew on wood siding is a problem you can solve in a single afternoon. Inspect the boards, protect your plants, mix an oxygen bleach solution, and let it dwell before you scrub. Rinse with moderate pressure, let the wood dry fully, then seal it to lock out future growth. That’s the entire process — no special skills required.
Now that you know how to remove mildew from wood siding, you control the upkeep, save the cost of service calls, and add years to your siding’s life. Clean siding holds its color, sheds water, and resists rot far better than neglected boards.
Make it a habit. A yearly wash, a fresh coat of preservative, and a little attention to your shaded walls keep mildew from ever taking hold. Grab your bucket and brush, pick a cloudy day, and get to work. Your wood will look better, last longer, and reward every bit of effort you put in.
