
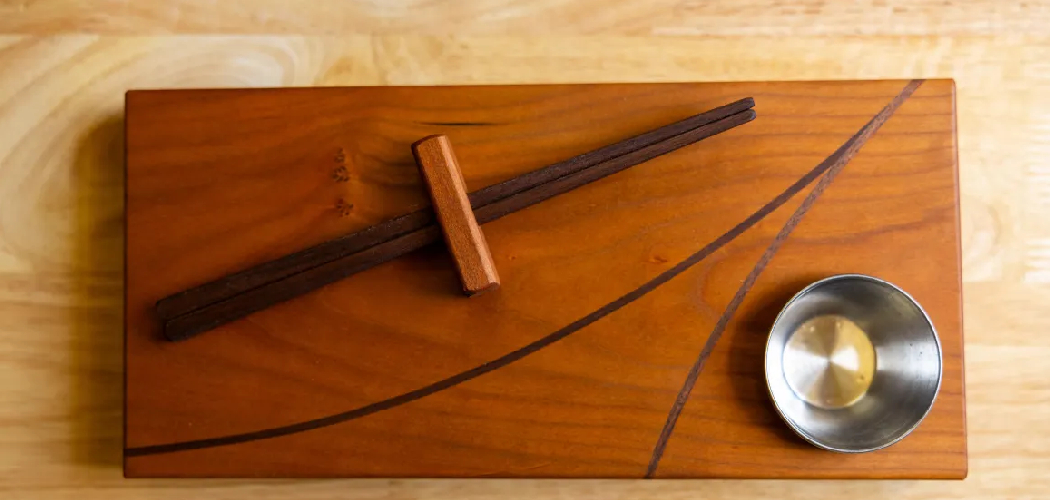
Dry, gray, thirsty-looking wood is a problem you can fix in an afternoon. A wooden cutting board that once glowed now feels rough and looks faded. The good news? You don’t need expensive products or special skills to bring it back. Learning how to apply mineral oil to wood is one of the simplest, most rewarding maintenance tasks any beginner can master.
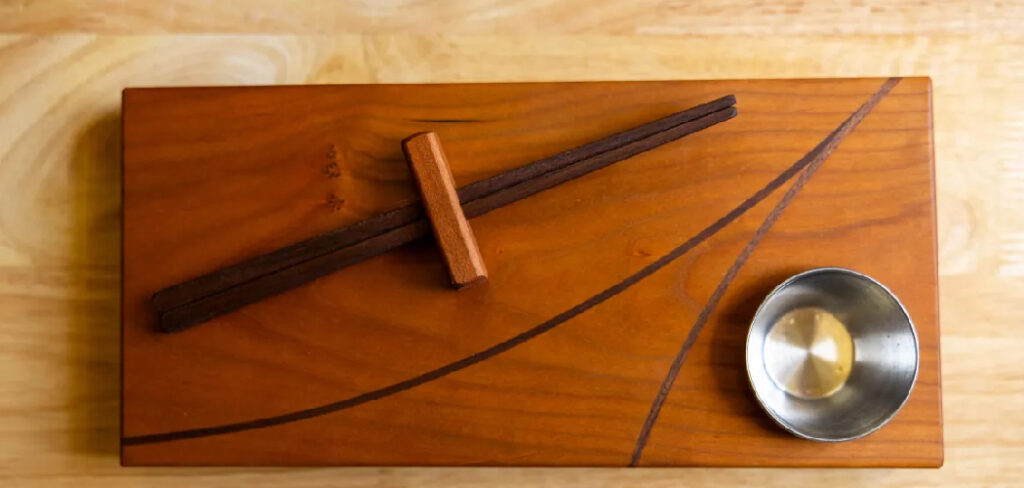
Mineral oil soaks into the wood pores, restores moisture, and adds a soft, food-safe finish that protects against cracking and stains. It works on cutting boards, butcher blocks, salad bowls, utensils, and countertops. This guide walks you through every step, from prep to buffing, so you can treat your wood with confidence and get professional-looking results the first time.
Why Oiling Wood Matters
Untreated wood dries out, cracks, and warps. Once a cutting board splits, you can’t undo it — and a quality butcher block isn’t cheap to replace. Regular oiling prevents that damage before it starts.
Mineral oil fills the wood pores and blocks water from soaking in. That stops the swelling and shrinking that leads to splits and rough grain. It also keeps bacteria from settling into tiny cracks, which makes your boards safer for food prep.
For DIY beginners, this skill pays off fast. You spend a few dollars on oil and a few minutes of effort. In return, your wood lasts years longer and keeps its rich color. Skip it, and you’re shopping for replacements far too often. Wood conditioning is cheap insurance for things you use every day.
Tools and Materials You’ll Need
Gather everything before you start. The list is short, affordable, and easy to find.
- Food-grade mineral oil — the core of the job; choose USP food-safe mineral oil for anything that touches food.
- Clean, lint-free cloths — apply oil evenly and wipe away excess without leaving fibers behind.
- Fine-grit sandpaper (220-grit) — smooth rough spots and open the grain for better absorption.
- Soft-bristle brush or sponge — reach grooves, juice channels, and carved details.
- Mild dish soap and water — clean the surface before oiling.
- Paper towels — handle drips and quick cleanup.
- Optional: beeswax or board cream — adds a water-resistant top layer for extra protection and a richer sheen.
That’s it. With these basics on hand, you’re ready to condition almost any wooden item in your kitchen or workshop.
Step-by-Step Guide on How to Apply Mineral Oil to Wood
Step 1 – Clean the Wood Surface
Start with a clean board. Wash the wood with mild dish soap and warm water, using a soft cloth or sponge. Scrub away food residue, grease, and grime that block oil from soaking in. Rinse quickly — never soak the wood, since standing water swells the grain.
Pay attention to corners and juice grooves where gunk hides. If you skip this, the oil traps dirt under the surface and leaves a sticky film.
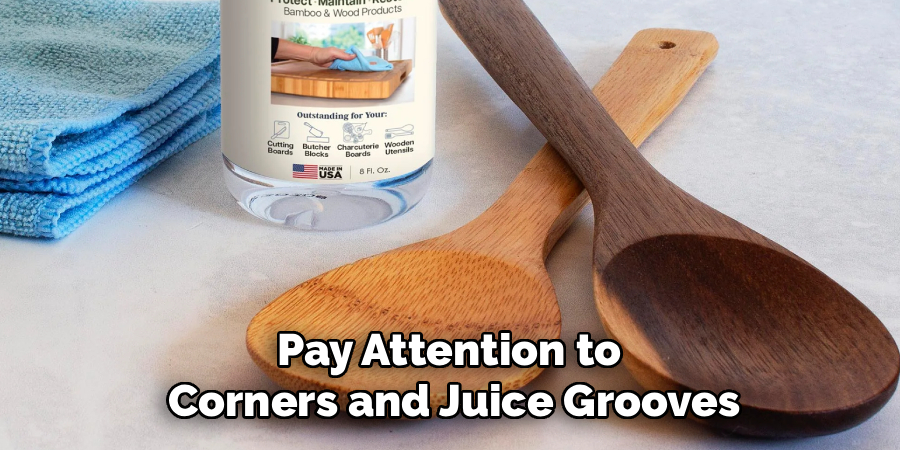
Wipe the wood down and let it sit. The surface should look matte and feel clean, not slick. You’ll know it’s ready when water beads less and the grain feels even under your fingertips. A clean start makes every later step work better.
Step 2 – Dry the Wood Completely
Wet wood won’t absorb oil. Water and mineral oil don’t mix, so any moisture left behind blocks the finish from sinking in. Dry the surface with a clean towel right after washing.
Then let the wood air-dry for several hours, or overnight if you have time. Stand the board upright so air reaches both sides evenly. Lay it flat on a wet counter and one side stays damp — that leads to warping.
Run your hand across the surface before moving on. It should feel cool and bone-dry, with no clammy patches. The wood may look slightly lighter when fully dry. That pale, thirsty look tells you it’s ready to drink in the oil.
Step 3 – Sand Rough Spots Smooth
Feel the surface with your palm. Catch a snag, fuzz, or raised grain? Smooth it now. Sand lightly with 220-grit sandpaper, moving with the wood grain, never against it. Sanding across the grain leaves scratches you’ll see once the oil goes on.
Use gentle, even strokes. You’ll hear a soft, steady scratching sound and feel the surface turn glassy under your fingers. Stop when it’s uniformly smooth.
Wipe away every speck of dust with a dry, lint-free cloth. Leftover dust mixes with the oil and creates a gritty finish. Sanding also opens the wood pores slightly, which helps the oil absorb deeper. A smooth, dust-free board is the foundation for a flawless result.
Step 4 – Warm the Mineral Oil
Cold oil sits on the surface. Warm oil sinks in faster and reaches deeper into the wood pores. You don’t need much heat — just enough to thin it slightly.
Stand the bottle in a bowl of warm water for five to ten minutes. Skip the microwave, which heats unevenly and can overheat the oil. Test a drop on your wrist; it should feel pleasantly warm, never hot.
This small step makes a real difference, especially on dense hardwoods like maple butcher block. Warm mineral oil for butcher block penetrates the tight grain that cold oil struggles to reach. You’ll notice the wood accepting the oil almost greedily. That deeper soak means longer-lasting protection from a single application.
Step 5 – Apply the First Coat of Oil
Now for the main event. Knowing how to apply mineral oil to wood properly comes down to generosity here — don’t be shy. Pour a small puddle directly onto the surface, then spread it with a clean, lint-free cloth.
Work the oil in using circular motions, then finish with strokes along the grain. Cover every inch, including the sides, ends, and any grooves. The wood will darken instantly and take on a rich, warm glow.
You’ll feel the surface go from dry to slick as the oil spreads. Keep adding oil to spots that look dull or absorb quickly — those are the thirstiest areas. A well-oiled first coat looks wet and even across the whole board.
Step 6 – Let the Oil Soak In
Patience pays off here. Once the first coat is on, walk away and let the wood absorb the oil. Give it at least 20 minutes, though a few hours is better for dry or new wood.
During this time, the oil seeps into the wood pores and grain. You’ll watch the surface change — areas that looked glossy turn matte as the oil sinks down. Those dull patches are telling you they want more.
Resist the urge to wipe too soon. Cutting the soak short leaves the finish shallow and short-lived. For a thirsty butcher block, you might reapply oil to fast-absorbing spots during the wait. The longer it drinks, the better your wood conditioning holds up over time.
Step 7 – Wipe Off the Excess
This step separates a smooth finish from a sticky mess. After the oil has soaked in, grab a clean, dry cloth and wipe the entire surface firmly. Remove all the oil sitting on top.
Run your hand over the wood afterward. It should feel smooth and lightly conditioned — not greasy or tacky. If your fingers come away oily, keep wiping until they don’t.
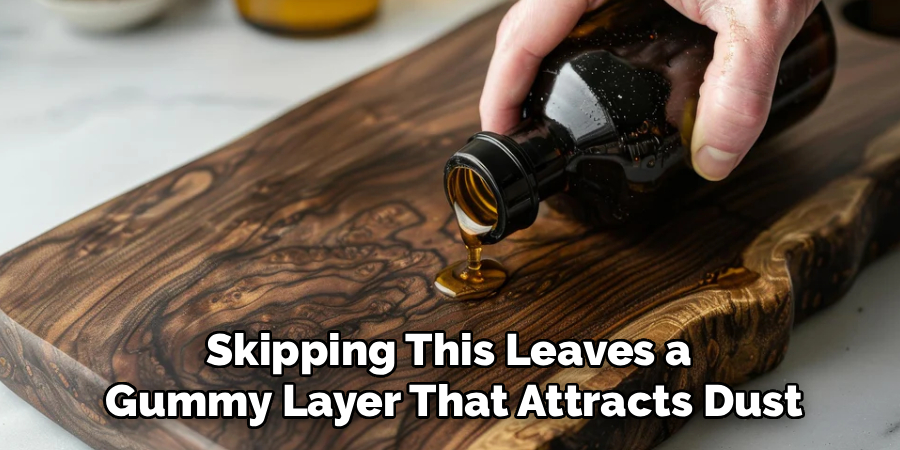
Skipping this leaves a gummy layer that attracts dust and never fully dries. The grain should look rich and even, with a soft satin sheen rather than a wet shine. Done right, the wood feels nourished but clean to the touch. This is the look you’re aiming for.
Step 8 – Apply Additional Coats
One coat rarely does the job, especially on new or badly dried wood. Repeat the oiling process two to four more times for full protection. Each coat builds on the last and deepens the finish.
Wait until the previous coat absorbs and you’ve wiped off the excess before adding the next. Knowing how to apply mineral oil to wood in layers is the secret behind that deep, professional luster.
Watch the wood between coats. When the surface stops drinking oil and stays glossy after 20 minutes, you’ve reached the saturation point. Stop there. The grain should now look uniform, rich, and protected. Multiple thin coats beat one heavy coat every time for a lasting food-safe wood finish.
Step 9 – Add a Protective Wax Layer (Optional)
Want extra water resistance? Finish with a wax topcoat. Beeswax or a board cream seals in the oil and adds a tougher barrier against moisture and stains.
Apply a thin layer with a clean cloth once your final oil coat has set. Rub it in using small circles, then let it sit for 15 minutes. The wax will haze slightly as it dries.
Buff the surface with a dry cloth until it shines. You’ll feel the wood turn silky and see a warm, low-gloss finish appear. This step is optional, but it makes cutting boards and counters far more durable. Reapply the wax every few months alongside your regular oiling routine.
Common Mistakes to Avoid
The most common error is using the wrong oil. Cooking oils like olive or vegetable oil go rancid and leave your board smelling sour. Always reach for food-grade mineral oil, which never spoils and stays safe around food.
Another frequent slip is oiling wet wood. Moisture trapped beneath the surface blocks absorption and can cause mold or warping. Always dry the wood fully before you apply a single drop.
Many beginners also rush the soak time. They wipe the oil off after a minute or two, leaving the finish thin and weak. Give the oil real time to penetrate the wood pores — at least 20 minutes per coat.
Over-applying without wiping is just as bad. Leaving excess oil on the surface creates a sticky, dust-grabbing film that never cures. Wipe firmly after every coat.
Finally, people forget to reapply over time. Oiling isn’t a one-time job. Wood dries out with use and washing, so condition it monthly or whenever it starts looking dull. Skip the routine and the wood eventually cracks — the exact problem you set out to prevent.
Expert Tips
Oil your wood on a schedule, not just when it looks bad. A good rule: once a week for the first month on new wood, once a month after that. This keeps the grain saturated and stops damage before it shows.
Use the “drop test” to check if wood needs oil. Sprinkle a few drops of water on the surface. If the water beads up, the wood is still protected. If it soaks in and darkens the wood, it’s time to oil again.
Warm your board slightly in the sun before oiling. Gentle warmth opens the wood pores and pulls the oil deeper, just like warming the oil does.
For deep restoration on a gray, cracked butcher block, try a hot oil soak — apply heavily, let it sit overnight, then wipe and repeat. The transformation is dramatic.
Frequently Asked Questions
How Often Should I Apply Mineral Oil to Wood?
Oil new wood once a week for the first month, then once a month after that. High-use items like cutting boards and butcher blocks may need more frequent treatment. Use the water drop test to decide: if water soaks in instead of beading, it’s time to re-oil. Regular conditioning keeps the wood from drying out and cracking.
Can I Use Any Mineral Oil on a Cutting Board?
Use only food-grade or USP food-safe mineral oil on anything that touches food. This grade is purified, odorless, tasteless, and safe to ingest in small amounts. Avoid industrial or automotive mineral oil, which contains additives unsafe for kitchen use. Most pharmacies sell food-safe mineral oil cheaply as a laxative — that same bottle works perfectly as a cutting board oil.
How Long Does Mineral Oil Take to Dry on Wood?
Mineral oil doesn’t truly dry or harden like varnish — it absorbs into the wood instead. Allow at least 20 minutes per coat for soaking, then wipe off the excess. For full saturation across several coats, give the wood a few hours or overnight. After wiping, the surface should feel smooth and conditioned, never tacky or wet to the touch.
Will Mineral Oil Make My Wood Waterproof?
Mineral oil makes wood water-resistant, not fully waterproof. It fills the wood pores and slows moisture absorption, which protects against swelling and cracking. For stronger water resistance, add a beeswax or board cream topcoat over the oil. Even then, never soak wooden items or run them through the dishwasher, as prolonged water exposure breaks down any finish.
Can I Apply Mineral Oil Over an Old Finish?
Mineral oil works best on bare, untreated wood. If your item has a sealed finish like polyurethane or varnish, the oil sits on top and won’t absorb. Sand off the old coating first, or stick to oiling raw wood pieces such as cutting boards, bowls, and utensils. For previously oiled wood, just clean, dry, and re-oil directly.
Conclusion
Bringing dry, faded wood back to life is genuinely satisfying — and now you have every step to do it. Clean the surface, dry it fully, sand it smooth, then layer on warm oil and wipe away the excess. Add coats until the grain stops drinking, and finish with wax if you want extra protection. That’s the whole process.
Once you know how to apply mineral oil to wood, you’ll protect your cutting boards, butcher blocks, bowls, and utensils for years. You’ll save money on replacements, keep your kitchen tools food-safe, and enjoy the rich, warm glow of properly conditioned wood.
Make it a habit. A few minutes each month is all it takes to prevent cracks, stains, and dryness. Your wood does daily work for you — give it the simple care it needs in return. Grab a bottle of food-grade mineral oil, pick your most neglected board, and put these steps to work this weekend. You’ll see the difference in minutes.
