
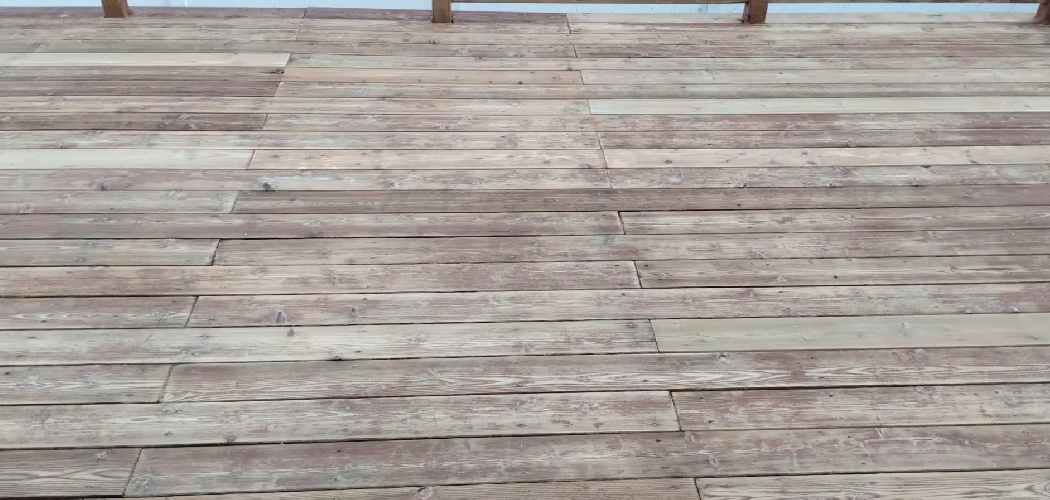
Fresh-cut wood looks too new for most rustic projects. You want that gray, weathered look without waiting years for sun and rain to do the work. Good news: you can fake decades of aging in a single afternoon. Learning how to age wood fast gives you the reclaimed wood look on a budget, using items you likely already own.
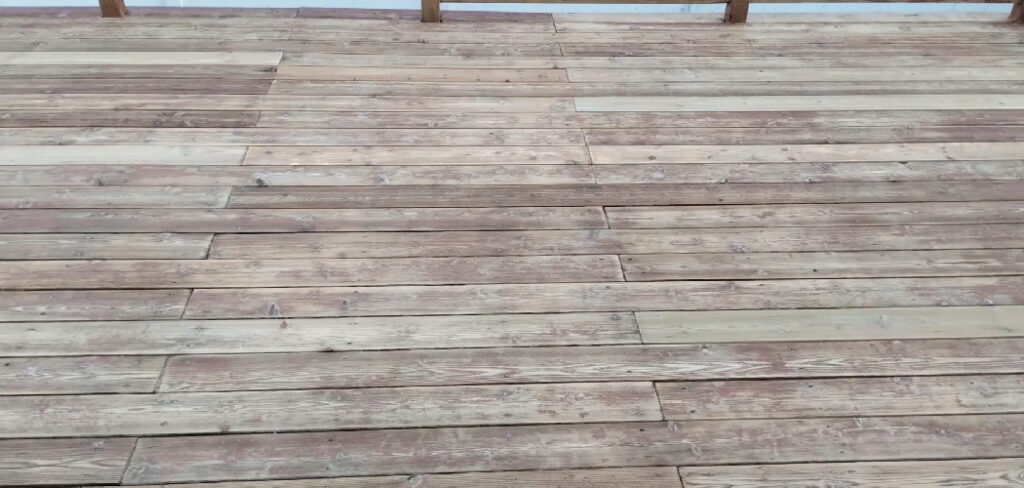
A little vinegar, some steel wool, and a wire brush turn raw pine into something that looks pulled from an old barn. This works on furniture, picture frames, shelving, and accent walls. The chemistry is simple, the tools are cheap, and the results are repeatable. This guide walks you through each step so you can create authentic weathered wood finishes at home with confidence.
Why Aging Wood Fast Matters
Reclaimed barn wood costs a fortune. Buying genuine weathered lumber can run three to five times the price of fresh boards. Age the wood yourself and you cut that cost to pennies per board foot.
Speed matters too. Natural weathering takes years. The vinegar and steel wool method delivers the same oxidized wood effect in hours.
You also build real skill. Each batch teaches you how different woods react, how stains behave, and how to control the finish. That confidence carries into bigger projects.
Mistakes get cheaper. Practice on scrap costs almost nothing. By the time you touch your good lumber, you know exactly what to expect. You save money, save time, and gain control over the entire look.
Tools and Materials You’ll Need
Gather everything before you start. A smooth workflow prevents stops mid-project.
- Distress raw fibers: wire brush or stiff-bristle brush
- Create the aging reaction: white vinegar (one cup)
- Trigger oxidation: fine steel wool (one pad, #0000 grade)
- Apply the solution evenly: foam brush or rag
- Add depth and tone: brewed black tea or coffee
- Protect your hands: nitrile gloves
- Catch drips and spills: drop cloth or cardboard
- Hold the solution: glass jar with a lid
- Seal the finish: clear matte polyurethane or wax
- Optional — speed cleanup and texture control: orbital sander with 120-grit pads
Bare, untreated softwoods like pine or fir react best. Hardwoods work too, but results vary by tannin content. Keep a few scrap pieces nearby to test before committing.
Step-by-Step Guide on How to Age Wood Fast
Step 1 – Mix the Vinegar and Steel Wool Solution
Tear one pad of fine steel wool into loose shreds. Drop it into a glass jar and pour in one cup of white vinegar. The metal needs to sit submerged. Screw the lid on loosely so gas can escape.
Now wait. The vinegar dissolves the steel, creating an iron-rich liquid that reacts with the wood’s tannins. You’ll see the solution turn cloudy, then gray, over six to twenty-four hours.
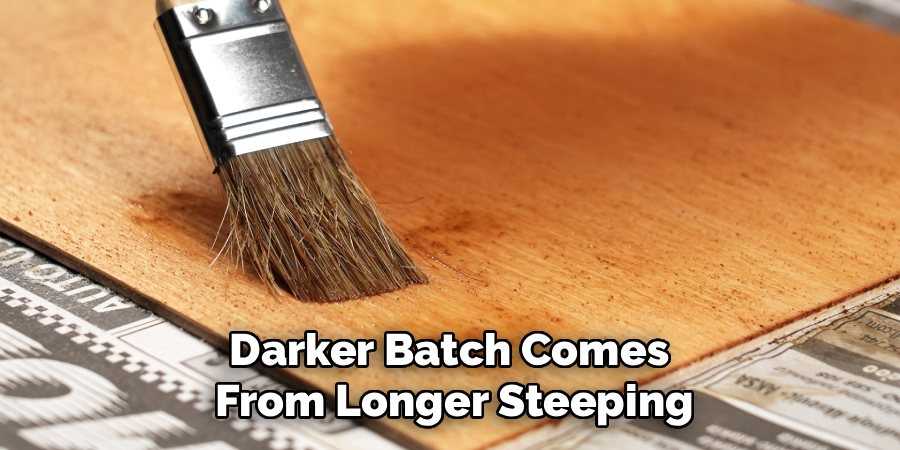
A stronger, darker batch comes from longer steeping. For a light silver tone, eight hours works. For deep charcoal, leave it overnight. Strain out the steel wool before using. The smell is sharp but fades fast once applied.
Step 2 – Prepare and Clean the Wood Surface
Start with bare, unsealed wood. Any existing finish blocks the reaction. Wipe the surface with a dry cloth to clear dust and debris.
Run your hand across the board. Feel for rough splinters or sticky residue. Sand only the spots that could catch skin or fabric, using 120-grit paper. Keep the surface mostly raw, since smooth, sealed wood resists the aging solution.
Skip any soap or cleaner. Water-based products leave film that interferes with oxidation. If the wood feels damp, let it dry fully. Dry, open grain absorbs the solution best and gives you the convincing barn wood effect you’re after. Clean and dry is the goal here.
Step 3 – Wire Brush the Grain
This is where texture begins. Drag a wire brush along the grain, never across it. Push firmly enough to tear out the soft summer growth between the harder grain lines.
You’ll hear a scratchy rasp and see fine fibers lift away. Blow off the dust and run your fingers over the surface. The grooves should feel like the ridged texture of old, sun-beaten lumber.
This step is the secret behind learning how to age wood fast with realistic depth. Skip it and your finish looks flat and painted-on. Wire brushing exposes more porous wood, so the aging solution sinks deeper and the weathered wood finish reads as authentic. Work the whole board evenly for consistent results.
Step 4 – Apply Tea or Coffee for Tannins
Softwoods like pine hold little natural tannin, and tannin is what makes the iron solution react. Boost it with strong black tea or coffee.
Brew it double-strength and let it cool slightly. Load a rag or foam brush and coat the wood generously. The surface darkens to a wet tan immediately, then dries lighter.
Let it sit until dry to the touch, usually thirty to sixty minutes. You won’t see dramatic color yet, and that’s correct. This coat is invisible groundwork. Hardwoods like oak skip this step since they’re already tannin-rich. For pine, fir, and poplar, this layer determines how gray and aged the next coat becomes.
Step 5 – Brush On the Aging Solution
Now the magic happens. Dip your foam brush in the strained vinegar solution and spread one even coat along the grain.
Watch closely. Within seconds to minutes, the wood shifts from tan to gray, sometimes to deep brown-black. The reaction looks almost like a Polaroid developing. That color change tells you the iron is bonding with the tannins.
Don’t flood the surface or you’ll get blotchy pooling. A thin, even pass gives the cleanest oxidized wood look. If you missed a spot, the contrast will show, so keep your strokes consistent. The smell sharpens during this stage but clears as it dries. Resist touching it while wet.
Step 6 – Let It Fully Develop
Patience pays off here. The reaction keeps working as the wood dries. What looks faint while wet will deepen over the next hour.
Walk away for at least sixty minutes. Resist the urge to add more solution too soon. Color builds gradually, and rushing leads to overcorrection.
Check it under good light once dry. You should see a soft gray patina with darker grain lines standing out. The surface should look like wood that spent years exposed to weather, not something you painted this morning. If it’s too light, you’ll fix that next. If it’s perfect, you’re nearly done. The drying stage reveals the true color every time.
Step 7 – Layer for Deeper Color
One coat rarely gives the full reclaimed wood look. Layering builds richness and dimension.
If the first pass dried too pale, brush on a second coat of the vinegar solution. Each layer deepens the gray and intensifies the contrast in the grain. For more warmth, add another light wash of tea between coats.
Let every layer dry completely before judging it. Wet wood lies about its final color. Build slowly, checking after each pass. You can always go darker, but lightening a finish means sanding back and starting over. Two to three thin coats usually nail the barn wood effect. Stop when the tone matches the weathered look you pictured.
Step 8 – Distress for Authentic Character
Real aged wood carries dents, scratches, and worn edges. Add them now for believable distressed wood.
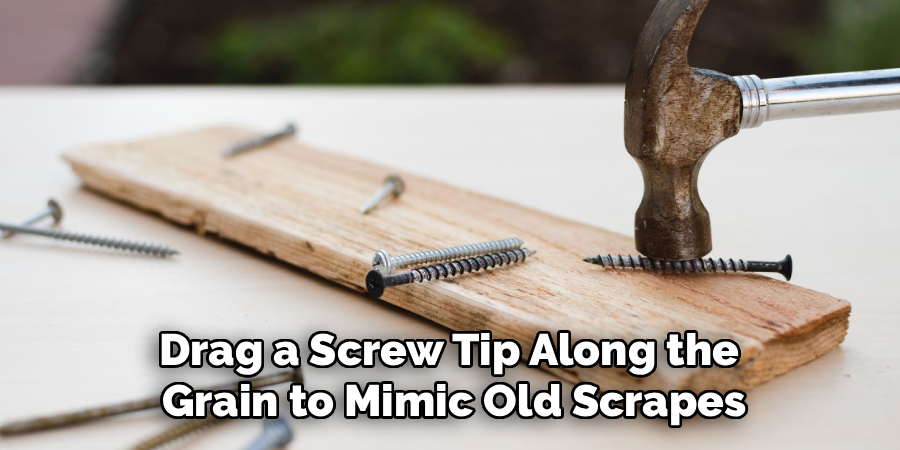
Tap the surface with a hammer head, a chain, or a screw to create random pits. Round over sharp corners with sandpaper or a sanding block. Drag a screw tip along the grain to mimic old scrapes.
Step back often. Authentic wear is uneven and random, not uniform. Concentrate distressing where hands and feet would naturally touch: edges, corners, and high spots. Less is more here. A few well-placed marks read as genuine, while too many look staged. Wipe away debris and run your hand over the piece to feel the lived-in texture you created.
Step 9 – Seal and Protect the Finish
Lock in your work with a protective topcoat. The aged surface is delicate until sealed.
Choose clear matte polyurethane for high-traffic pieces or paste wax for a soft, natural feel. Apply thin coats with a clean brush or cloth, following the grain. Avoid glossy finishes, since shine kills the weathered, dry-aged appearance.
Let each coat cure per the label, then buff lightly with a soft cloth. The surface should feel smooth but still look matte and aged. Two coats give solid protection for furniture and shelving. The sealer deepens the color slightly, so expect a small shift. Once cured, your piece resists moisture, handling, and everyday wear for years.
Common Mistakes to Avoid
Skipping the tannin boost ruins pine projects. Beginners brush vinegar solution onto raw softwood, see almost no reaction, and assume the method failed. The wood simply lacks tannins. Always apply tea or coffee to low-tannin species first, or the grayed effect never appears.
Sealing the wood beforehand blocks everything. Pre-finished or factory-coated boards repel the solution completely. The iron can’t reach the grain, so nothing changes. Start with bare, unsealed wood every time, and sand off any existing finish before you begin.
Flooding the surface creates blotches. Too much solution pools in low spots and dries unevenly, leaving dark blobs against pale patches. Apply thin, controlled coats and build color gradually instead of dumping it on.
Judging color while wet leads to overcorrection. Wet wood always looks darker than the dried result. Impatient DIYers add coat after coat, then end up with near-black boards. Let each layer dry fully before deciding whether to go darker.
Brushing across the grain during wire brushing tears the fibers wrong. The texture looks scratched and fake instead of weathered. Always work the wire brush in the same direction as the grain for clean, believable results.
Expert Tips
Save and reuse your vinegar solution. It actually strengthens as it sits, so a jar kept for a week or two delivers richer grays than a fresh batch. Label it and store it sealed.
Test every board first. Different planks from the same stack carry different tannin levels and react differently. A quick swipe on a hidden corner tells you what to expect before you commit.
Control the gray with steel wool grade. Coarser pads dissolve faster and create darker, more aggressive tones. Fine #0000 gives subtle, even silver.
Combine methods for realism. A base coat of diluted gray stain under the vinegar reaction adds depth no single technique achieves alone. Layering wood staining techniques is how pros get that one-of-a-kind reclaimed look.
Frequently Asked Questions
How Long Does It Take to Age Wood With Vinegar?
The reaction itself takes seconds to minutes once you brush it on. The full process, including steeping the solution, applying tea, and letting layers dry, runs about three to four hours of active work. Steeping the vinegar and steel wool takes the longest, between eight and twenty-four hours, but that happens hands-off while you prep other materials.
Does This Method Work on All Wood Types?
It works best on bare, unsealed softwoods like pine, fir, and poplar after a tannin boost. Tannin-rich hardwoods such as oak and walnut react strongly on their own without tea or coffee. Sealed, painted, or pressure-treated wood won’t react at all. Always start with raw wood and test a scrap piece first to confirm the result.
Can I Skip the Wire Brushing Step?
You can, but you’ll lose texture and depth. Wire brushing tears out soft grain and exposes porous wood, which makes the finish look genuinely weathered rather than flat. Without it, your project reads more like stained wood than aged barn wood. If you want the convincing reclaimed look, keep the wire brushing. It only takes a few minutes per board.
Why Did My Wood Turn Out Too Light?
Too little tannin is the usual cause. Softwoods need a strong tea or coffee base coat before the vinegar solution to react fully. A weak or fresh steel wool batch also produces faint results. Fix it by adding another tannin layer, using a longer-steeped solution, and applying a second coat. Let each layer dry completely before judging the color.
Is the Aged Finish Safe and Durable?
Yes, once sealed. The vinegar and iron reaction is non-toxic after it dries and cures. Sealing with matte polyurethane or wax protects the surface from moisture, handling, and daily wear. For furniture or shelving, two topcoats keep the finish stable for years. Avoid food-contact surfaces unless you use a sealer rated food-safe.
Conclusion
Aging wood yourself turns cheap lumber into something that looks decades old, all in a single afternoon. You now know how to age wood fast using nothing more than vinegar, steel wool, a wire brush, and a little tea. The method is cheap, repeatable, and forgiving once you understand the chemistry.
Start with bare wood. Boost the tannins. Brush on the solution and let it develop. Layer for depth, distress for character, then seal to protect. Each step builds toward an authentic weathered finish that rivals genuine reclaimed boards at a fraction of the cost.
Practice on scrap first and you’ll dial in your ideal tone quickly. Every batch teaches you something new about how wood reacts. Soon you’ll be aging shelves, frames, accent walls, and furniture with total confidence. Grab your materials, mix that first jar, and transform your next project into a rustic showpiece. The barn wood look is closer than you think.
