
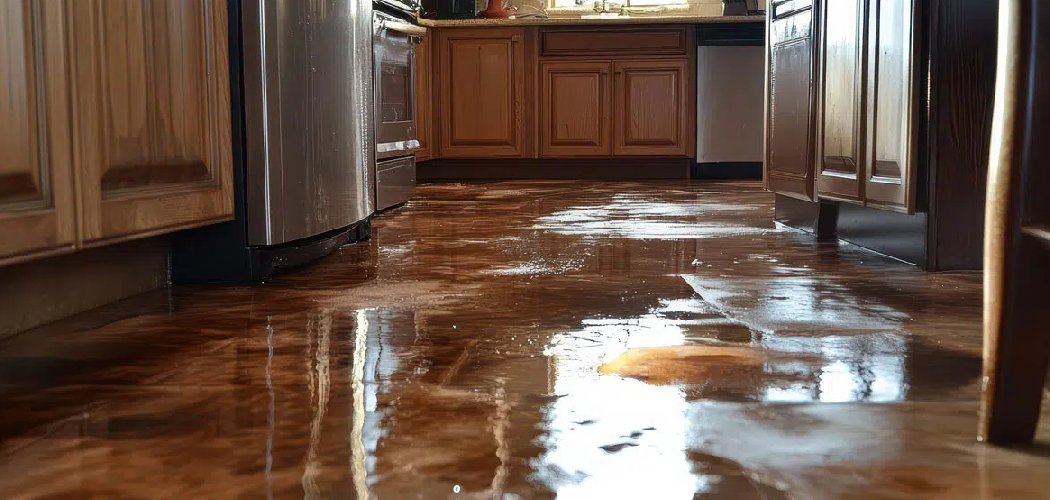
Water is wood’s quiet enemy. It seeps into floorboards, furniture, and framing long before you notice a problem. By the time the damage shows, you may already be facing soft spots, stains, or rot.
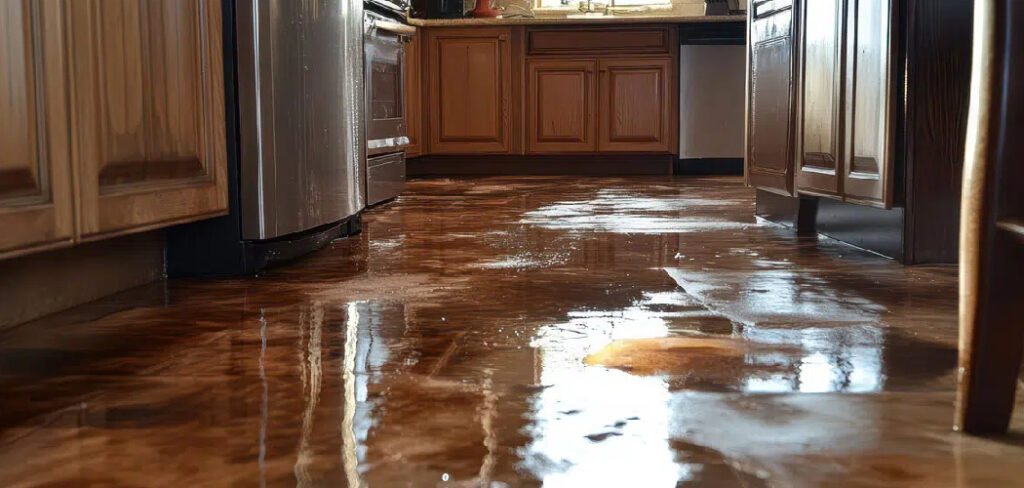
That’s why learning how to identify water damaged wood early saves you money and headaches. The good news? You don’t need a contractor’s license to spot the warning signs. With a sharp eye, a few basic tools, and a little know-how, you can catch trouble while it’s still fixable. This guide walks you through the exact clues to look for, the tests that confirm your suspicions, and the steps that separate surface stains from serious structural damage.
Why Spotting Water Damage Early Matters
Catching water damage early protects your wallet and your project. Small problems stay small when you find them fast. Ignore them, and a damp board becomes wood rot that spreads through framing, flooring, or furniture.
For DIY beginners, this skill builds real confidence. You stop guessing and start diagnosing. You learn when a quick fix works and when a board needs full replacement. That knowledge keeps your renovations on schedule and your budget intact.
Early detection also extends the life of everything you build or own. A refinished tabletop, a repaired floor, or a sealed deck lasts years longer when moisture never gets a foothold. Find the damage now, and you avoid tearing out walls or subfloors later.
Tools and Materials You’ll Need
Gather your gear before you start. The right tools turn guesswork into a clear diagnosis.
- Moisture meter – Measures exact water content inside the wood.
- Flashlight or headlamp – Reveals stains, warping, and hidden mold in dark corners.
- Flathead screwdriver or awl – Probes soft spots and tests for rot.
- Putty knife – Lifts loose finish and checks surface integrity.
- Magnifying glass – Spots early mold spores and fine cracks.
- Disposable gloves and N95 mask – Protects you from mold and mildew.
- Notebook or phone – Records findings for comparison over time.
- Infrared thermal camera (optional) – Detects hidden moisture behind walls and under floors without tearing anything apart.
That last item costs more, but it saves serious demolition when you suspect damage you can’t see.
Step-by-Step Guide on How to Identify Water Damaged Wood
Step 1 – Inspect the Surface for Discoloration
Start with your eyes. Discoloration is the first clue water leaves behind. Look for dark rings, gray patches, or yellowish stains that don’t match the surrounding grain.
Shine your flashlight across the wood at a low angle. This raking light exposes shadows and tone shifts you’d miss head-on. Water stains often spread in irregular shapes, fading at the edges like a coffee ring.
Pay attention to color logic. Fresh damage looks darker and damp. Older damage turns chalky, faded, or bleached. On finished wood, you might see cloudy white blushing under the topcoat.
Note every stained area before moving on. These spots mark where you’ll probe deeper in the next steps.
Step 2 – Feel for Soft Spots and Texture Changes
Now use your hands. Healthy wood feels firm, smooth, and solid under pressure. Damaged wood feels different right away.
Press your fingers across the surface, especially near stains and joints. Soft, spongy, or crumbly areas signal moisture has broken down the fibers. You might feel a slight give, like pressing on stale bread.
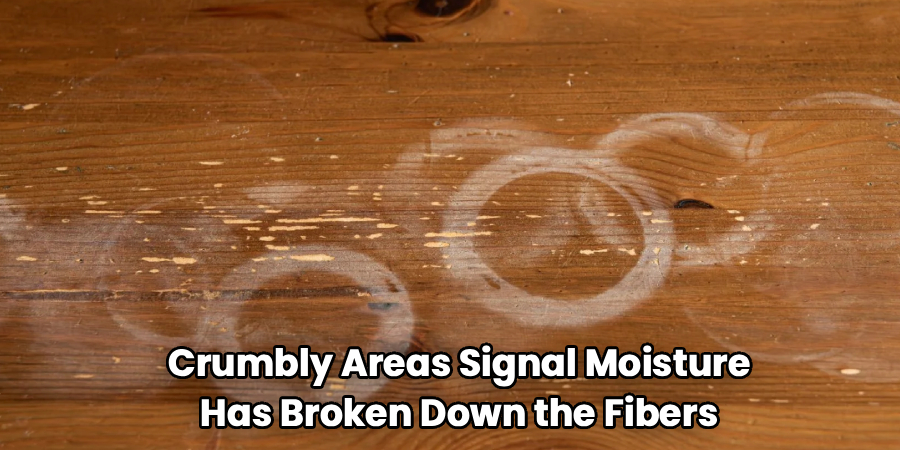
Run your palm over the grain. Rough, fuzzy, or flaking texture means the finish failed and water got in. On flooring, soft boards may sink slightly when you step on them.
Trust your sense of touch here. Knowing how to identify water damaged wood often comes down to feeling what your eyes can’t confirm. A soft spot beats a stain as proof of trouble.
Step 3 – Check for Warping, Cupping, and Swelling
Water makes wood move. As fibers absorb moisture, boards swell, bend, and lose their flat shape. These deformities are easy to spot once you know the patterns.
Look down the length of a board at eye level. Cupping shows up when the edges rise higher than the center, creating a shallow trough. Crowning does the opposite, bulging in the middle.
On floors, swollen wood pushes planks together until they buckle or lift. Doors and drawers that suddenly stick often hide swelling at the joints.
Lay a straightedge across suspect areas. Any gap underneath confirms the wood has warped. The bigger the gap, the deeper the moisture damage runs.
Step 4 – Probe for Wood Rot
Stains and warping point to moisture. Probing confirms decay. Grab your screwdriver or awl and press the tip into any soft or stained area.
Solid wood resists the point and stops it cold. Rotted wood gives way easily, letting the tip sink in with little force. If you can dig out crumbly, stringy, or powdery fibers, you’ve found active wood decay.
Listen as you tap. Healthy wood rings with a sharp, solid sound. Rotted wood answers with a dull, hollow thud.
Test several spots around the damage. Rot spreads outward from the wettest point, so probe the edges to map how far the structural damage extends.
Step 5 – Look for Mold and Mildew
Mold follows moisture. Where you find one, you’ll often find the other. Put on your gloves and mask before inspecting closely.
Search shaded, damp areas for fuzzy or slimy growth. Mold on wood appears in black, green, white, or even orange patches. Mildew tends to look flatter and grayish.
Use your nose too. A musty, earthy smell signals hidden mold even when you can’t see it. That odor often lingers in basements, cabinets, and under sinks.

Grab your magnifying glass for early spores. Catching them small means easier cleanup. Heavy growth, though, warns that water has lingered long enough to threaten the wood beneath.
Step 6 – Measure Moisture Content
Your senses find the suspects. The moisture meter delivers the verdict. This tool reads the exact water content inside the wood, removing all guesswork.
Press the meter’s pins or sensor against dry, healthy wood first. Note that baseline reading. Most indoor wood sits comfortably between 6 and 12 percent.
Now test your stained and soft areas. Readings above 15 to 20 percent confirm an active moisture problem. The higher the number, the more urgent the fix.
Move the meter around to track wet zones. You’ll often find readings climb as you near the water source. This mapping shows you exactly where to dry, repair, or replace.
Step 7 – Trace the Water Source
Damage means nothing if the leak keeps flowing. Before you repair anything, find where the water came from.
Follow the moisture trail upward and outward. Water travels along beams, pipes, and gravity before it pools. The stain you see may sit far from the actual leak.
Check plumbing joints, window seals, roof lines, and foundation cracks. Look for drips, mineral streaks, or condensation. Run water nearby and watch where it goes.
Fix the source first, every time. Repair damaged wood while the leak still runs, and you’ll be back with the same problem in months. Solve the cause, then restore the wood.
Step 8 – Document and Assess the Severity
Pull your findings together. Now you decide what the damage really means and how to act on it.
Review your notes, photos, and meter readings. Light surface stains with normal moisture usually need only cleaning and refinishing. Soft, rotted, or high-moisture wood demands repair or replacement.
Sort the damage into three buckets: cosmetic, repairable, and structural. Cosmetic issues stay on the surface. Repairable damage affects a board or two. Structural damage threatens load-bearing framing and calls for a pro.
Knowing how to identify water damaged wood pays off most here. Your honest assessment guides every dollar and hour you spend next.
Common Mistakes to Avoid
The biggest mistake is trusting your eyes alone. A clean-looking surface can hide saturated wood underneath. Skip the moisture meter and the probe test, and you’ll miss damage until it’s far worse. Always confirm what you see with what you measure and feel.
Another common error is fixing the wood before fixing the leak. You can sand, fill, and refinish all day, but if water keeps coming, the rot returns fast. Trace the source first, stop it cold, then repair.
Many beginners also underestimate mold. They wipe away surface growth and assume the job’s done. But mold roots run deep, and disturbing it without a mask spreads spores through the air. Treat mold seriously and protect your lungs.
Rushing the drying process causes trouble too. Wood needs time to release moisture before you seal it. Trap dampness under a fresh finish, and you create the perfect home for hidden decay.
Finally, don’t ignore small stains in low-traffic spots. That faint ring under a sink or behind a cabinet often marks a slow leak. Catch it early, and you save yourself a major repair down the road.
Expert Tips
Test in the early morning when humidity is highest. Moisture readings spike then, making borderline damage easier to catch.
Always compare suspect wood to a known dry sample of the same species. Different woods hold water differently, so a relative reading beats a fixed number every time.
Smell the wood up close. Seasoned pros trust their nose as much as their meter. That faint musty scent often reveals rot hiding deep inside a beam where pins can’t reach.
When probing, angle your awl with the grain, not against it. You’ll feel subtle softness sooner without splitting healthy fibers.
Finally, check the same spots seasonally. Moisture levels shift with weather. A board that reads fine in summer may show trouble after a wet winter, giving you an early warning before damage sets in.
Frequently Asked Questions
How Can You Tell If Wood Damage Is Old or New?
New water damage looks dark, feels damp, and often appears around a recent leak. Old damage looks faded, chalky, or bleached, and the wood feels dry but weakened. Use a moisture meter to confirm. High readings mean active, ongoing moisture. Low readings on stained wood usually point to past damage that has since dried out.
Can Water Damaged Wood Be Saved?
Yes, if you catch it early. Surface stains and minor swelling often respond to drying, sanding, and refinishing. Wood with soft, crumbling, or rotted fibers usually needs replacement. The deciding factor is structural integrity. If a probe sinks in easily or the board can’t hold weight, replace it rather than risk failure later.
Does Water Damaged Wood Always Mean Mold?
No, but the two often travel together. Mold needs sustained moisture, warmth, and time to grow. Wood that dried quickly may show stains or warping without any mold at all. Still, treat every wet area as a mold risk. Inspect shaded, humid spots closely and trust a musty smell as a warning sign even when you see nothing.
What Moisture Level Indicates Water Damaged Wood?
Most indoor wood reads between 6 and 12 percent moisture content. Readings above 15 percent signal a problem, and anything past 20 percent points to active, serious water damage. Always test a known dry board of the same species first. That baseline helps you spot abnormal moisture instead of relying on a single fixed number that varies by wood type.
How Do You Check for Water Damage Under Flooring?
Start above the floor. Look for cupped, buckled, or stained boards, and listen for soft, hollow spots underfoot. Press a moisture meter against suspect planks for hard numbers. For hidden damage, an infrared thermal camera reveals wet subfloor without tearing anything up. If readings stay high, lift a board at the edge to inspect the layer beneath directly.
Conclusion
Water damage rarely announces itself. It hides under finishes, behind walls, and beneath floors until the signs finally surface. But now you know exactly what to look for. You can spot discoloration, feel for soft spots, check for warping, probe for rot, and confirm it all with a moisture meter.
The real skill in how to identify water damaged wood is putting these steps together. One clue raises suspicion. Three or four clues confirm the damage. From there, you trace the source, assess the severity, and decide whether to repair or replace.
This is a skill that pays off for life. Every floor, table, deck, and frame you own becomes easier to protect. You’ll catch problems while they’re small, save real money on repairs, and tackle your projects with the confidence of someone who knows wood inside and out.
So grab your flashlight and moisture meter, and start inspecting. The sooner you find the damage, the sooner you fix it for good.
