
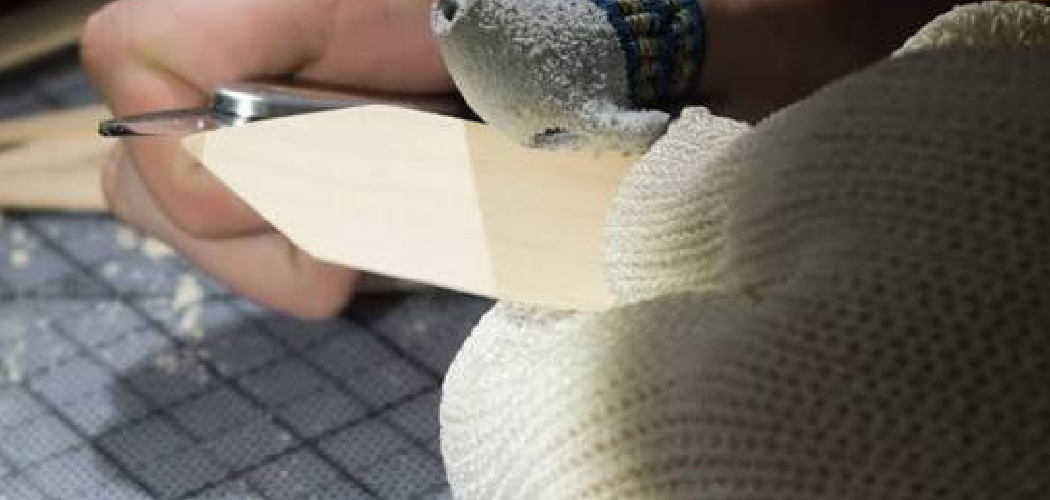
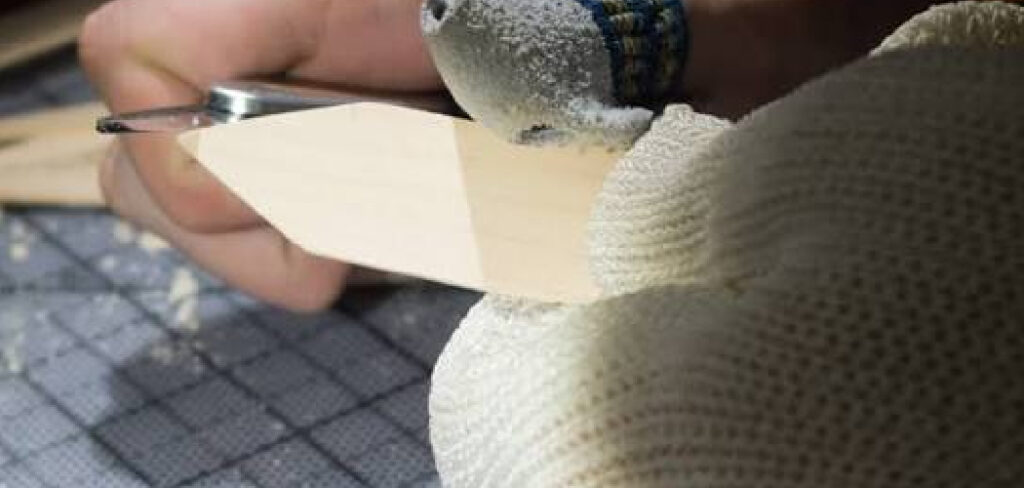
Want a real knife you carved with your own hands? You can build one from a single block of wood and a few basic tools. Learning how to make a wood knife projects gives you a satisfying first win in woodworking, and it costs almost nothing to start. A wooden blade is safe to practice on, forgiving when you slip, and impressive once it’s sanded smooth and oiled. You’ll learn grain reading, blade shaping, and clean finishing along the way—skills that carry into every future build. This guide walks you through every step, from picking the right wood to sealing the final edge, so you finish with a knife you’re proud to hold.
Why Making a Wood Knife Matters
A wood knife teaches the fundamentals fast. You learn how grain runs, how a blade takes shape under a carving knife, and how pressure and patience beat brute force. These lessons transfer directly to spoons, bowls, and bigger projects.
It also builds confidence. Finish one knife and you trust your hands with sharper tools and harder woods. You stop fearing mistakes and start reading them.
The savings add up too. A practice blank costs less than a coffee, and you reuse the same carving tools for years. You avoid expensive blocks and ruined stock while you’re still learning.
Best of all, a wooden knife is safe. No cut fingers from a real edge while you master whittling and blade shaping.
Tools and Materials You’ll Need
Gather these before you start. Each item earns its place.
- Choose a straight-grained hardwood blank — maple, walnut, or birch, roughly 8 inches long
- Use a carving knife — a sharp wood carving knife or a sturdy utility knife for rough cuts
- Add a coping saw or band saw — for cutting your outline fast
- Keep sandpaper on hand — grits from 80 up to 220 for shaping and smoothing
- Grab a pencil and template — to trace a clean, repeatable shape
- Use a bench clamp or vise — to hold the blank steady and protect your hands
- Apply a finish — food-safe mineral oil or beeswax to seal the wood
- Optional: add a rotary tool — speeds up rough shaping and detail work on tight curves
Step-by-Step Guide on How to Make a Wood Knife
Step 1 – Choose and Inspect Your Wood
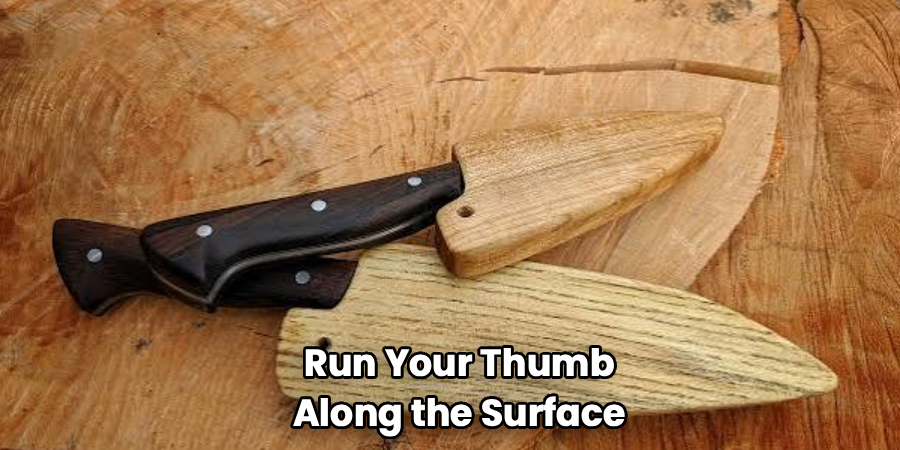
Start with straight, knot-free hardwood. Maple, walnut, and birch all hold a crisp edge and resist splitting. Run your thumb along the surface and watch how the grain flows—you want long, parallel lines running the length of the blank, not swirls or cross-grain near where the blade will sit.
Hold the wood up to the light. Cracks, dark streaks, or soft spots mean weak points that snap during carving. Tap it; solid wood gives a clean, dry knock. A dull thud signals moisture or rot.
Pick a blank about 8 inches long and an inch thick. This gives you room for a handle and blade without wasted stock. Good wood now saves frustration later.
Step 2 – Draw Your Knife Template
Sketch your knife shape on paper first, then trace it onto the wood. A simple design works best for your first build: a straight spine, a gently curved belly, and a handle that fills your palm. Keep the blade and handle in one continuous piece for strength.
Lay the template so the blade aligns with the grain direction. This matters. When the grain runs along the blade, the wood resists breaking. Cross the grain and the tip snaps off the first time you carve detail.
Press the pencil firmly so the line stays visible after sawing. Mark both sides. Clean, dark outlines guide every cut that follows and keep your shape symmetrical.
Step 3 – Cut the Rough Outline
Clamp the blank firmly to your bench. Cut just outside your pencil line with a coping saw or band saw—never on it. You want extra material to refine later. Cutting on the line leaves no room to fix mistakes.
Move slowly through curves. Let the saw teeth do the work; forcing the blade burns the wood and leaves rough, scorched edges you’ll smell before you see. A steady, even stroke produces a clean kerf and a faint sawdust hiss.
When you finish, you’ll hold a chunky version of your knife. It looks blocky and rough now. That’s correct. The shape lives inside this rough cut, waiting for your carving knife to reveal it.
Step 4 – Carve the Blade Bevel
Now the real shaping begins, and this is the heart of how to make wood knife projects sing. Secure the blank and take your carving knife. Work from the spine down toward the cutting edge, removing thin slices to form the bevel—the angled face that gives a blade its look.
Carve with the grain, not against it. With the grain, shavings peel away in long, smooth curls with a soft slicing sound. Against it, the wood tears, leaving fuzzy, splintered patches you’ll fight to fix.
Keep both sides even. Flip the blank often and compare. Take light passes; aggressive cuts dig too deep and ruin your symmetry. Patience here separates a sharp-looking blade from a lumpy one.
Step 5 – Shape the Handle
Round the handle so it sits comfortably in your grip. Test it often—close your hand around the wood and feel for hard corners or sharp ridges that press into your palm. Carve those away with shallow strokes until the handle feels natural.
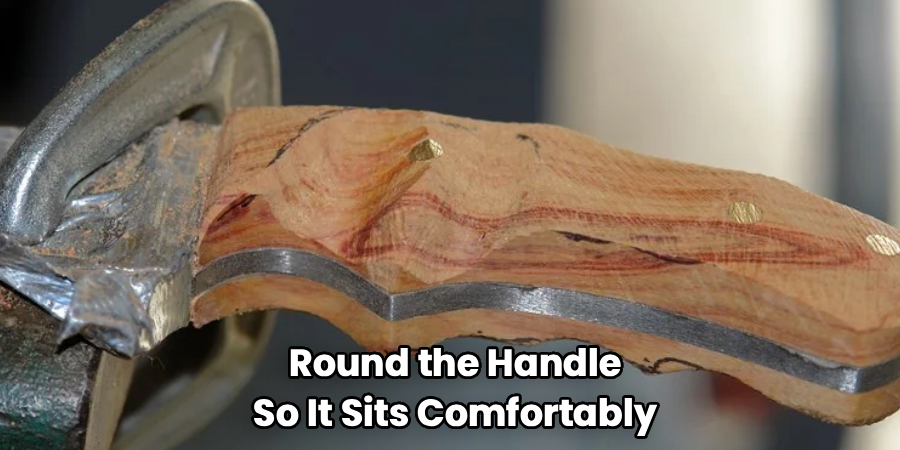
Aim for a smooth, oval cross-section rather than a flat slab. Your fingers should wrap without strain. A well-shaped handle feels warm and balanced; a poorly shaped one feels awkward the moment you hold it.
Blend the handle into the blade with a gradual transition. No abrupt steps. Run your fingers across the joint—any bump you feel now becomes obvious once you sand and oil the finished knife.
Step 6 – Refine the Shape
Step back and study your knife. Look down the spine for a straight line and check the blade edge for an even, continuous curve. Twisting, dipping, or uneven thickness shows up clearly under good light.
Make small correcting cuts where needed. This stage is about precision, not bulk removal. Shave a sliver here, smooth a curve there. Each light pass tightens the overall shape.
Hold the knife at arm’s length and rotate it. Both faces should mirror each other. Symmetry reads as quality, even before sanding. When the silhouette looks clean from every angle and the surfaces feel consistent under your fingertips, you’re ready to smooth everything down.
Step 7 – Sand Through the Grits
Sanding turns a carved blank into a finished piece. Start with 80-grit to knock down tool marks and ridges. You’ll feel the surface go from rough to even under your fingers, and the scratchy drag eases as the high spots disappear.
Move up to 120, then 180, then 220-grit. Each grit erases the scratches from the last. Skip a grit and deep marks linger, catching light and finish unevenly. Sand in the direction of the grain to avoid cross scratches.
Wipe the dust away between grits and inspect under angled light. The wood should feel glassy and look uniform. When your palm glides without catching, the surface is ready for finish.
Step 8 – Apply the Finish
Sealing the wood protects your knife and brings out the grain. Wipe on a thin coat of food-safe mineral oil or beeswax with a clean cloth. Watch the grain darken and the figure pop—this is the moment the wood truly comes alive.
Let the first coat soak in for fifteen minutes, then buff off the excess. A greasy surface means too much oil; a dry one means it absorbed well. Apply two or three thin coats rather than one heavy layer.
Knowing how to make wood knife pieces that last comes down to this finish. It blocks moisture, resists stains, and gives the handle a smooth, warm feel that improves every time you reapply it.
Common Mistakes to Avoid
The biggest mistake beginners make is ignoring grain direction. When you carve against the grain, the wood tears instead of slicing, leaving splintered, fuzzy patches that weaken the blade and ruin the surface. Always read the grain first, and orient your template so the blade runs parallel to those long fibers.
Rushing the rough cut causes trouble too. Many people saw directly on the pencil line, leaving no margin to refine the shape. Cut just outside the line every time. You can always remove more wood; you can never add it back.
Another frequent error is uneven beveling. Carving one side more aggressively than the other produces a lopsided blade that looks amateur. Flip the blank constantly and compare both faces as you work.
Skipping sandpaper grits ranks high on the list. Jumping from 80 straight to 220 leaves deep scratches that the finish highlights instead of hiding. Move through each grit in order.
Finally, drowning the wood in finish leaves a sticky, gummy surface. Thin coats, properly buffed, beat one heavy layer every time.
Expert Tips
Sharpen your carving knife before every session, not just when it feels dull. A keen edge slices cleanly and gives you control; a dull one forces you to push harder and slip more. Strop the blade on leather between projects to keep it razor-keen.
Carve when the wood is at room temperature and dry. Cold or damp stock resists the blade and tears more easily.
Work in good, angled light. Raking light across the surface reveals ridges, tool marks, and uneven curves that flat overhead lighting hides completely.
Save your scrap cutoffs. They make perfect test pieces for practicing new cuts or checking how a finish looks before you commit to your actual knife.
Frequently Asked Questions
What Is the Best Wood for a Wood Knife?
Hardwoods like maple, walnut, and birch work best. They hold detail, resist splitting, and take a fine edge when carved. Avoid soft woods like pine for your blade—they crush and dent easily. Choose a straight-grained, knot-free blank so your carving knife glides smoothly and your finished knife stays strong and durable through regular handling.
Is a Wooden Knife Actually Sharp?
A wooden knife won’t cut like steel, but you can carve a surprisingly fine edge. It’s sharp enough to slice soft foods like butter, fruit, or bread, and it makes an excellent display or prop piece. Most makers build wooden knives for practice, decoration, or table use rather than heavy cutting tasks that demand a metal blade.
How Long Does It Take to Make One?
A beginner usually finishes a basic wood knife in three to five hours, spread across cutting, carving, sanding, and finishing. Drying time between finish coats adds a few hours more. Don’t rush. Spreading the work over a weekend gives you cleaner results and lets each oil coat fully absorb before you handle the knife.
Do I Need Power Tools to Make a Wood Knife?
No. You can build a complete wood knife with just a saw, a carving knife, and sandpaper. Hand tools give you more control and teach you the fundamentals faster. A rotary tool or band saw speeds up rough shaping if you have one, but it’s a convenience, not a requirement for great results.
How Do I Keep My Wooden Knife in Good Shape?
Reapply food-safe mineral oil or beeswax every few weeks, or whenever the wood looks dry. Wipe it clean after use and avoid soaking it in water, which swells the grain and causes cracks. Store it somewhere dry and away from direct heat. With light care, a finished wooden knife lasts for years.
Conclusion
You now have everything you need to carve a knife from a single block of wood. Pick straight-grained hardwood, trace a clean template, and cut just outside your line. Shape the bevel and handle with patient, with-the-grain strokes, then sand through every grit until the surface feels glassy. Finish with thin coats of food-safe oil to seal the wood and reveal the grain.
The real reward isn’t just the knife—it’s the confidence you build along the way. You’ve learned to read grain, control a carving knife, and finish like a pro. Those skills carry straight into spoons, bowls, and bigger projects down the road.
Knowing how to make wood knife pieces is one of the most rewarding ways to start whittling. So grab a blank, sharpen your blade, and start carving today. Your first knife won’t be perfect, and that’s exactly the point. Each one teaches you something new—and your next will be even better.
