
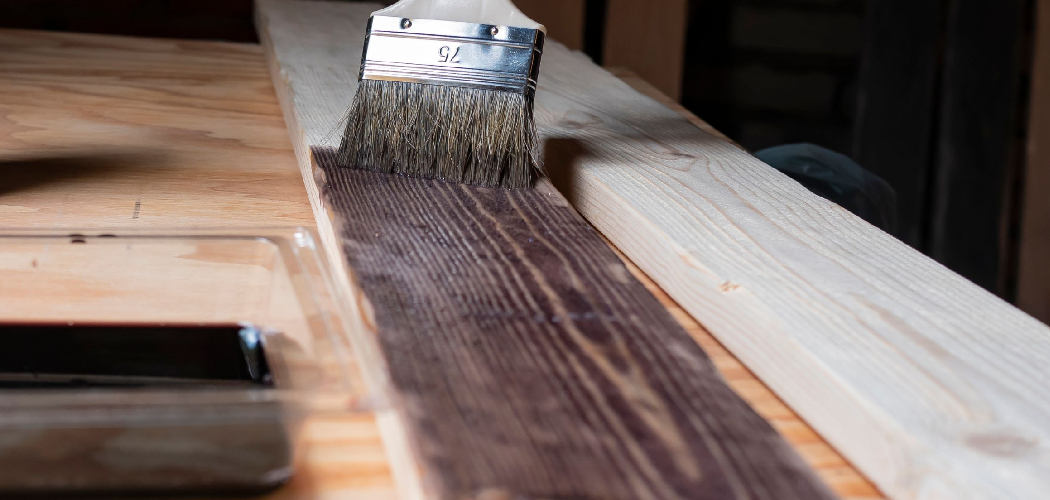
Veneer chips, peels, and lifts the moment you treat it like solid wood. That thin layer of real wood glued over a particleboard or MDF core needs a different approach. Learning how to paint wood veneer the right way turns a dated, water-stained dresser or laminate cabinet into a clean, modern piece that holds up for years.
You don’t need power tools or pro skills. You need the right prep, the right primer, and a little patience. The whole process comes down to a simple order: clean, scuff, prime, paint, seal. Skip a step and the finish fails. Follow it and the paint bonds tight. This guide walks you through every stage, from prepping a slick surface to laying down a smooth, durable coat that lasts.
Why Painting Wood Veneer Matters
Veneer furniture is everywhere, and most of it is worth saving. A new coat of paint revives a tired piece for the cost of primer and paint — a fraction of buying new.
The skill builds real confidence. Once you understand how to prep a slick, sealed surface, you stop fearing veneer, laminate, and factory finishes. You tackle cabinets, desks, and bookshelves without second-guessing.
It also prevents an expensive mistake. Paint over veneer wrong, and it peels in weeks. That means stripping everything and starting over — wasted money and wasted weekends. Proper prep gets it right the first time.
Refinishing extends the life of furniture you already own. A sealed, painted surface resists moisture, scuffs, and daily wear. You keep solid pieces in service instead of hauling them to the curb.
Tools and Materials You’ll Need
Gather everything before you start. A complete setup keeps the work moving and the finish even.
- Strip away grease and grime – degreaser or trisodium phosphate (TSP)
- Scuff the slick surface – 150-grit and 220-grit sandpaper or a sanding sponge
- Repair chips and lifted edges – wood filler and a putty knife
- Clear away every speck of dust – tack cloth and a vacuum
- Lock paint to the surface – bonding primer or shellac-based primer
- Apply color evenly – high-quality latex or acrylic paint
- Lay smooth coats – angled brush and a foam roller
- Protect surrounding areas – painter’s tape and a drop cloth
- Stay clean and safe – nitrile gloves and a dust mask
- (Optional) Speed up large flat panels – an orbital sander
Buy a quart more paint than you think you need. Color-matching a second batch later rarely works.
Step-by-Step Guide on How to Paint Wood Veneer
Step 1 – Clean the Surface Thoroughly
Grease and grime block paint adhesion. Years of hand oils, polish, and dust sit on veneer, and primer won’t grip over them.
Mix a degreaser or TSP solution and wipe down the entire surface with a sponge. Work into corners, edges, and any grooved detail where grime hides. You’ll feel the slick polish lift as the cloth drags slightly more on clean veneer.
Rinse with clean water and let the piece dry fully. Run your hand across it — a properly cleaned surface feels squeaky, not waxy or slippery. Any leftover residue shows up later as fish-eyes or peeling.
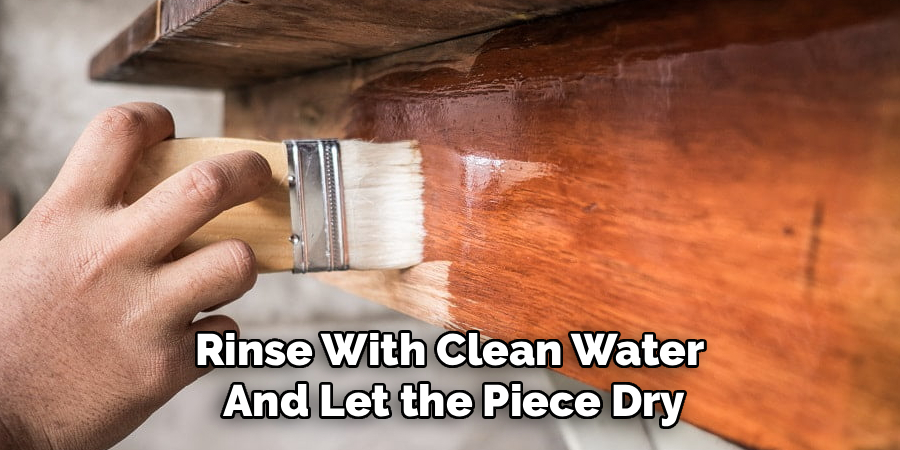
This first step decides whether everything after it holds or fails. Don’t rush it.
Step 2 – Inspect and Repair Damage
Veneer lifts, bubbles, and chips at the edges. Paint won’t hide these flaws — it highlights them.
Press around the surface and edges. Listen for a hollow tap or feel any loose, raised spots. Lifted veneer needs wood glue worked underneath, then clamped flat until dry. Slide a thin putty knife in, spread the glue, and weight it down.
Fill chips and gouges with wood filler using a putty knife. Press it firm, slightly overfilling so it sands flush later. The filler should sit just proud of the surface.
Let all repairs cure fully before moving on. A patched, solid surface gives your paint an even base. Skip this and every flaw shows through the final coat.
Step 3 – Scuff the Glossy Surface by Sanding
Knowing how to paint wood veneer comes down to this step: kill the shine. Paint cannot grip a slick, sealed factory finish, so you give it texture to bite into.
Sand the entire surface with 150-grit sandpaper, moving with the grain. You’ll hear a smooth, even rasp and watch the glossy sheen turn to a uniform dull haze. That cloudy, matte look is your target.
Sand light. Veneer is thin — often less than a millimeter — and aggressive sanding cuts straight through to the core. You only need to scuff, not strip.
Follow with a light pass of 220-grit to smooth your repairs flush. Check under raking light. Any shiny spots will reject paint, so dull them before you continue.
Step 4 – Wipe Away All Dust and Residue
Dust ruins a smooth finish. Sanding leaves fine powder that settles into the scratches and turns your first coat gritty.
Vacuum the entire piece first, getting into seams and corners. Then wipe every surface with a tack cloth, which grabs the fine particles a vacuum misses. Drag it slowly and you’ll feel it pick up the last clingy dust.
Run your palm across the wood. A clean surface feels smooth and dust-free, never powdery or gritty. Hold the piece up to the light and check for streaks or stray particles.
Skip this step and you’ll feel every speck under your fingertips after the paint dries. Clean now, and your primer goes down flat and even every time.
Step 5 – Apply a Bonding Primer
Primer is the bridge between slick veneer and new paint. A bonding or shellac-based primer grips the scuffed surface and gives your color something to hold.
Stir the primer well, then apply a thin, even coat with an angled brush for edges and a foam roller for flat panels. Work in long strokes along the grain. The primer should go on smooth, never thick or drippy.
Watch for full, even coverage with no slick spots peeking through. A shellac-based primer also blocks old stains and wood bleed that latex can’t.
Let it dry fully — check the can, but most need one to two hours. Touch a hidden spot; it should feel firm and dry, not tacky. Solid primer is what makes the bond reliable.
Step 6 – Sand the Primer Lightly
A quick scuff between primer and paint creates a glass-smooth finish. Dried primer often raises tiny bumps and texture you can feel.
Run 220-grit sandpaper or a fine sanding sponge gently over the primed surface. Use light pressure — you’re smoothing, not stripping. You’ll feel the rough spots flatten and the surface turn silky under your hand.
Don’t sand through the primer to the veneer below. If you hit a thin spot, touch it up and let it dry before painting.
Wipe away the fine dust with a tack cloth once more. The surface should feel smooth as paper, ready to take color. This small step separates a professional finish from a rough, homemade one.
Step 7 – Apply the First Coat of Paint
Now the color goes on. Thin, even coats build a durable finish that won’t drip or streak.
Load your brush or roller lightly and apply paint in long strokes along the grain. Cut in the edges and detail with an angled brush, then roll the flat panels for an even texture. The first coat will look thin and patchy — that’s exactly right.
Don’t overwork it. Going back over drying paint leaves drag marks and lap lines. Lay it down and move on.
Let the coat dry fully before judging coverage. Most latex paints need two to four hours. The surface should look uniform and feel dry to the touch, with no tacky spots before the next coat.
Step 8 – Apply the Second Coat and Inspect
One coat rarely covers. A second coat deepens the color and evens out any thin spots from the first pass.
Sand lightly with 220-grit if the first coat raised texture, then wipe clean. Apply the second coat the same way — thin, even strokes along the grain, edges first, then panels.
This coat goes on smoother because the surface is already sealed. Watch the color turn rich and uniform, with full coverage and no primer showing through.
Inspect under bright, raking light. Look for drips, thin areas, or missed spots, and touch them up while the paint stays workable. A clean, even second coat usually finishes the job for most veneer furniture.
Step 9 – Seal With a Protective Topcoat
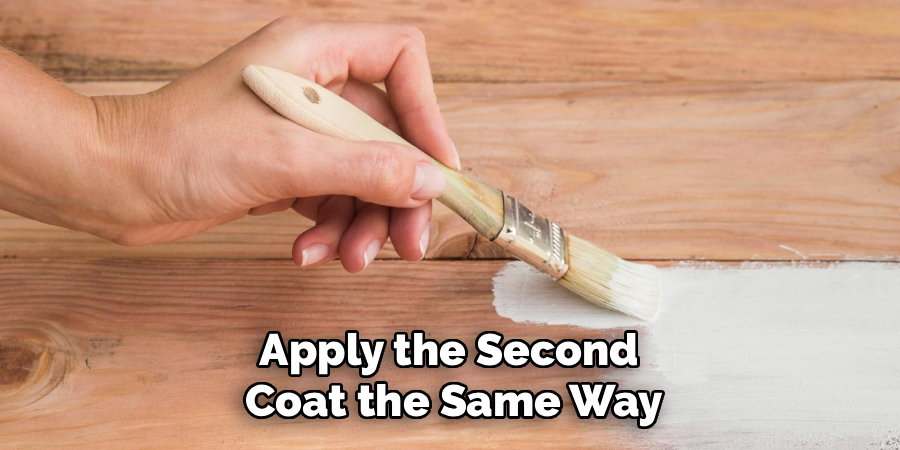
Bare paint scratches and scuffs, especially on tabletops and cabinets. A clear topcoat locks in your work and adds years of durability.
Wait until the paint cures — at least 24 hours. Brush or roll on a thin coat of water-based polyurethane in long, even strokes. Avoid going over the same area twice while it’s wet, or it clouds.
The finish should dry clear and smooth, never milky or streaky. Run your hand across the cured surface — it should feel hard and slick.
Add a second topcoat for high-traffic pieces. This final layer keeps your finish sharp through daily use, moisture, and handling. It’s the difference between a finish that lasts months and one that lasts years.
Common Mistakes to Avoid
The biggest mistake is skipping the cleaning step. Veneer carries invisible grease and polish that block adhesion. Paint over that grime, and your finish peels within weeks no matter how carefully you applied it. Always degrease before you sand.
The second mistake is sanding too hard. Veneer is a paper-thin layer of real wood over a cheap core. Press too firm or use coarse grit, and you cut straight through to the particleboard underneath. That damage can’t be sanded out — you only need to scuff the gloss, not strip it.
Skipping primer ranks a close third. People assume modern paint sticks to anything, then watch it chip at every touch. A bonding or shellac-based primer is non-negotiable over veneer. It’s the layer that makes everything hold and blocks old stains from bleeding through.
Another common error is rushing dry times. Painting over tacky primer or recoating wet paint traps moisture and leaves a soft, gummy finish that never cures. Read the can and wait the full time.
Finally, many people pile on thick coats to cover faster. Heavy layers drip, sag, and dry unevenly. Thin coats always win — they level out smooth and bond far better than one heavy pass.
Expert Tips
Test your adhesion before committing to the whole piece. Prime and paint a small hidden spot, let it cure for a day, then scratch it with your fingernail. If it holds, your prep is solid.
Use a shellac-based primer over old veneer with water stains or dark wood tones. It seals in bleed-through that latex primers let creep up through your color.
Work in good cross light from a window or low lamp. Raking light reveals drips, thin spots, and missed sheen that overhead light hides completely.
For cabinet doors and removable parts, take them off and paint them flat. Horizontal surfaces resist drips and level out smoother than vertical ones.
Keep a damp cloth nearby to catch drips the moment they form. Fixing a wet run takes seconds. Sanding out a dried one takes far longer.
Frequently Asked Questions
Can You Paint Directly Over Wood Veneer?
No, not without prep. Veneer has a slick, sealed factory finish that rejects paint. You must clean off grease, scuff the gloss with fine sandpaper, and apply a bonding primer first. Skip these steps and the paint peels within weeks. With proper prep, paint bonds tight and lasts for years on veneer surfaces.
What Primer Works Best on Veneer?
A bonding primer or shellac-based primer works best. Both grip slick, sealed surfaces where regular paint fails. Shellac-based primers also block old stains, water marks, and dark wood bleed that would otherwise creep through your color. Apply one thin, even coat over a cleaned and scuffed surface, then let it dry fully before painting.
Do You Have to Sand Veneer Before Painting?
Yes, but sand lightly. Veneer is a thin layer of real wood, often under a millimeter thick. You only need to scuff the glossy finish with 150- or 220-grit sandpaper so primer can grip. Press too hard or use coarse grit and you cut through to the core beneath, which can’t be repaired.
Will Painted Veneer Hold Up Over Time?
Yes, when you prep correctly. Peeling happens when you skip cleaning, fail to scuff the gloss, or omit primer. Follow the full sequence — clean, sand, prime, paint, seal — and the finish bonds tight. Add a clear topcoat on tabletops and cabinets that take heavy use. Proper prep is the difference between a finish that lasts and one that flakes.
What Kind of Paint Should You Use on Veneer?
High-quality latex or acrylic paint works best for most veneer furniture. It dries fast, cleans up with water, and bonds well over a bonding primer. For cabinets and tabletops that take heavy use, choose an acrylic enamel or seal your color with a clear topcoat. Avoid cheap, thin paints — they cover poorly and chip faster.
Conclusion
A tired veneer dresser or laminate cabinet can become the best-looking piece in the room. Now you know how to paint wood veneer the right way — and the secret is prep, not luck.
Remember the sequence: clean off grease, repair chips and lifted edges, scuff the gloss with a light hand, wipe away every speck of dust, then prime, paint, and seal. Each step builds on the one before it. Skip the prep, and the finish fails. Follow the order, and it holds for years.
Most peeling problems trace back to two errors — painting over grime and painting over gloss. Handle those, and the rest falls into place. And always sand veneer gently, since that thin top layer offers no second chances.
Take your time on the prep, use thin and even coats, and let each layer dry fully. The reward is a smooth, durable finish that looks professional and stands up to daily life. Grab your degreaser, pick your color, and bring that old veneer back to life.
